For sure, your child knows a flower that changes its color from yellow to white, turning into a fluffy ball. In this lesson, we will learn how to make dandelion from paper and cotton.
Step-By-Step Tutorial
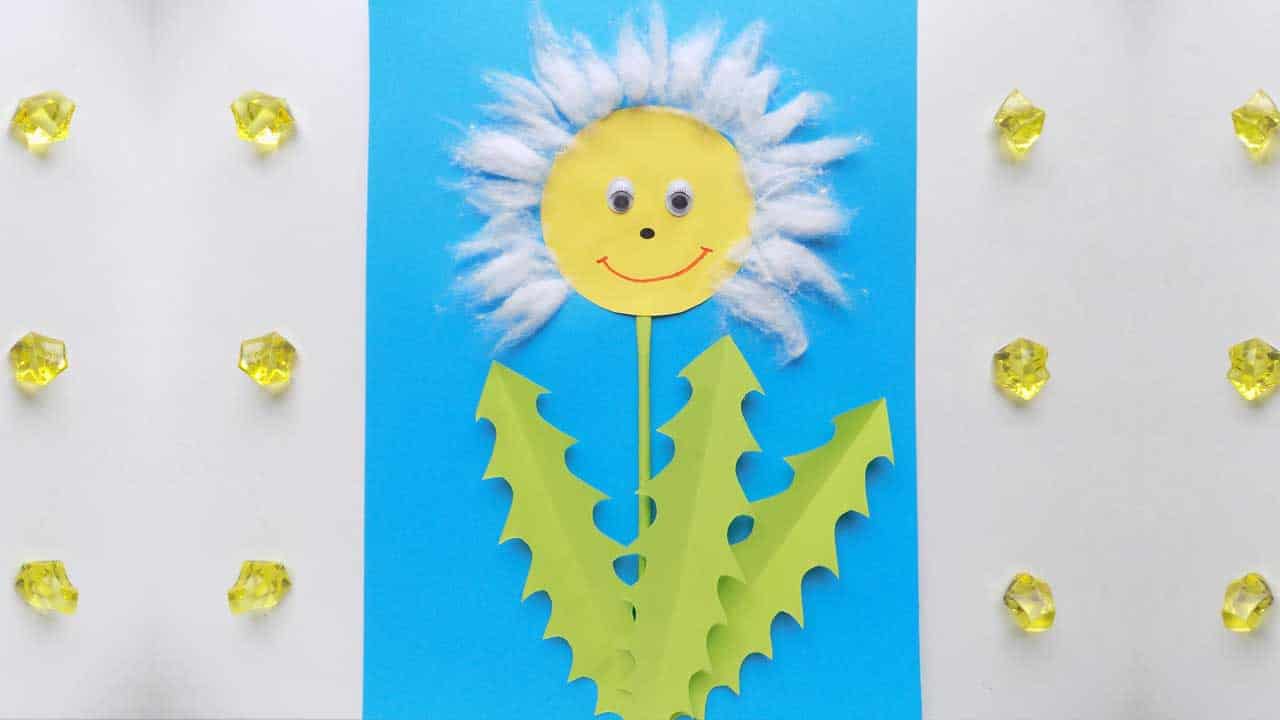
Dandelion from paper and cotton in 9 Steps
Total Time: 30 minutes
Step 1: Prepare the paper parts
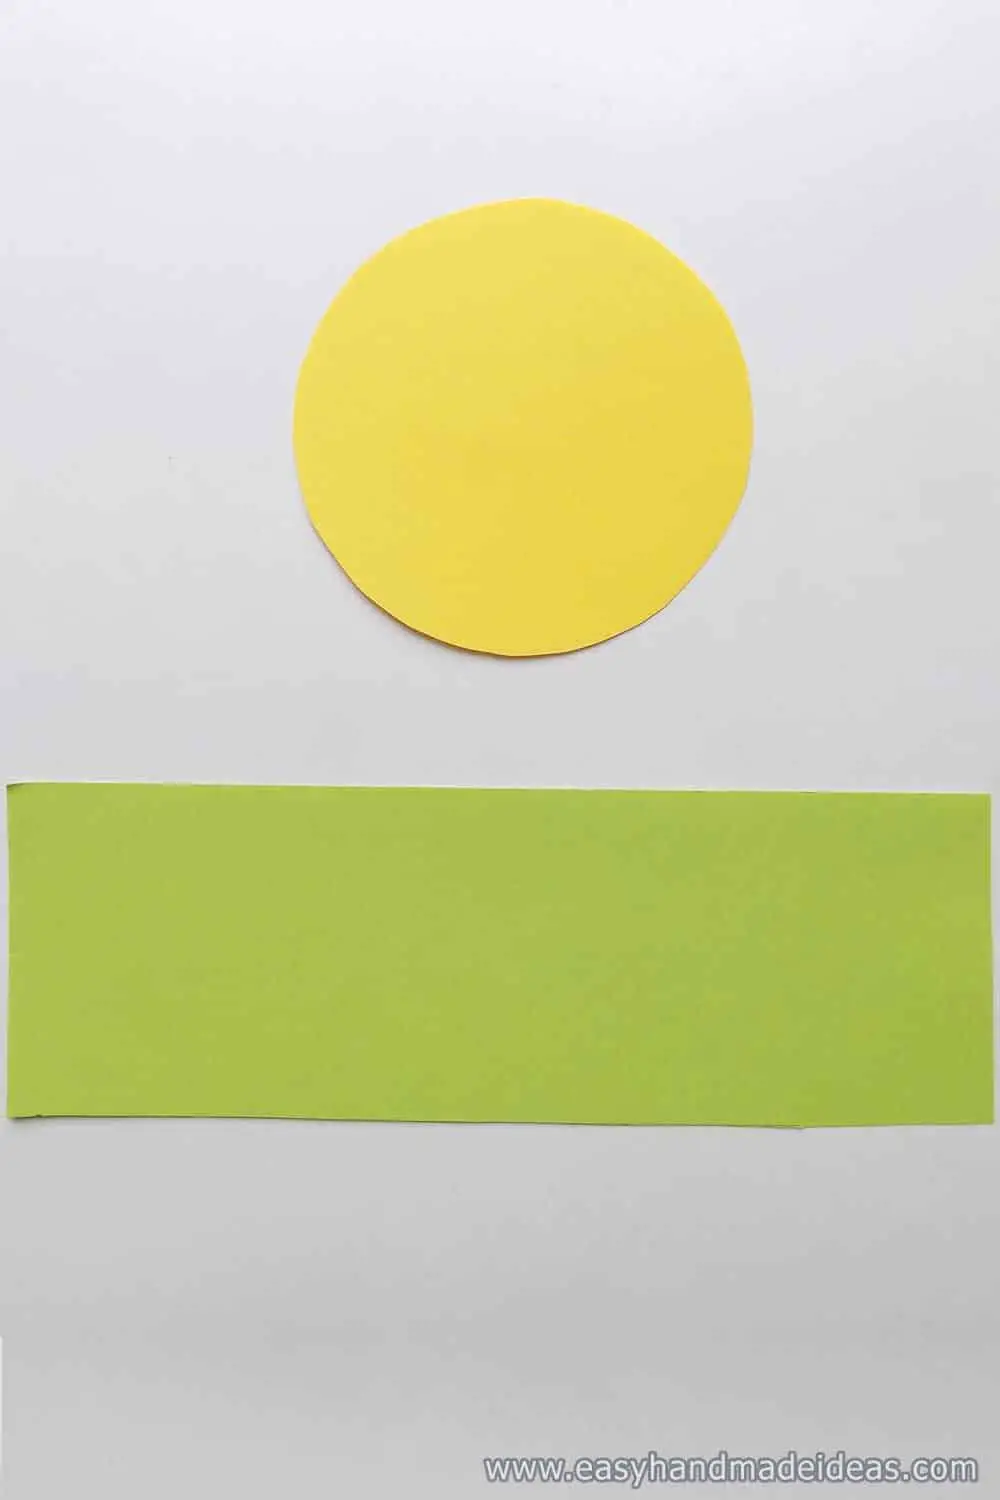
First make blanks of colored paper for the future dandelion. Cut out a circle of yellow paper and a rectangle of light green paper.
Step 2: Glue the stem and center of the flower

Form a stalk from a green blank. Twist the tube, fix its edge with glue. Place the blue sheet vertically. Glue the green stalk on it and the yellow circle that will be the middle of the dandelion.
Step 3: Use cotton wool for the dandelion parachute
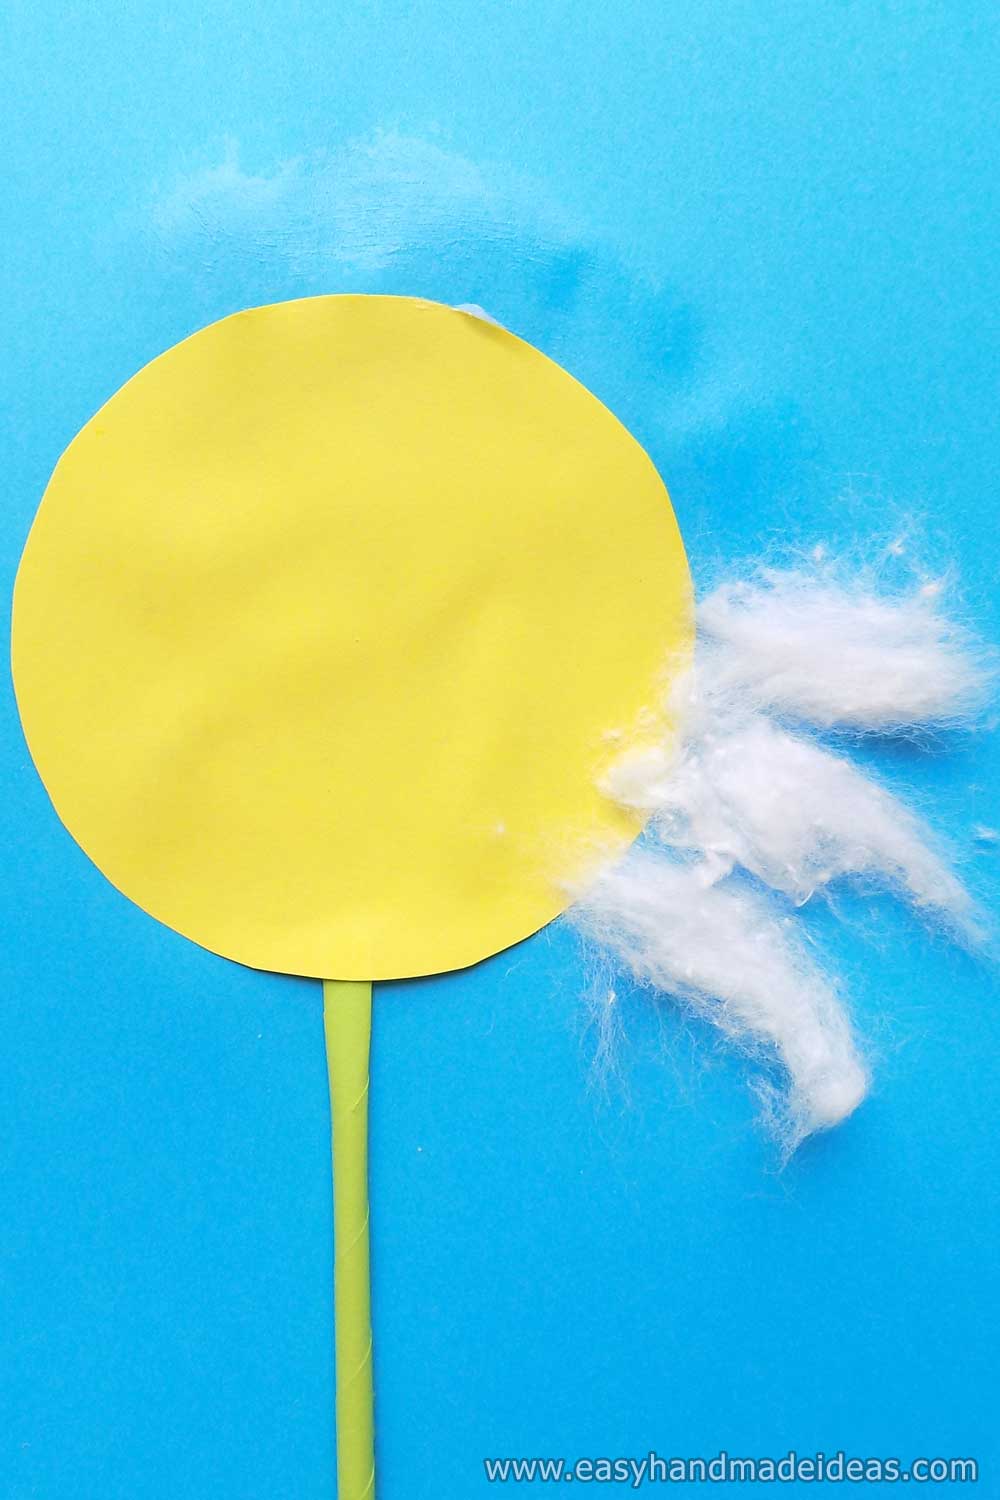
Use cotton wool. First apply the glue around the yellow blank. Tear off the pieces of cotton wool and glue them separately.
Step 4: Glue the parachutes of a dandelion
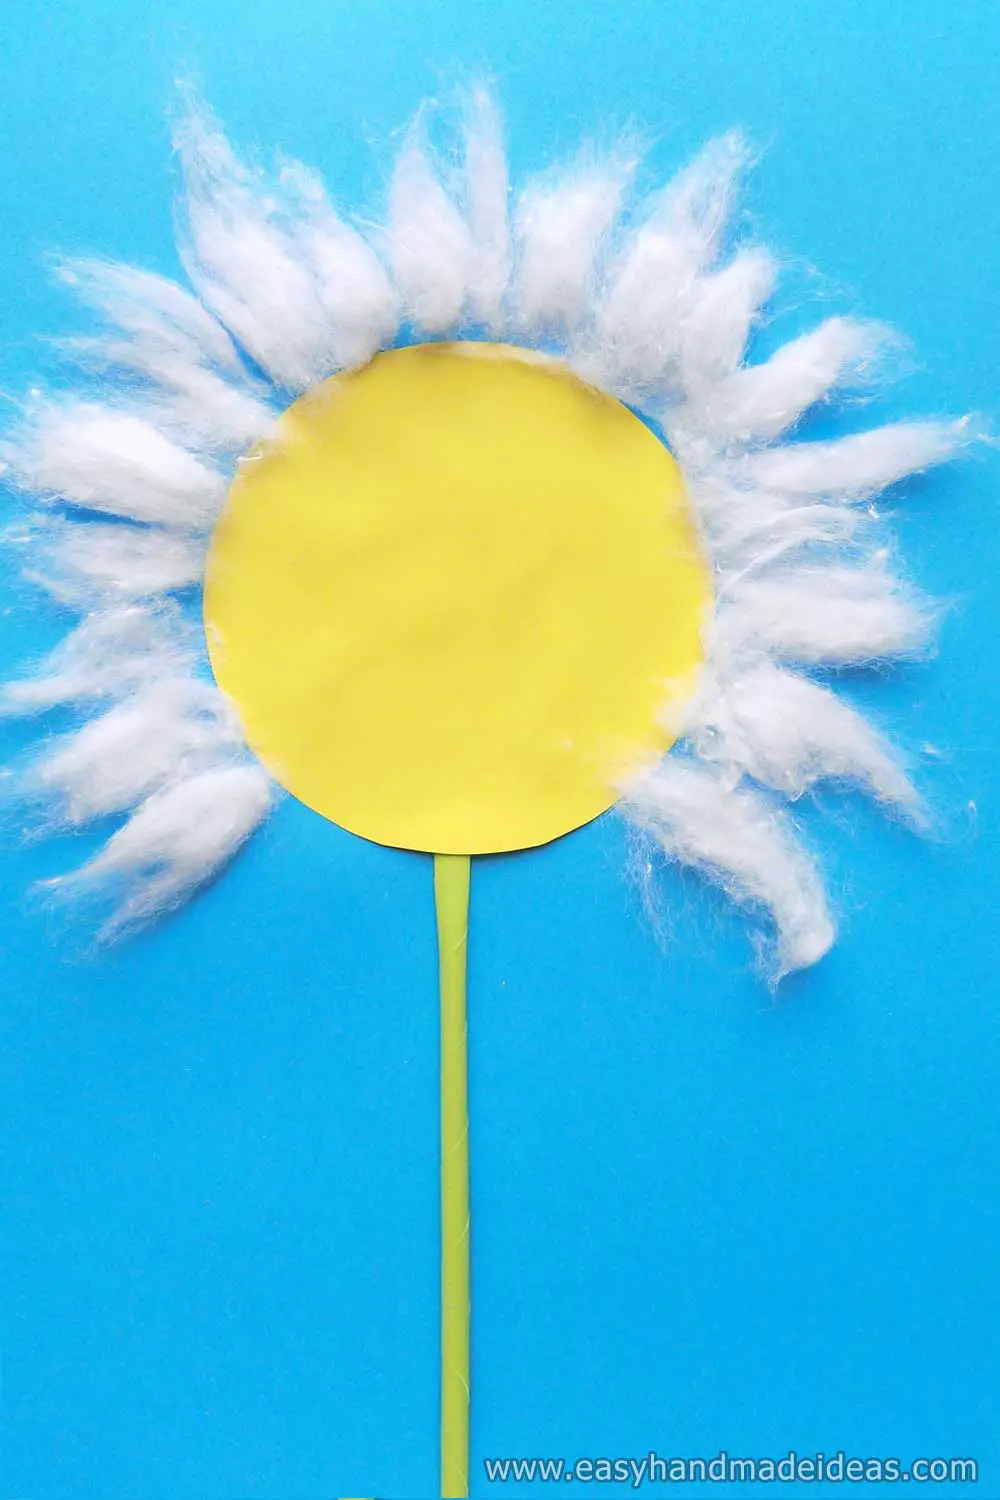
Gradually form the white part to create dandelion parachutes.
Step 5: Use green paper
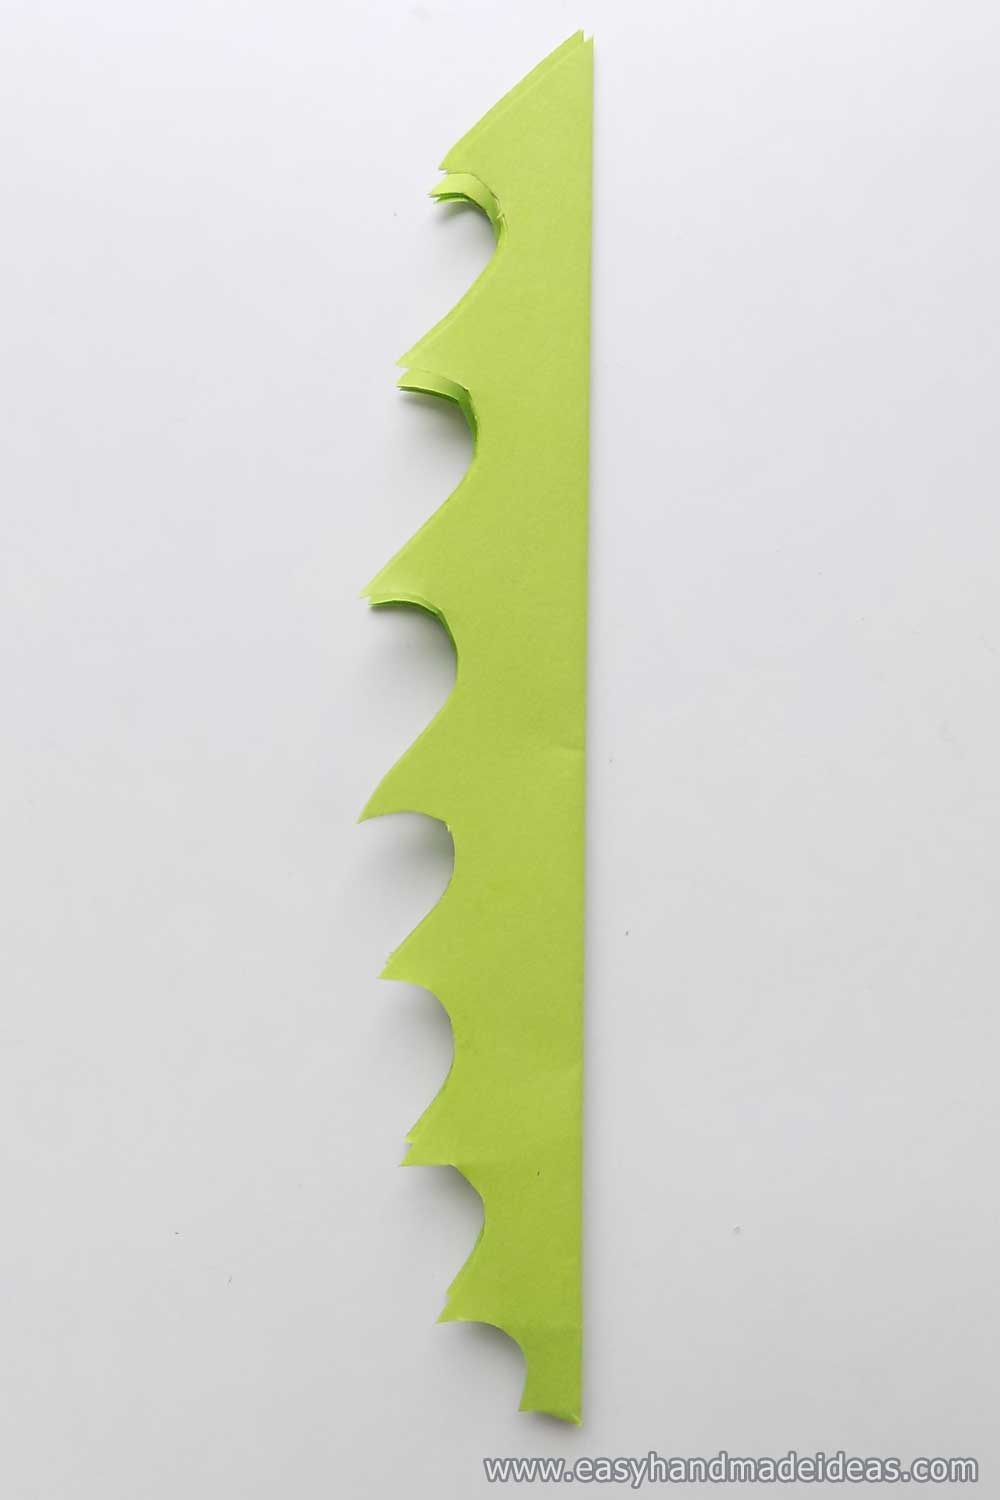
Cut out leaves from green paper for your flower. Fold several rectangles along, and then cut out one side in the shape of claw leaves.
Step 6: Create three sheets based on the sample
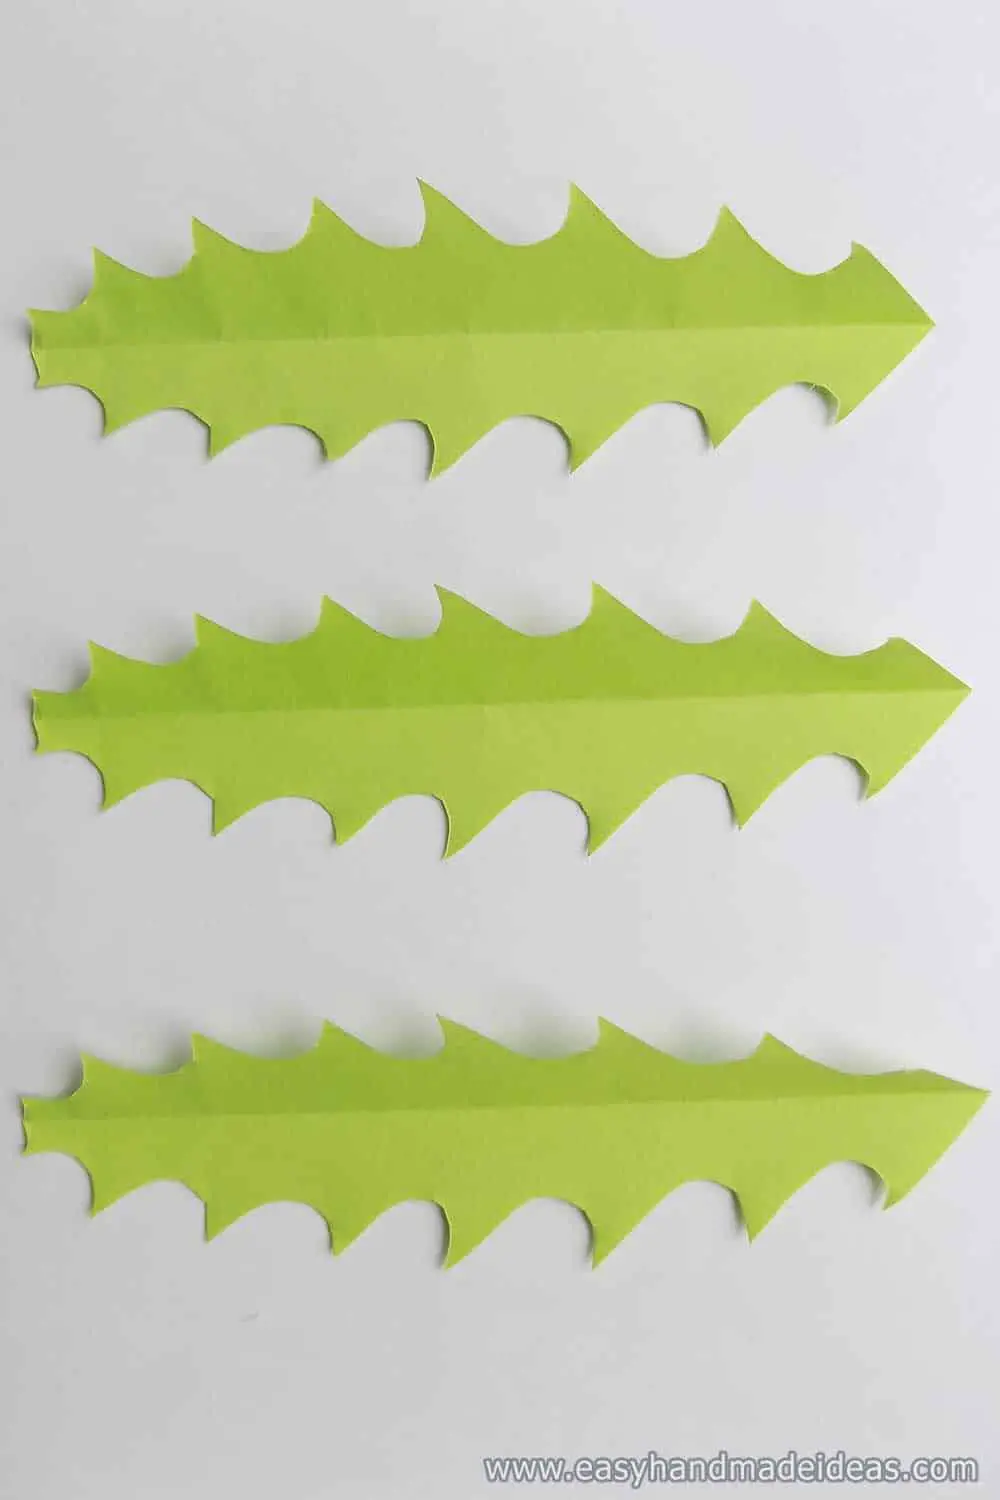
You should get such jagged leaves as in the photo.
Step 7: Attach details
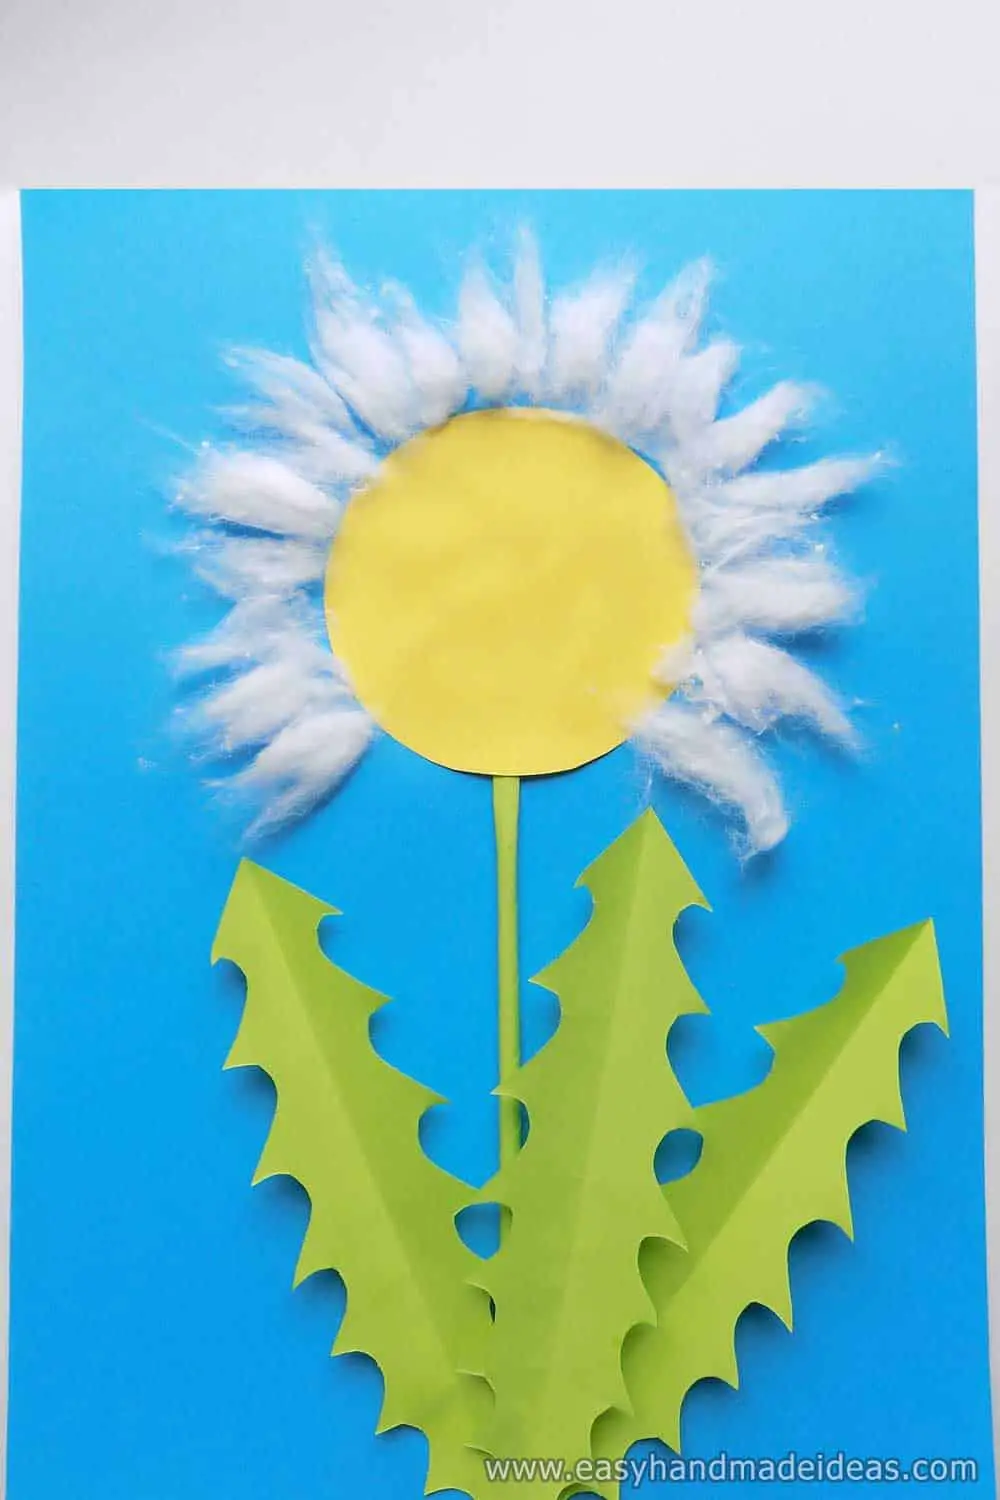
Glue the leaves to the bottom of the stem. Apply the glue only in one place in the form of a small circle.
Step 8: Create eyes on the face
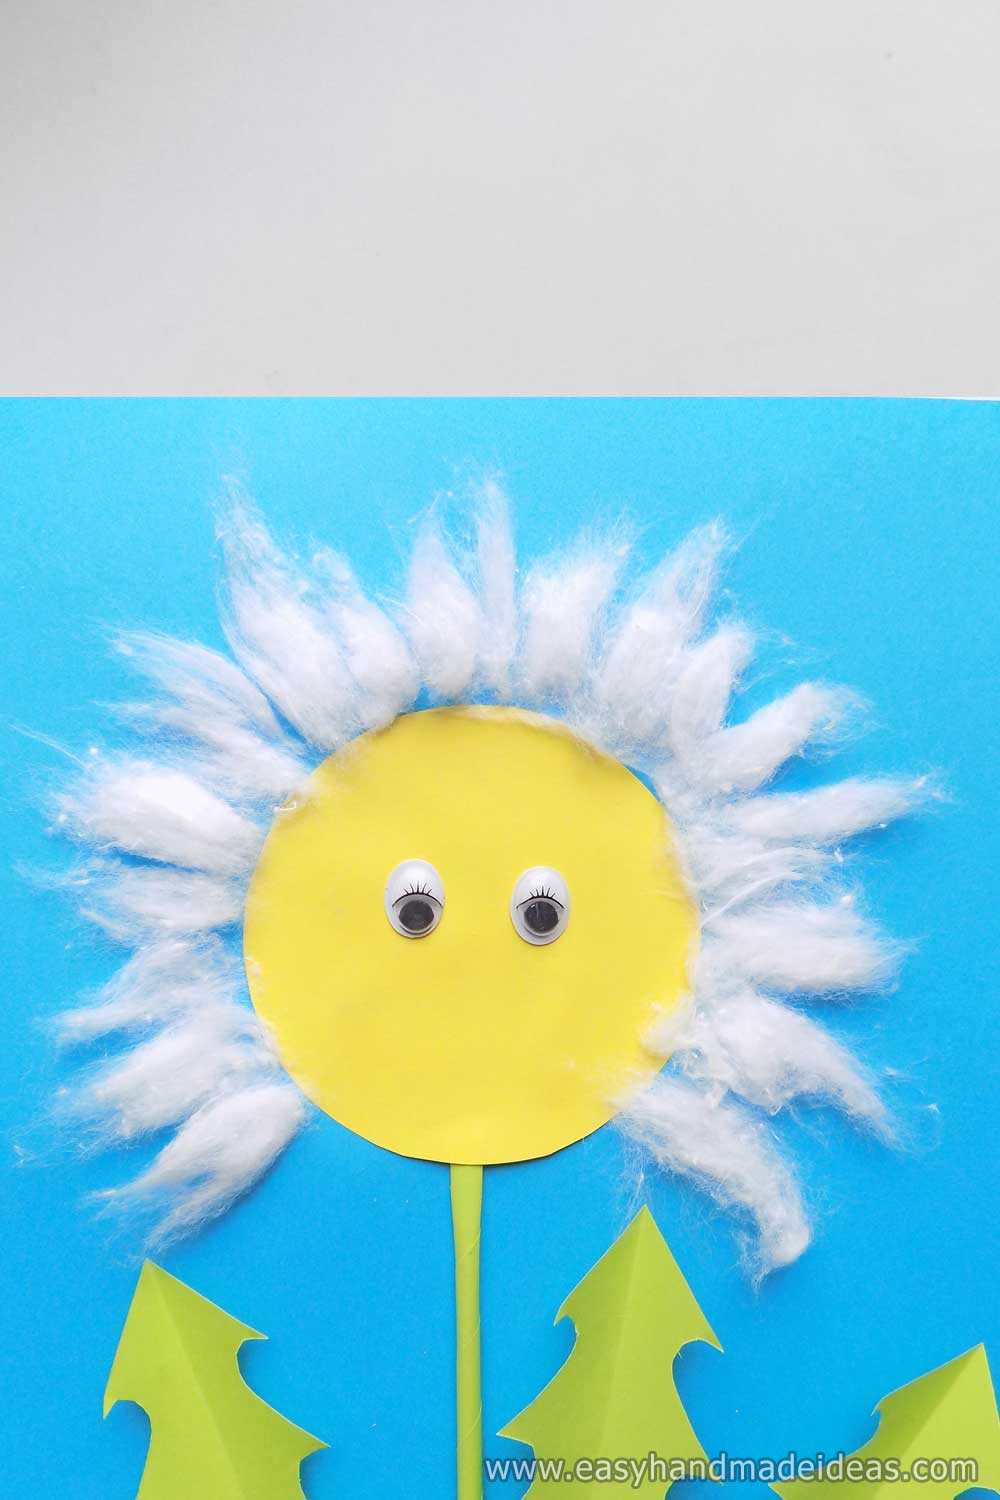
Add decorative eyes to your dandelion using glue.
Step 9: Make dandelion facial features
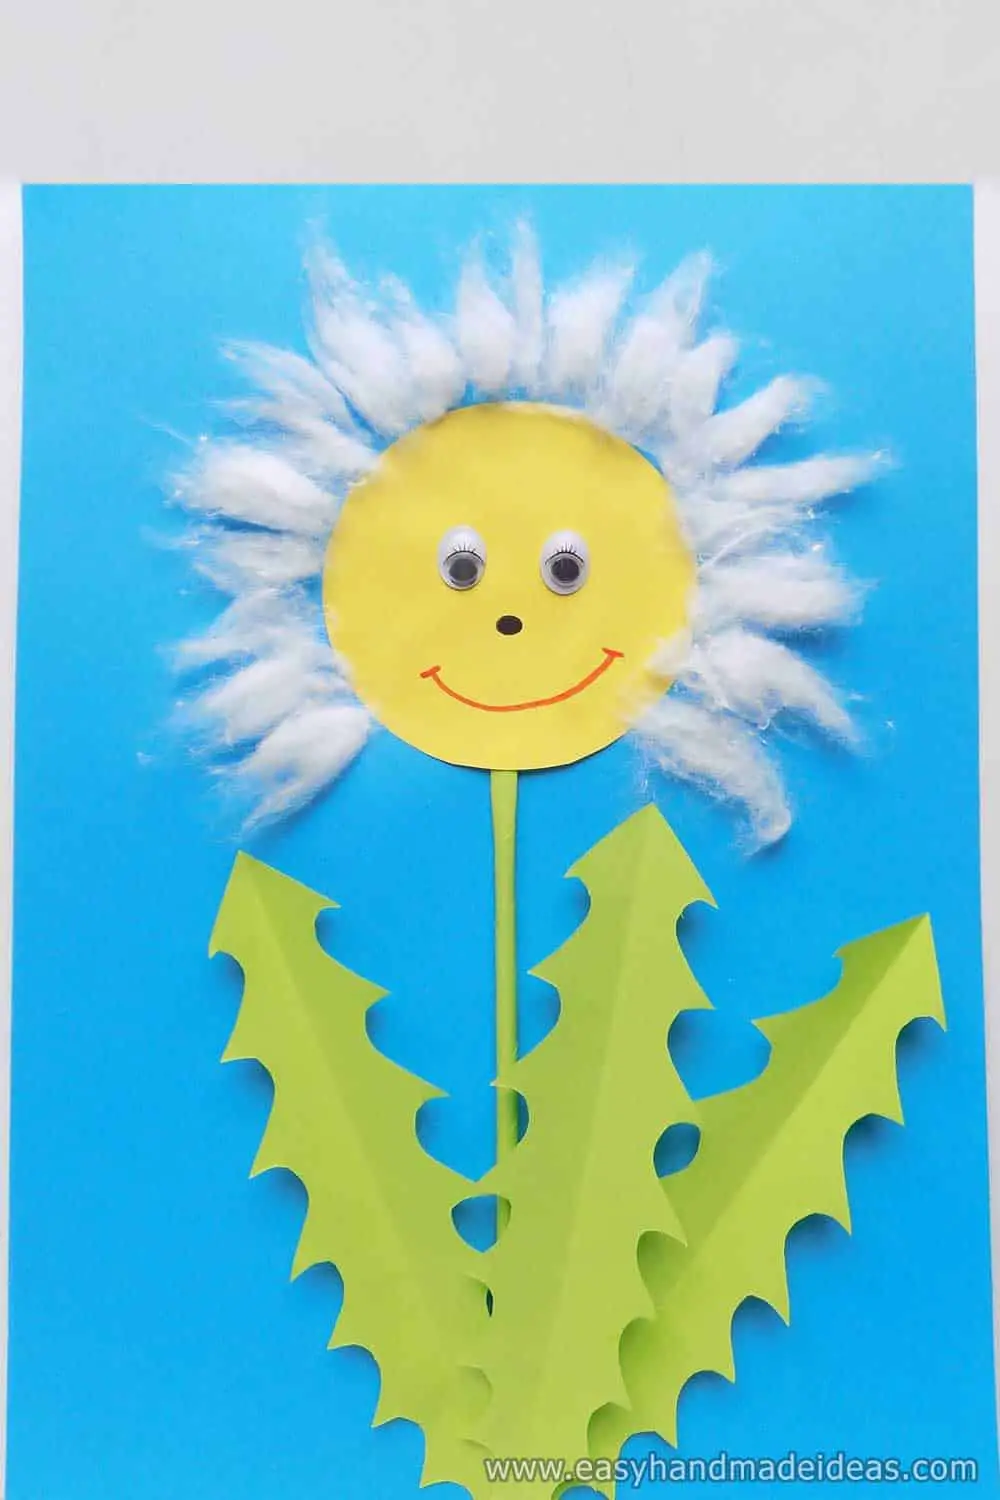
Draw the mouth and nose with markers. You should get such a voluminous craft with a funny dandelion made of cotton and paper.
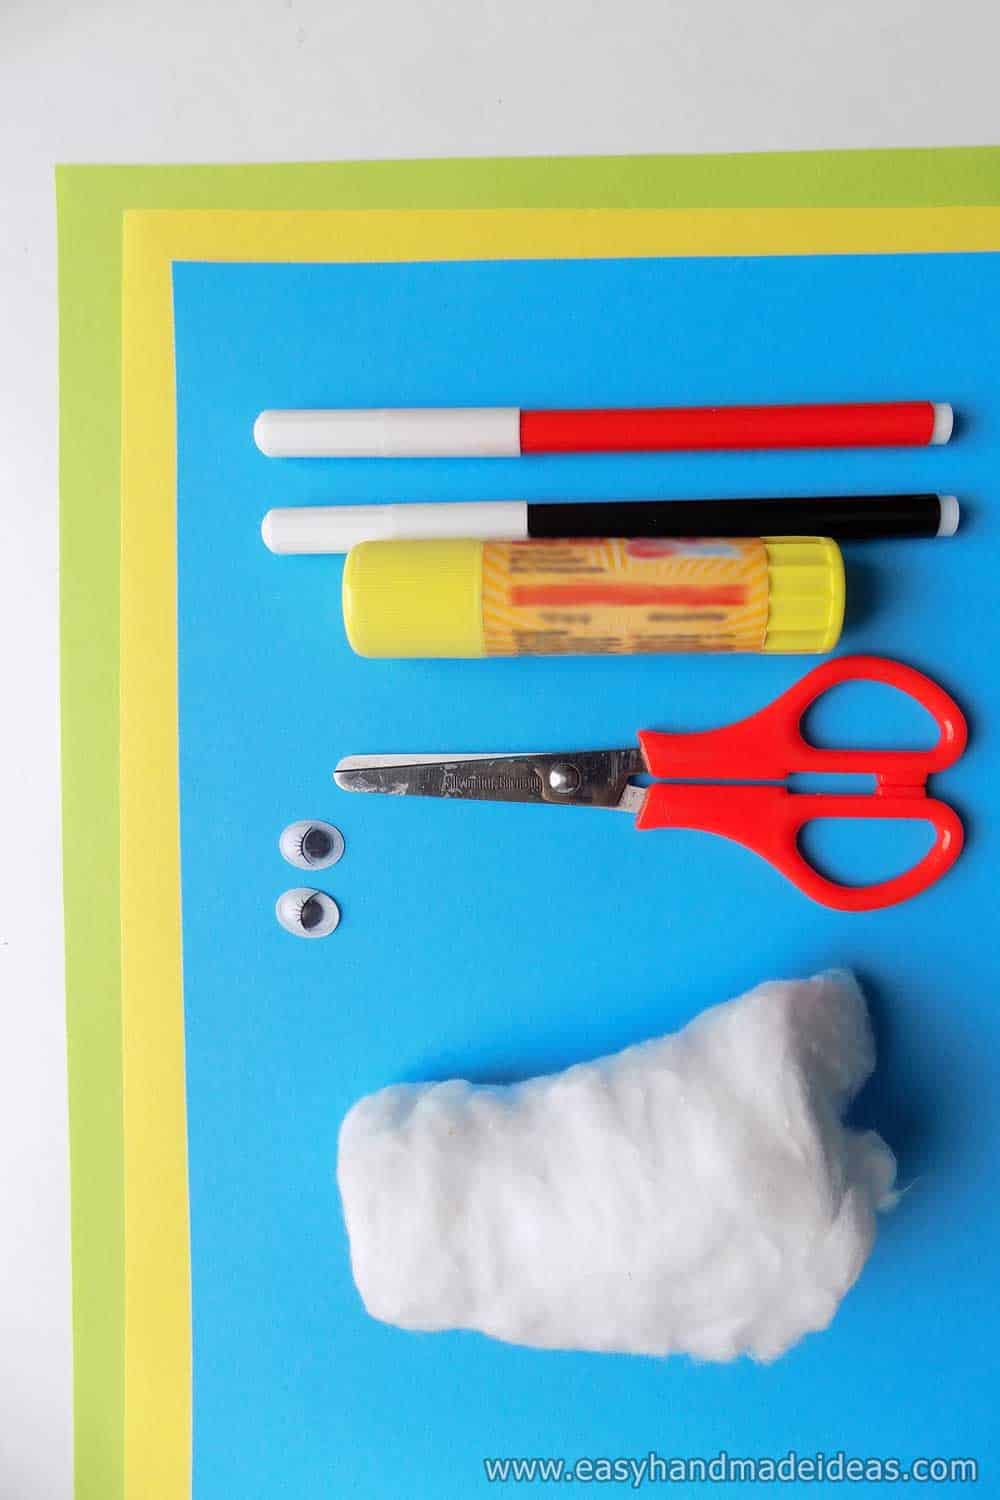
Supply:
- yellow, blue, light green paper;
- decorative eyes.
Tools:
- cotton;
- scissors;
- glue;
- markers.
Have fun with your child making this craft.

