Daffodils are one of the first flowers of spring. In this lesson, you will learn how to make paper daffodil flowers. Despite the simple petals, the craft looks very nice.
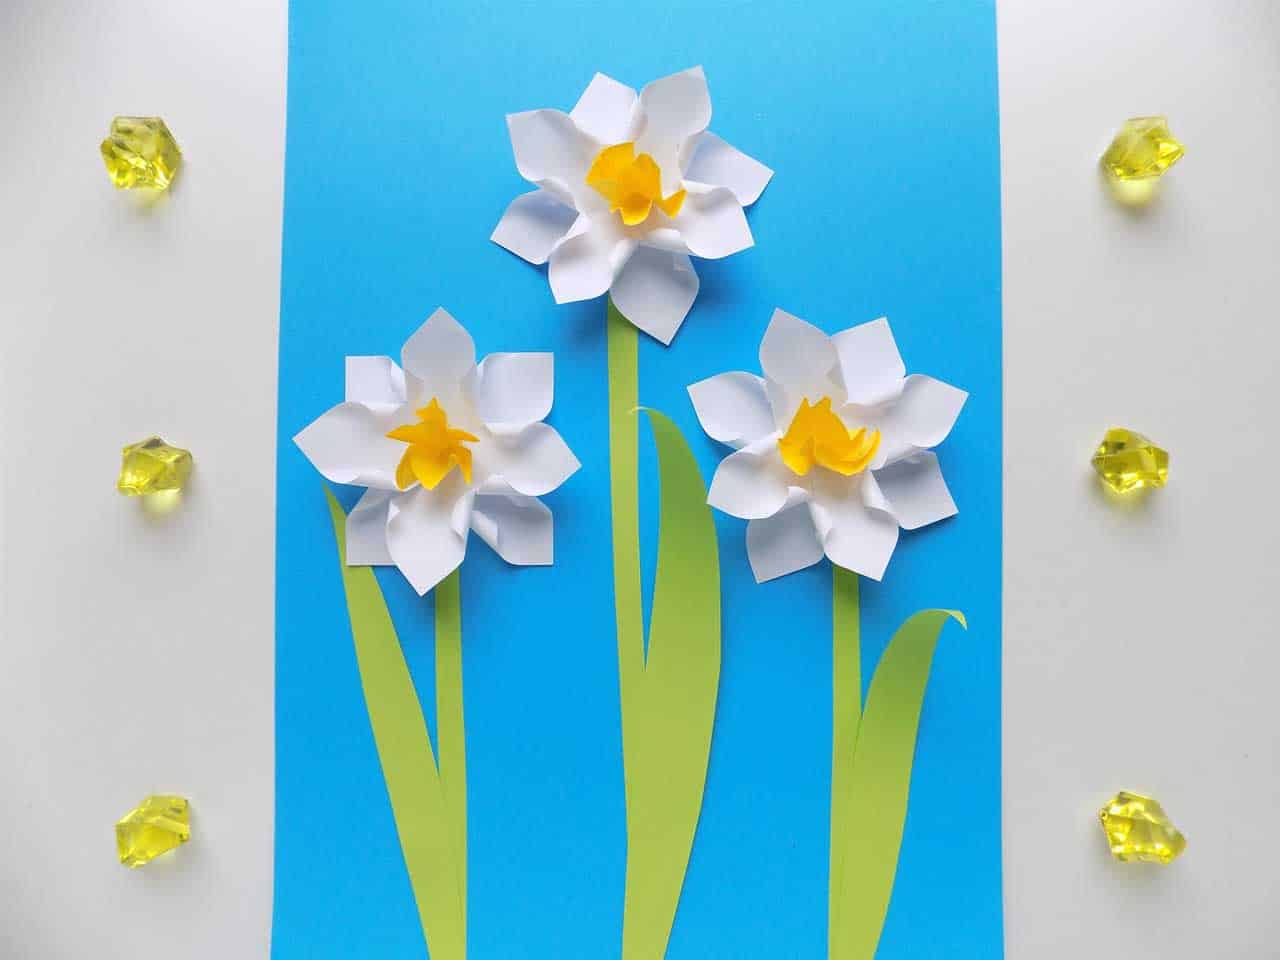
Paper daffodils
Total Time: 25 minutes
Step 1: Take a white paper
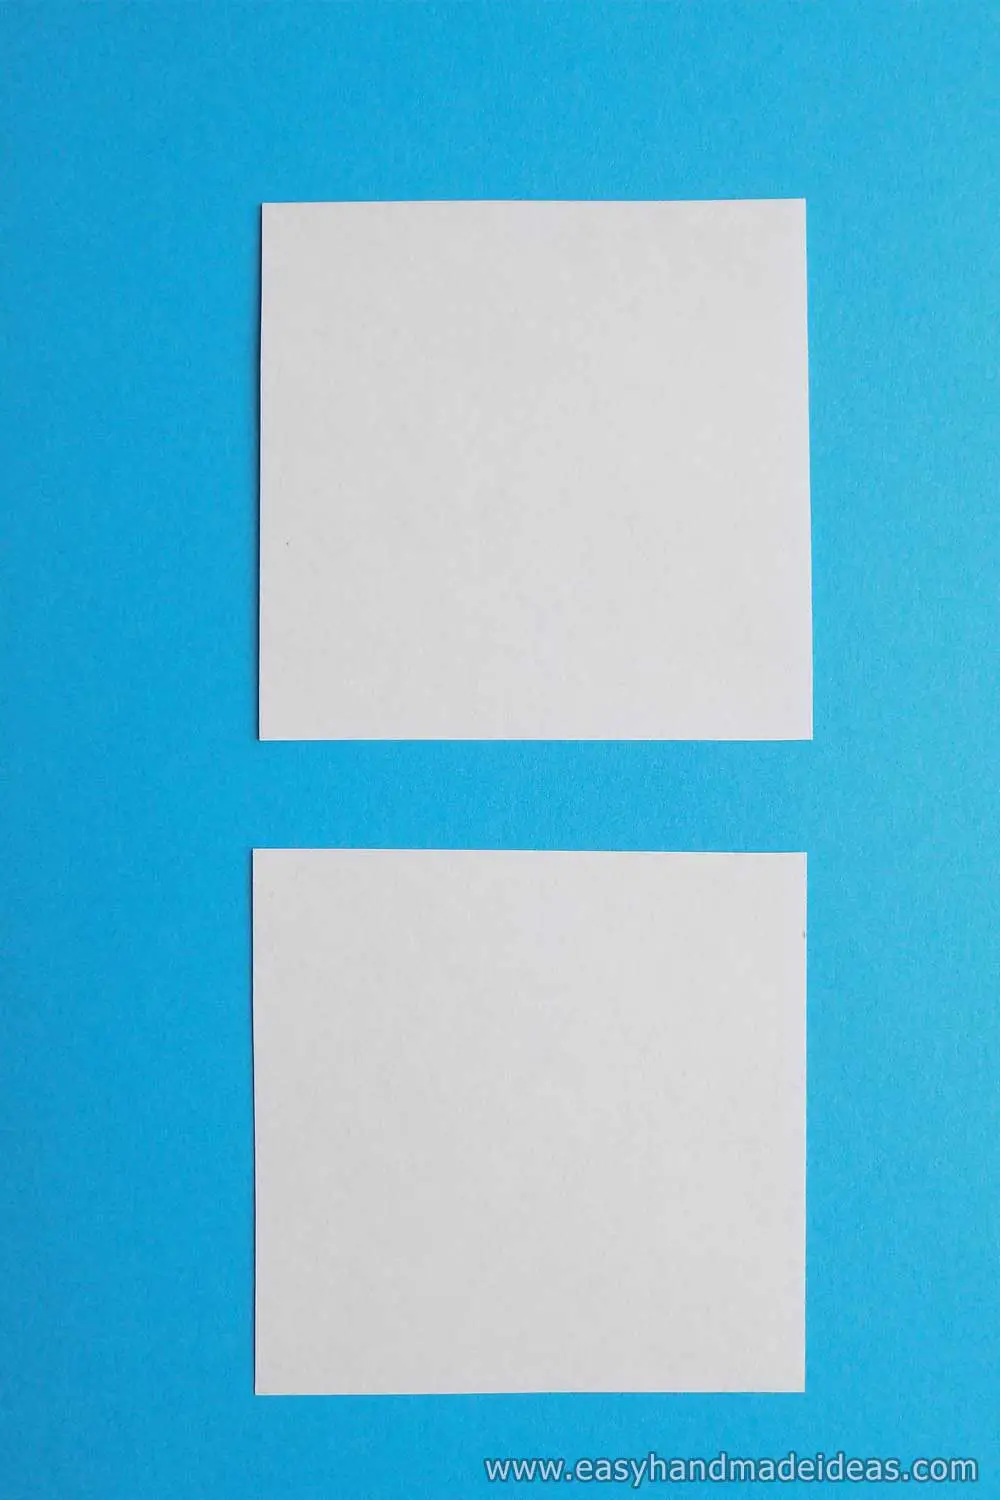
A sheet of blue paper will be the background for your colors. Cut out a pair of white squares with 6 cm (2.36 in) sides.
Step 2: Make folds
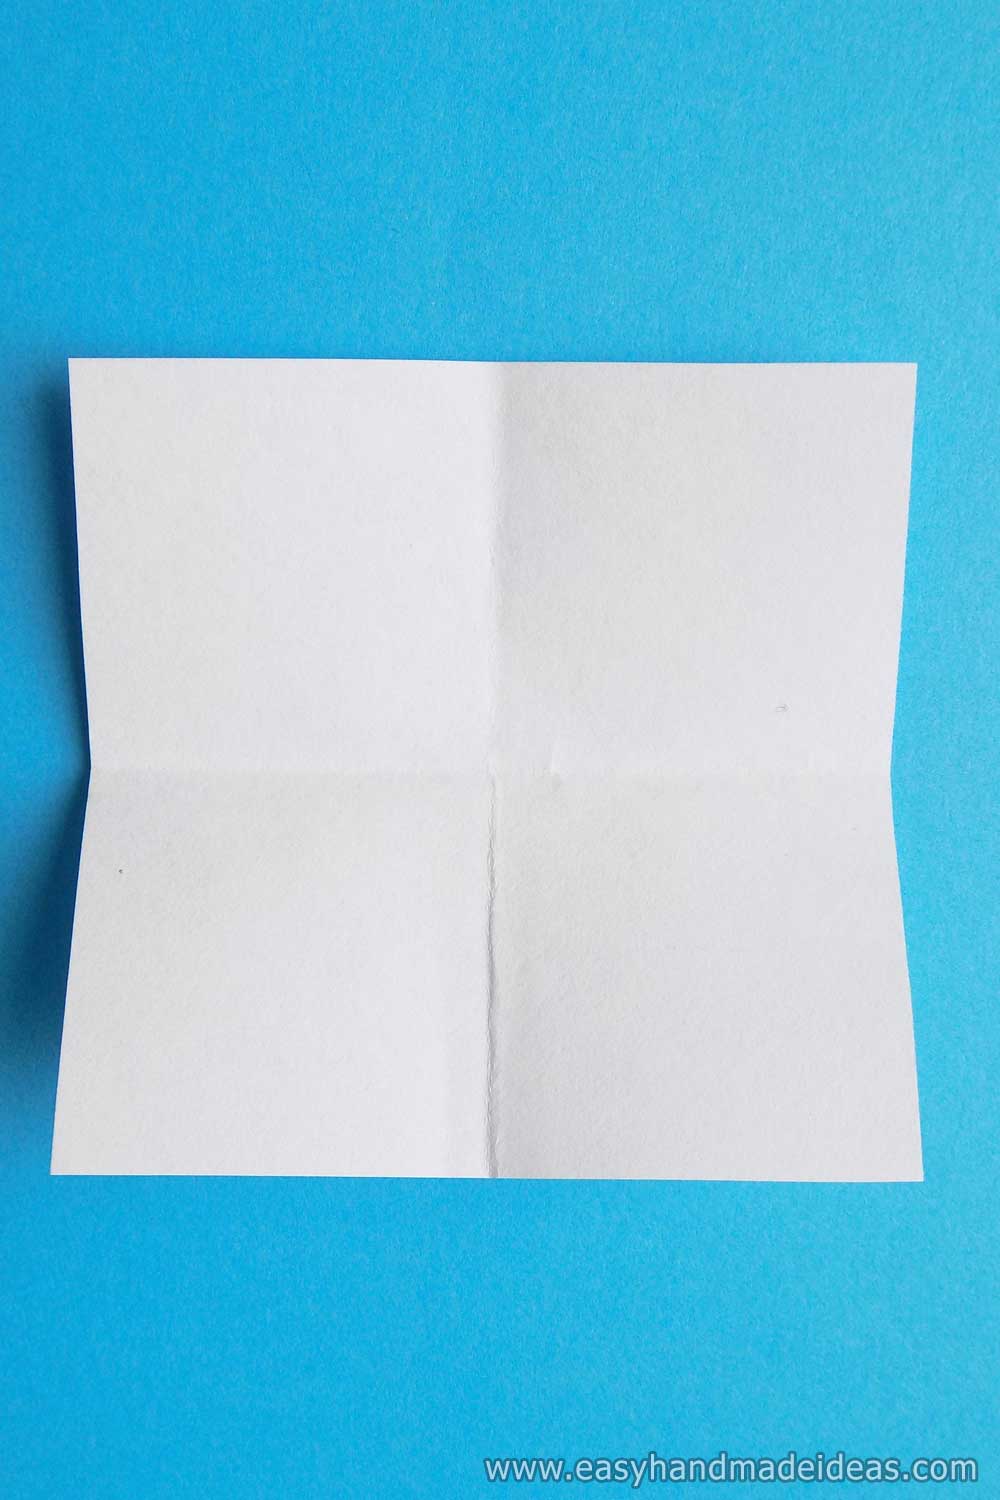
Mark the transverse folds in the squares. They are created by folding the square in half in different directions.
Step 3: Use scissors
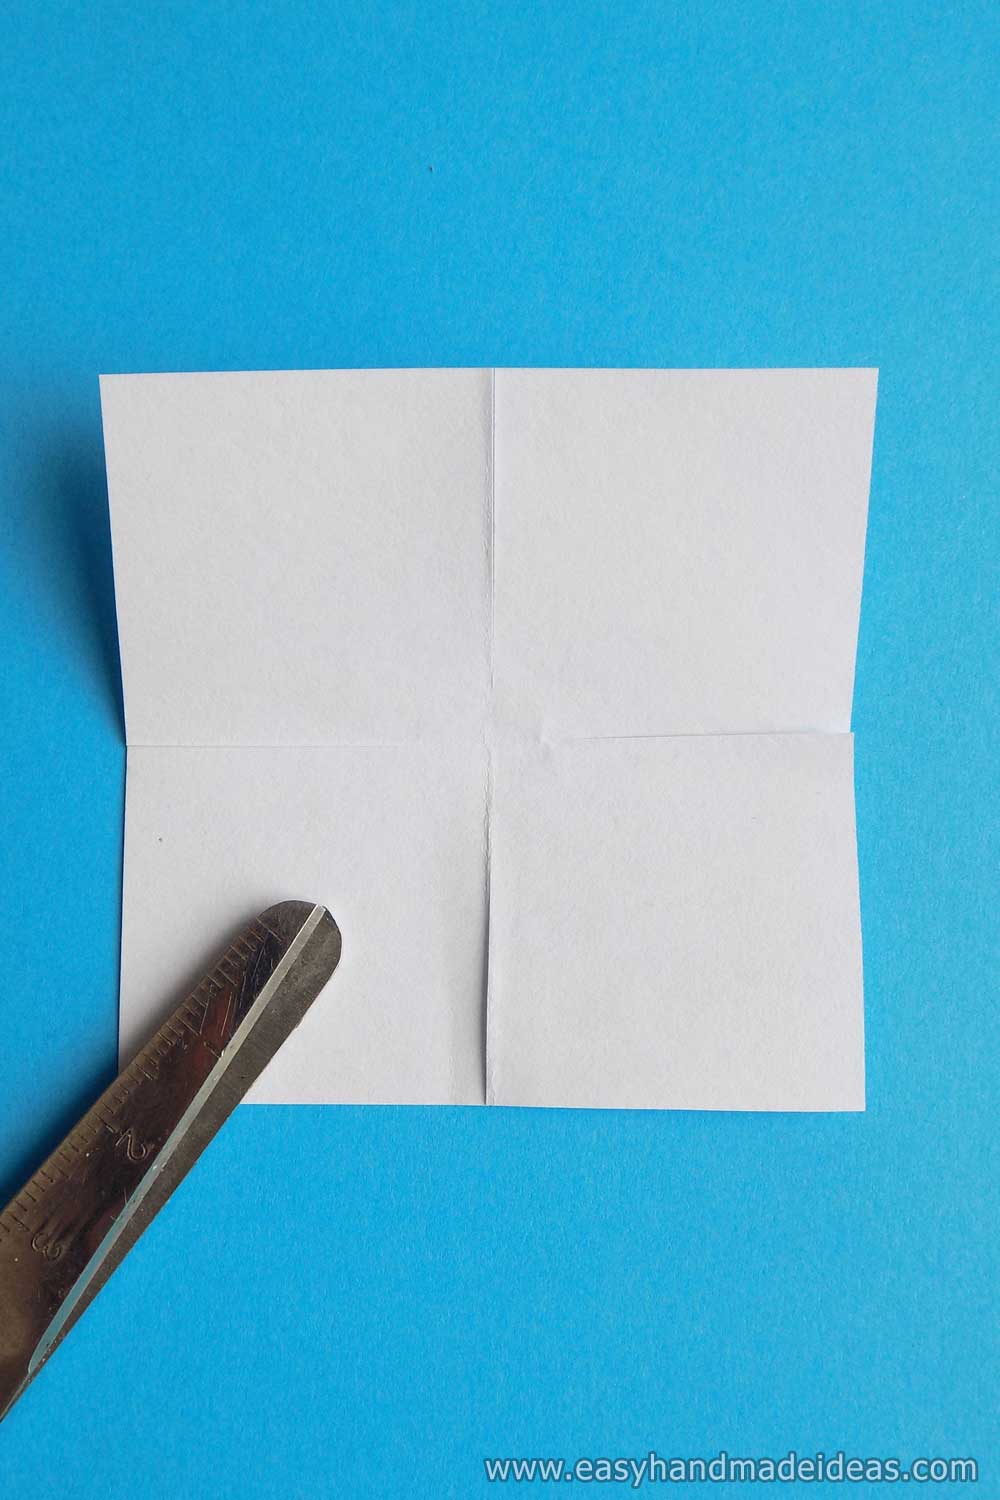
Use scissors to make cuts along the marked lines, but do not cut 5 mm (0.2 in) from the center of the square.
Step 4: Take a thin stick or toothpick
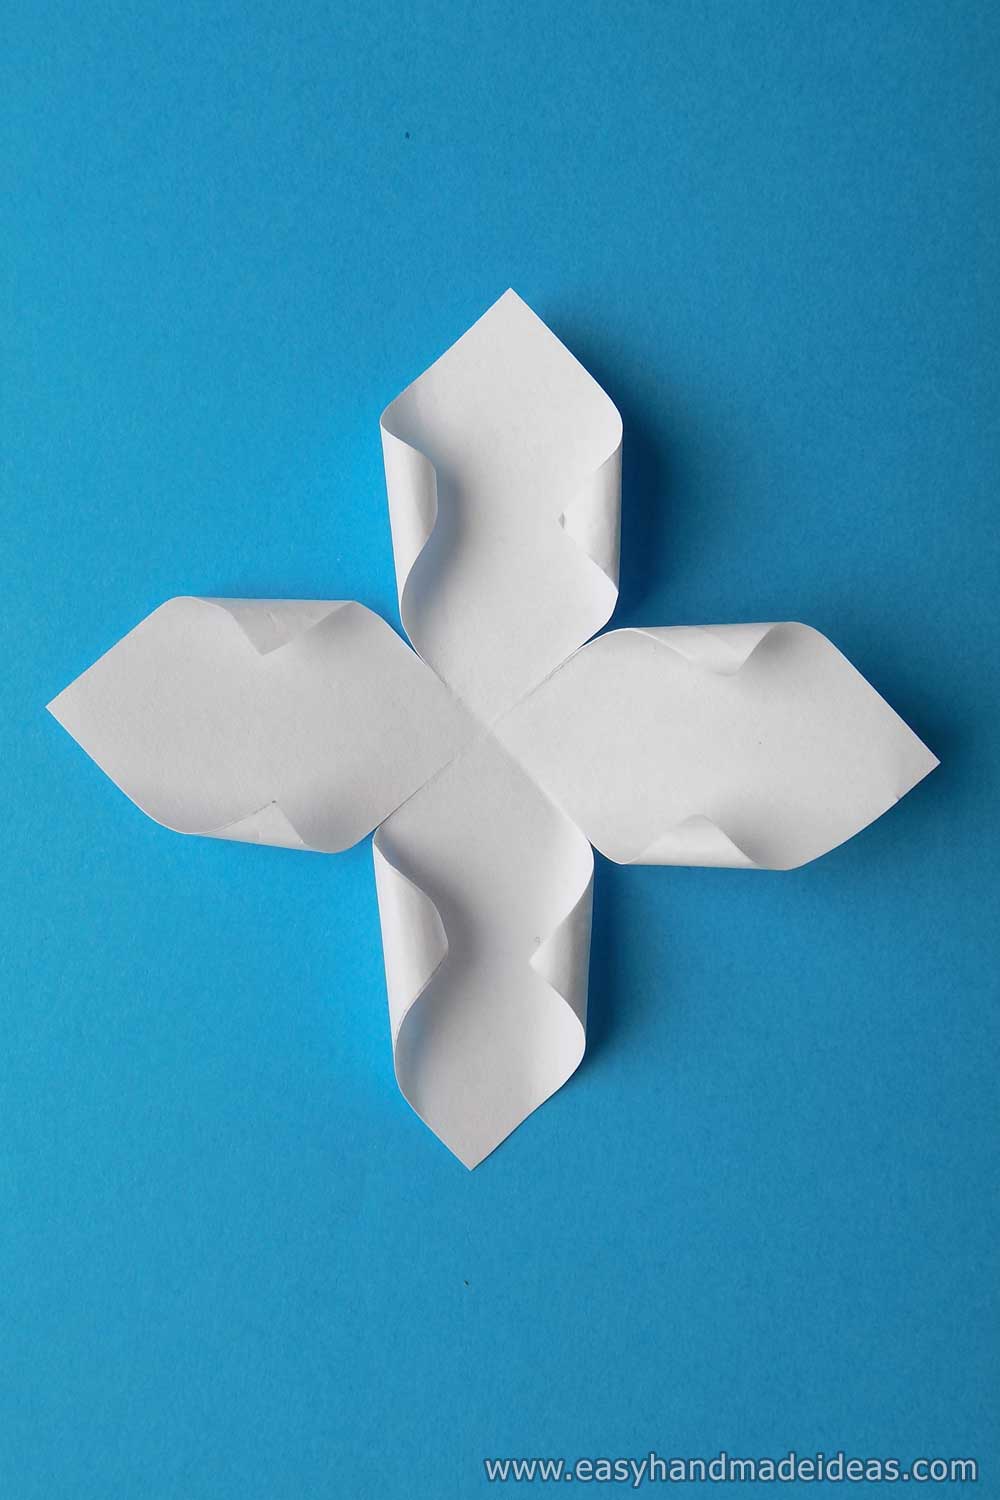
Gently twist the edges of the cut elements with it.
Step 5: Repeat the steps
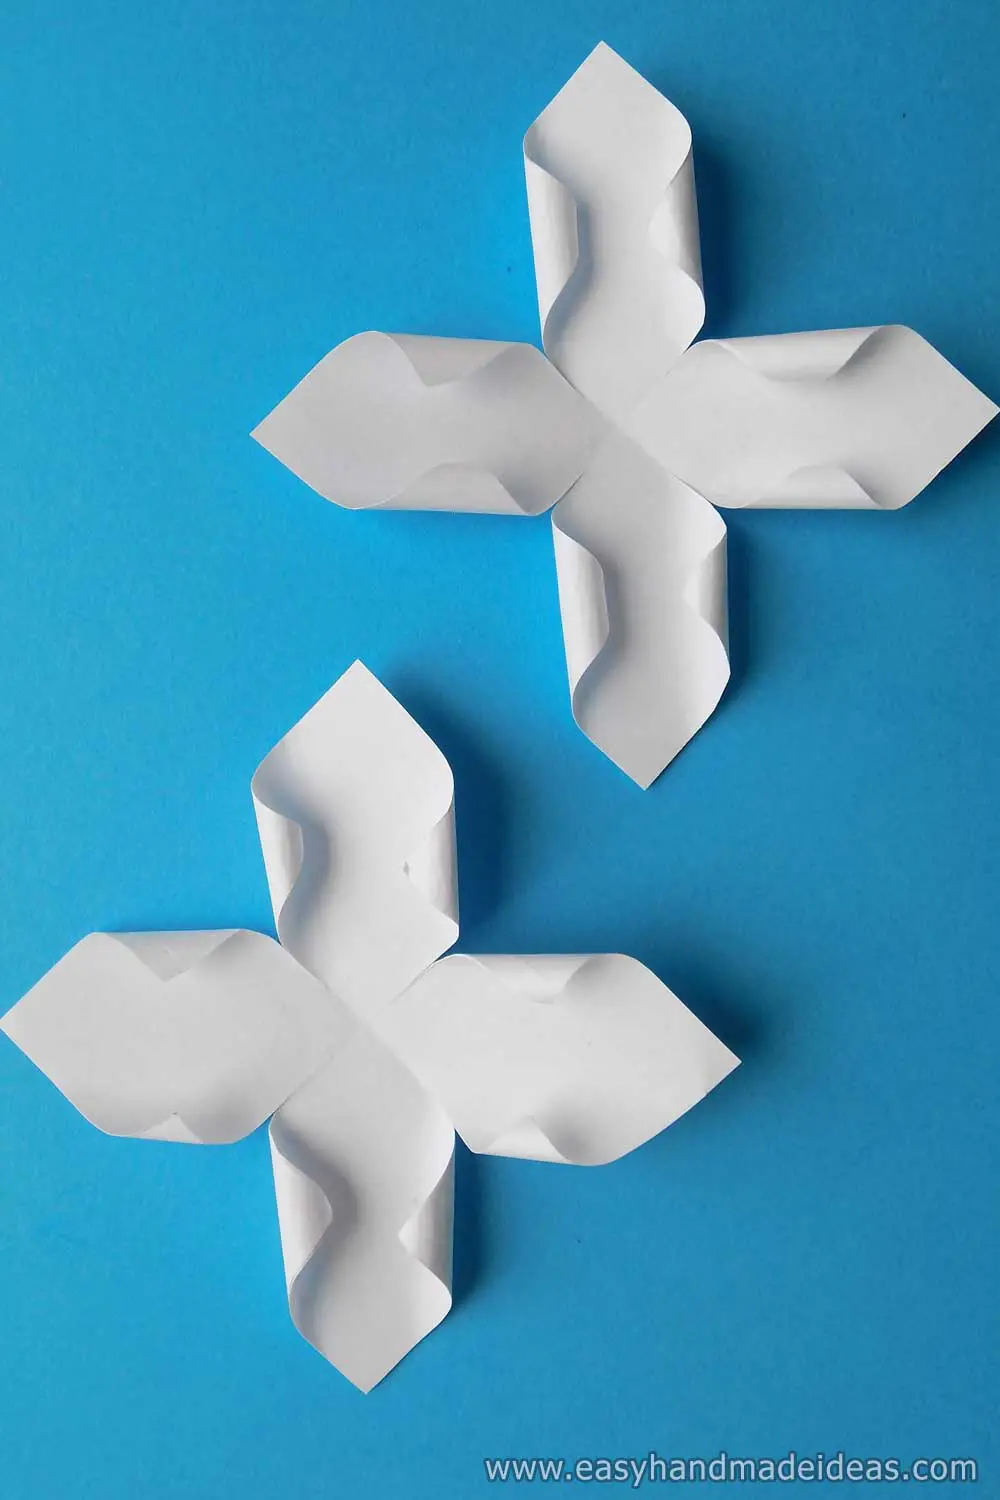
Do the same with the second white square. You have now prepared the elements to create the first daffodil.
Step 6: Use the glue
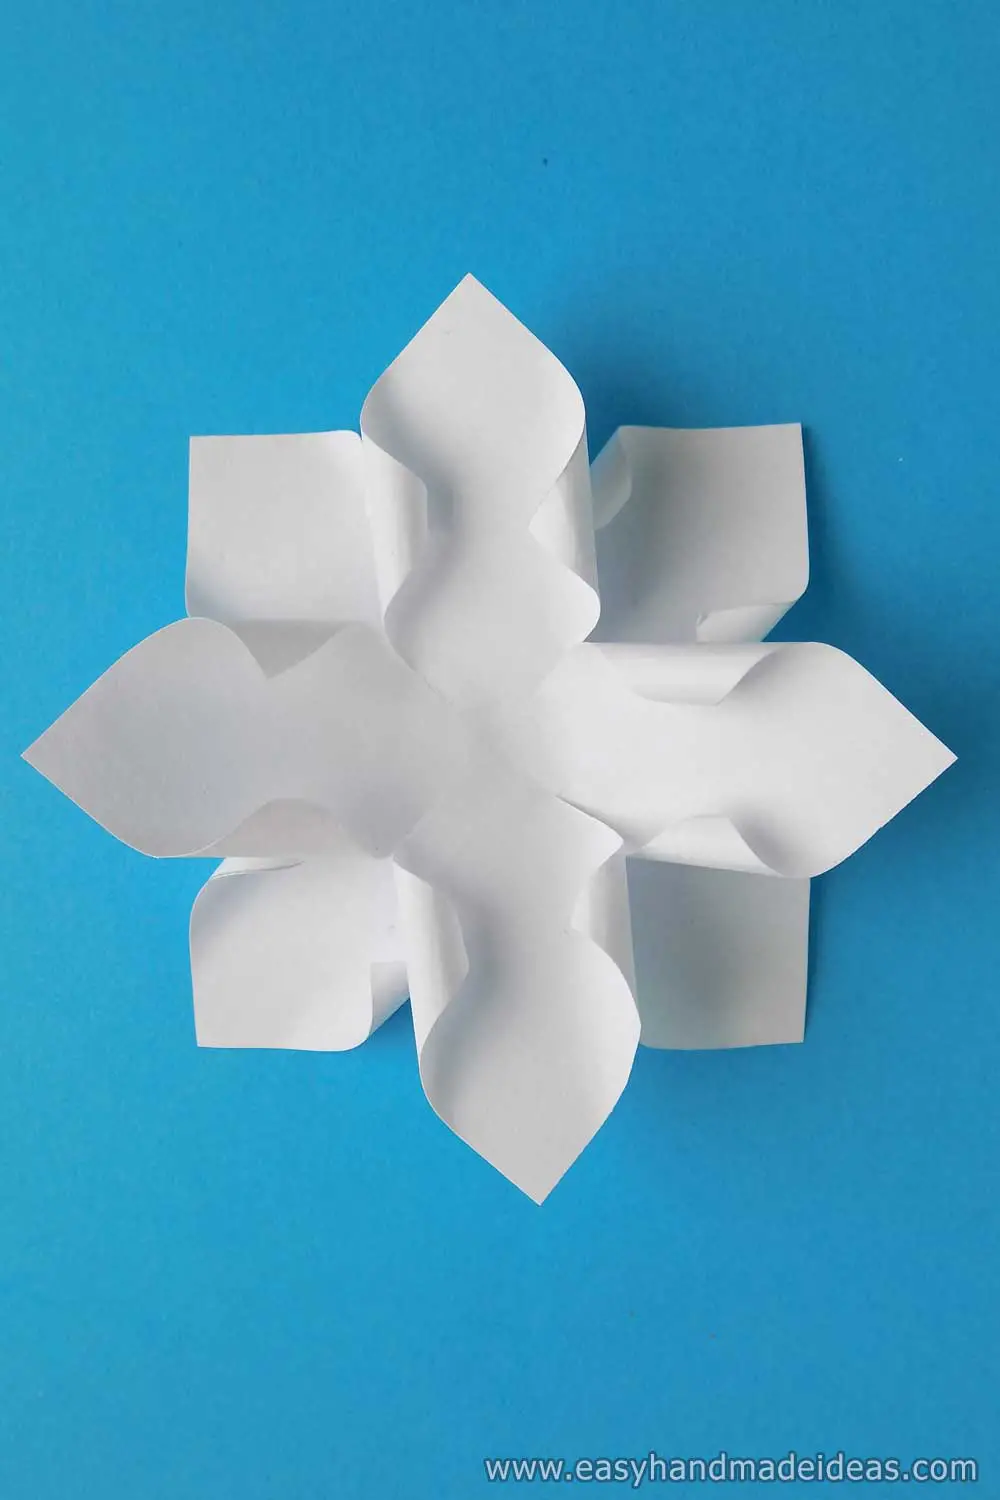
Place one blank on top of the other and glue them together to make a flower. The white base of the daffodil is finished.
Step 7: Prepare the yellow paper
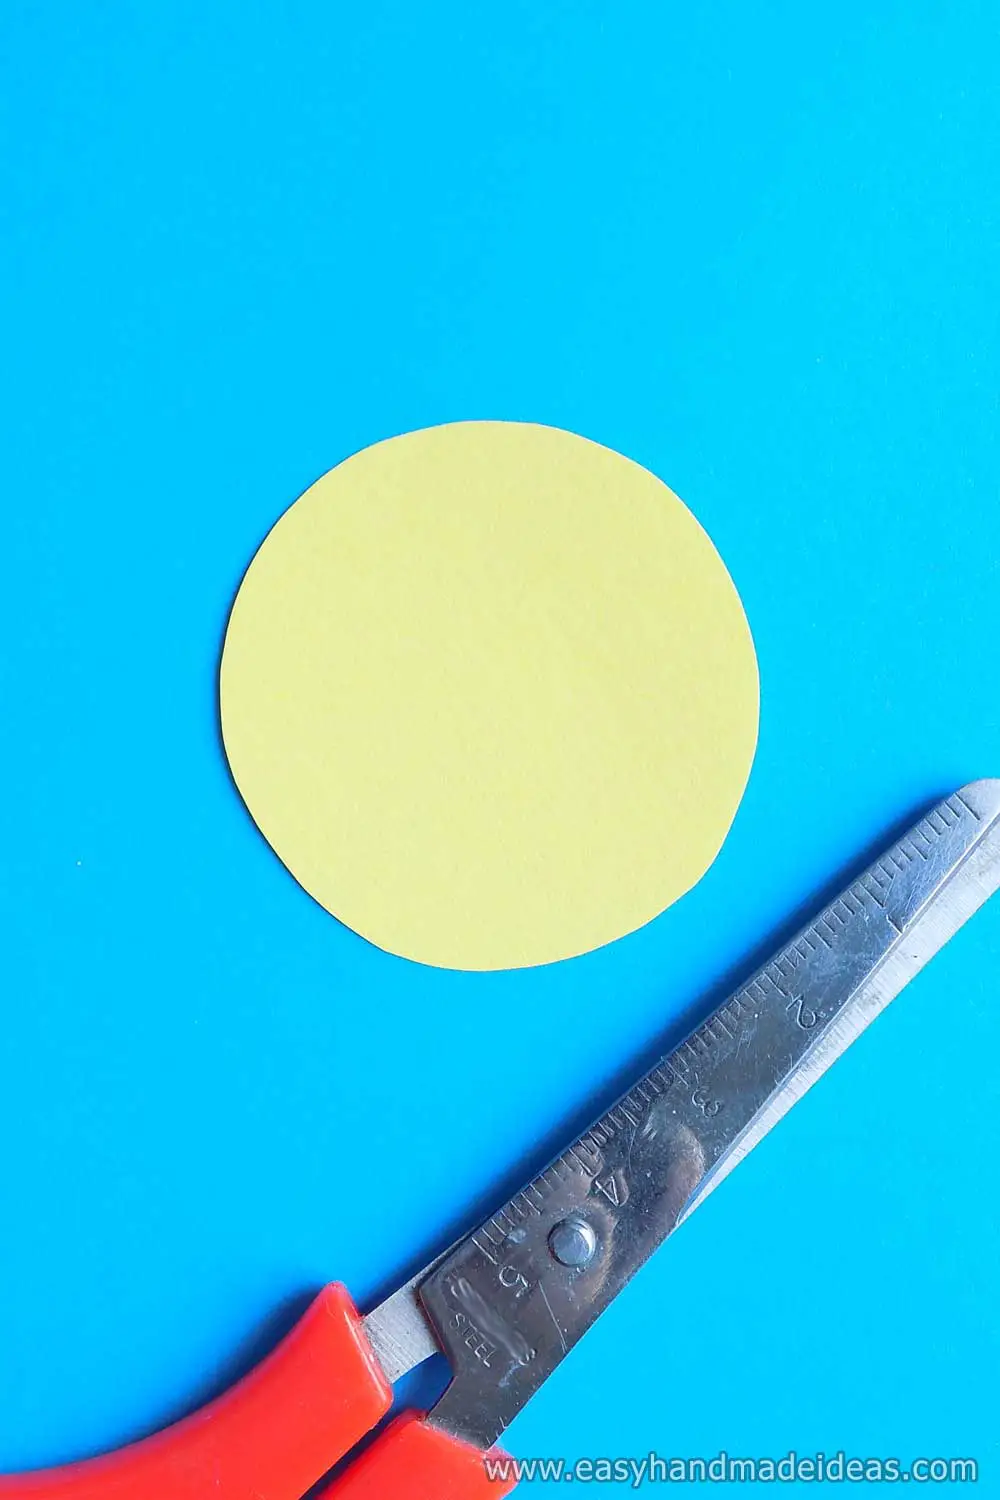
Make the center of the flower from a yellow circle. Cut a round piece about 4 cm (1.57 in) in diameter.
Step 8: Use a pencil
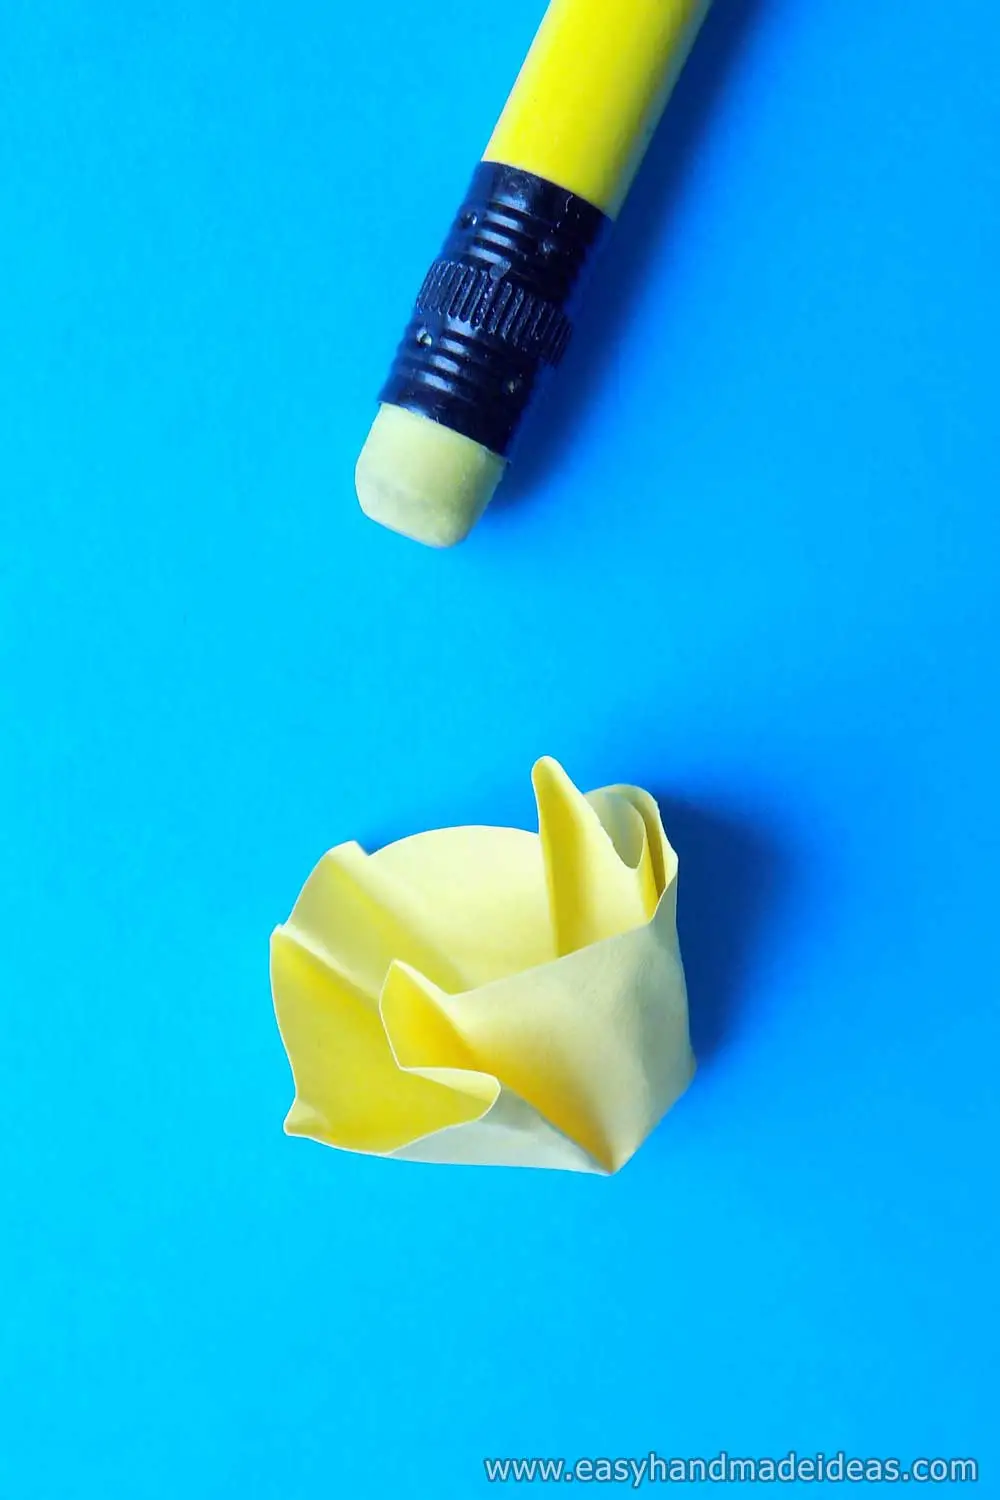
Gently press the blunt end of the pencil into the center of the circle.
Step 9: Connect the blanks
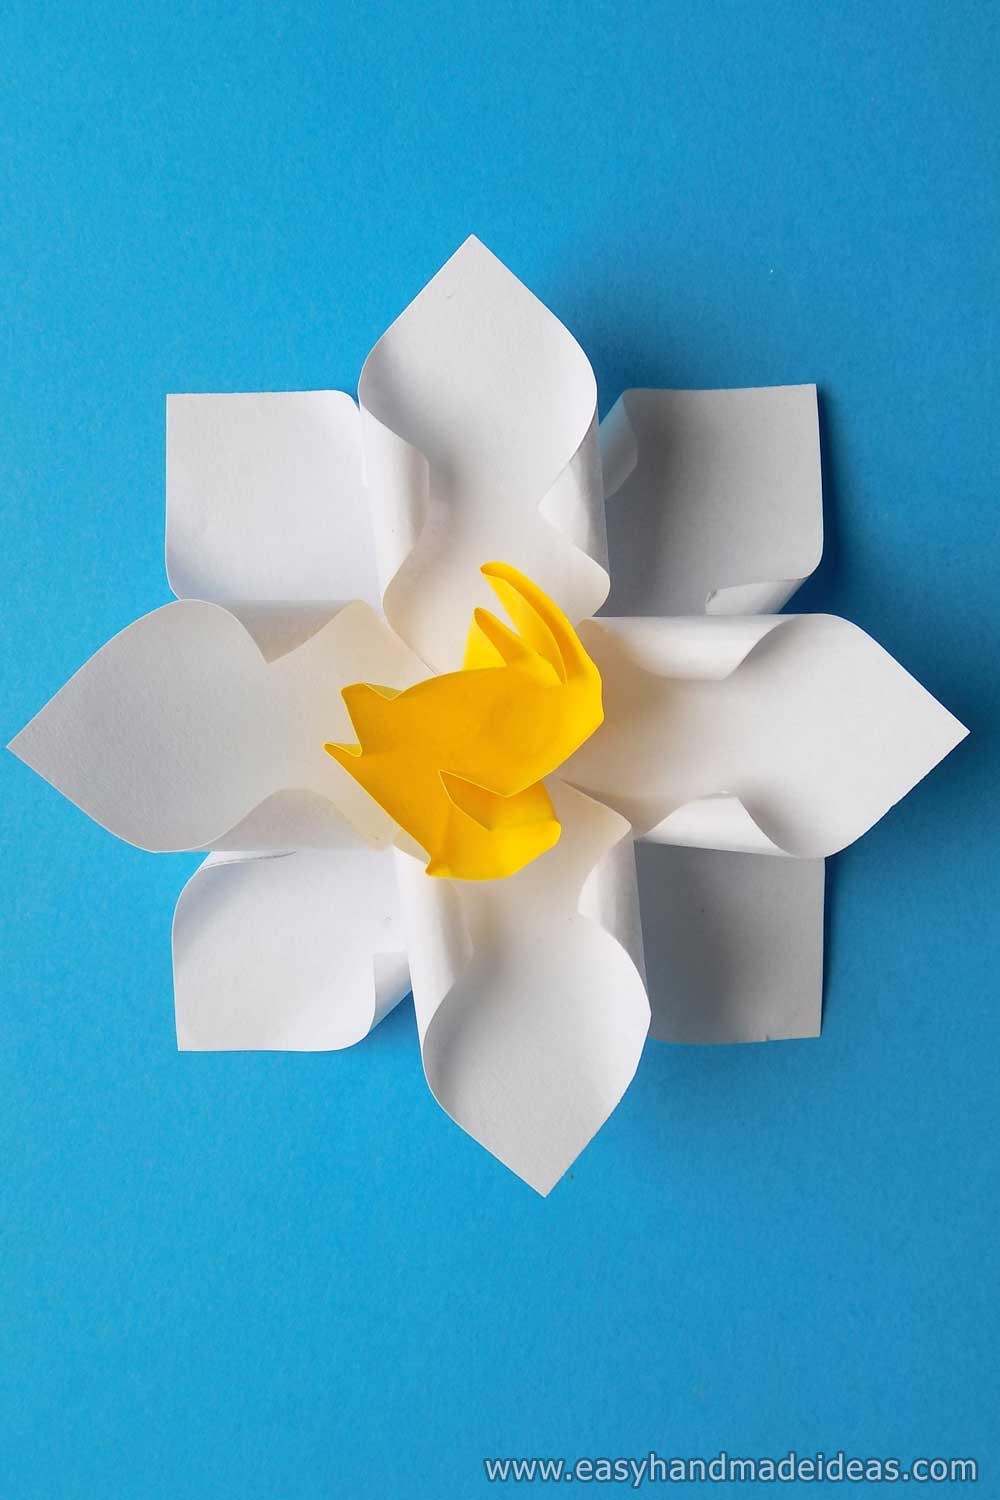
Glue the finished yellow center to the white blank of the flower. You have your first daffodil flower.
Step 10: Place white flowers on the background
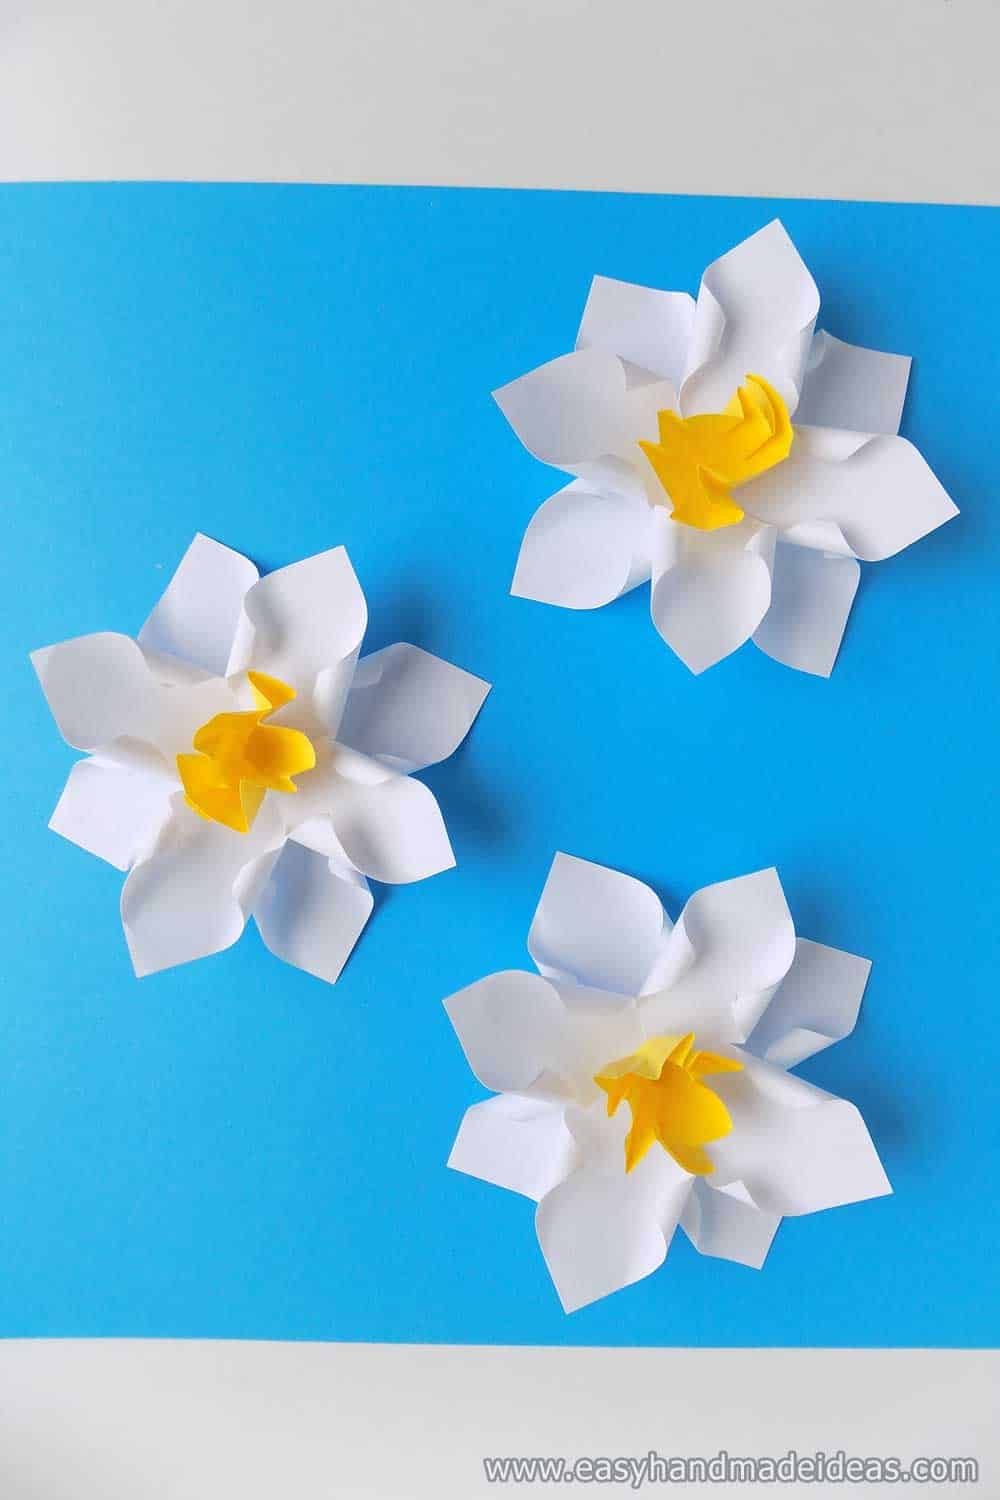
Similarly, make a pair of the same flowers. Then spread them out on a sheet of blue paper and glue them together.
Step 11: Take the green paper
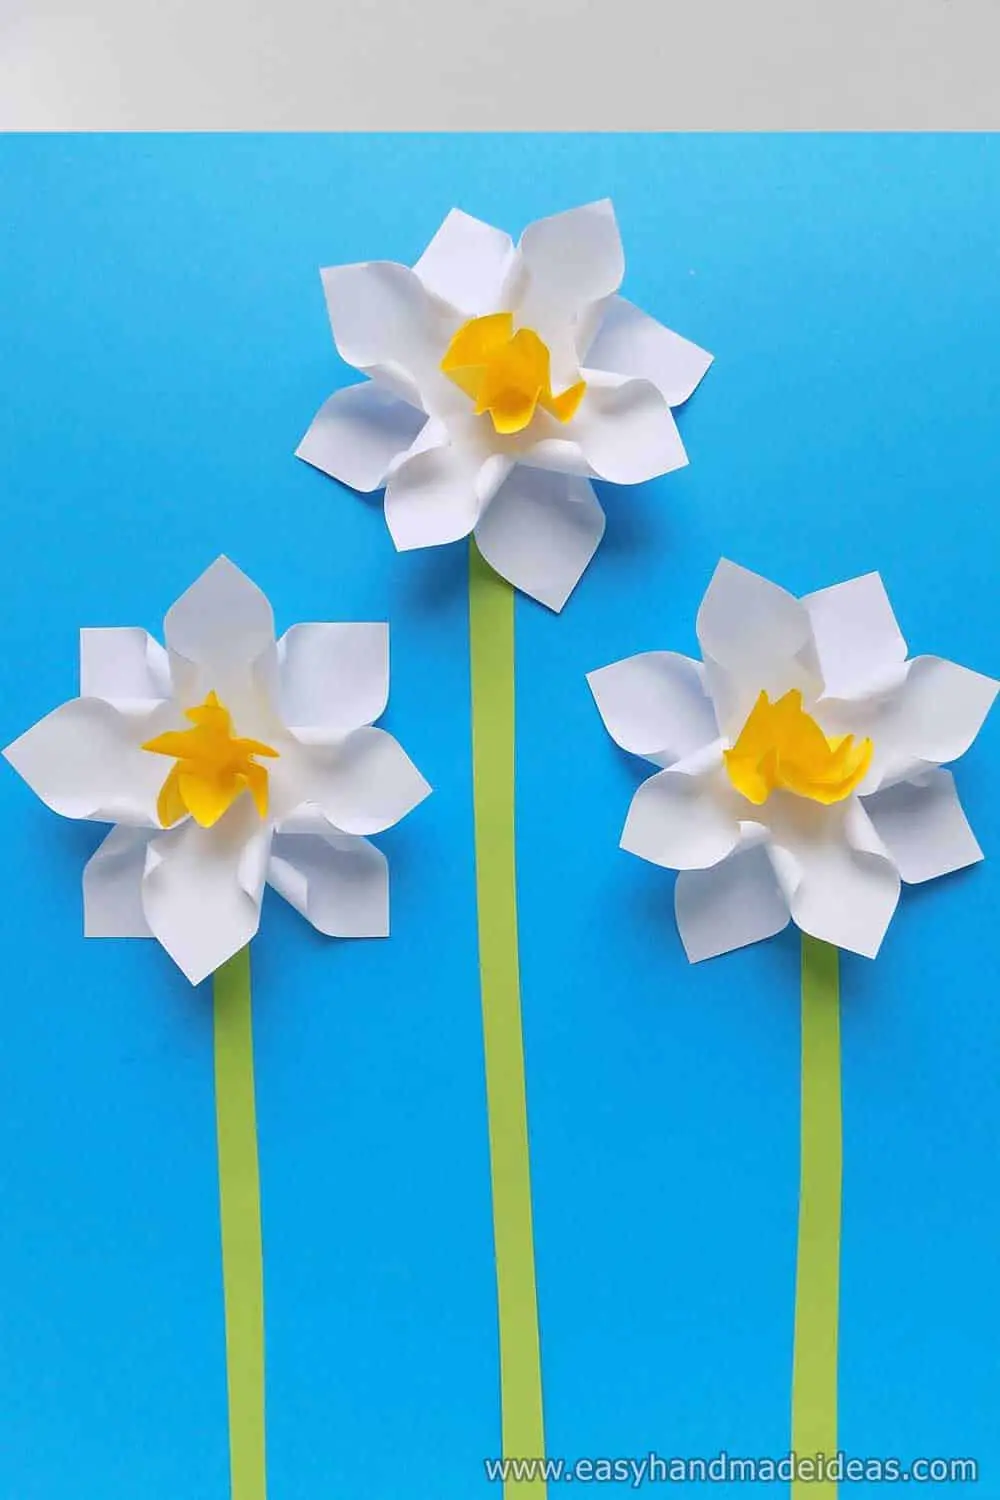
Add the stems. Cut them into strips of green paper.
Step 12: Make leaves
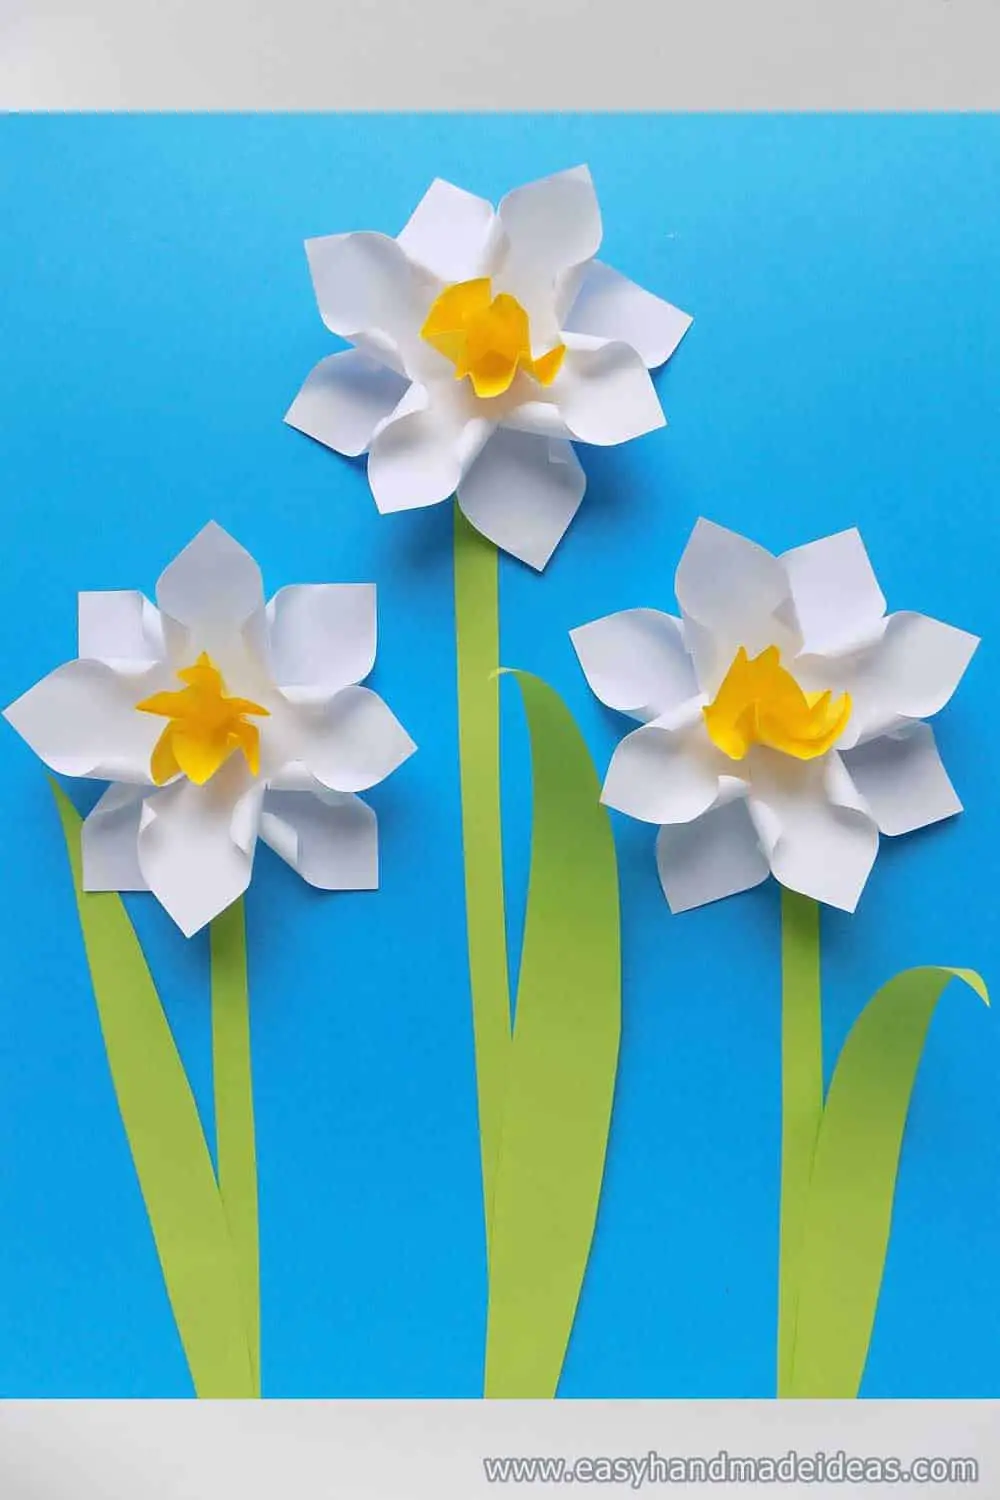
Green paper is also needed to make leaves. Twist them with scissors, and then glue them. You should get a similar application with voluminous daffodils.
Supply:
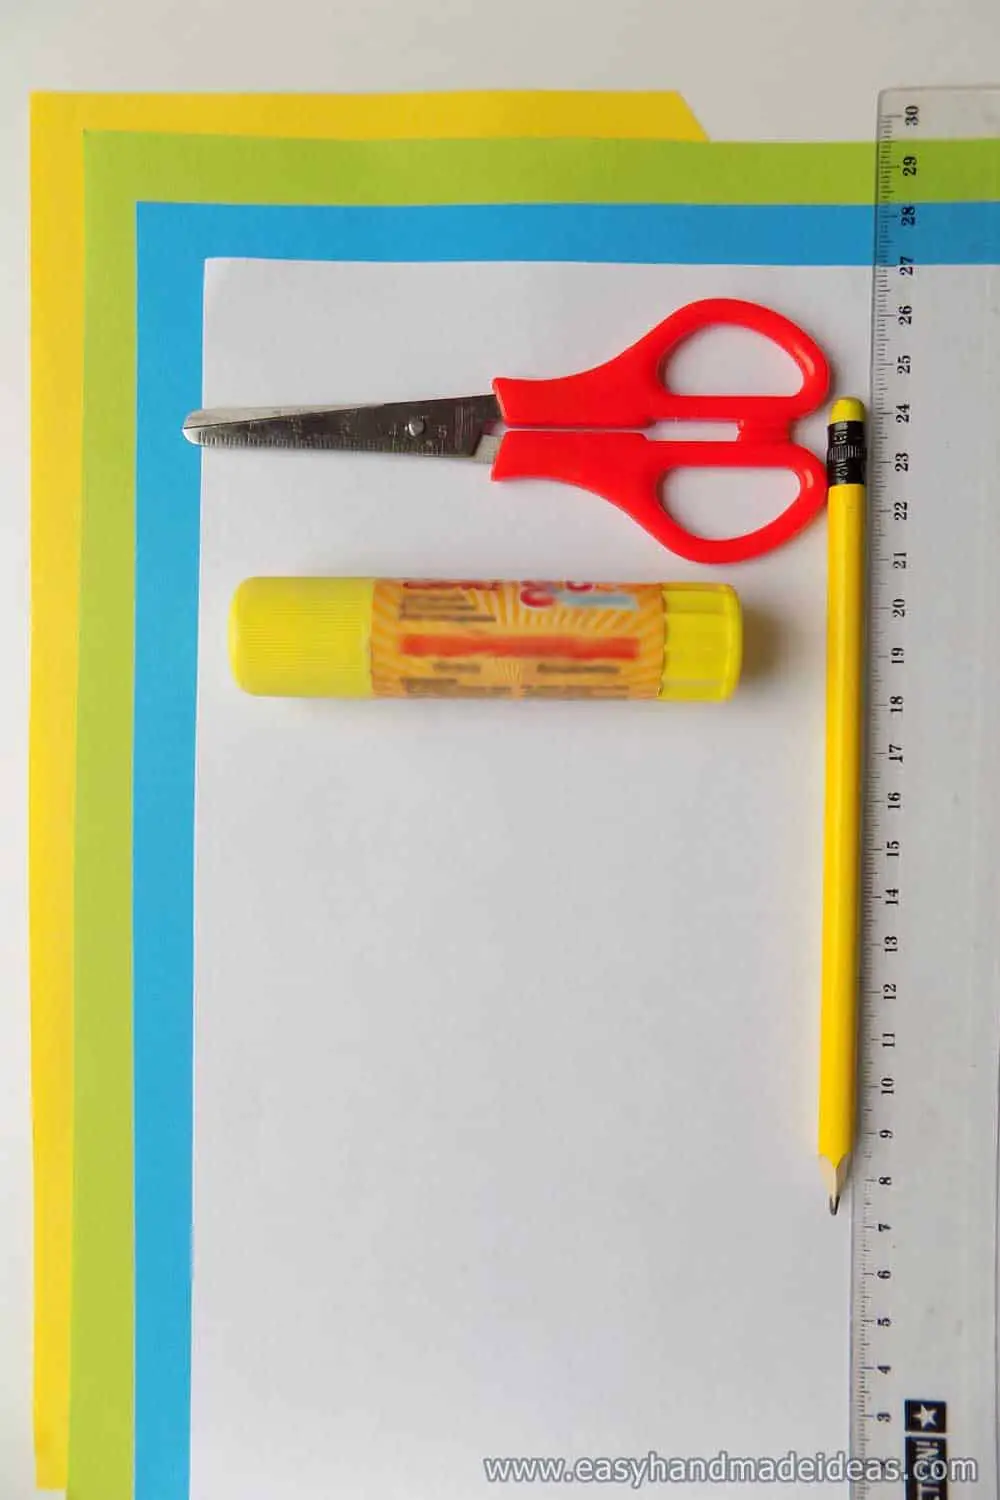
- blue, white, green and yellow paper.
Tools:
- glue;
- scissors;
- pencil;
- ruler.
You can modify the craft a little. Twist the stems to make thin sticks. Stick the white flowers on the stems. You can put this bouquet in a vase and enjoy it for a long time.

