Try to make a beautiful and bright paper bookmark by interweaving four strips of paper. Use the my lesson to do this.
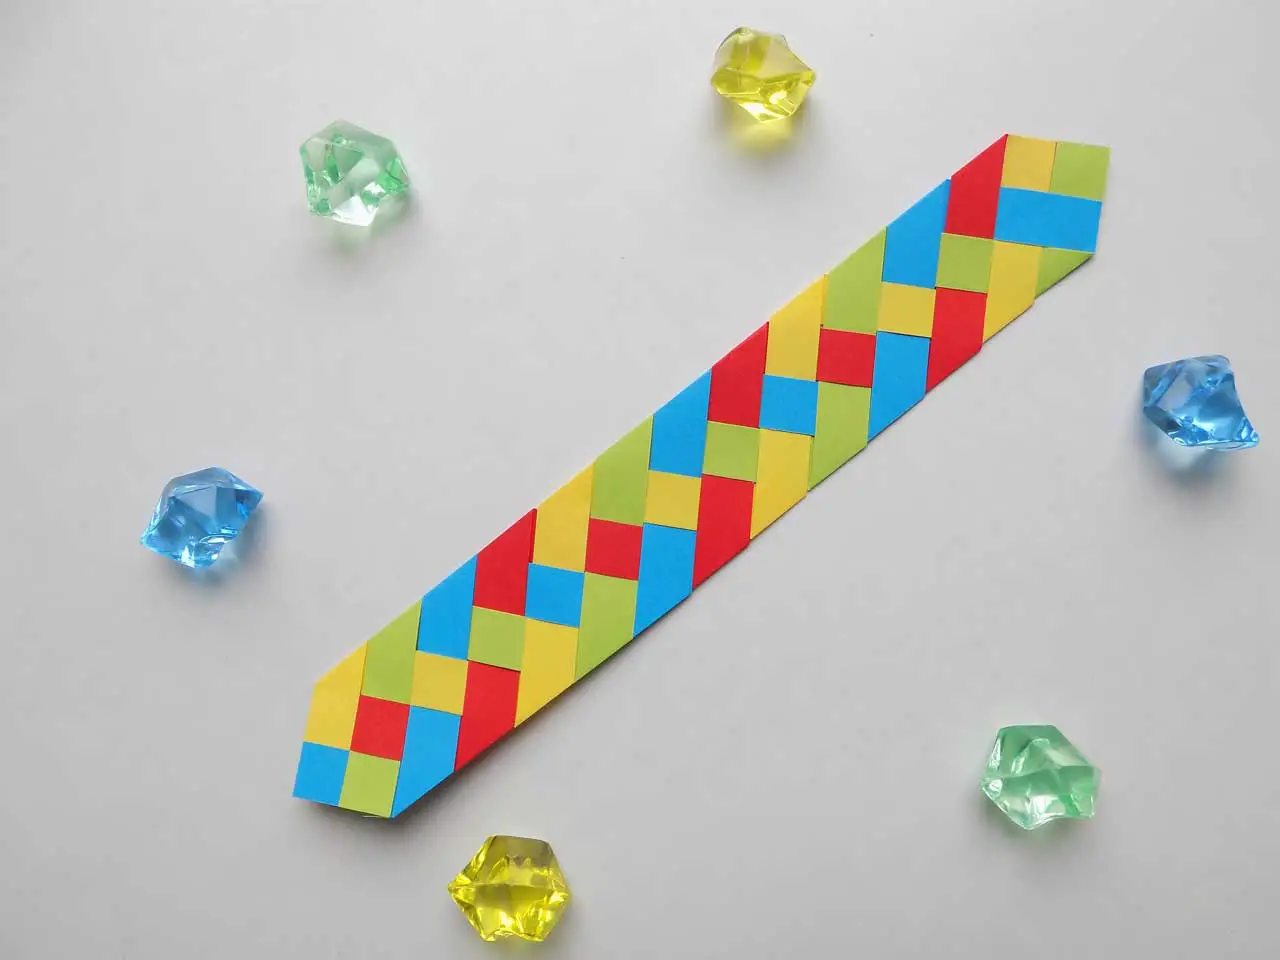
Paper bookmark
Total Time: 25 minutes
Step 1: Cut off the strips
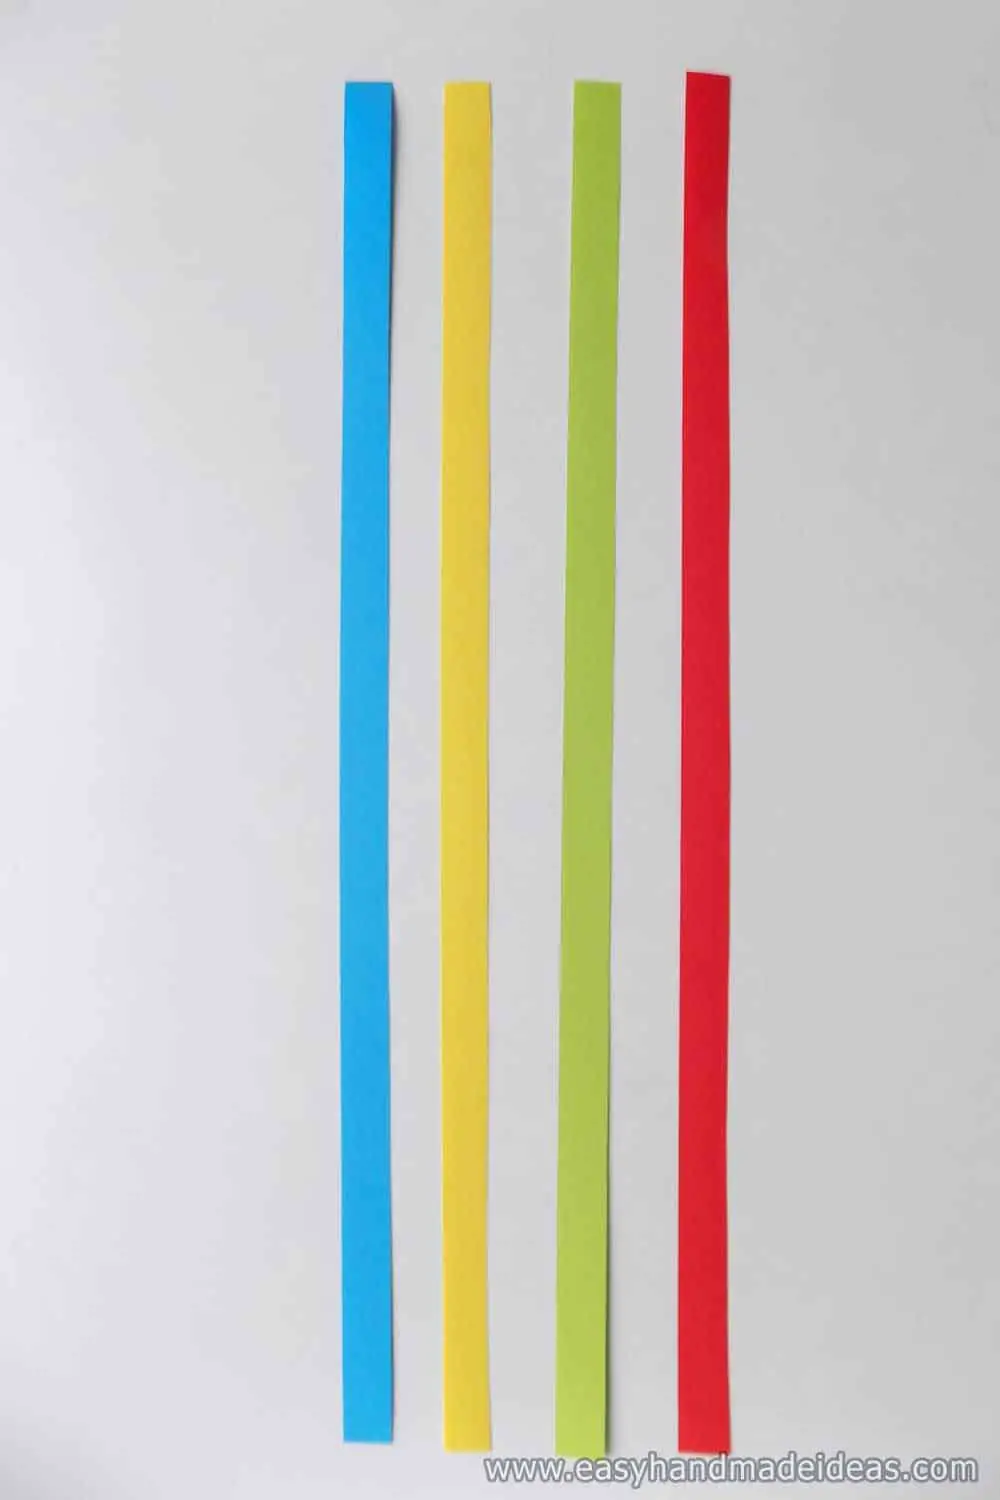
First, cut a 1 cm (0.3937”) wide strip from the long side of the paper. This should give you 4 strips of the same length but different colors.
Step 2: Glue two strips together
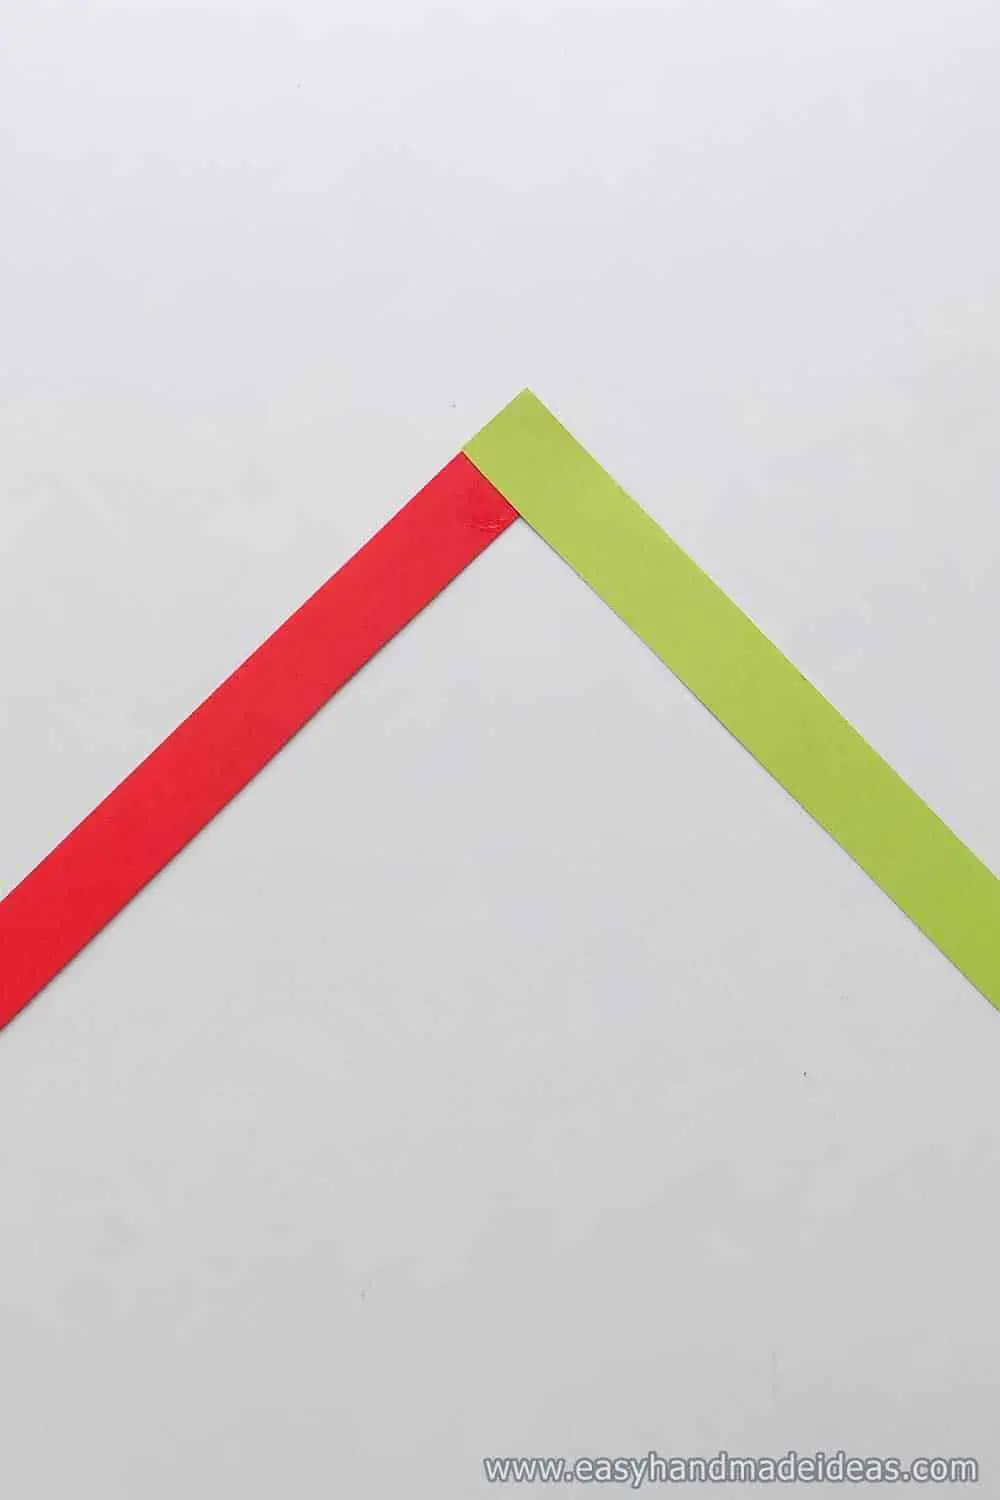
Take 2 of them (red and green in our case) and glue them together at right angles.
Step 3: Add a blue stripe
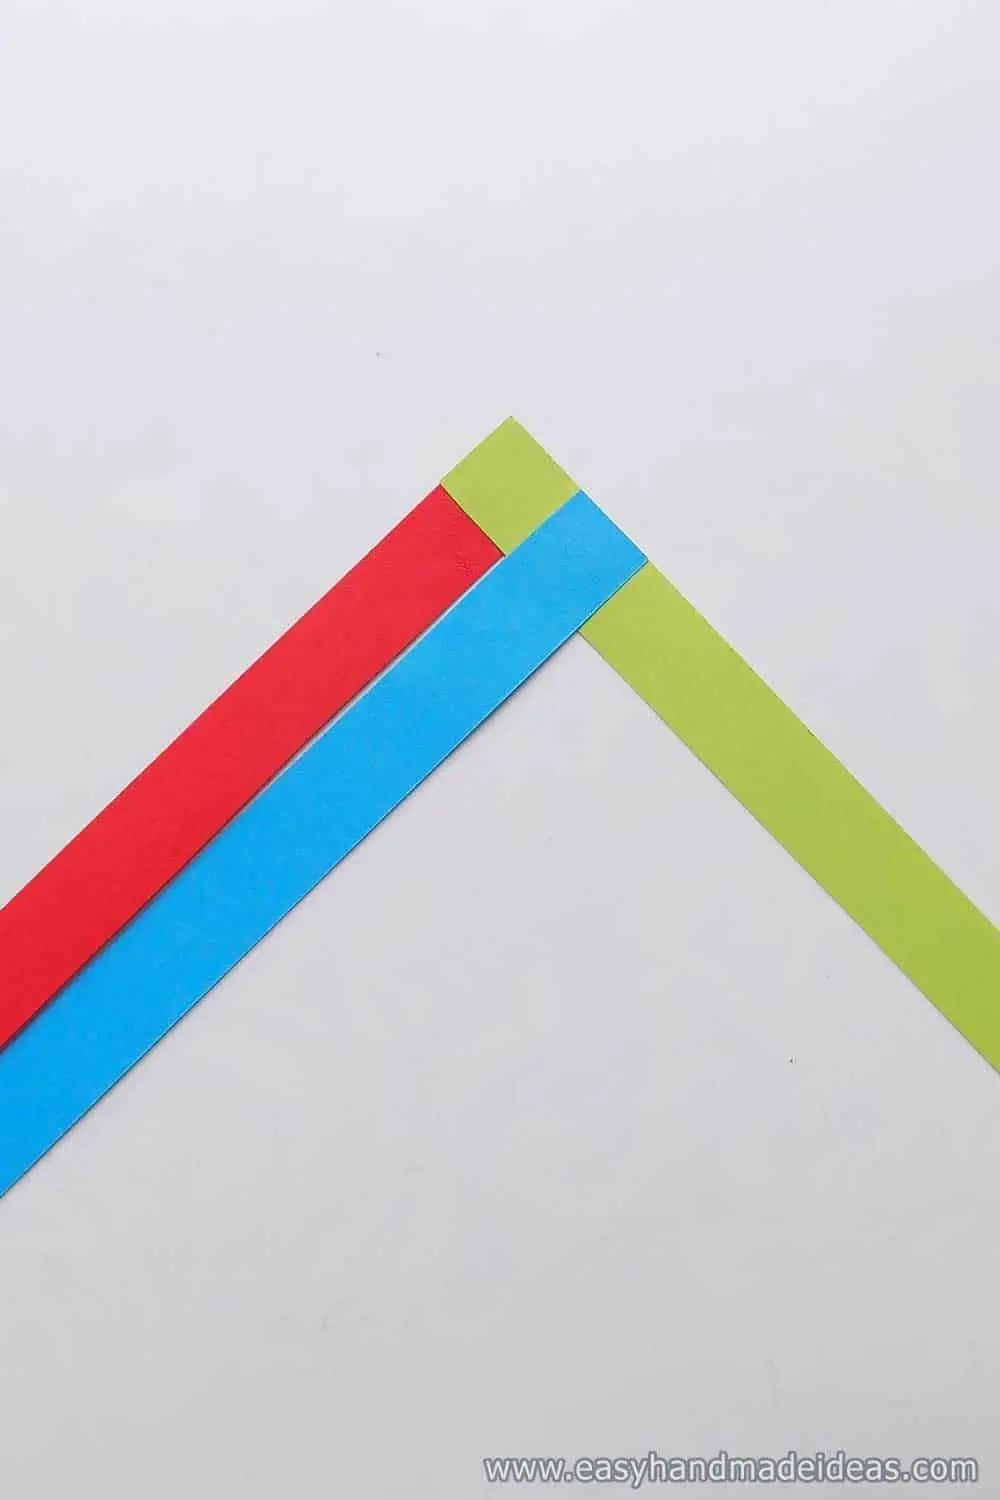
Add a blue stripe and stick it on top of the green one (next to the red one).
Step 4: Glue the yellow stripe
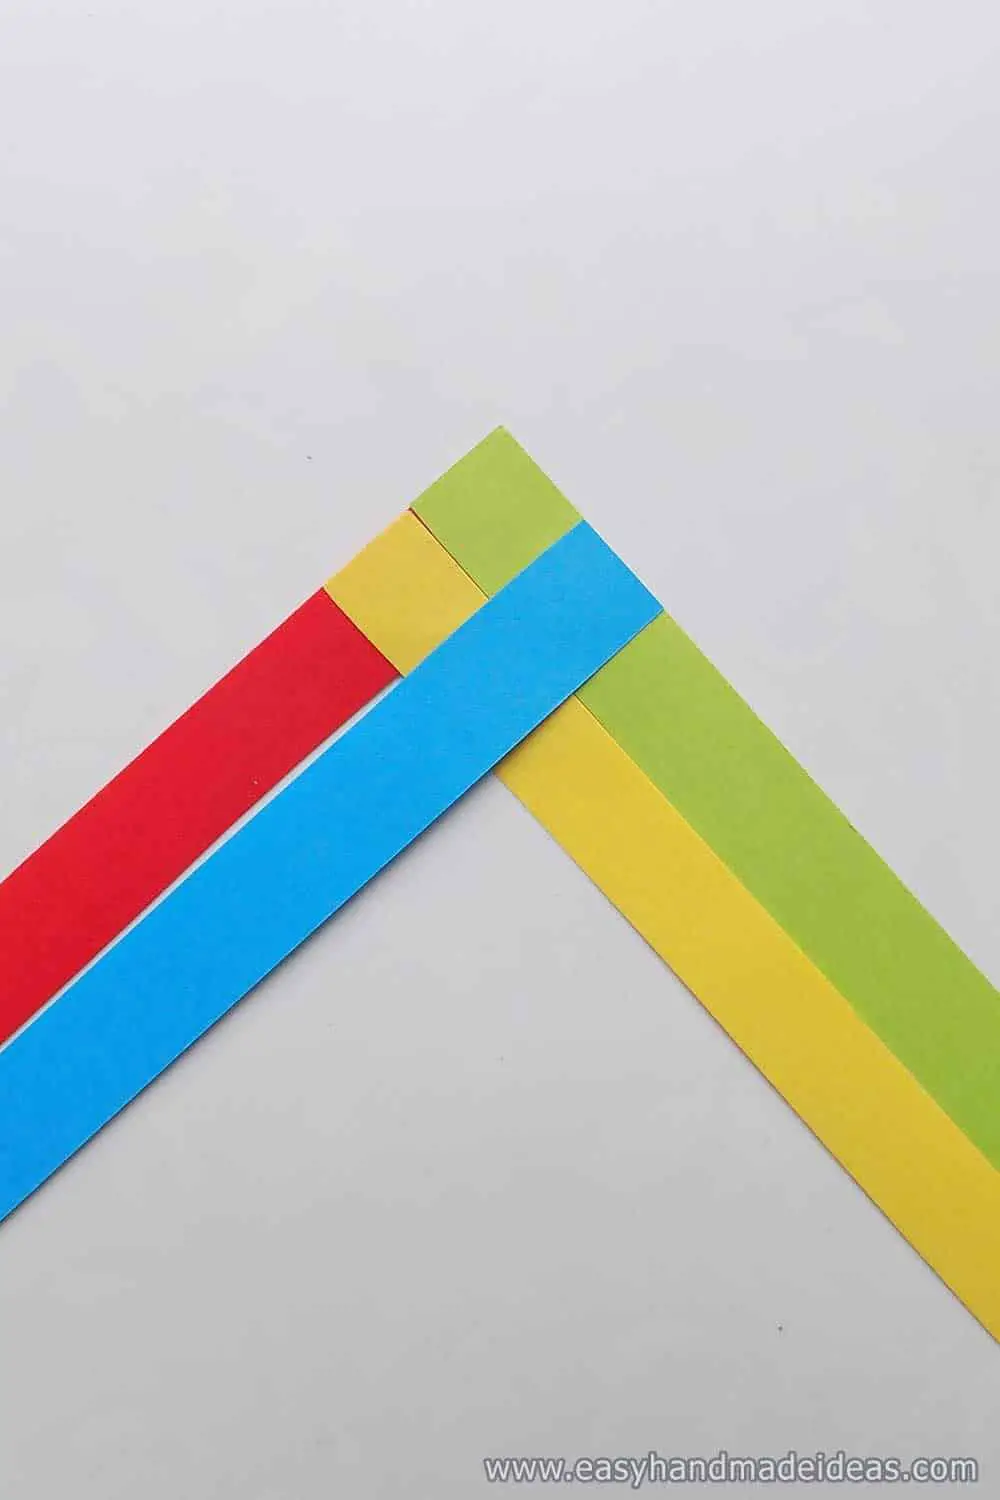
Glue the yellow stripe to the red stripe and weave it under the blue stripe.
Step 5: Start weaving the future bookmark
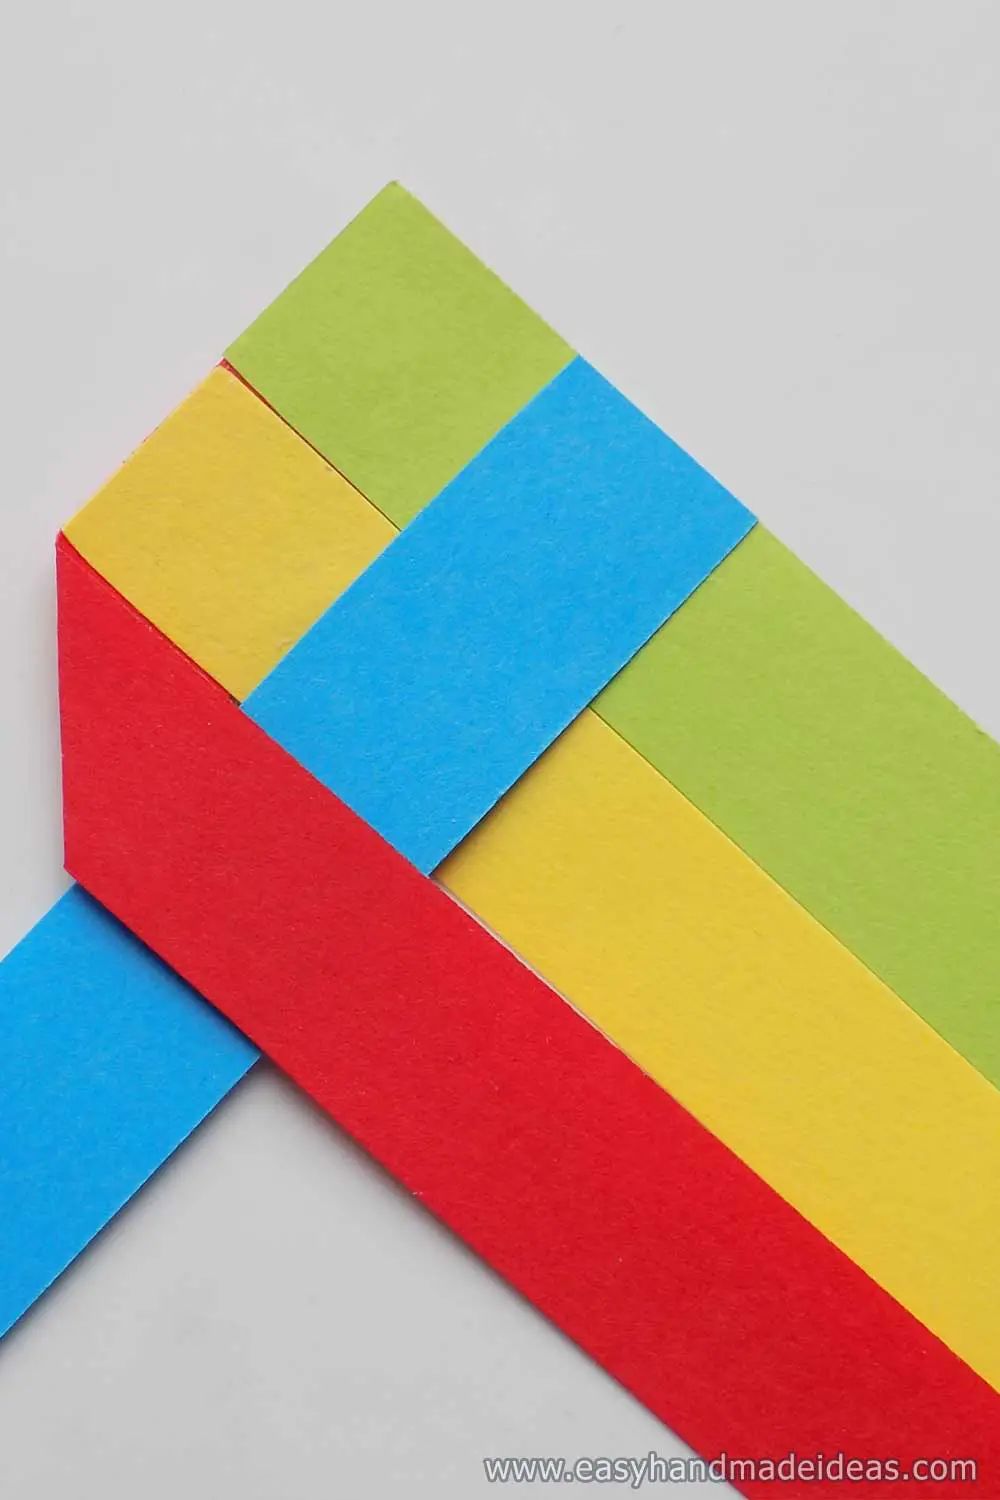
Take the red strip and flip it to the right. Form a smooth fold on the left side to create a vertical.
Step 6: Add a green stripe
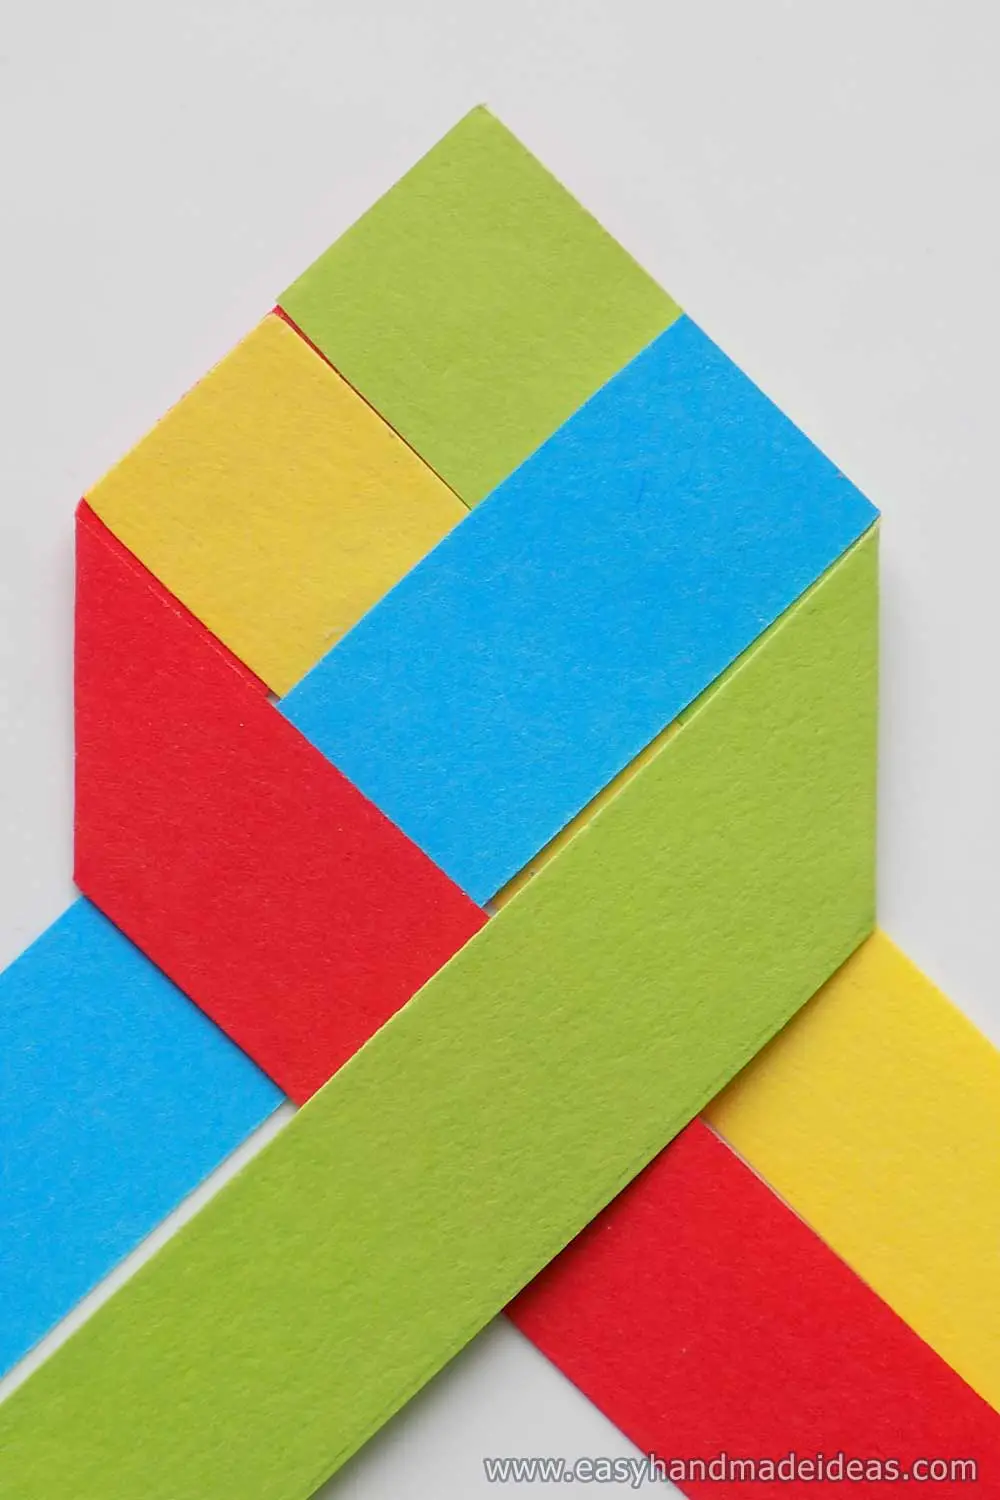
Flip it to the left and make a smooth vertical edge on the right.
Step 7: Put the yellow stripe on the top
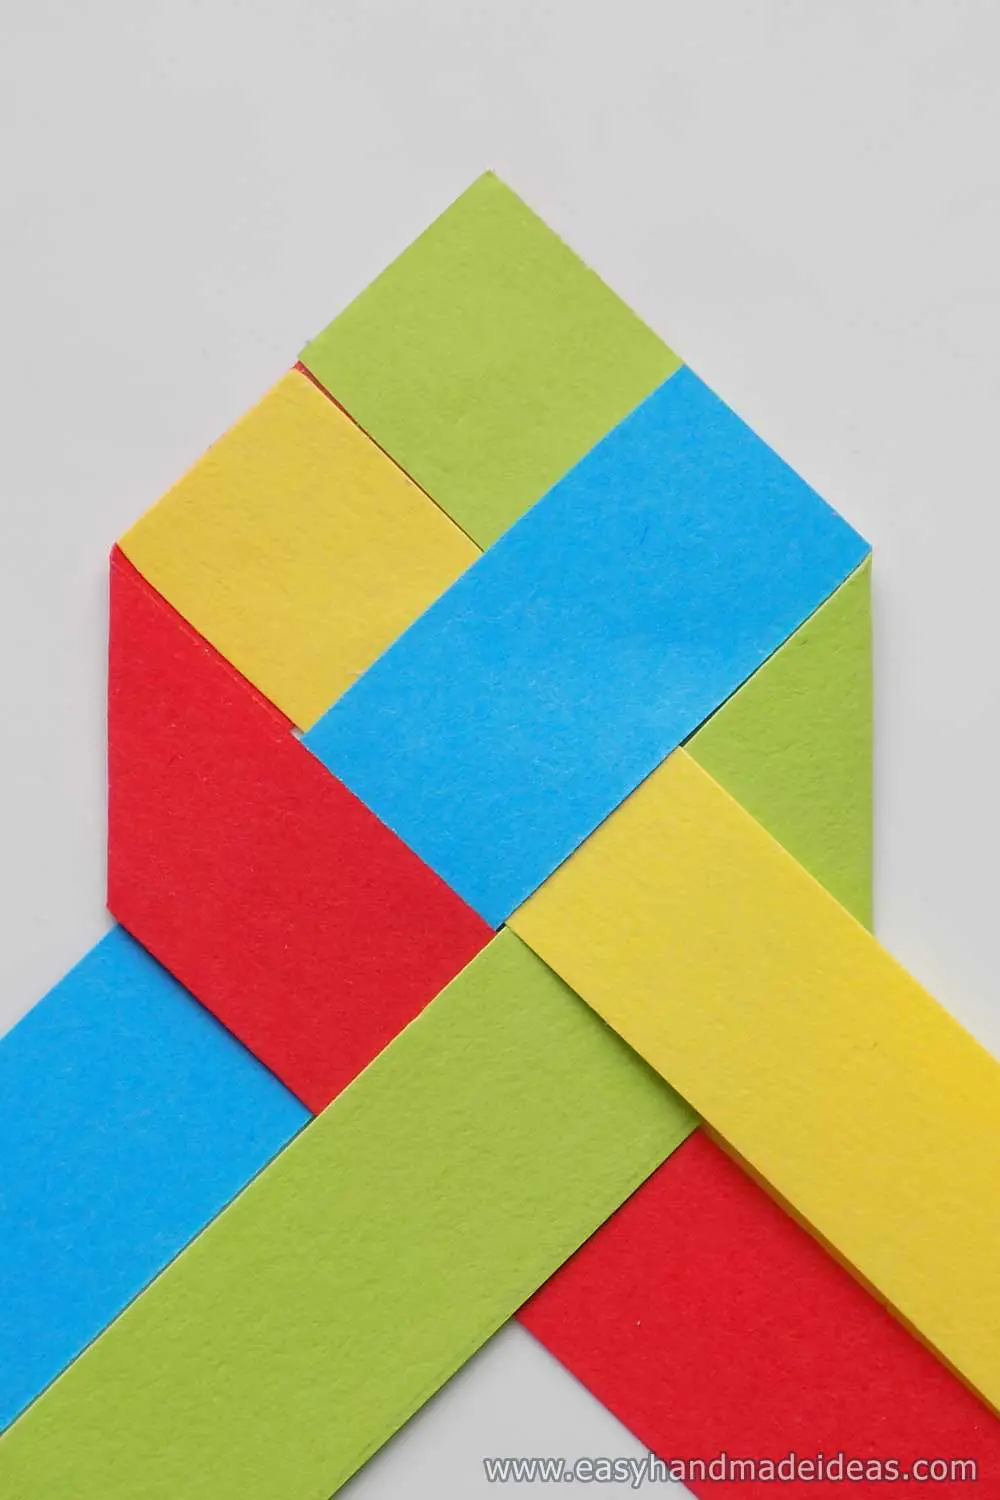
Weave this green stripe under the yellow one to create a weave.
Step 8: Fold the blue strip
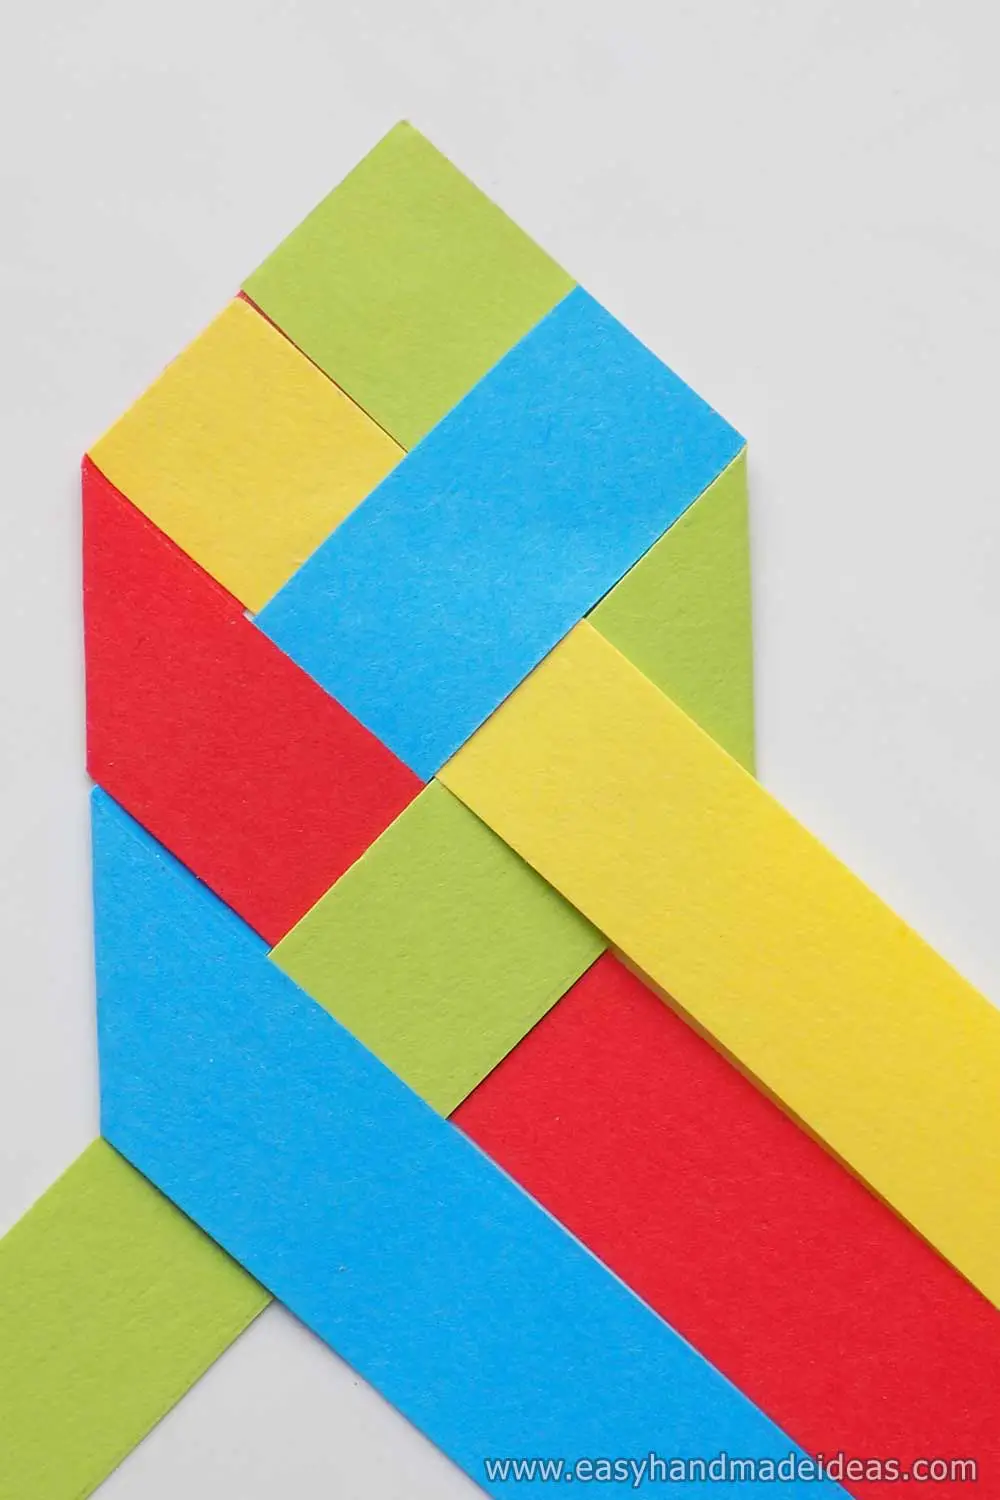
Take the blue stripe and throw it to the right.
Step 9: Work with the yellow stripe
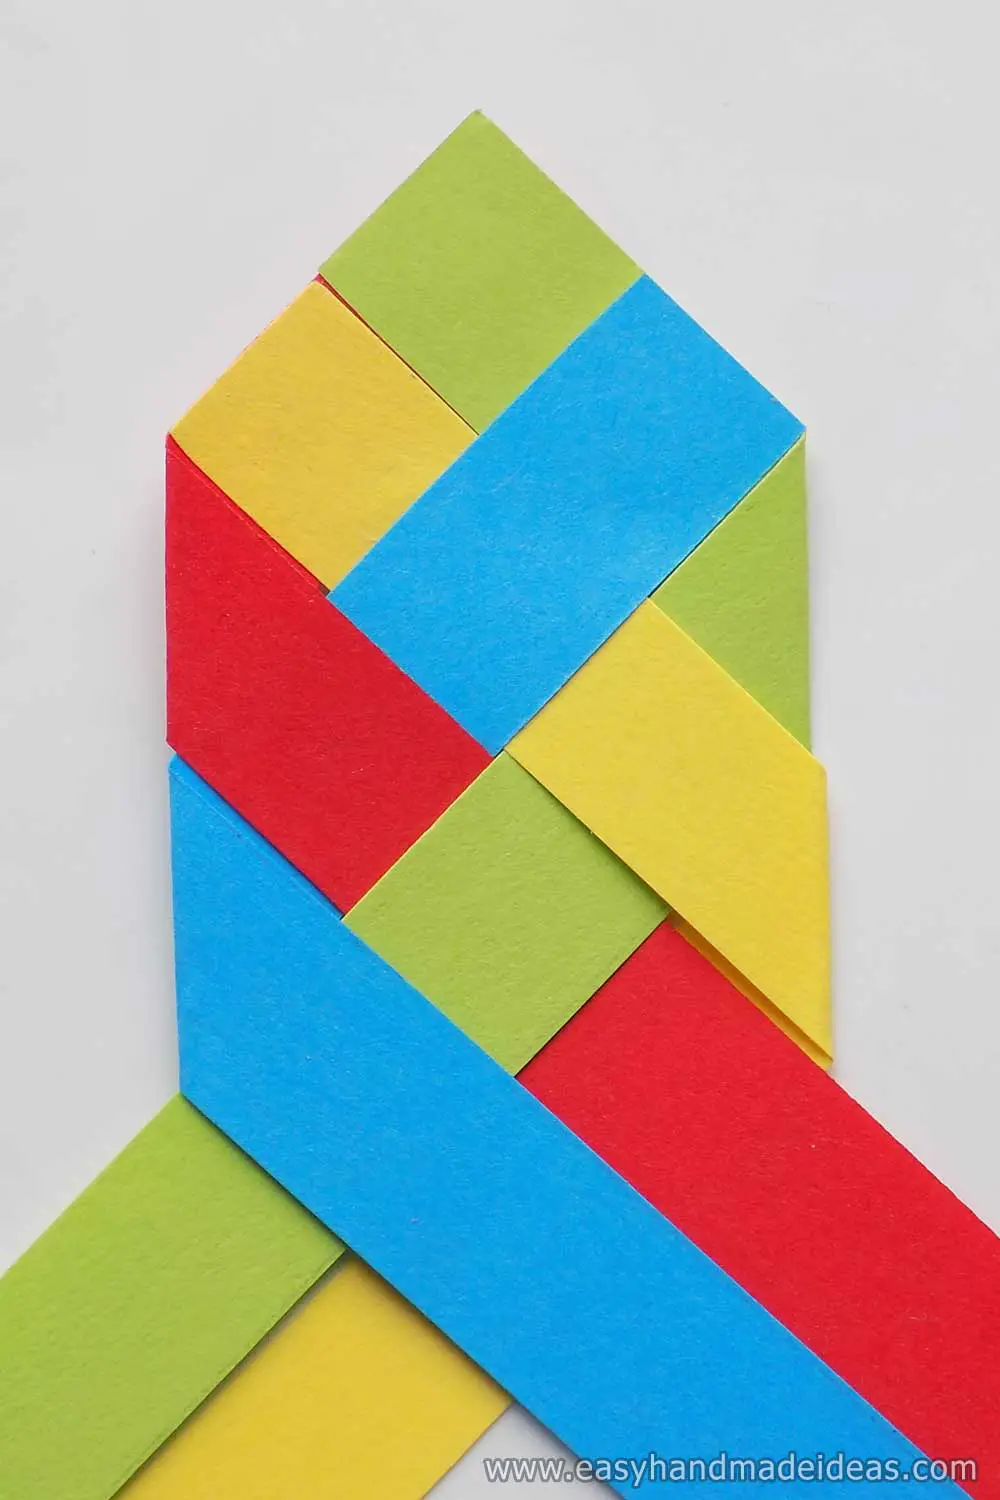
Fold the yellow strip from right to left. Fold the strip backwards and place it under the bookmark.
Step 10: Put the red stripe on the top
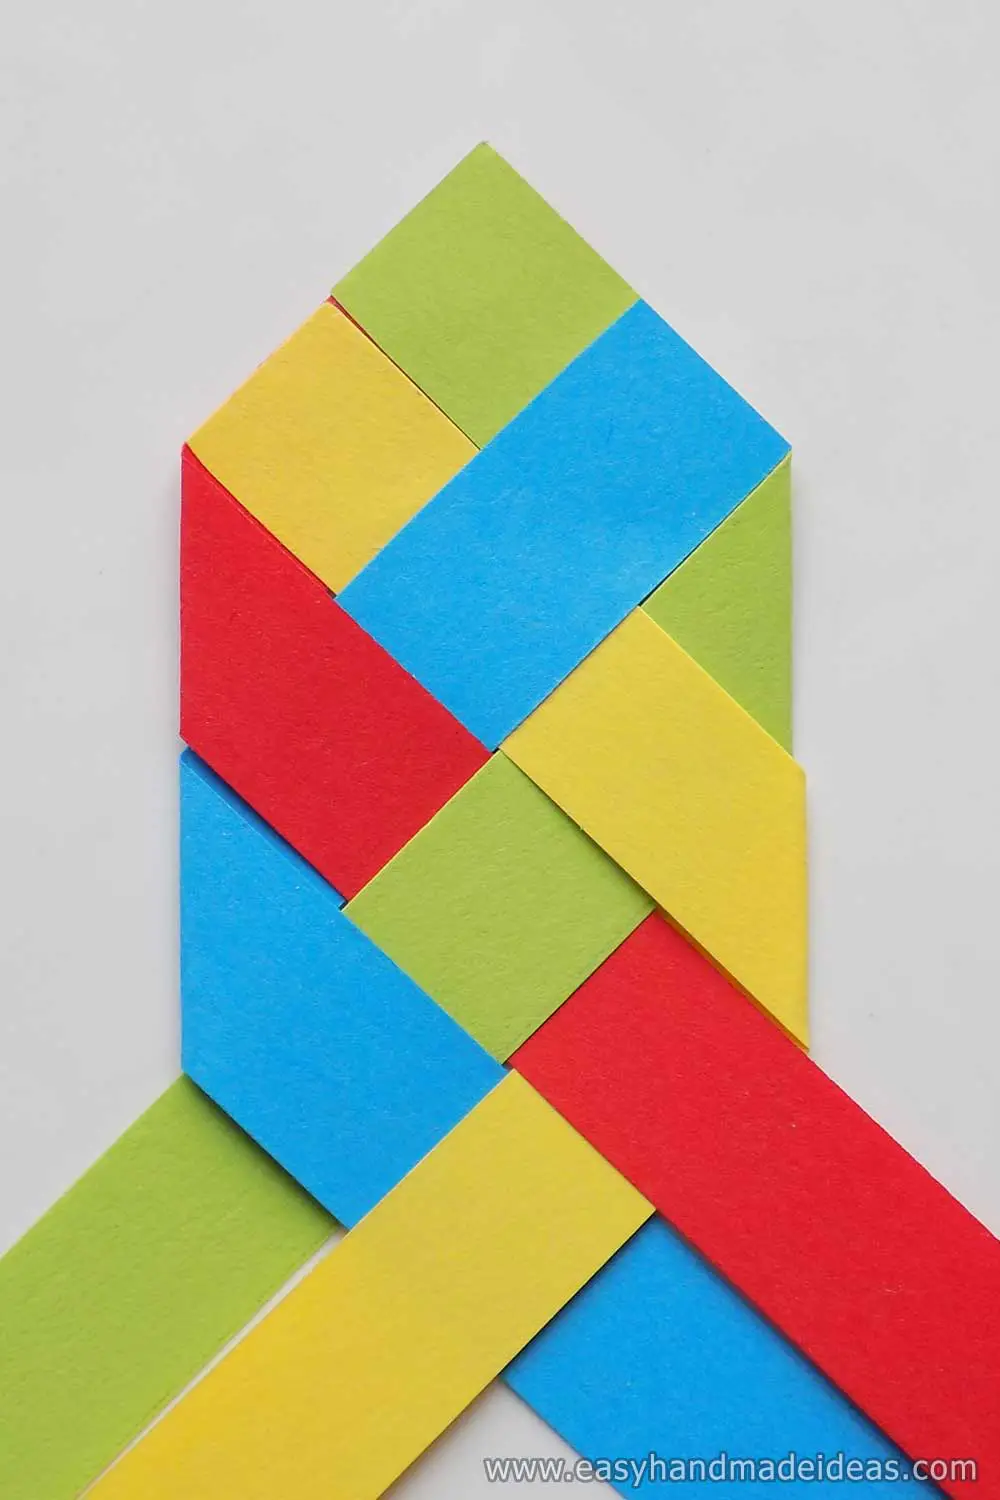
Weave the yellow stripe under the red stripe.
Step 11: Working with the green stripe
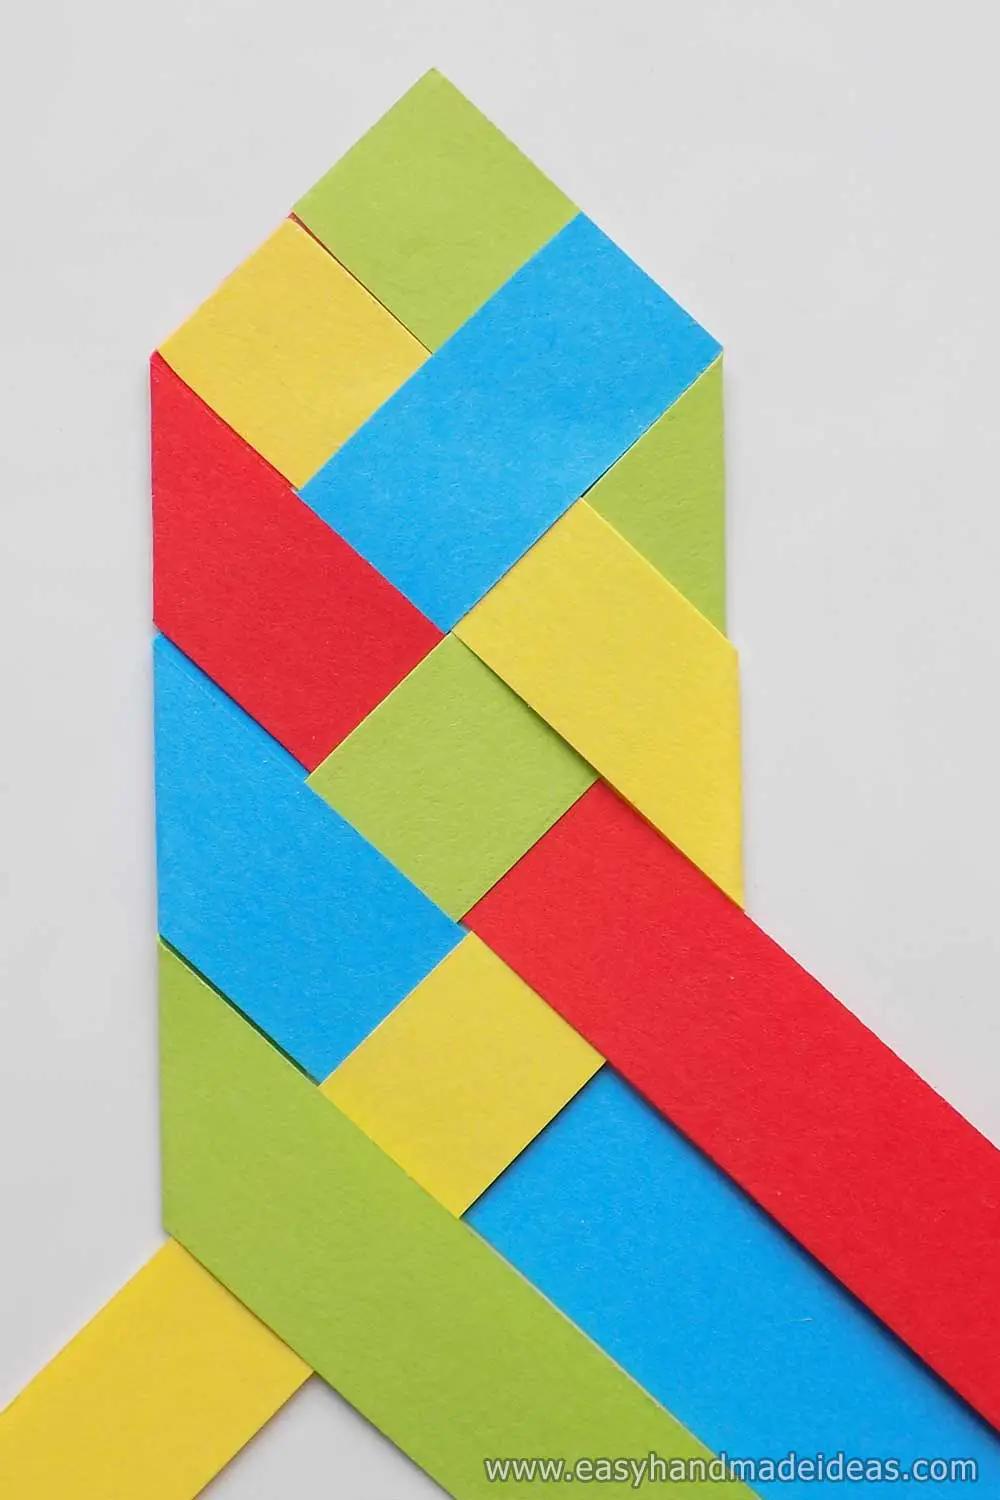
Continue to weave, folding the green stripe to the right.
Step 12: Add a red stripe
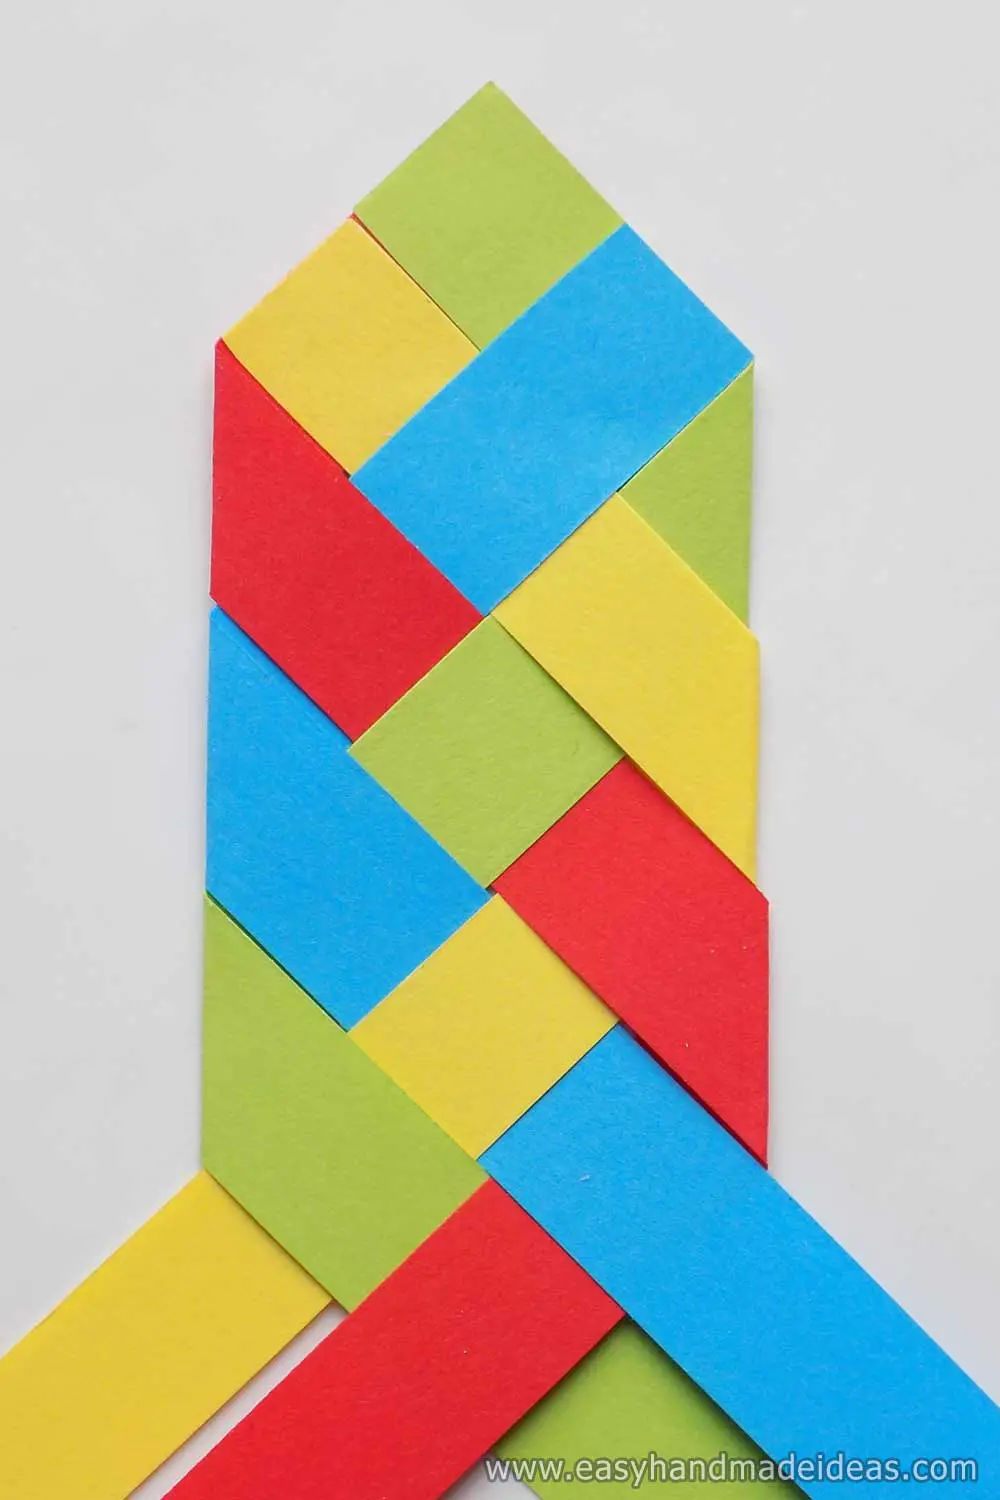
Throw the red stripe to the left and weave it under the blue one.
Step 13: Work similarly
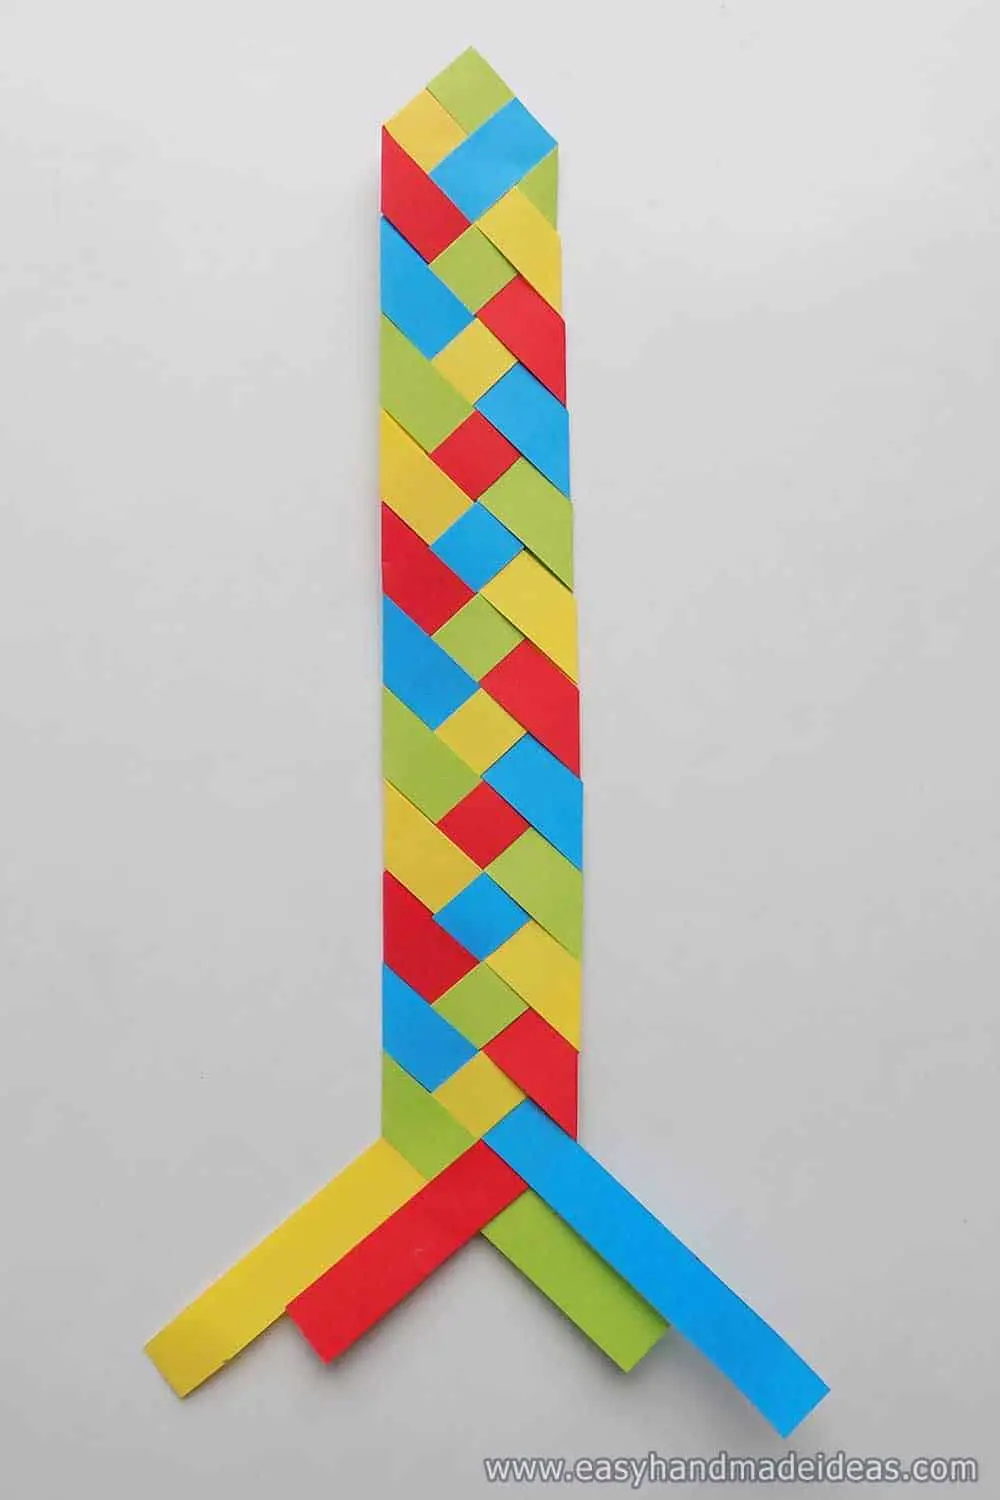
Continue to weave the bookmark as described above.
Step 14: Prepare the glue
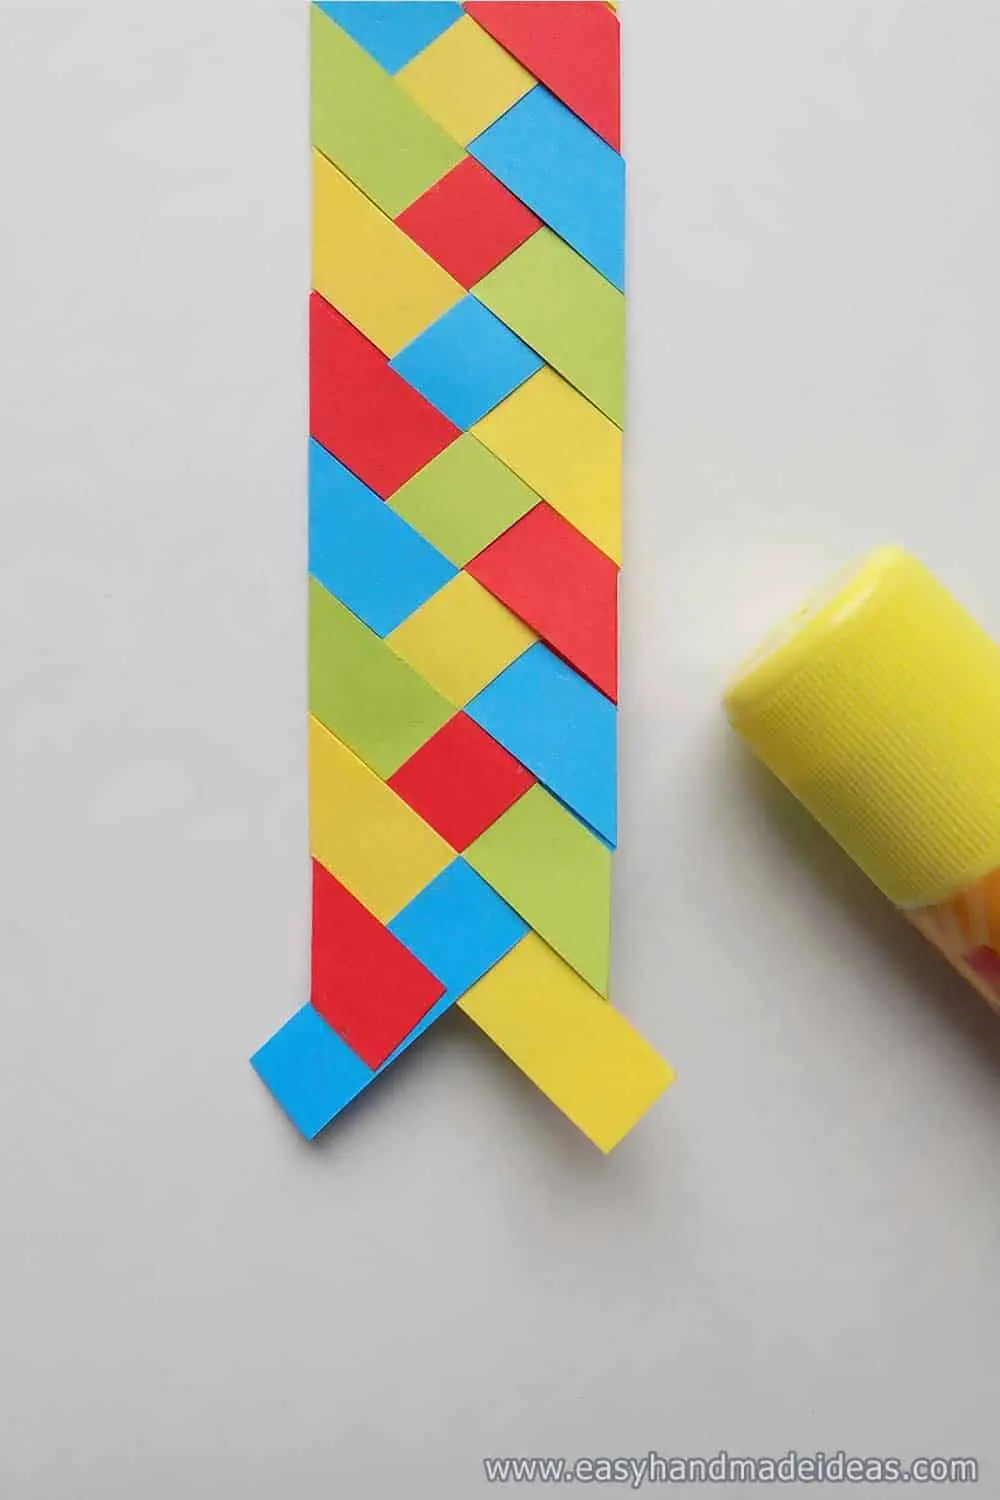
If the ends of the strips are short, fix them with glue at each fold.
Step 15: Prepare the scissors
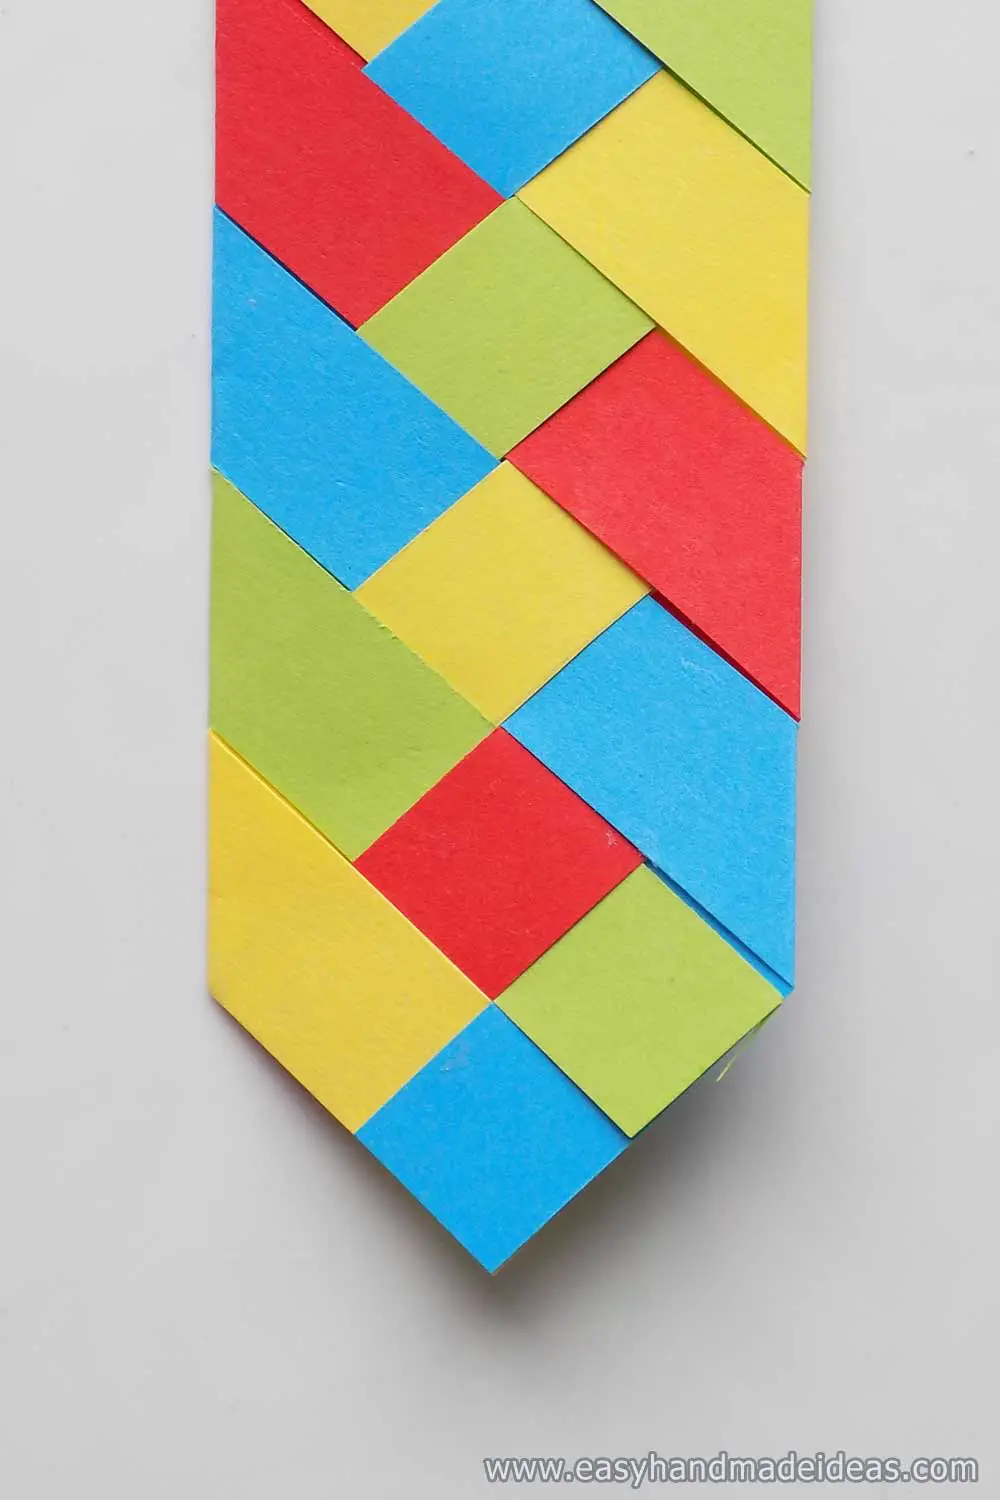
Cut the bottom of the bookmark at an angle to create a nice edge.
Supply:
- paper in four colors;
Tools:
- scissors;
- glue;
- pencil;
- ruler.

You have such a bright bookmark made of paper strips.
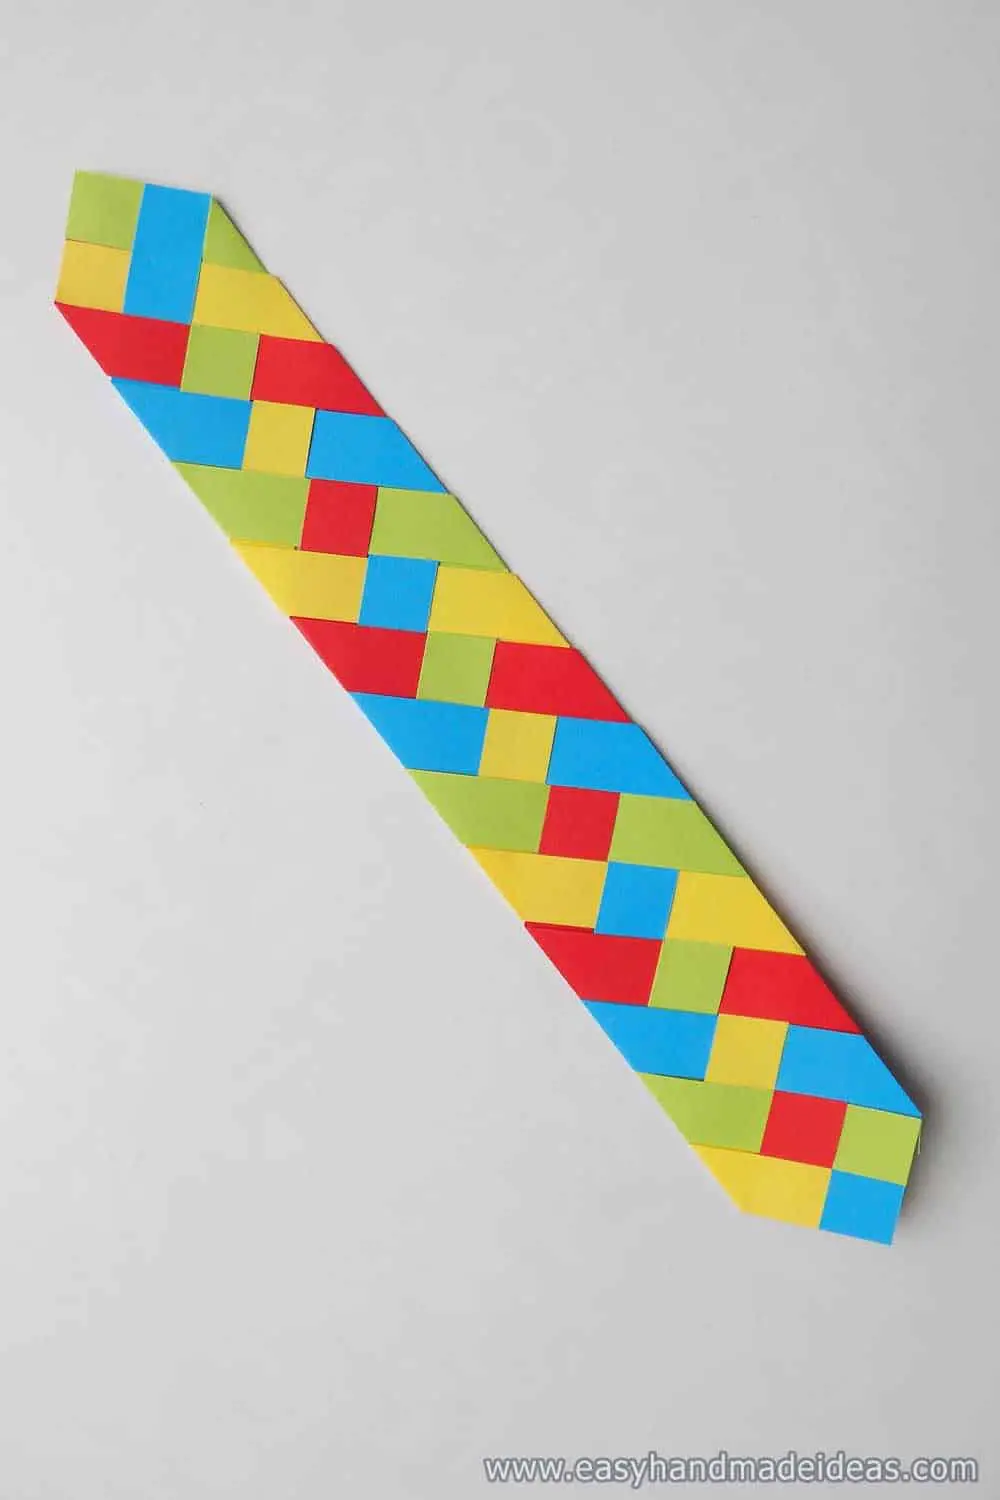
You can use different colors and combine them according to your taste.

