Let’s look at an example of how to make very beautiful bows using white ribbon and blue lace. This lesson will show in detail how to make Kanzashi bows with a unique center with your own hands. First, the handmade center will be unique. You will not find the same one on sale, it can only be made to order. Second, it’s expensive to buy such a beautiful accessory; a finished piece of jewelry will cost a lot of money.
The combination of two ribbons with different textures and a chic center makes a bow with a twist and attracts attention.
Step-By-Step Tutorial
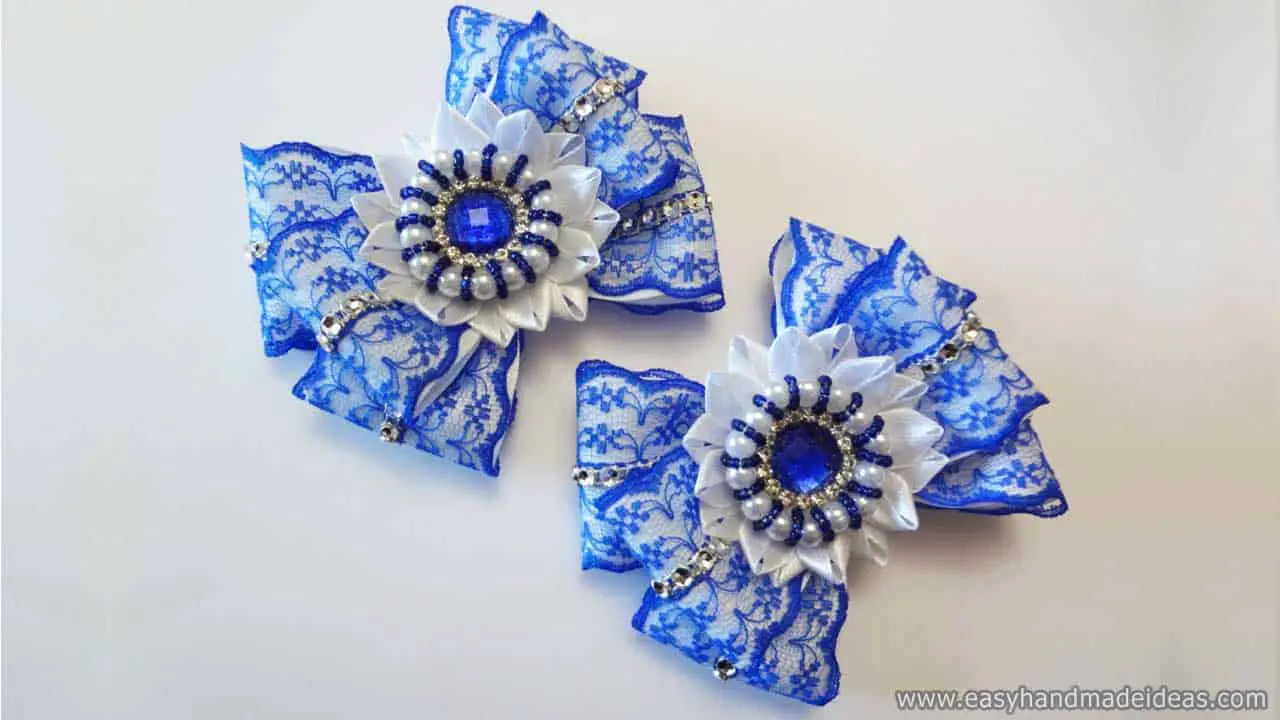
Kanzashi flower with homemade core
Total Time: 1 hour and 10 minutes
Step 1: Prepare materials for bow petals
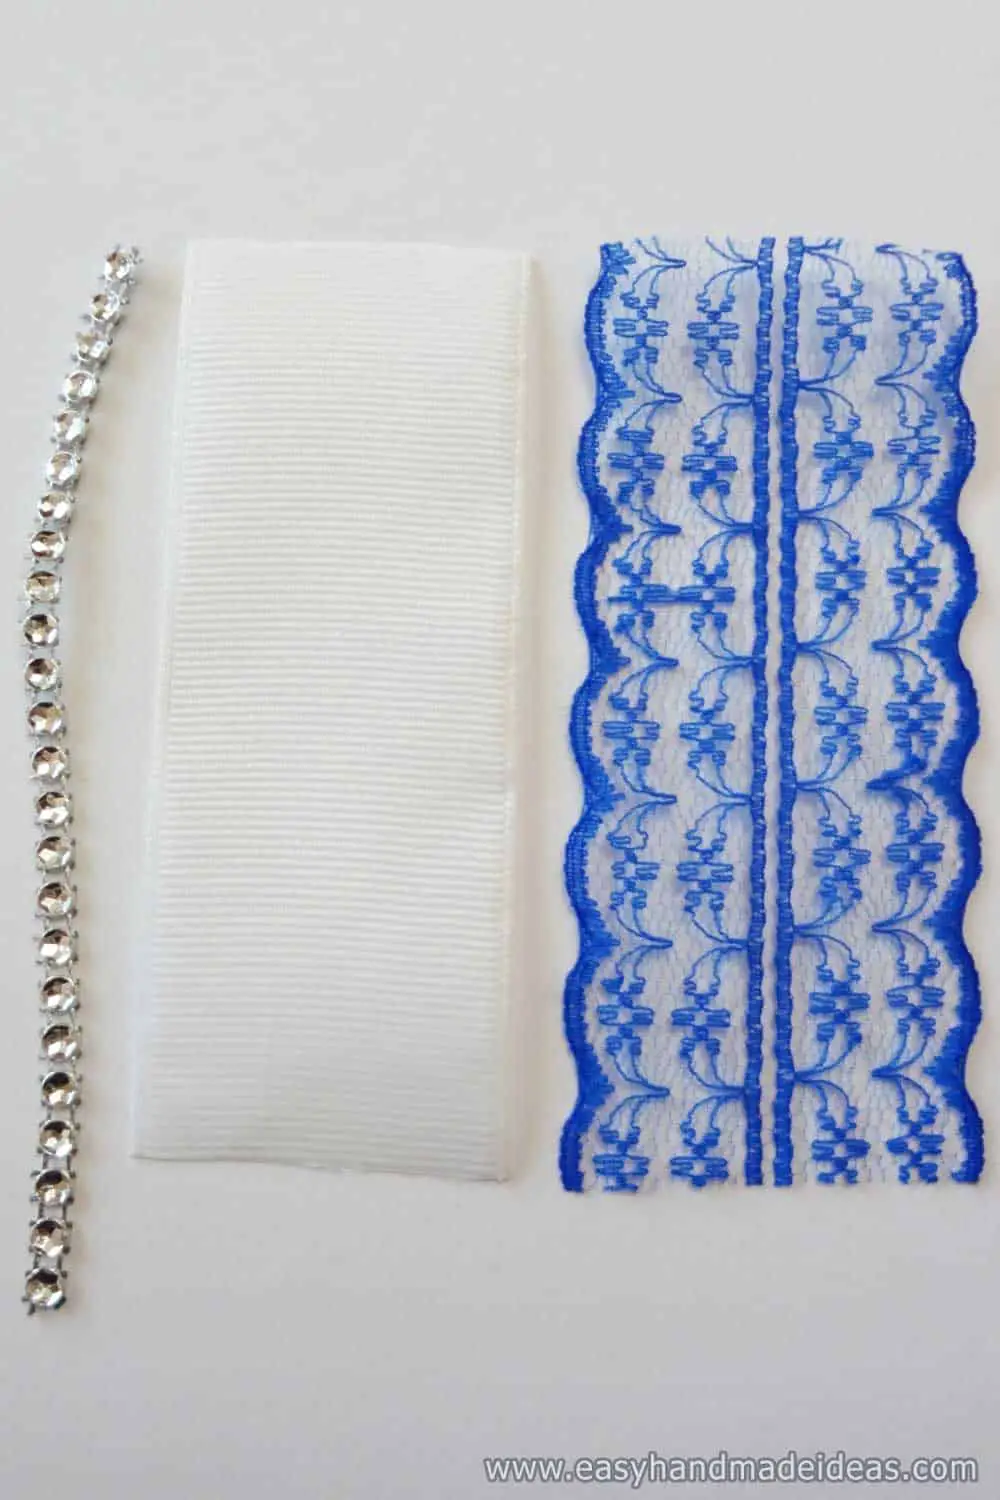
Cut strips of ribbon and lace for the bow loops, prepare sections of silver rhinestone braid.
Step 2: Connecting the pieces
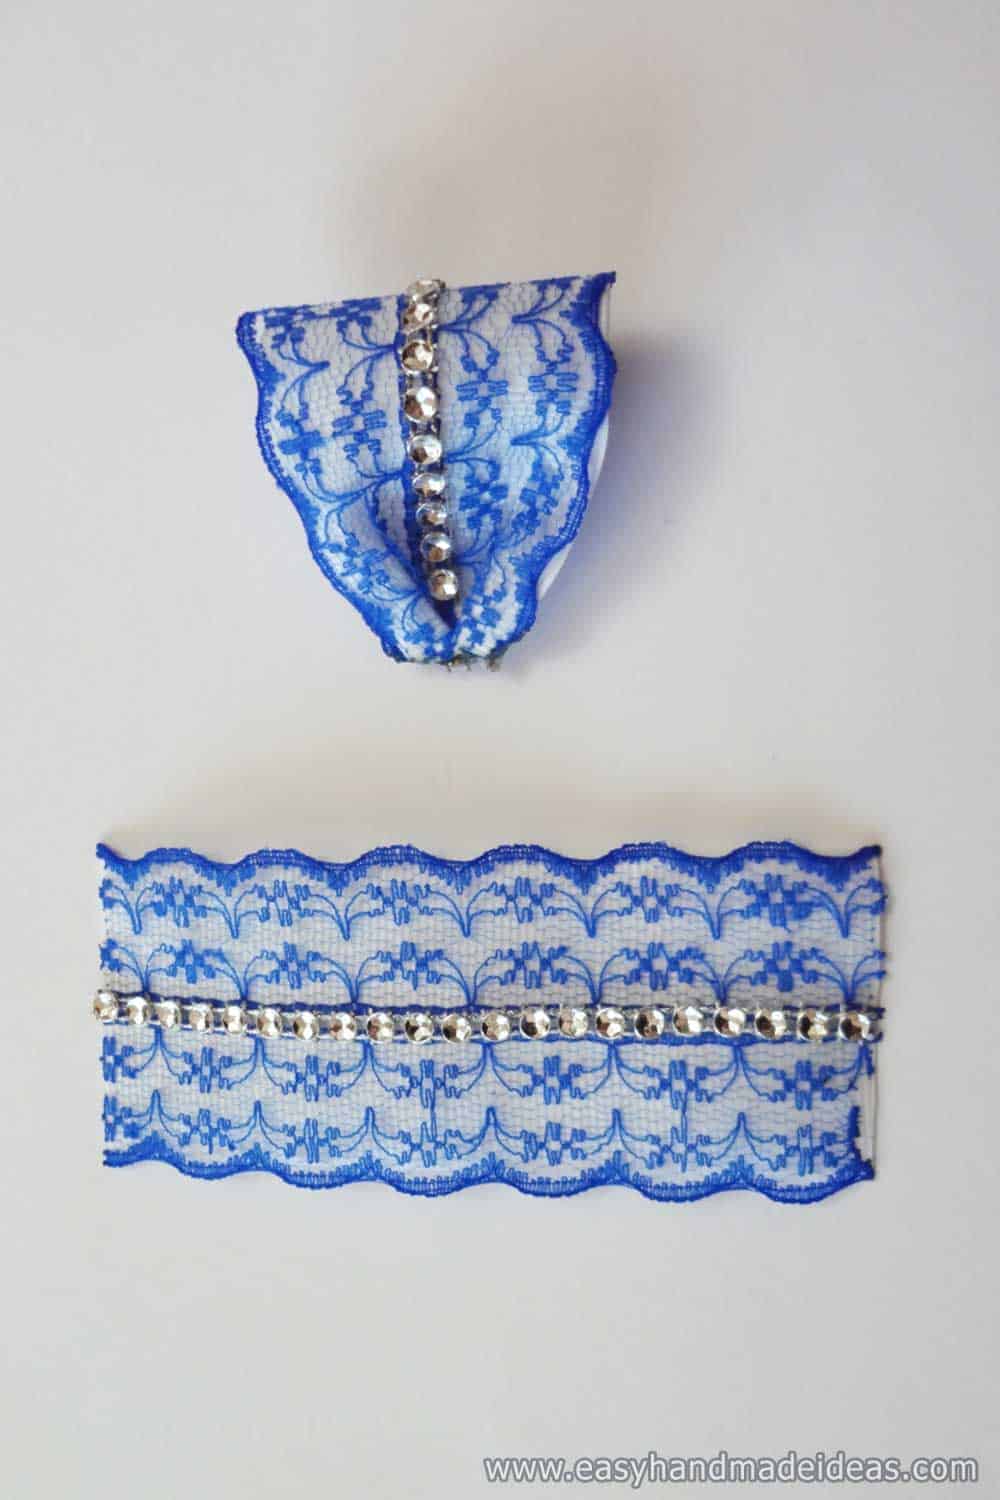
Connect the prepared strips in pairs by joining their ends. Place the strass braid strip in the center. Press the edges together and glue. The fancy loop is finished.
Step 3: Create petals from stripes
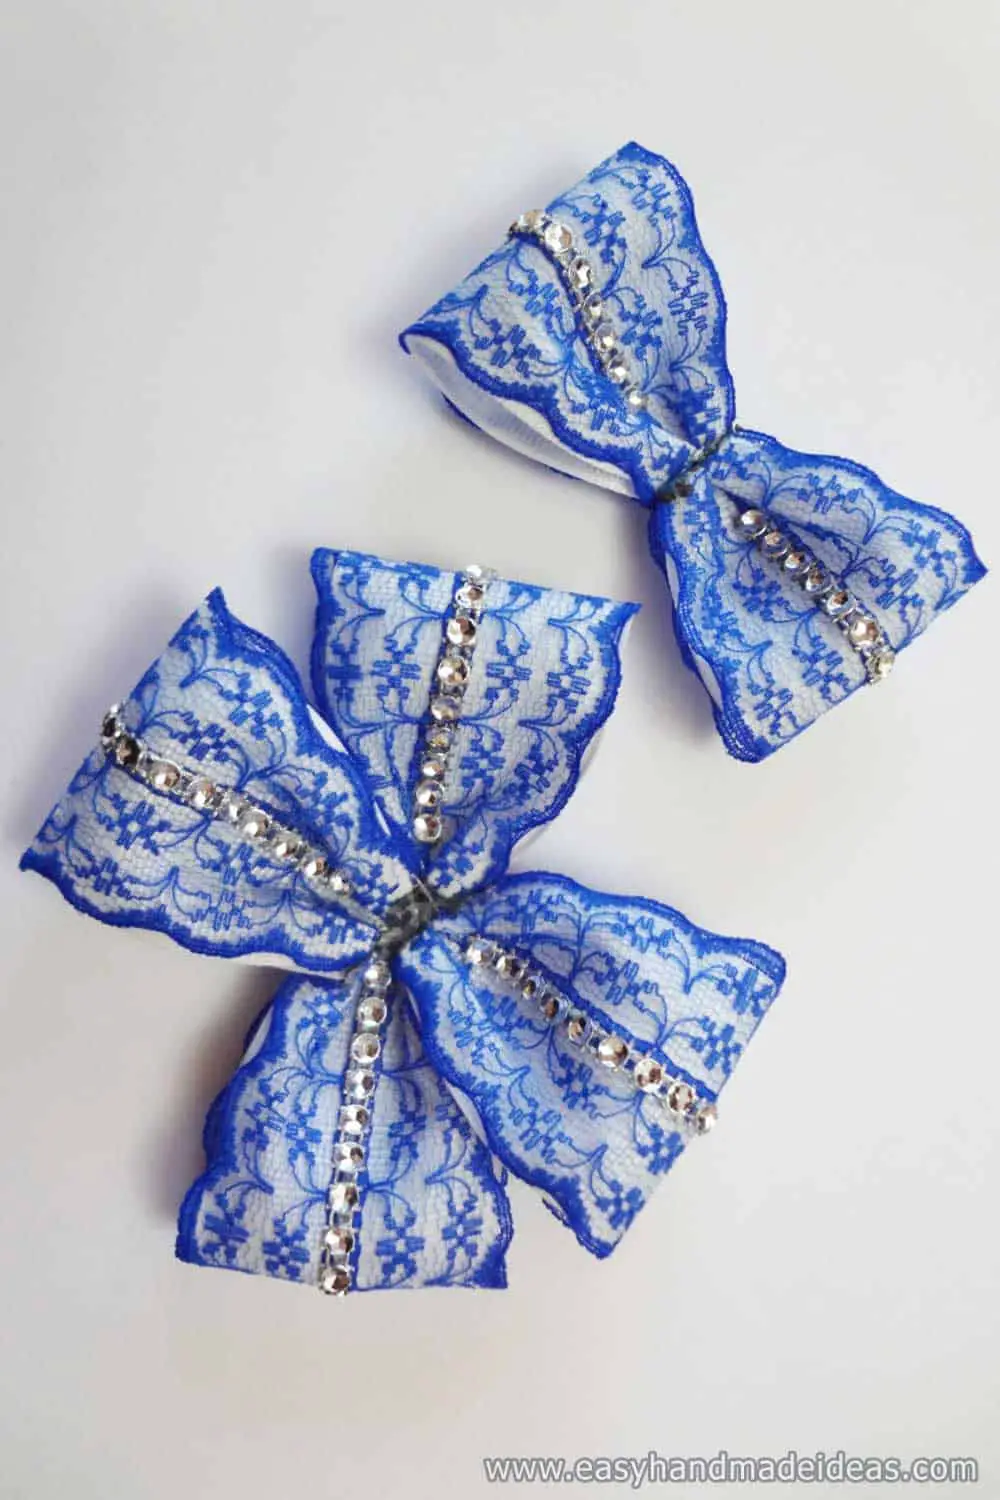
Make 6 such loops and glue them together. The bottom layer of the flower consists of 4 loops, the upper layer of 2 loops.
Step 4: Fix the loops with ribbon
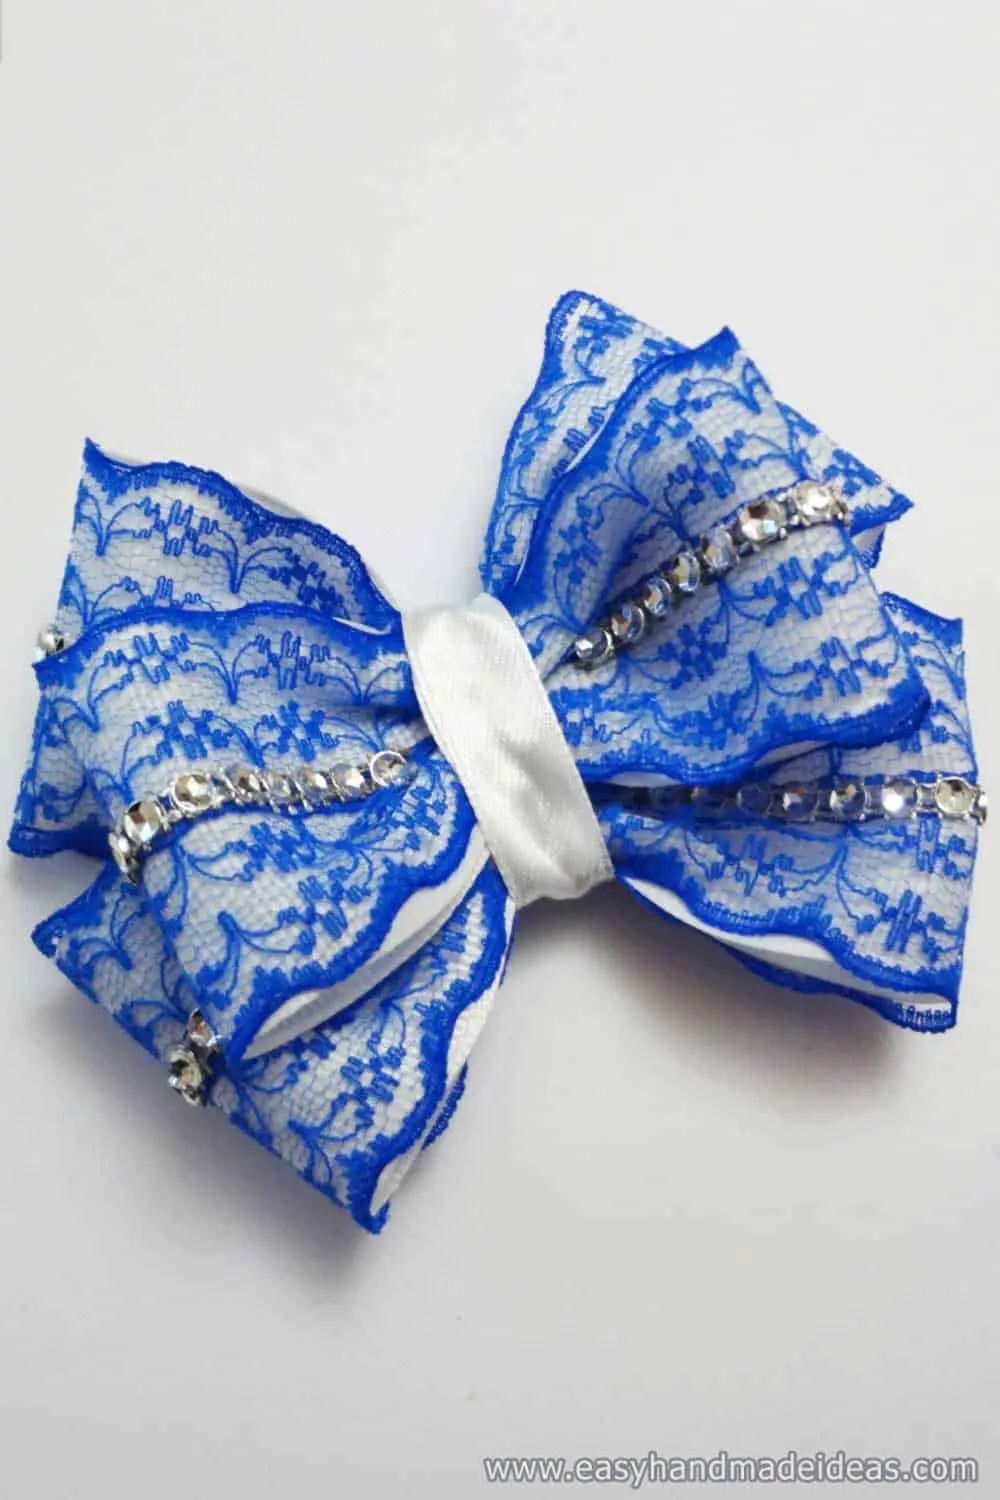
Gather the bow and wrap it with a thin satin ribbon. In the future, we will glue the center to the top.
Step 5: Make the inner petals
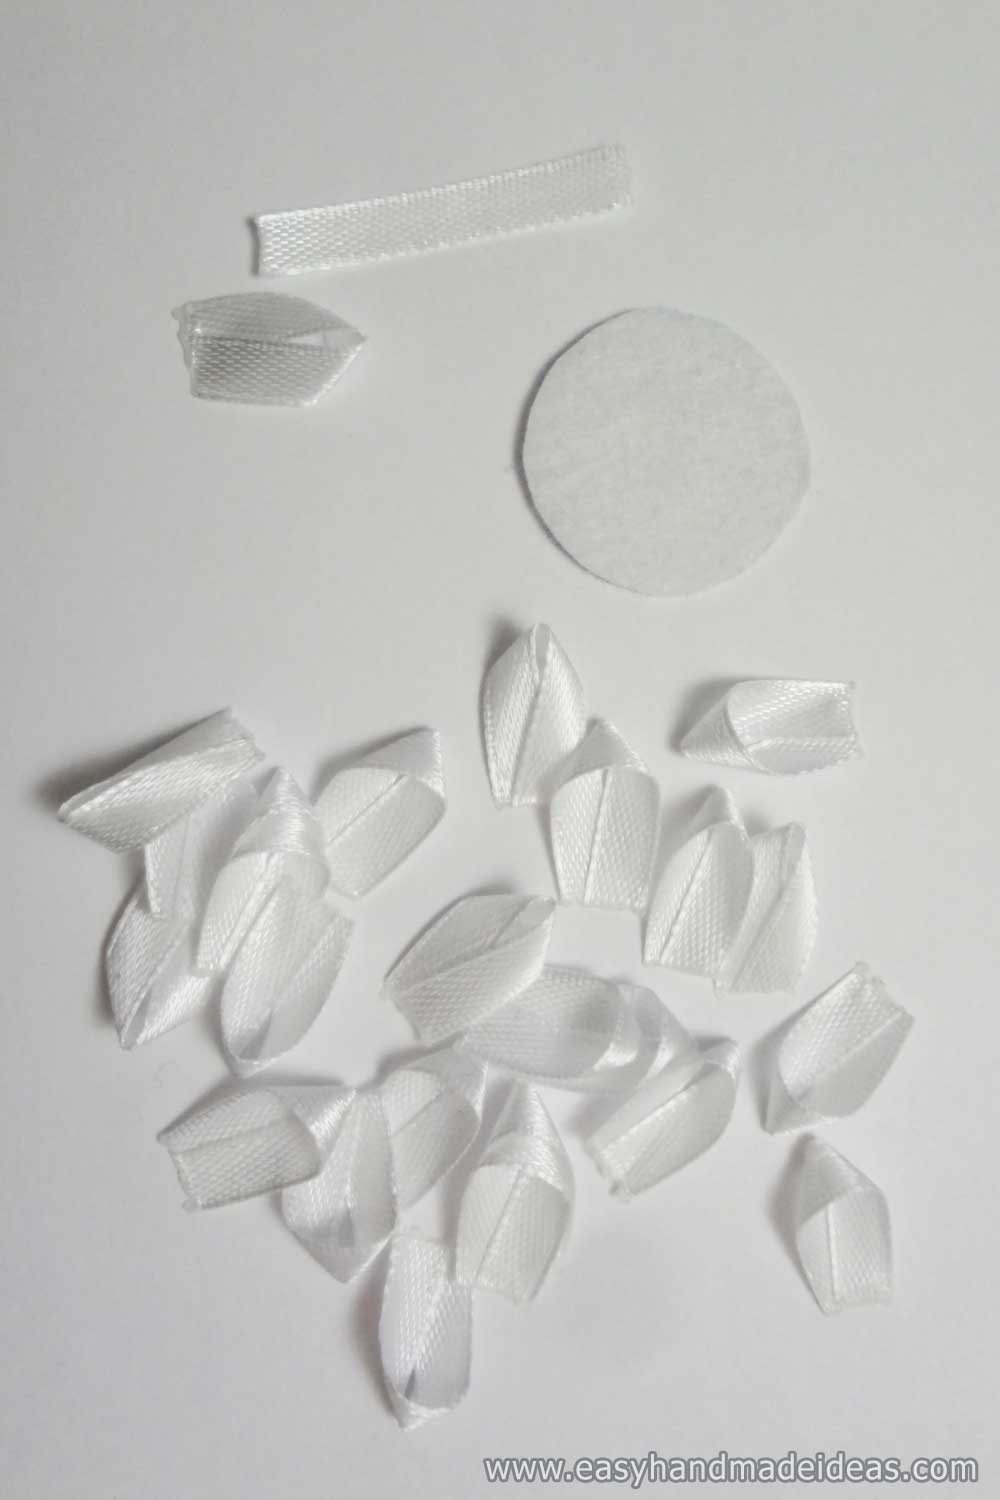
Prepare a nice frame for the top of the ribbon. In our case, it will be a flower made of simple white ribbons.
Step 6: Make rows of petals
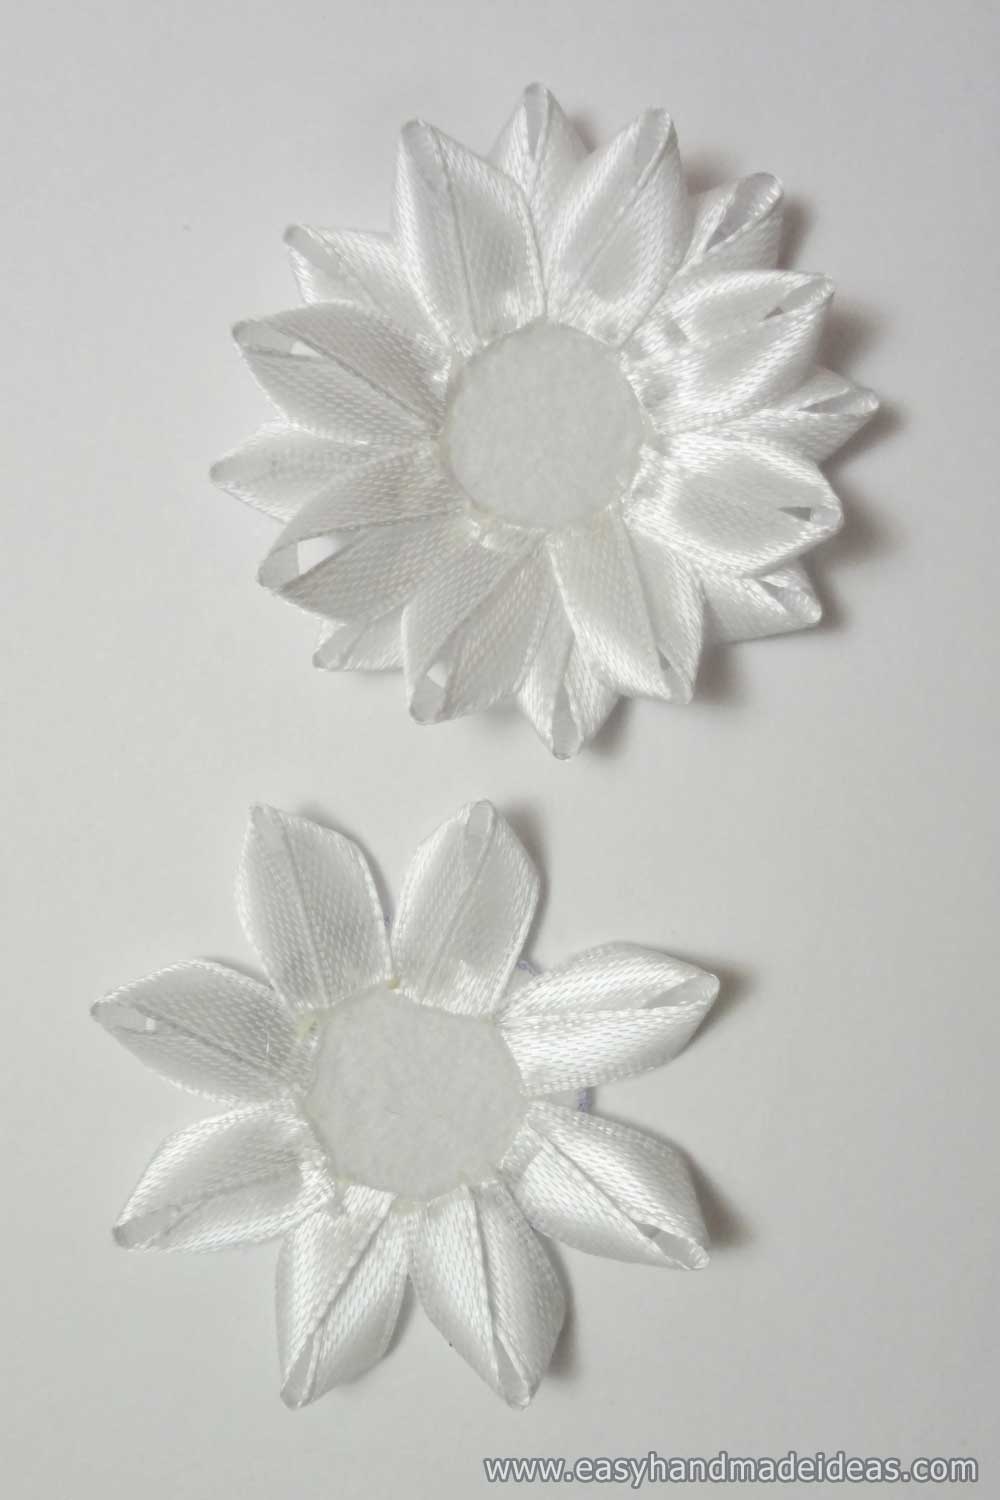
Glue one row of loops onto the felt circle, then the second row.
Step 7: Connect the different petals
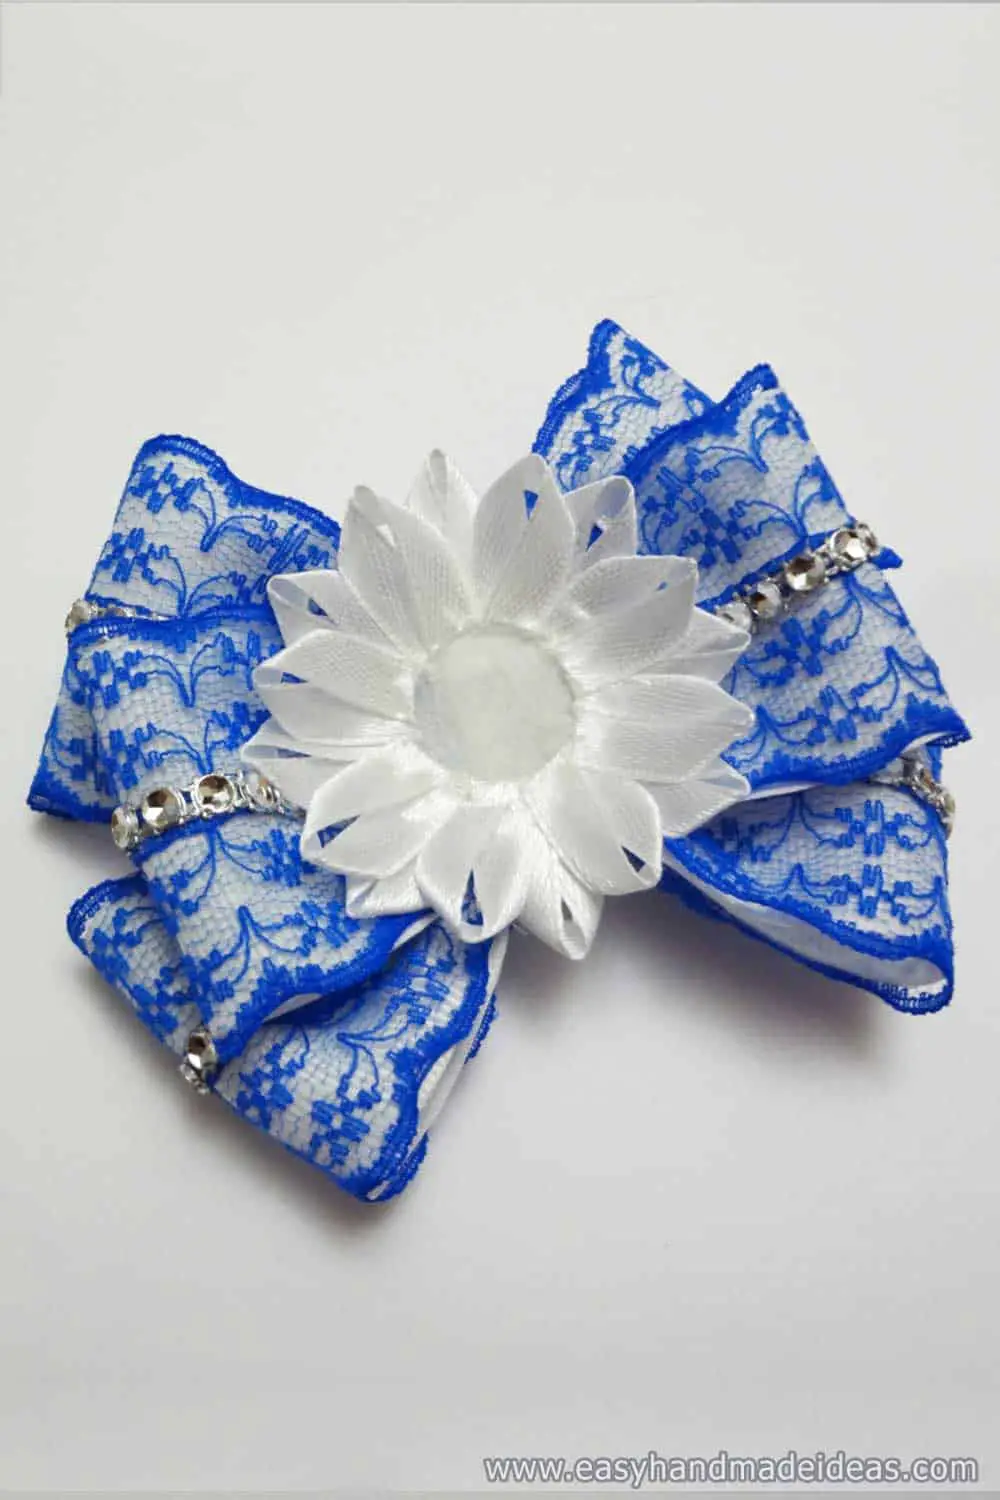
Glue one part of the flower to the other. To do this, place the white loops on top of the blue ones.
Step 8: Prepare the core materials
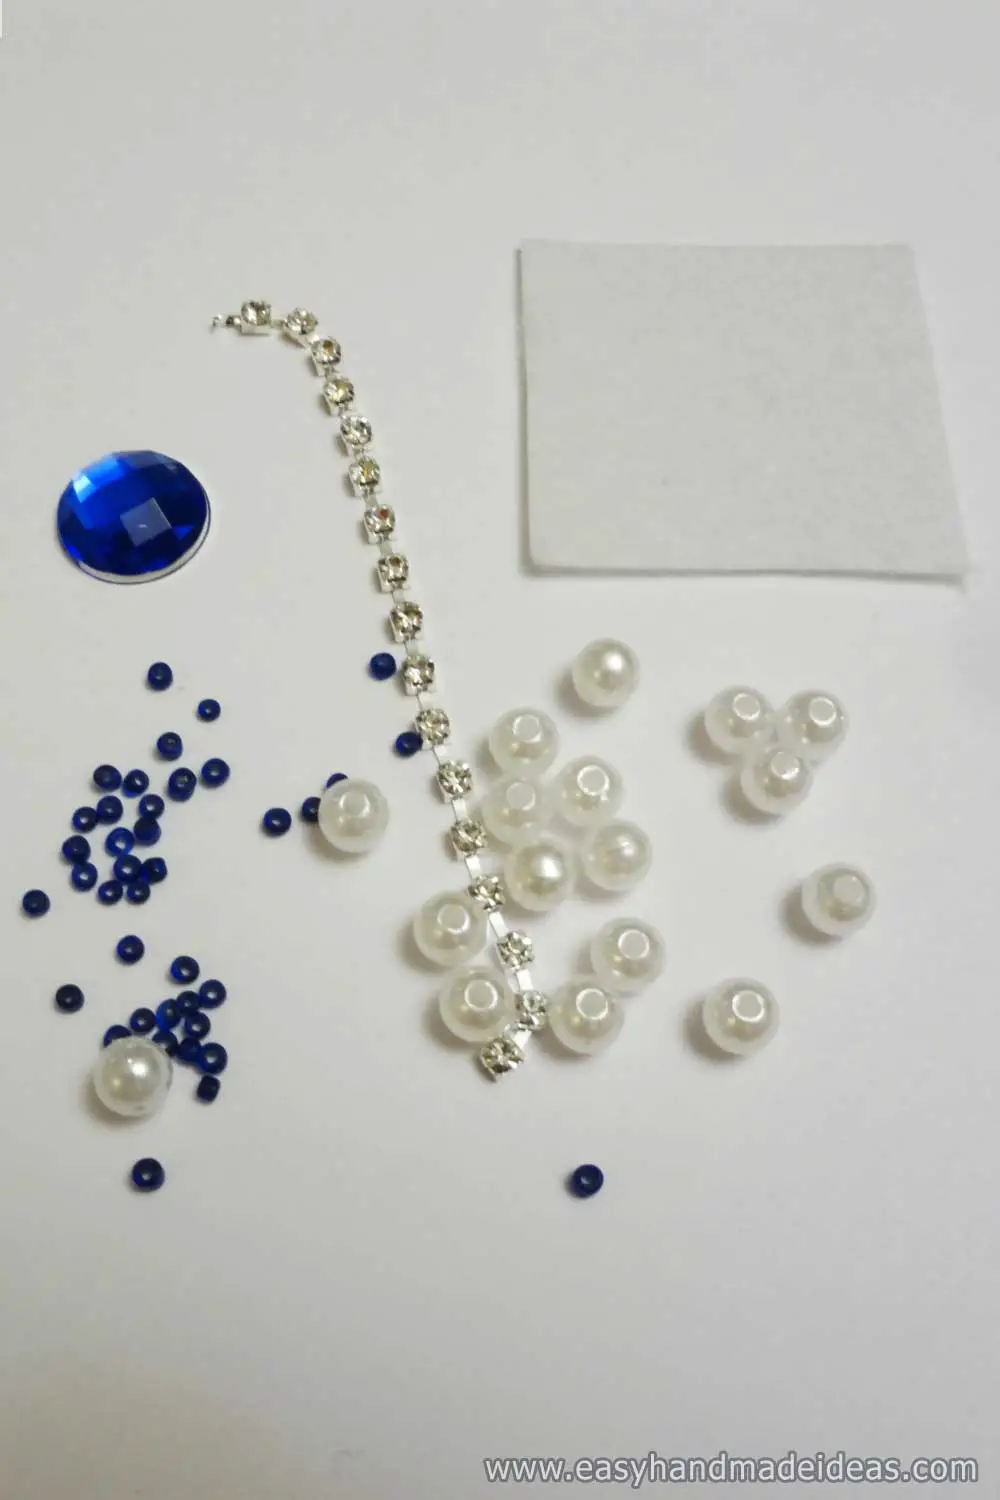
Prepare a beautiful aquamarine plastic half bead, white beads, blue beads and other materials to create the center.
Step 9: Apply the half bead
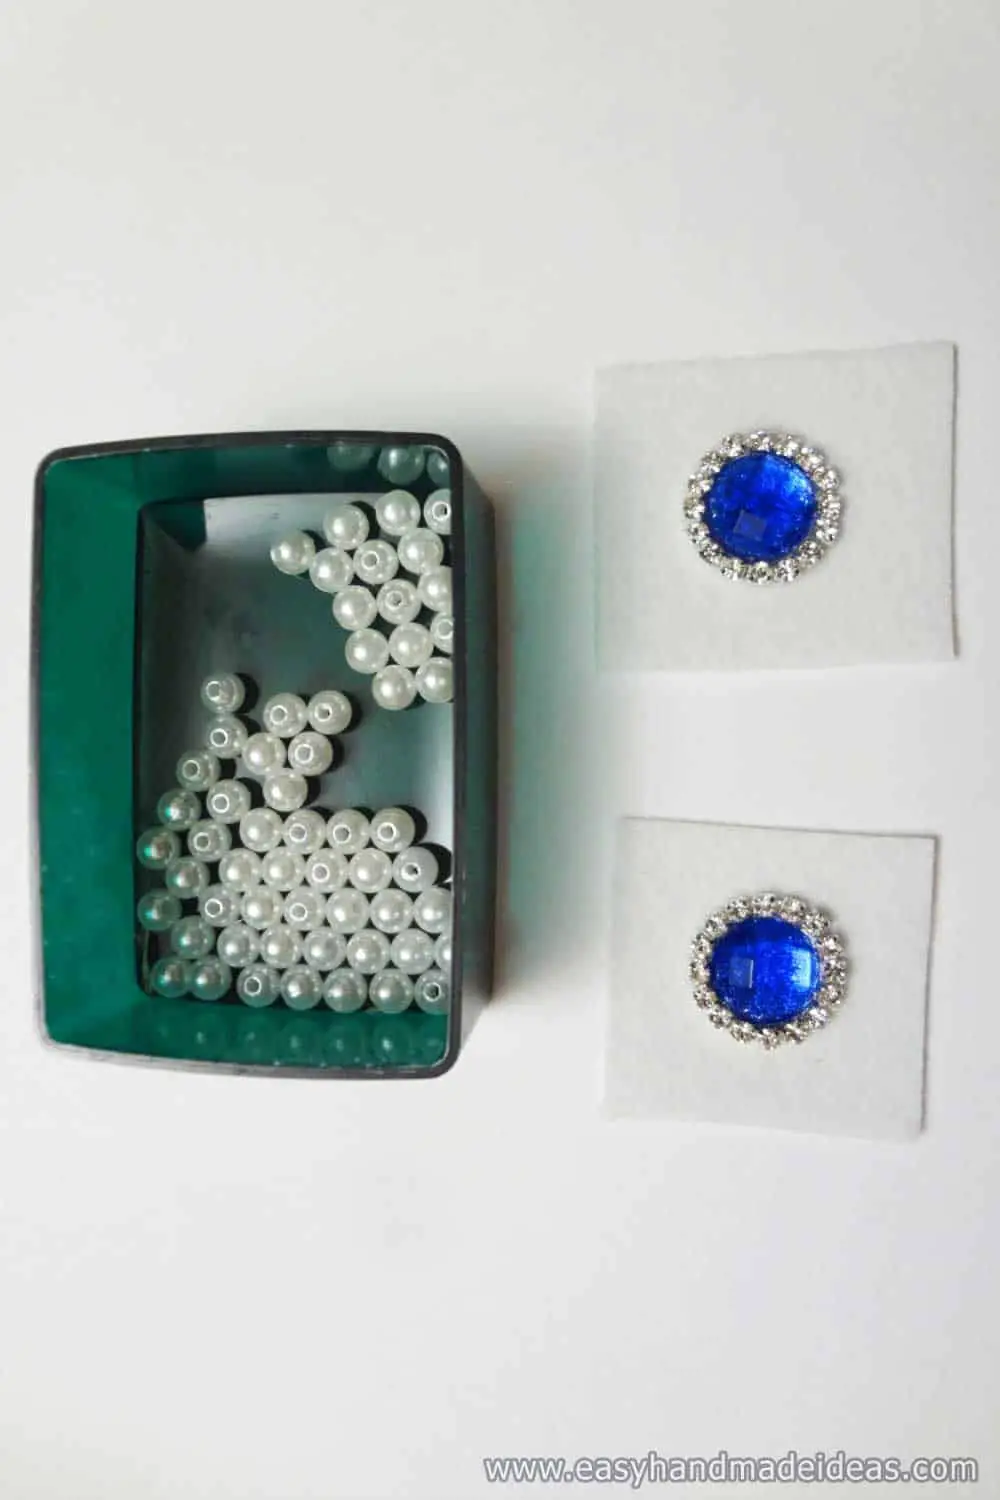
Glue the half bead to the center of the felt square with a glue gun. Coat the area around the half bead with super glue (be generous as the felt absorbs a lot and quickly) and glue the necklace on. Allow to dry for at least one hour.
Step 10: Attach the white beads
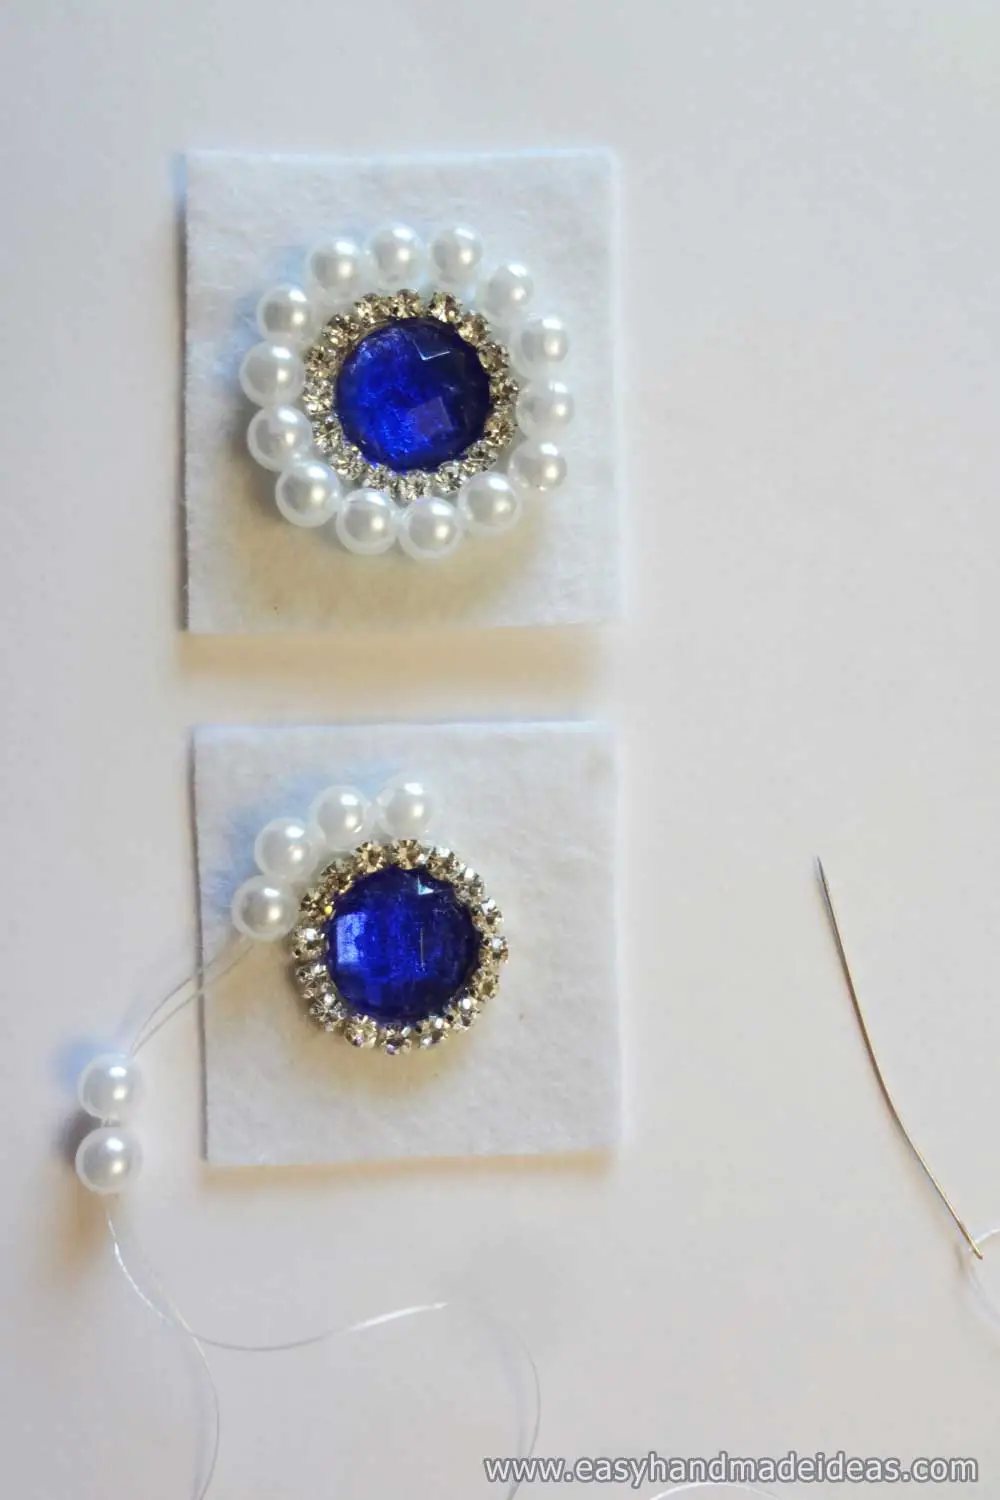
Sew two beads. Then pull the needle back one bead, pass the needle through again and thread the next two beads, and so on.
Step 11: Decorate the accessory with blue beads
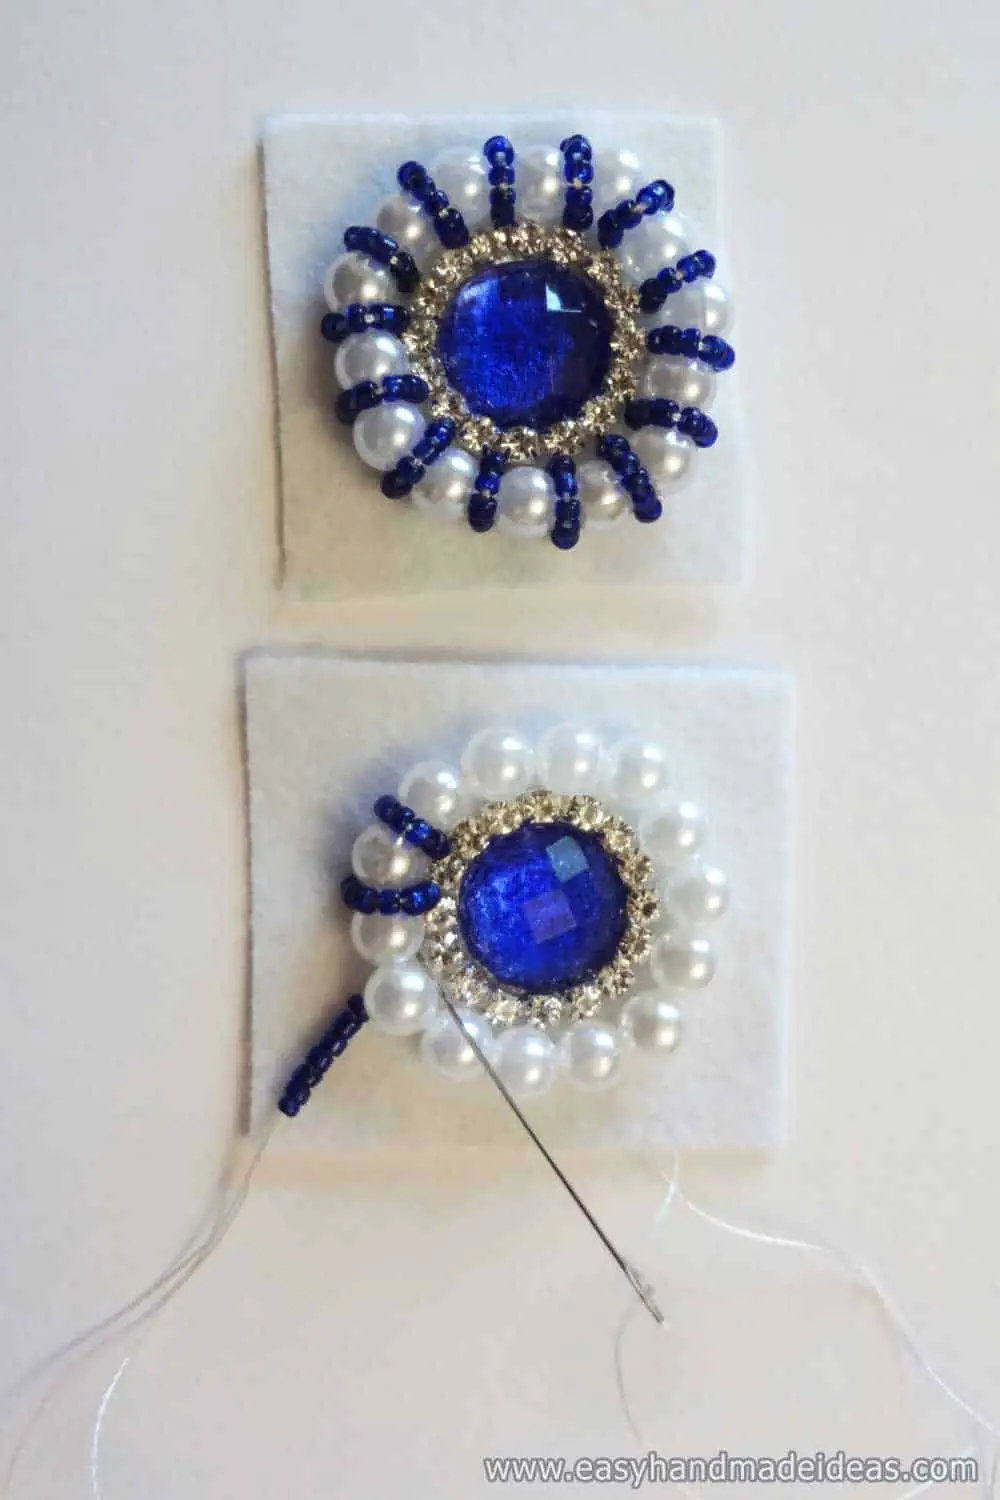
Thread 7 blue beads and weave between the white beads. This will create a striped border.
Step 12: Attach the felt
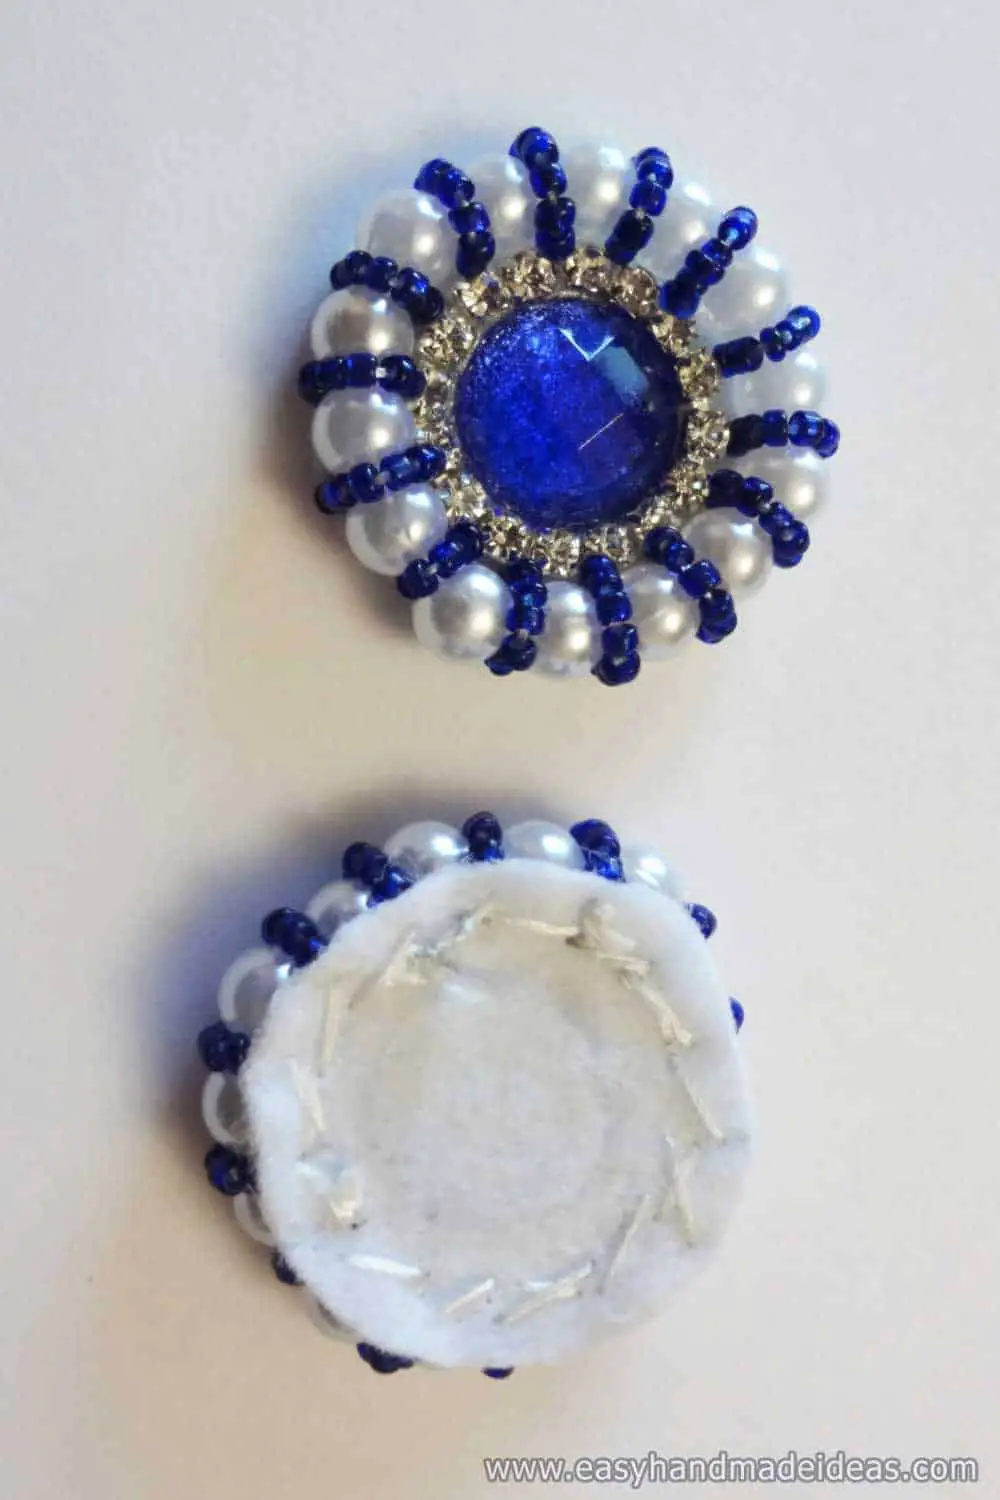
Carefully cut the felt around the precious construction to avoid touching the threads.
Step 13: Determine the number of centers
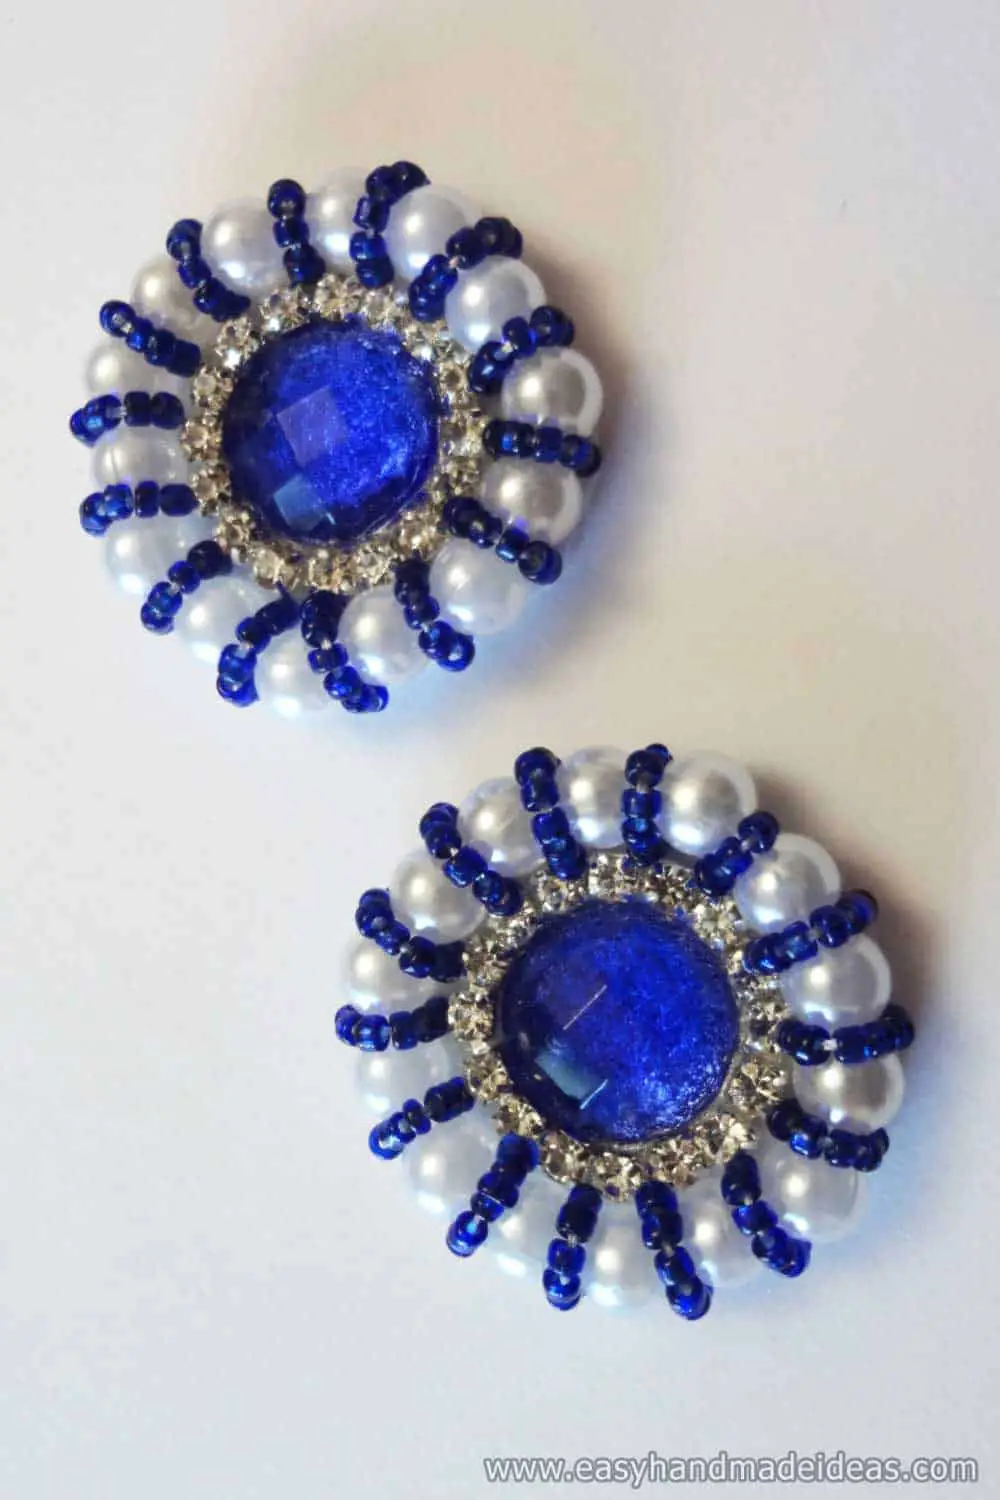
Prepare as many centers as you plan to make bows.
Step 14: Finish the decoration
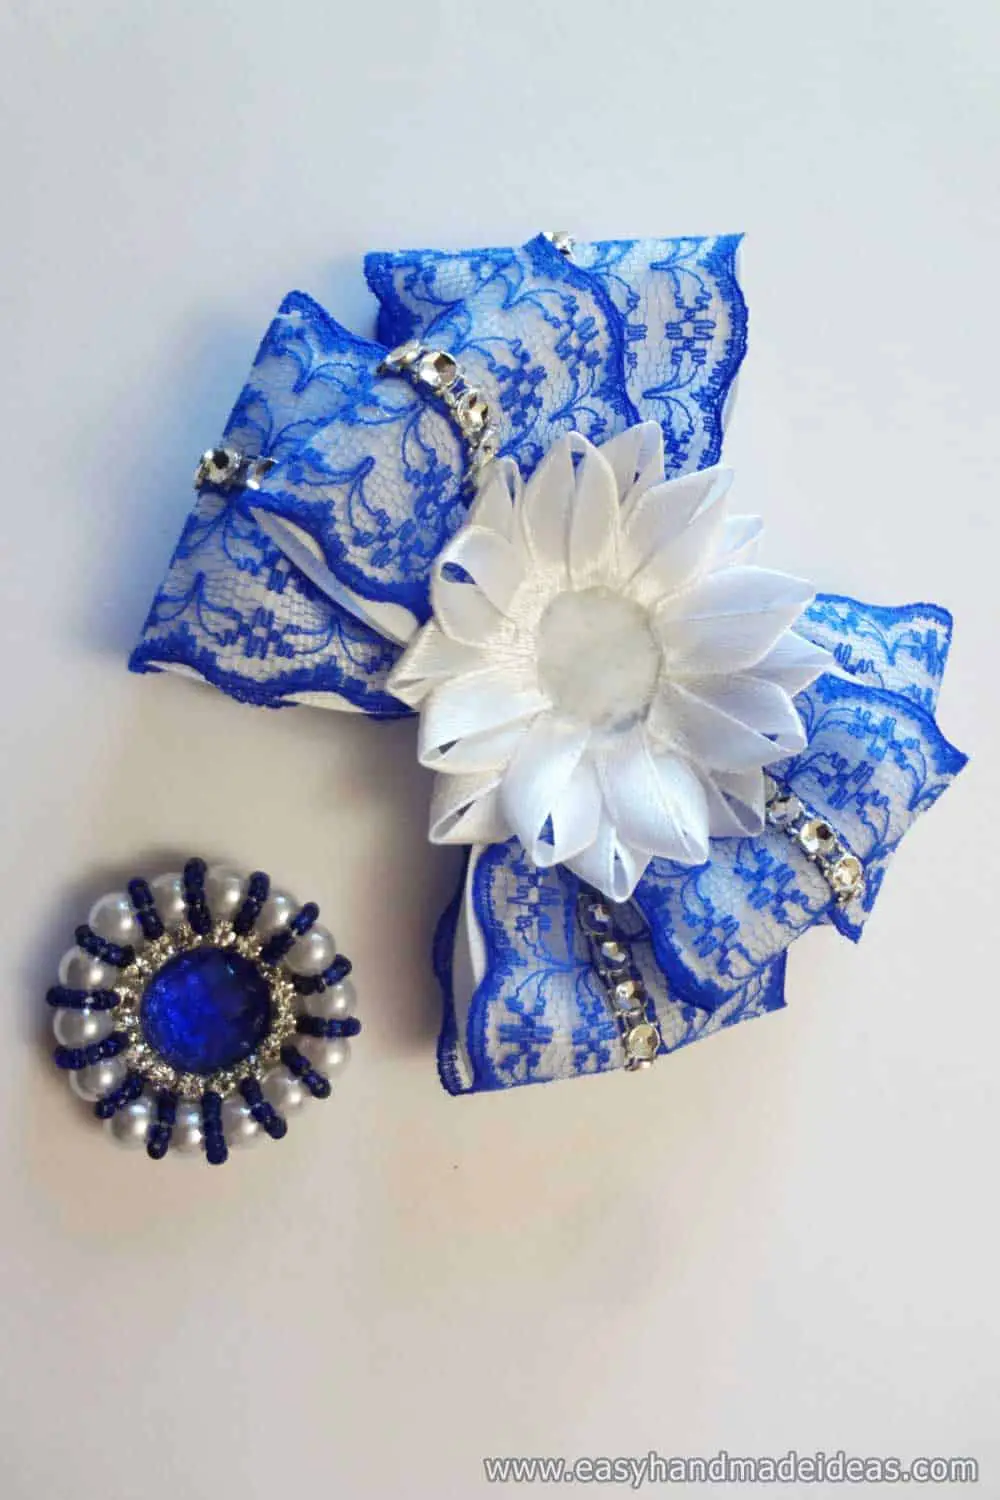
The circumference of the center should match the inside of the flower. You will get this result if you follow all the measurements exactly.
Step 15: Assemble all parts for the Kanzashi Bow
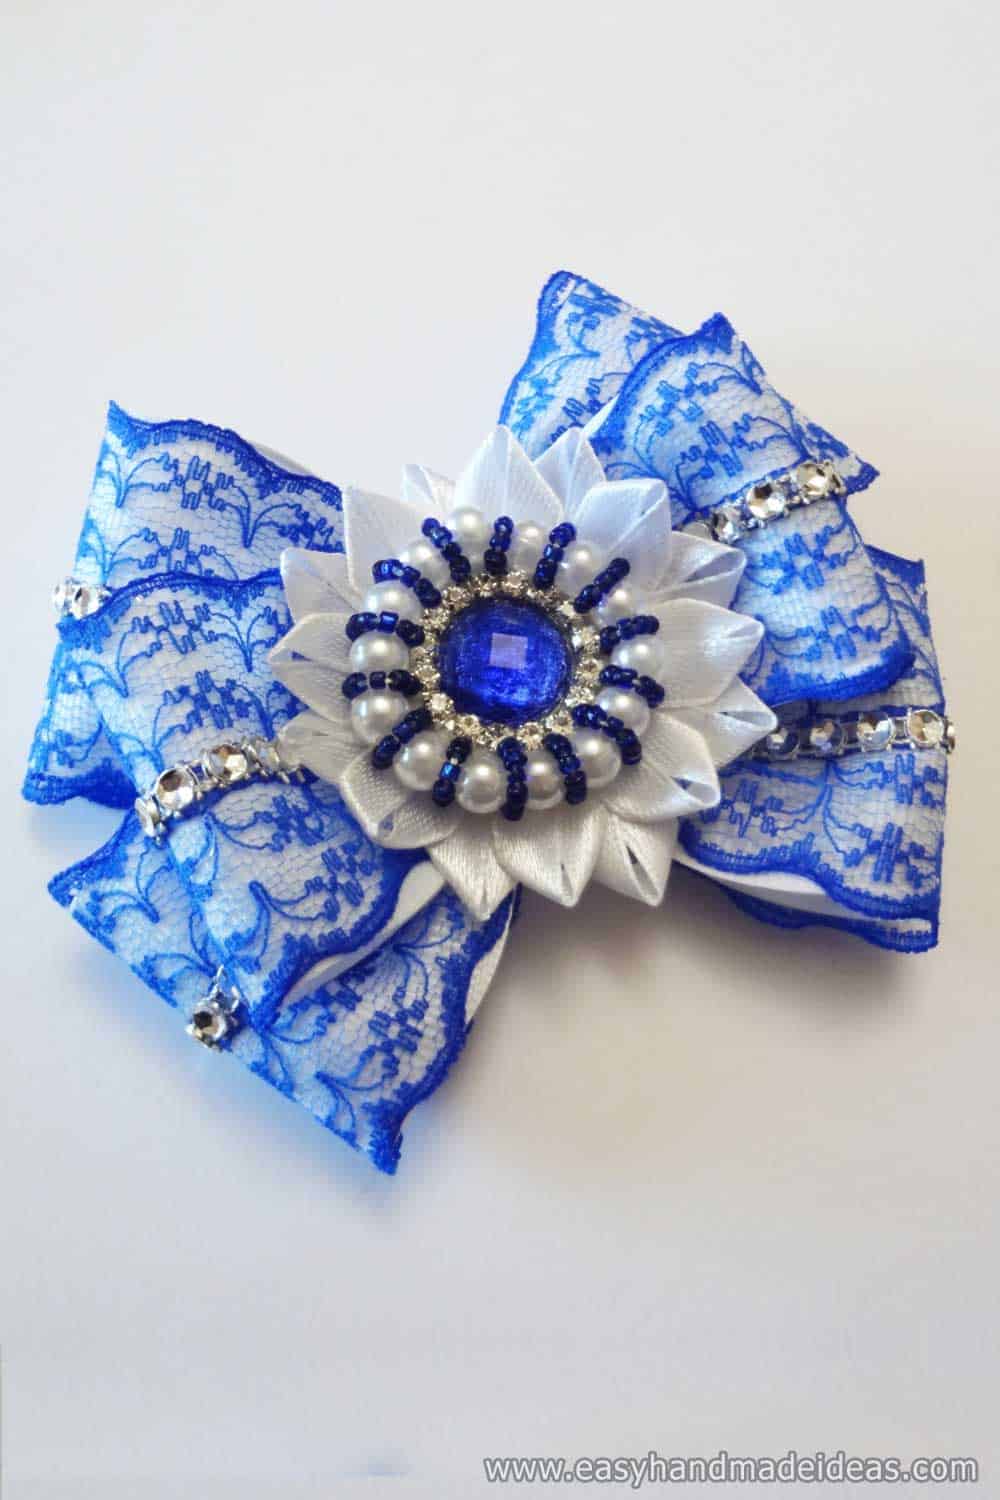
Glue the finished product to the bow.
Step 16: Repeat all the steps again for the second bow
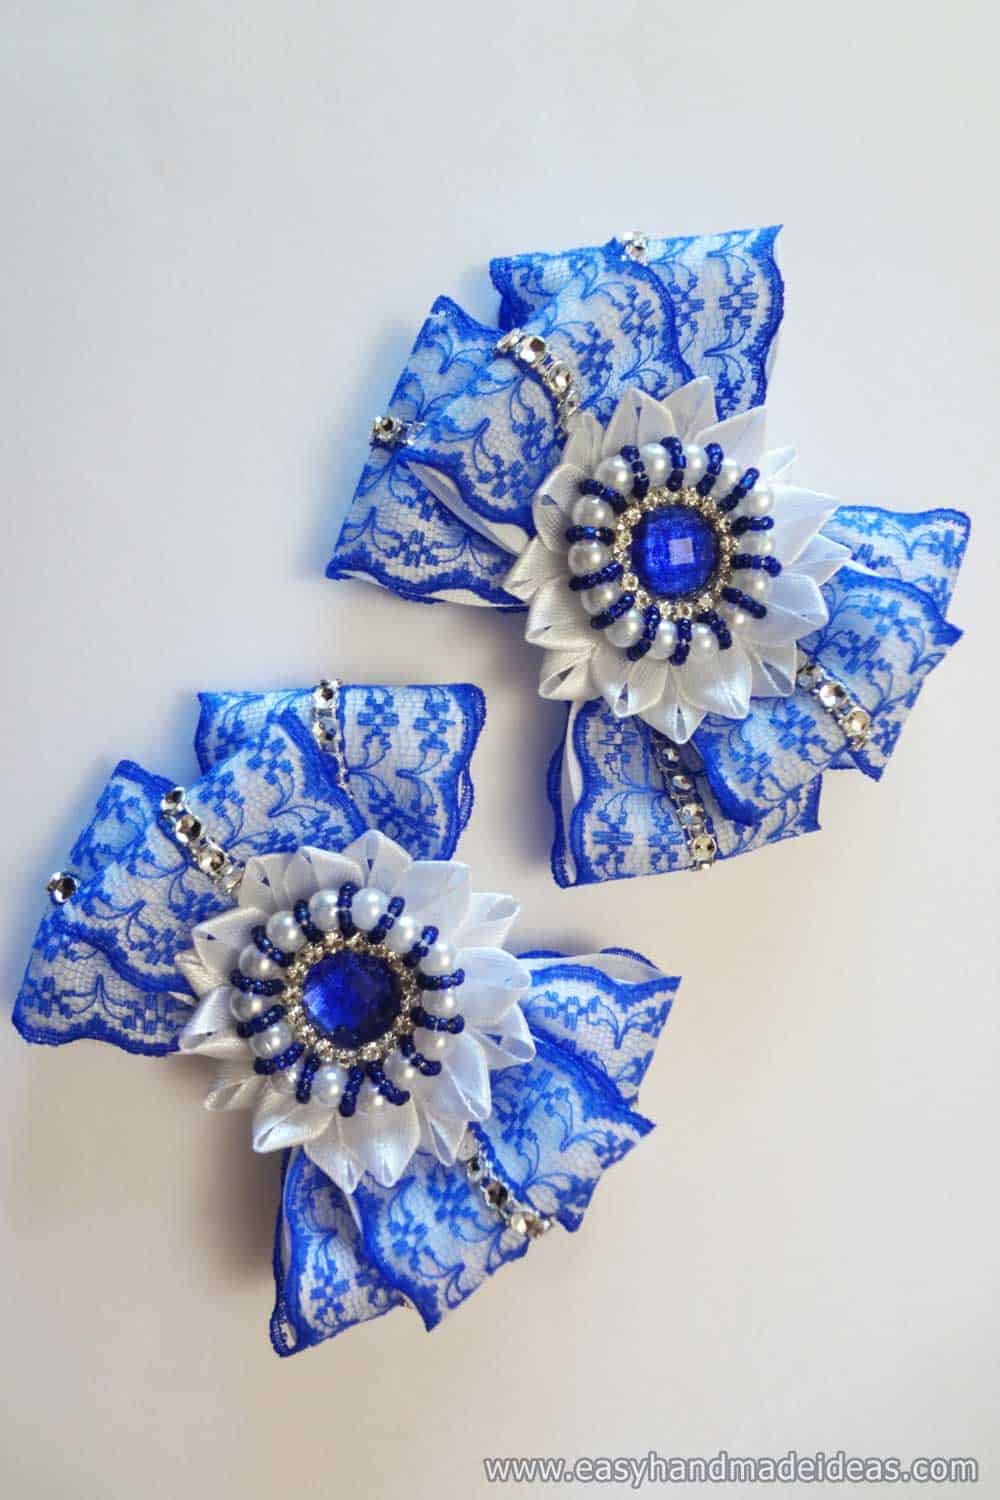
Make another accessory to make a pair.
Supply:
- 4 pieces of rep ribbon – 4 * 10 cm;
- 2 pieces of rep ribbon – 4 * 9 cm;
- 4 pieces of blue lace with a patterned texture in the form of a track – 410 cm; 2 pieces of blue lace with a patterned texture in the form of a track – 49 cm;
- silver decorative strass braid: 4 segments of 10 cm and 2 segments of 9 cm;
- 16 pieces of white satin narrow ribbon – 0.5 * 4 cm;
- white felt circle 3 cm in diameter;
- felt square – 4*4 cm;
- blue adhesive plastic half bead with a diameter of 1.2 cm;
- silver chain about 8 cm;
- 14 white beads 0.6 cm in diameter;
- 98 small blue beads.
Tools:
- ruler;
- lighter;
- thermal gun.
- glue gun and glue;
- thread and needle.
All masters and even beginners can make such decorations. Just follow the instructions.

