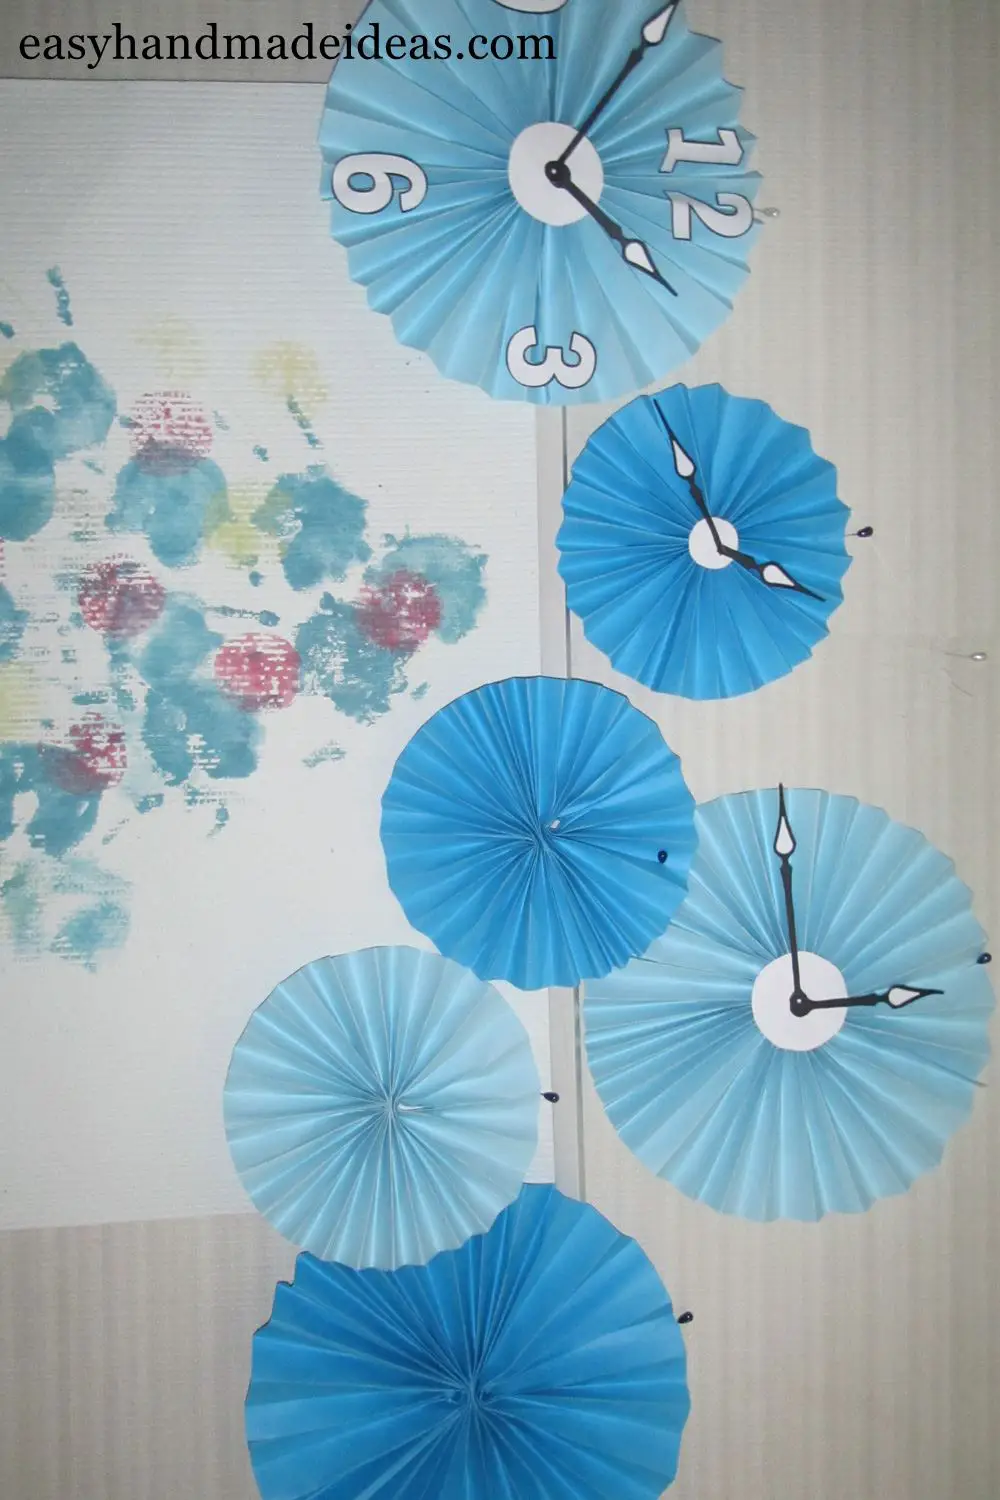
Fashionable photo zones and candy bars are often decorated with colorful corrugated circles. I suggest you to make a decorative element of decoration – a clock based on such a circle. Make your own elegant paper folding clock with hands and numbers in 10 easy steps. Add a personal touch to your home decoration!
Paper folded clock with hands and numbers
Total Time: 20 minutes
Step 1: Glue two paper sheets
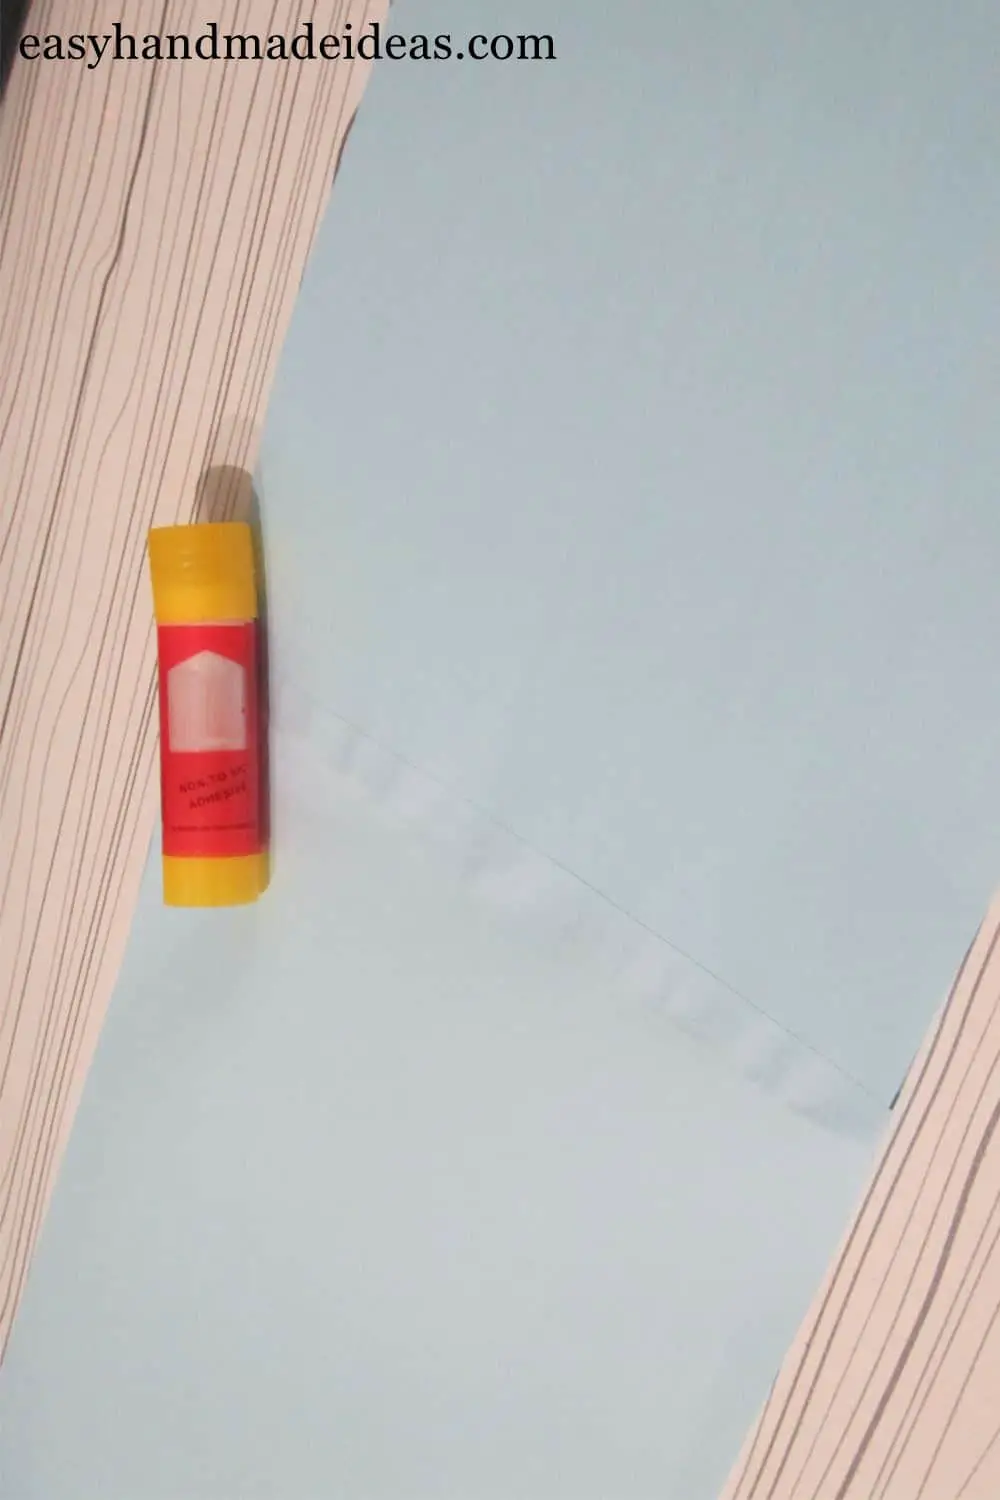
To begin with, glue two paper sheets, turning it into one long sheet.
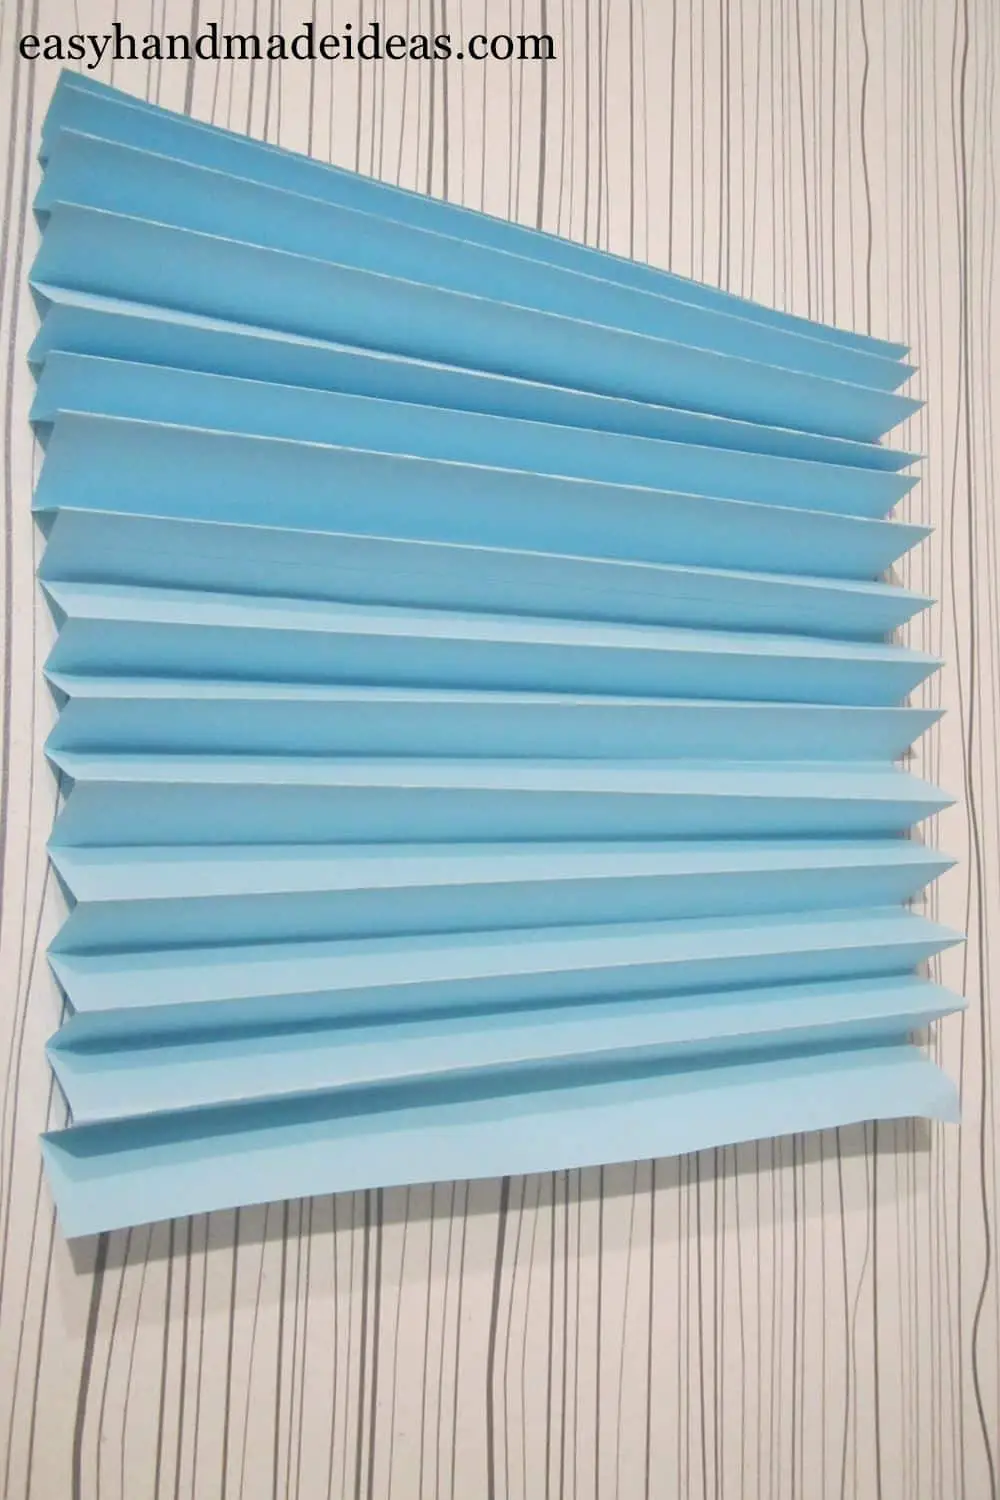
Step 2: Fold a sheet of paper from one side
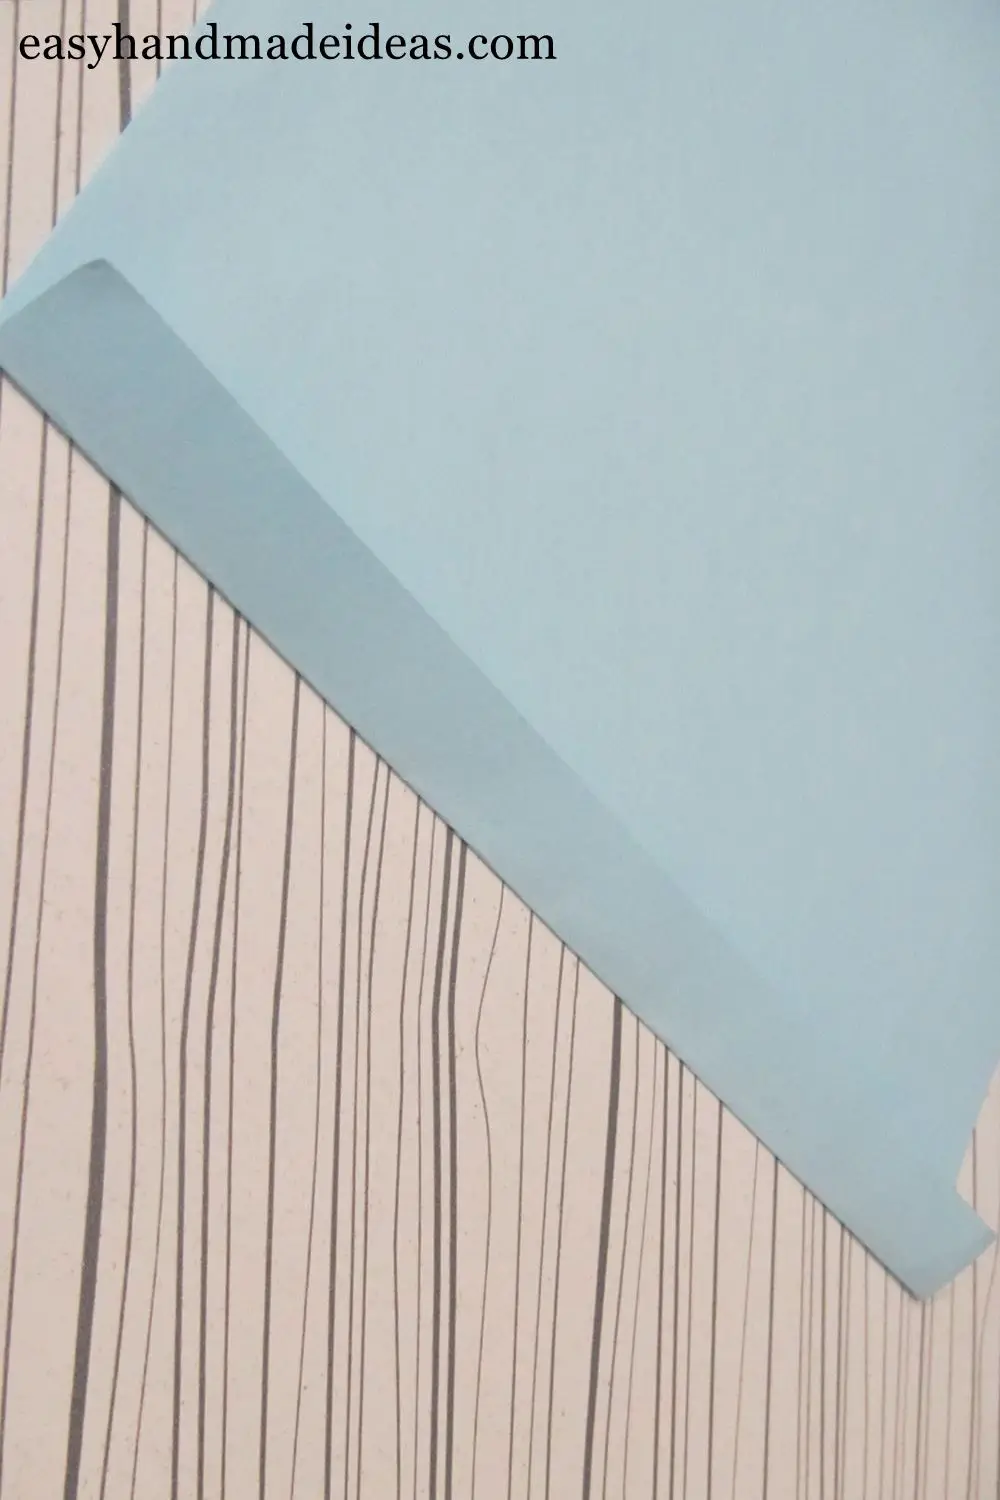
Let’s start folding the paper sheet from one side. It is better to fold at 1 cm (0,3937”), then the finished circle will look better, but you can use another size, but no more than 1.5 cm (0.5906”).
Step 3: Turn the paper sheet over and fold it to the other side

Next, turn the paper sheet over and fold it to the other side. Each time, run your finger along the edge of the fold to get a nice and crisp fold.
Step 4: Repeat step N3 until the end of the paper sheet
Repeat step N3 to the end of the sheet. You’ll end up with a regular accordion like this.
Step 5: Glue the resulting blank on top
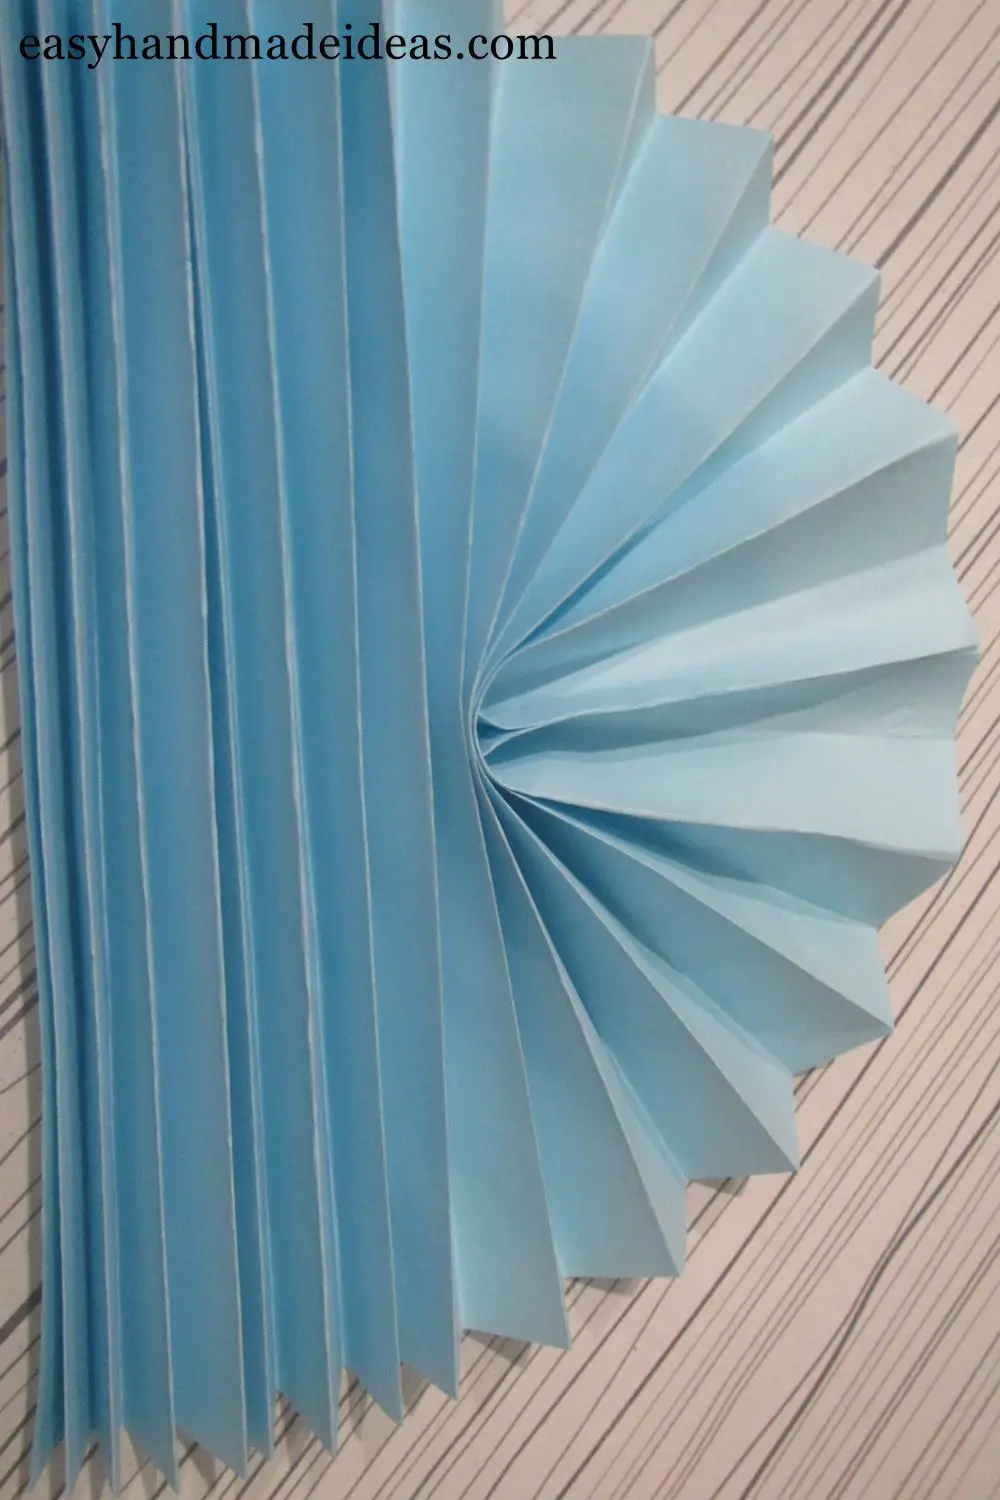
Glue the resulting blank on top. Or on the side, it depends on how you fold it.
Step 6: Glue a sheet of paper on the opposite side
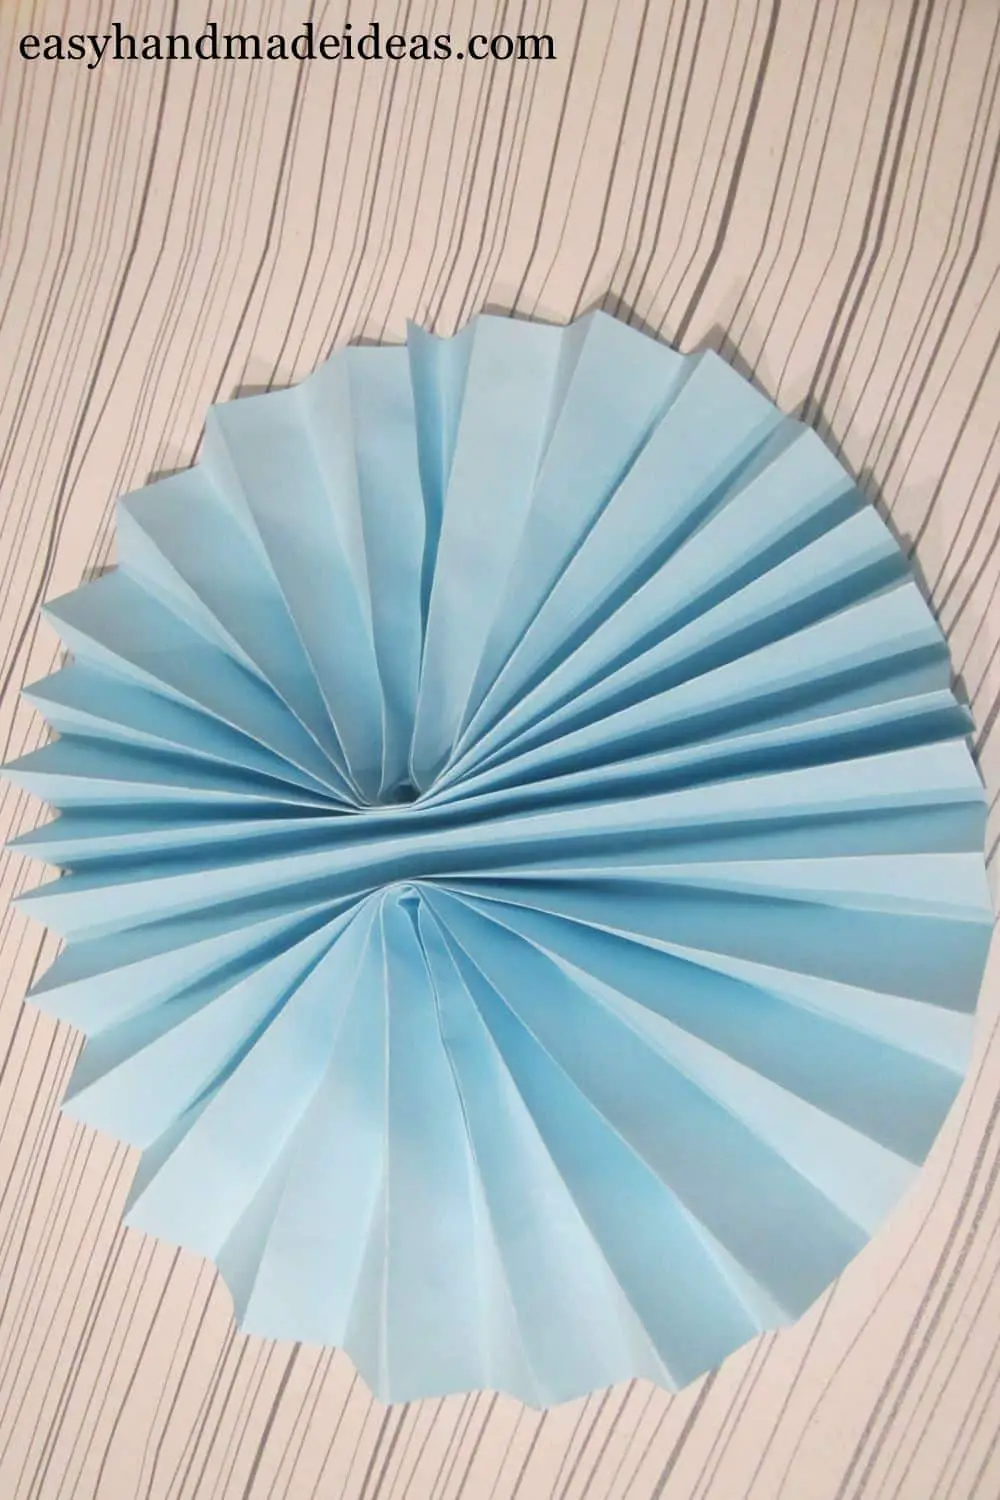
Then glue from the opposite side and you have a finished circle, which is often used to decorate photo zones and kendi bars. In your case, it’s a paper dial.
Step 7: Cut out paper numbers

Cut out paper numbers from plain white paper. In this case, there is no categorical white, of course you can choose a color that suits your unique design.
Step 8: Cut out the additional elements
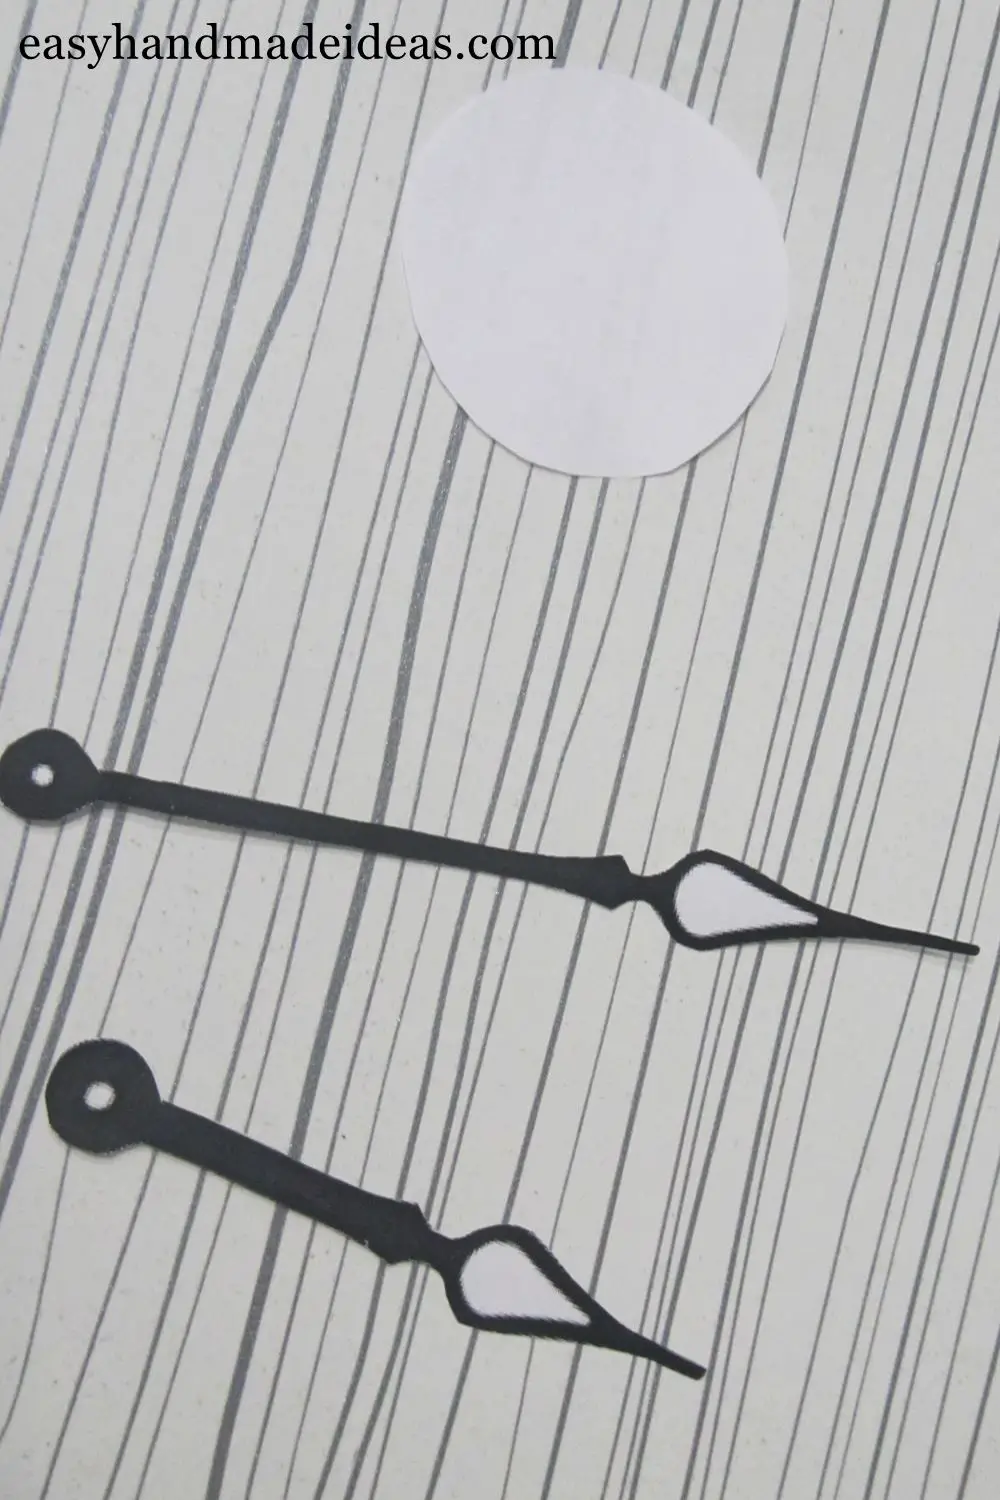
Use scissors to cut out the hands for the clock and a small circle.
Step 9: Glue the center together and mask it with a white circle on top.
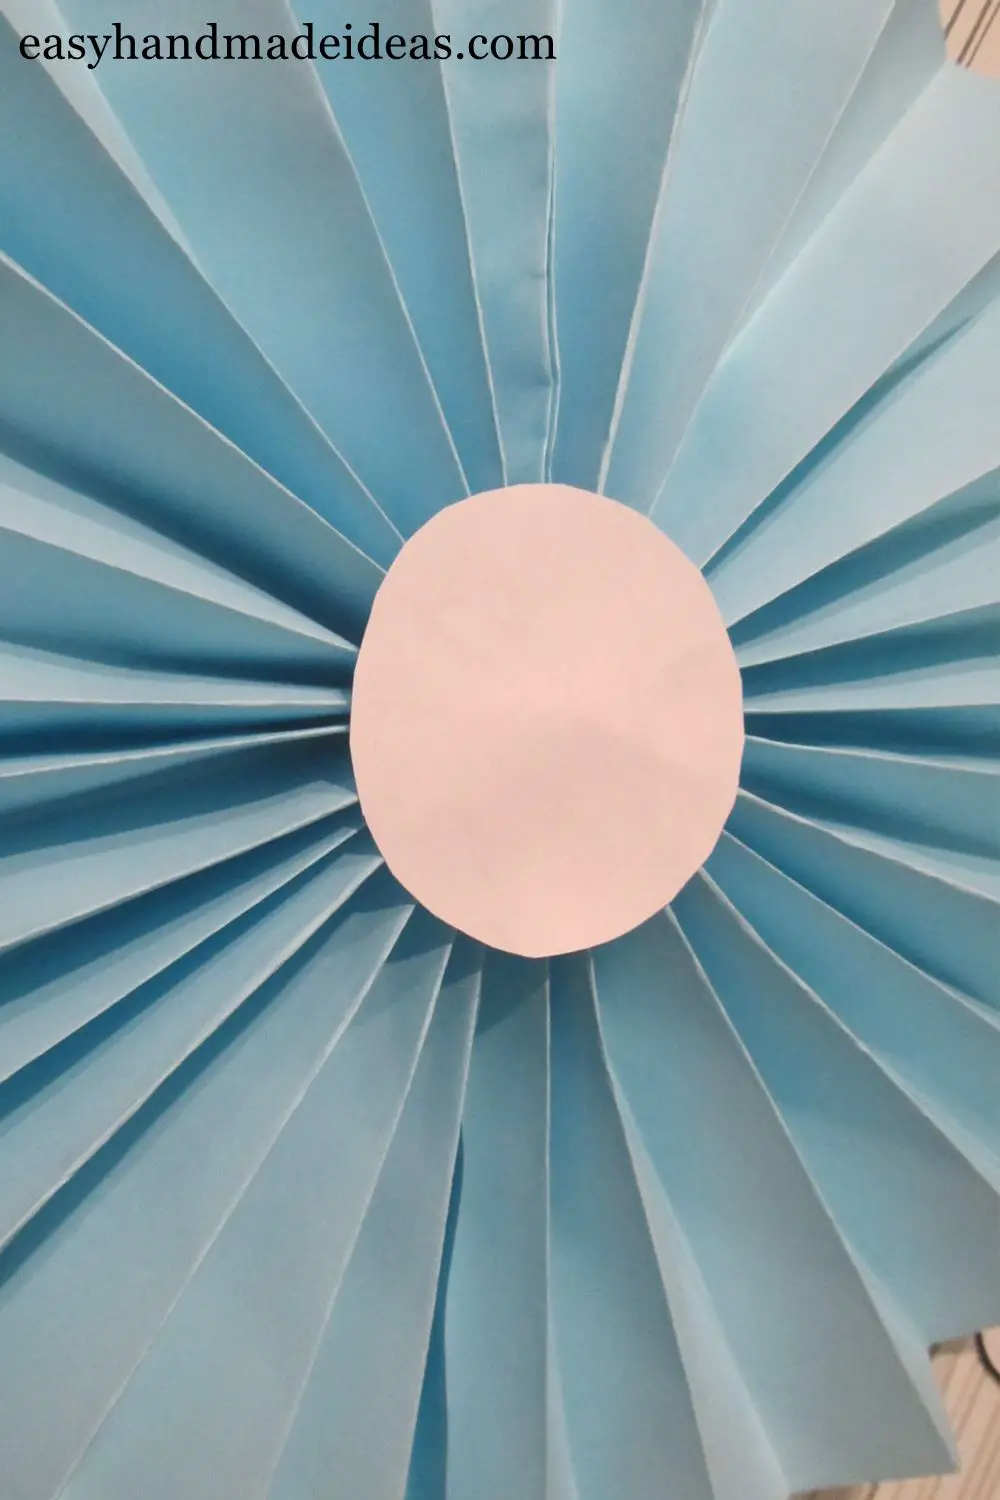
The circle in the center serves as a base for the hands and hides the ugly core. So glue the center and cover it with a white circle on top.
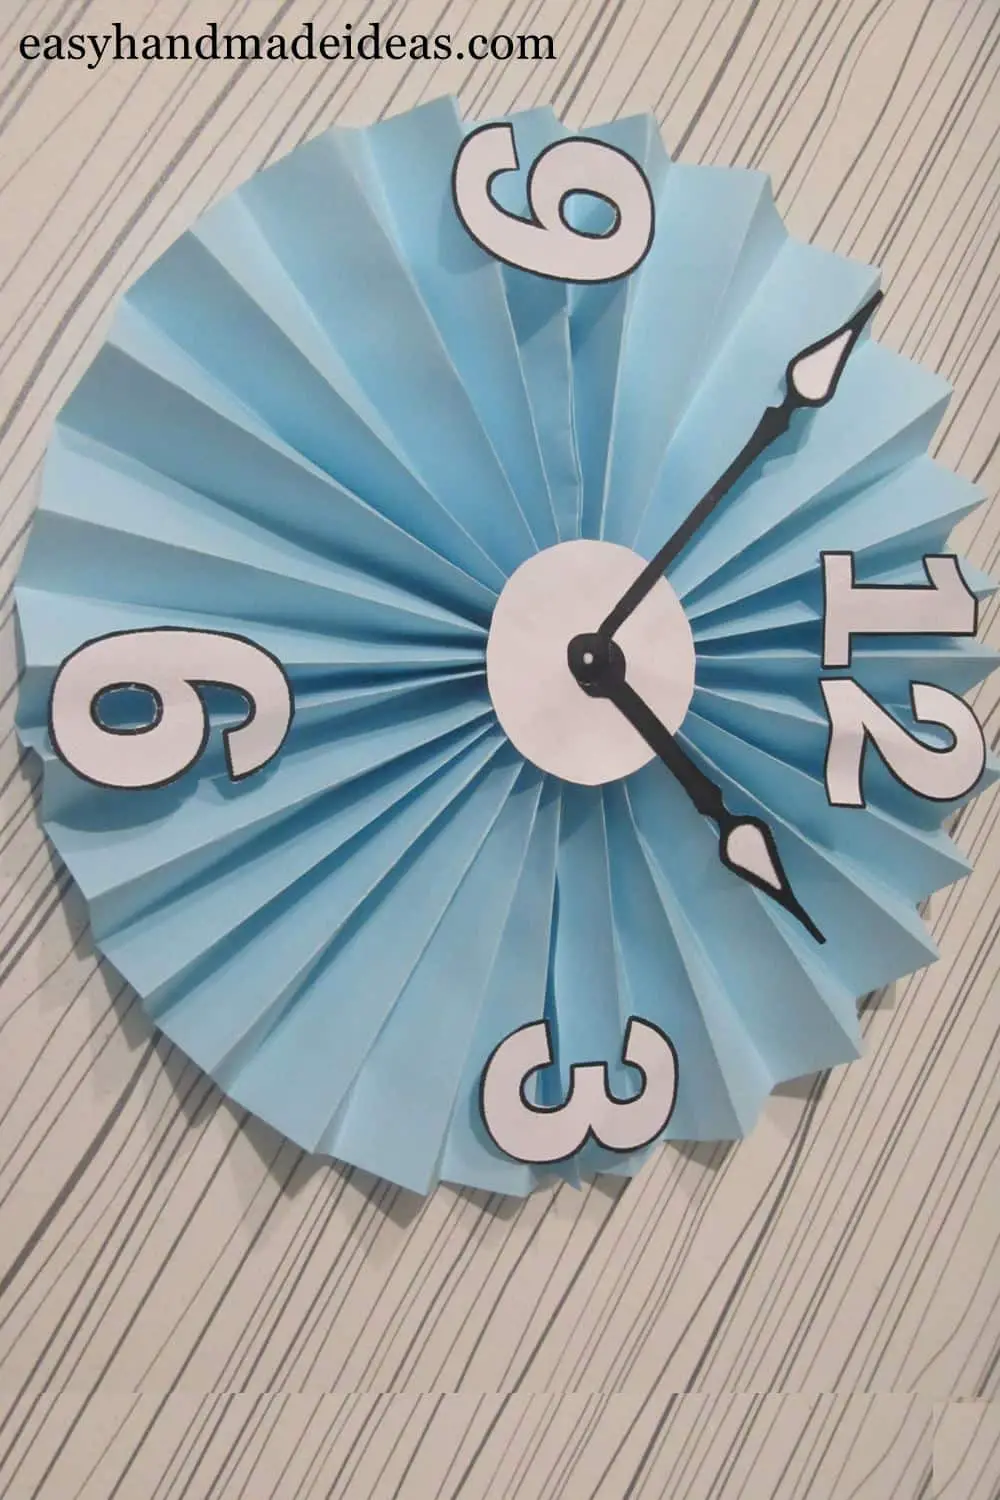
Step 10: Glue the clock hands and numbers
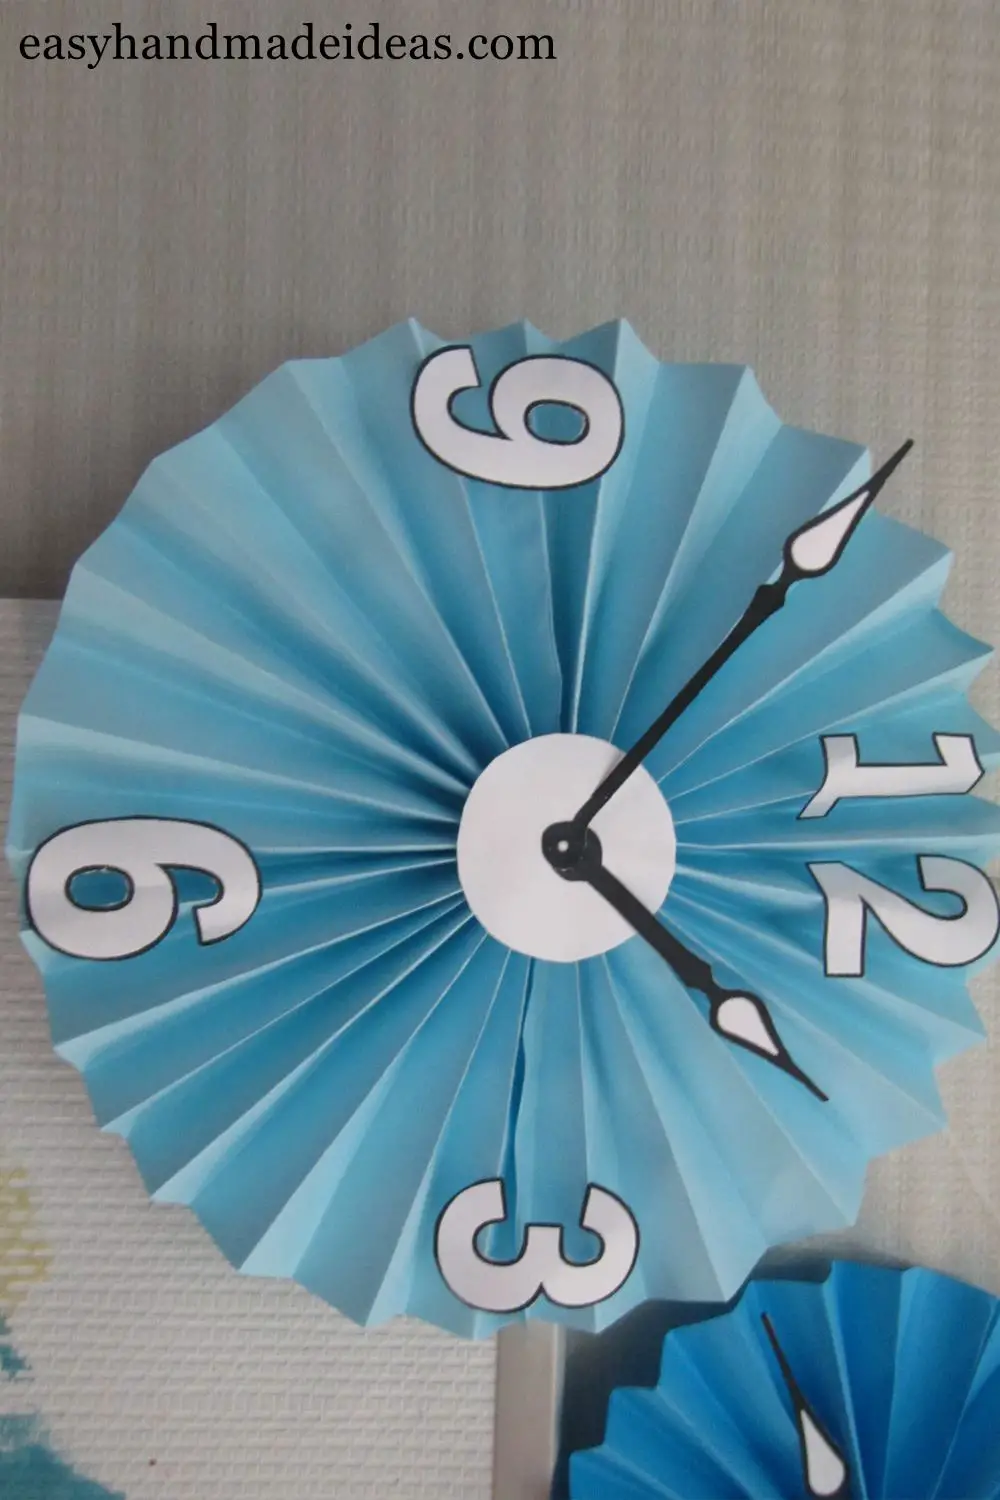
Add the hands and numbers. Glue them to the corrugated circle you made.
Supply:
- Paper blue color.
Tools:
- Scissors;
- Glue.
The decorative paper clock is finished. Well done! You can repeat all these steps and make more clock faces with or without numbers.