Four-leaf clover is not often found in nature. Apparently, for this reason, it is considered a sign of good luck. In this lesson, you will learn how to make a paper four-leaf clover using the origami technique. It makes a fun St. Patrick’s Day ornament.

Four leaf clover origami
Total Time: 25 minutes
Step 1: Prepare a green paper
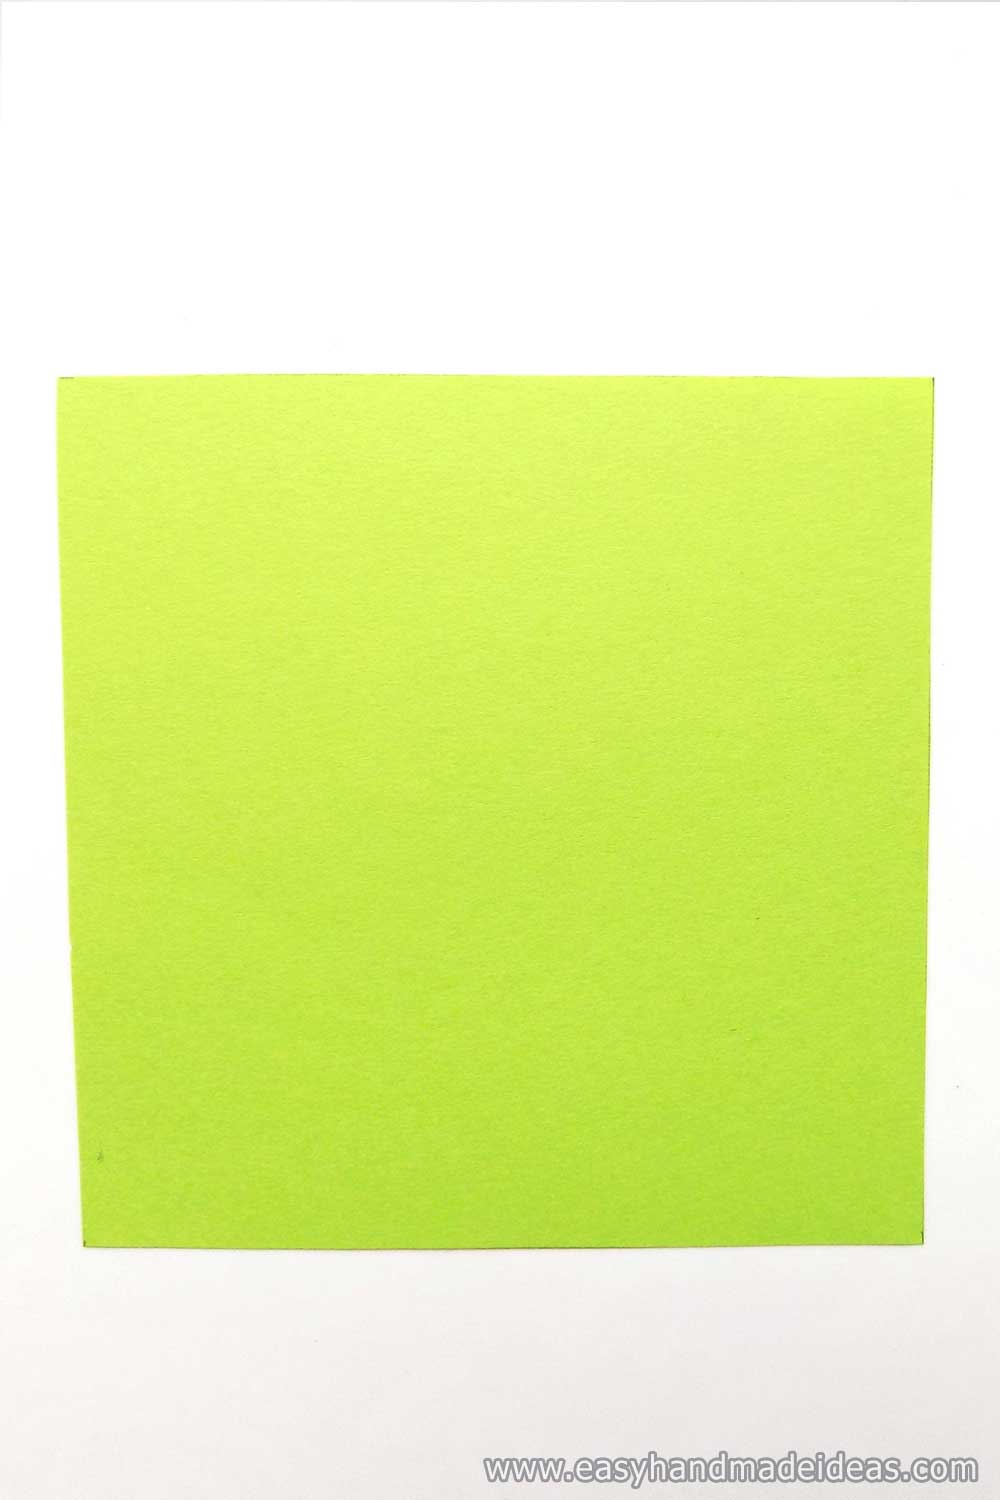
Your clover leaf will have four identical pieces. You will need 4 squares of green paper with a side of 9 cm (3.54 inches).
Step 2: Fold the square in two directions

Mark the cross creases on the square.
Step 3: Connect one edge to the center strip

Fold one edge to the center line of the square.
Step 4: Create two corners

Turn the blank over and fold the corners.
Step 5: Turn your craft over again

The resulting corner must be folded upwards.
Step 6: Straighten and fold

Begin spreading the edge on the back of the blank. Fold up first, forming triangles on the inside.
Step 7: Work with small angles
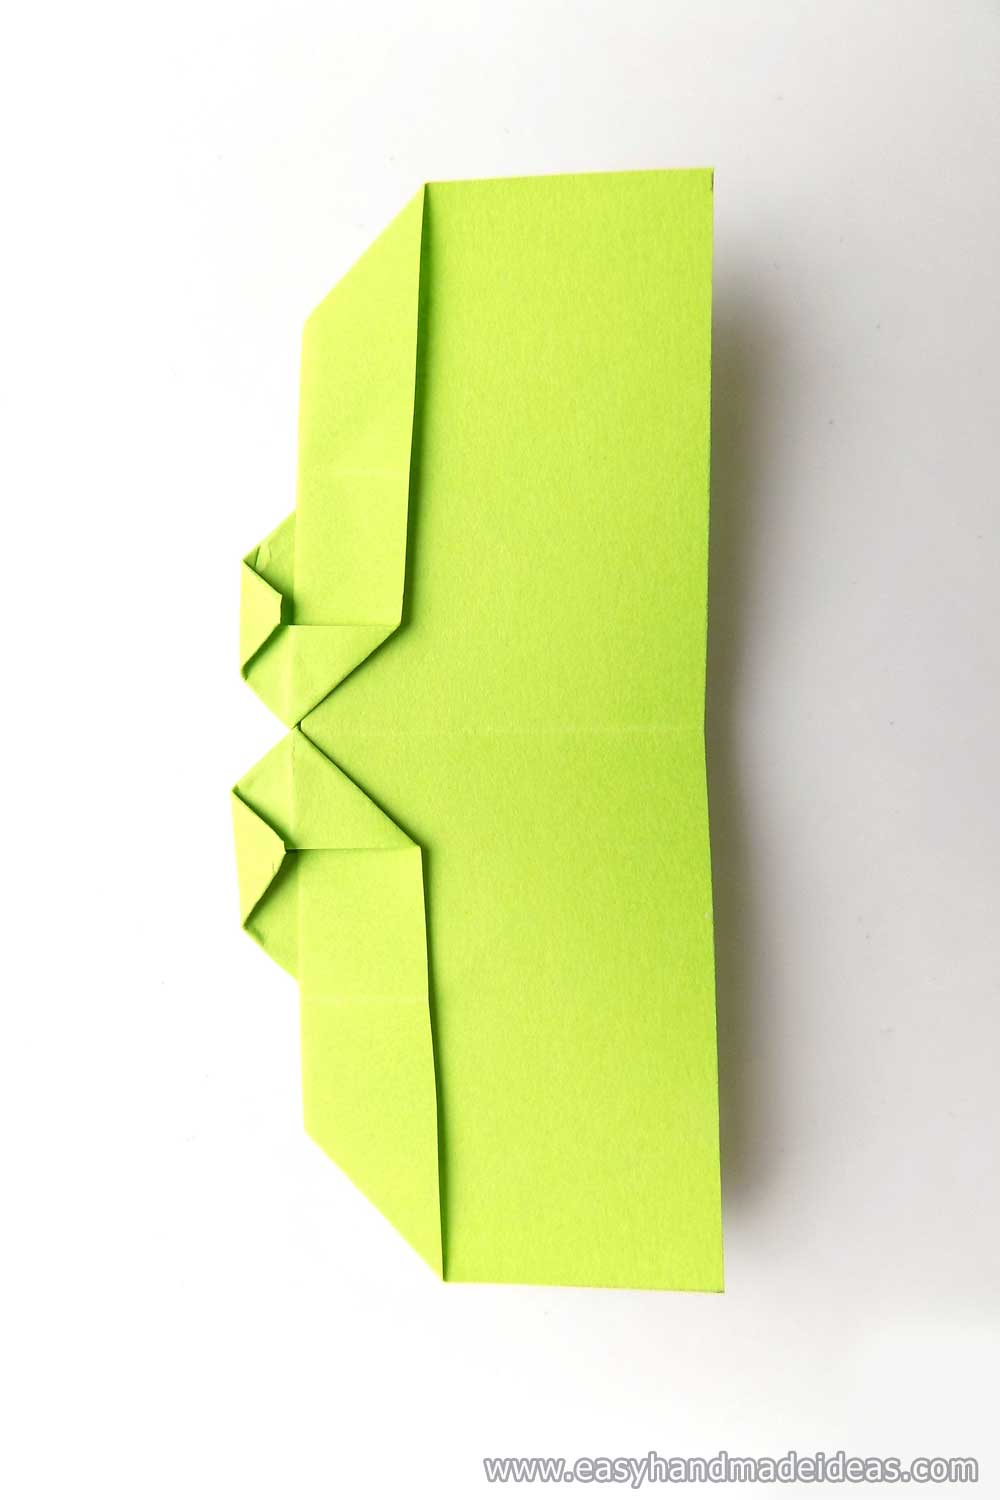
Fold down the small corners on the sides. Then fold down the upper corners slightly.
Step 8: Use the glue

Fold the sides and glue them together to form the first piece.
Step 9: Flip your craft

This is the first blank for the future cloverleaf.
Step 10: Make four clover leaves

Make 3 such details according to the principle described above.
Step 11: Use the glue
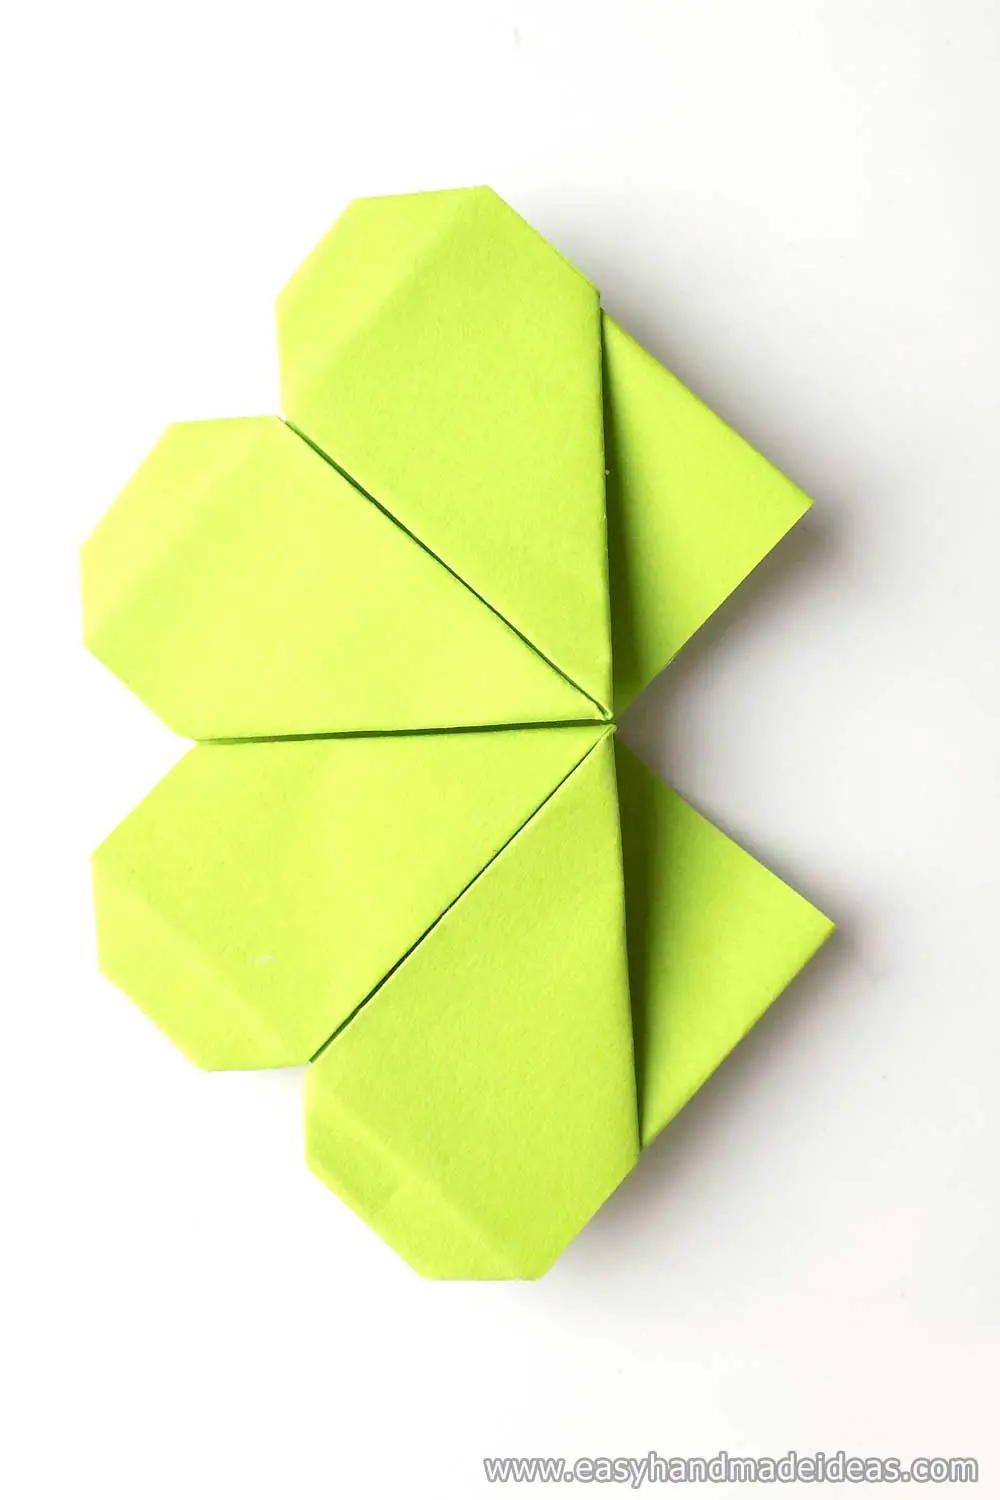
Join the leaves together. To do this, insert the edge of one piece into the other. Use glue to make the connection.
Step 12: Glue all the leaves together
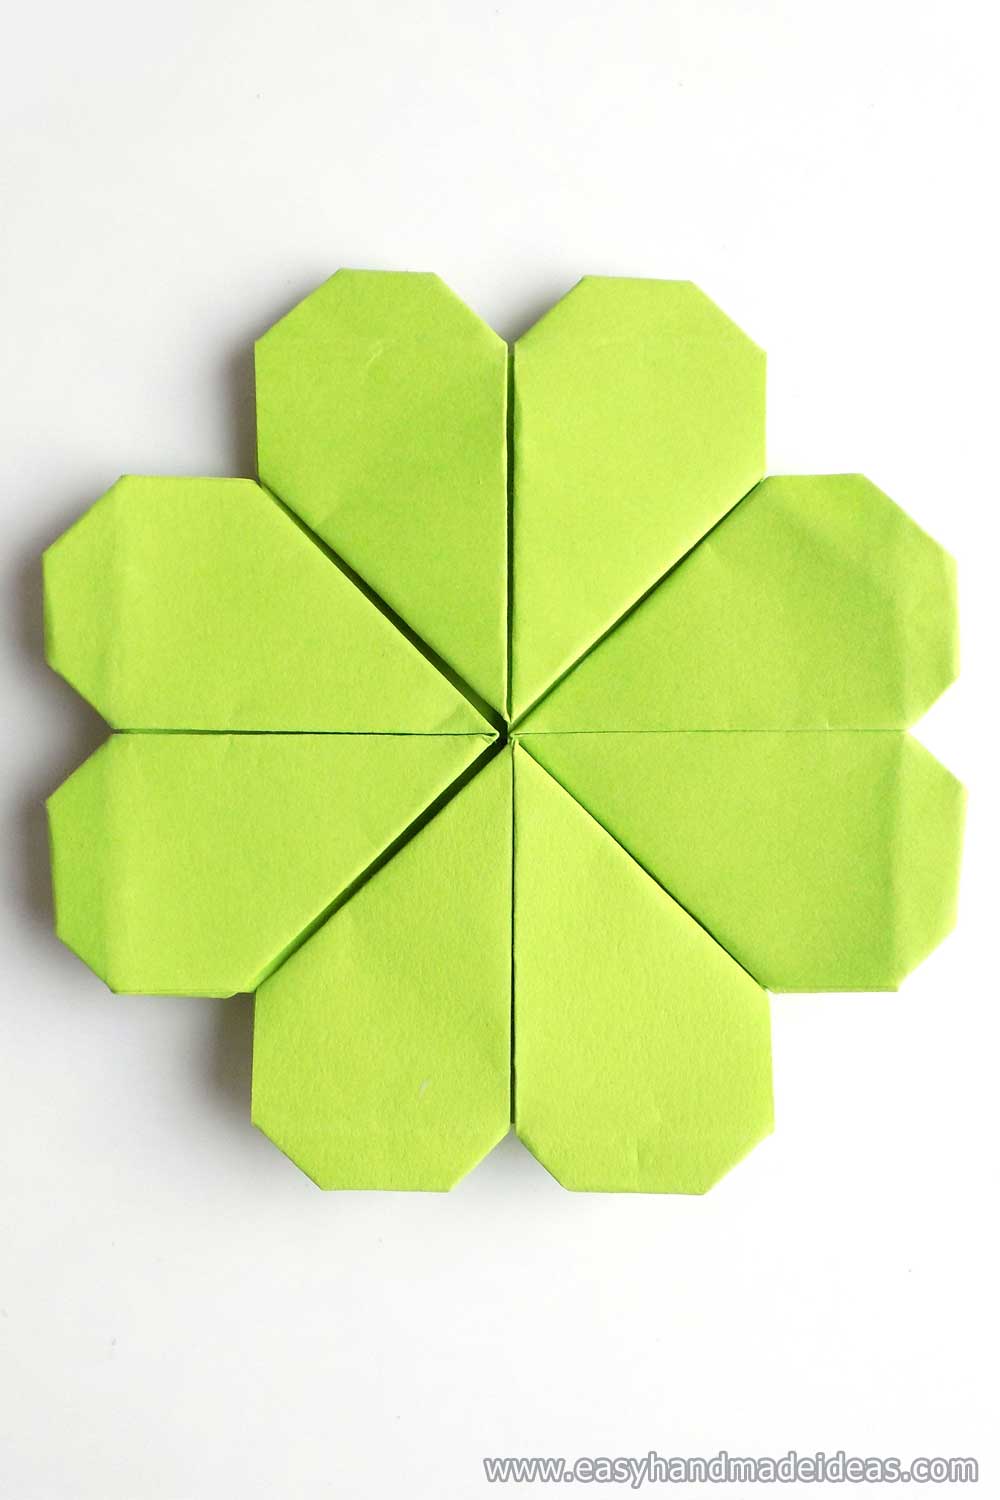
Fasten all four blanks.
Step 13: Use a new sheet of paper
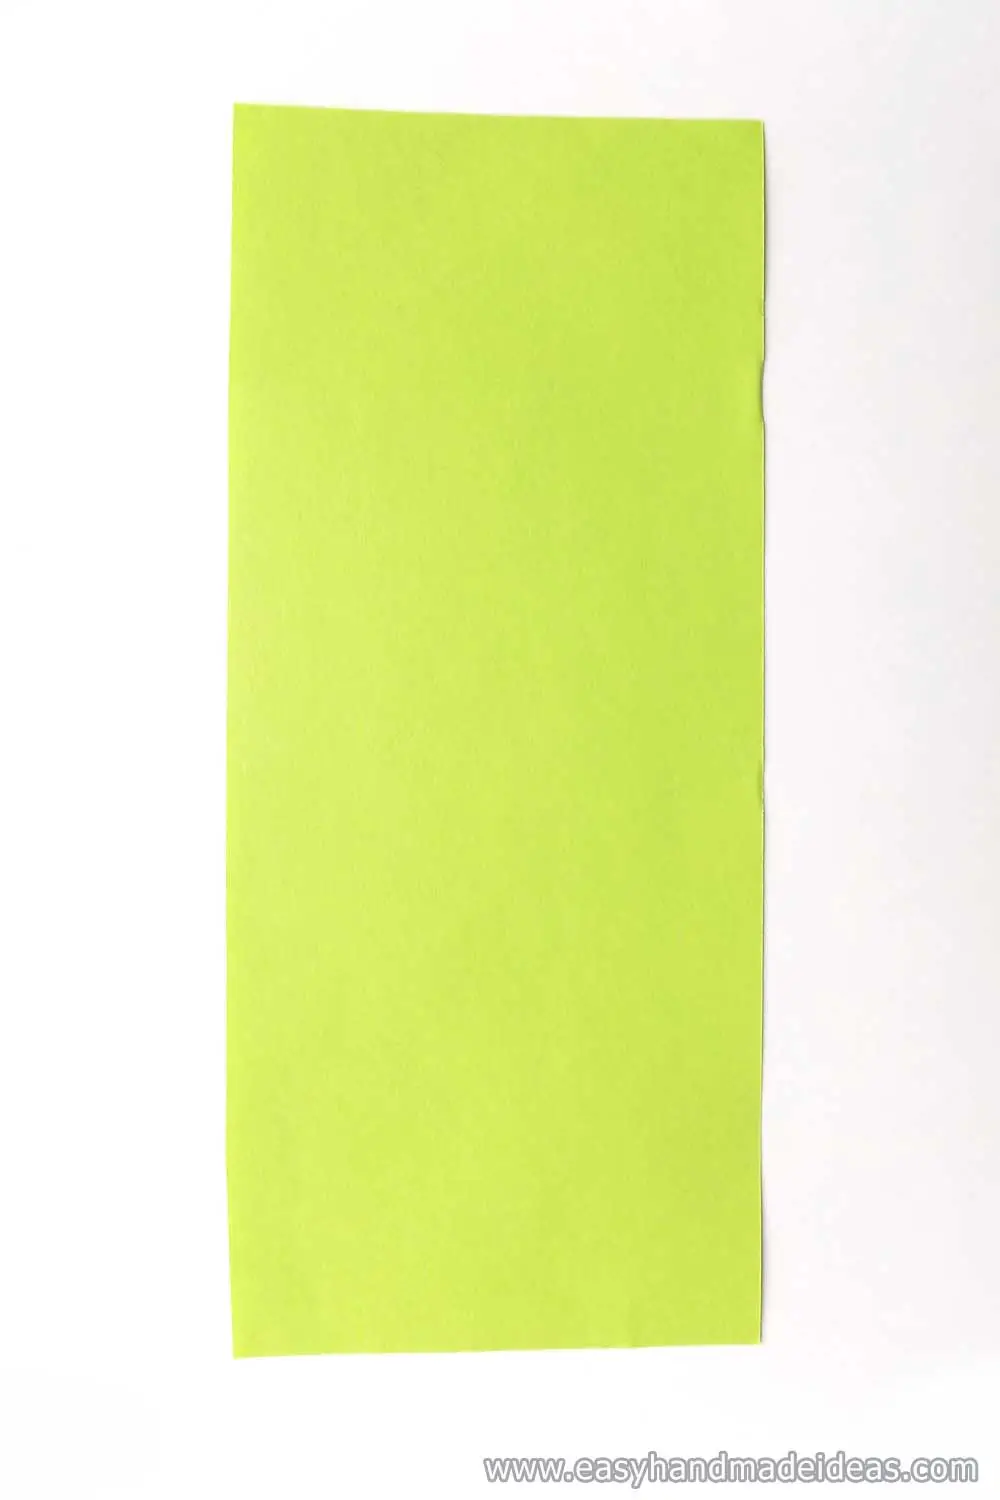
Cut out a rectangle of green paper to make a stem for a leaf.
Step 14: Make a stem
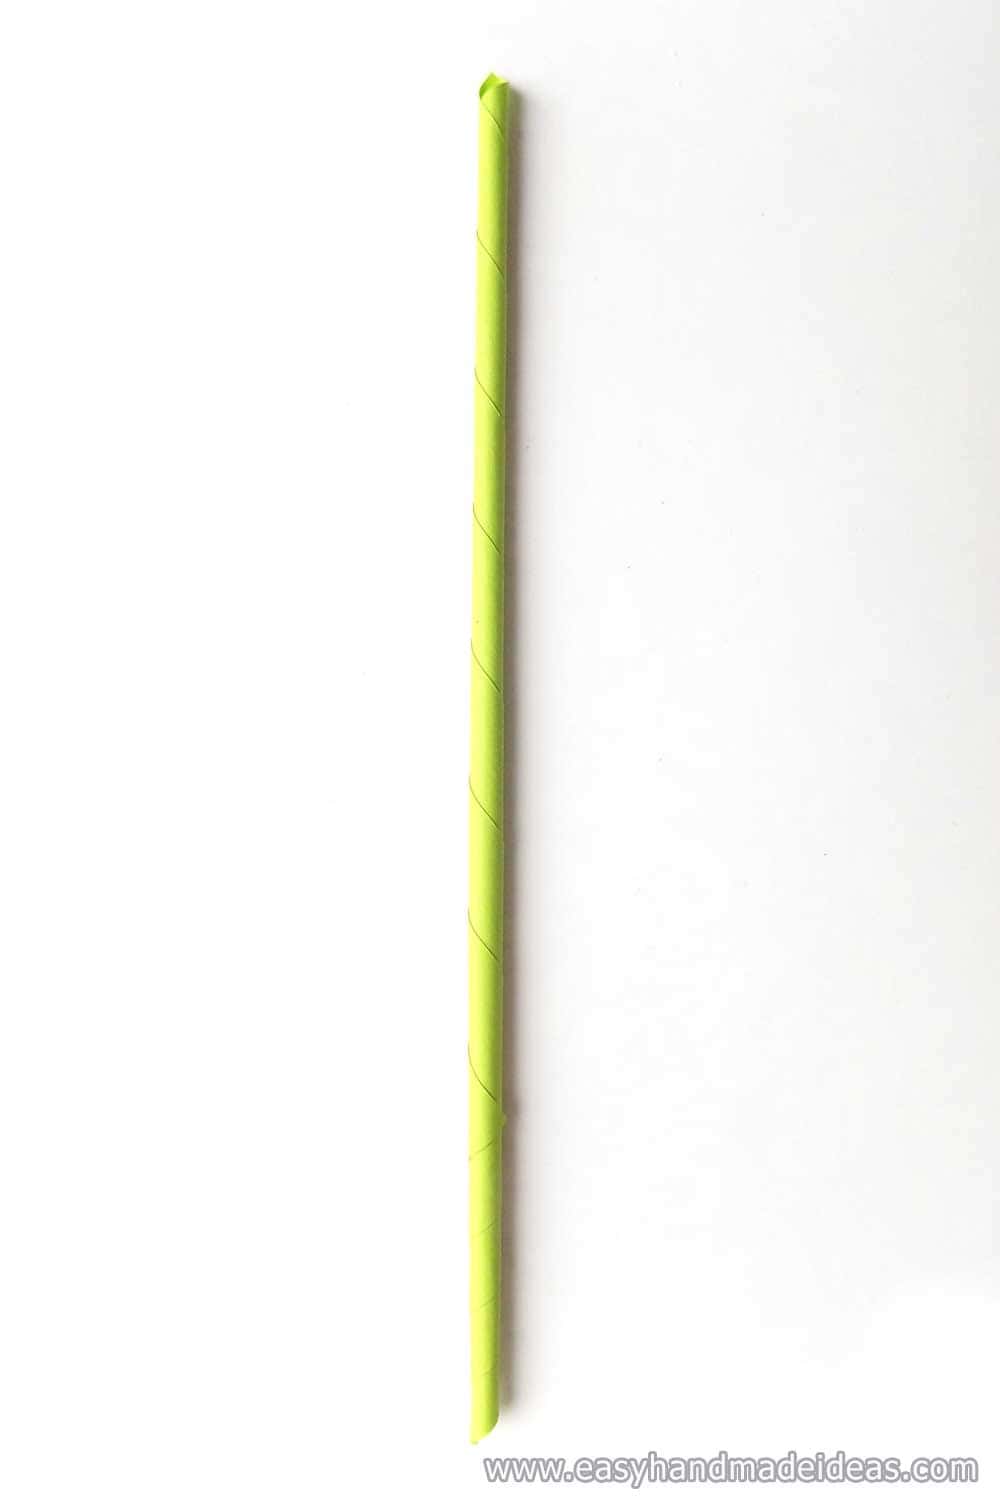
Twist the rectangle into a thin tube, starting at the corner. Fasten the edge at the end with glue.
Step 15: Connect the pieces

Glue the stem to the main body. You should end up with a paper clover leaf similar to the one in the photo.
Supply:
- green paper;
Tools:
- pencil;
- ruler;
- glue;
- scissors.
This craft can be used as a cute good luck charm, a bookmark, or just for decoration.

