For this craft prepare the best brightly colored paper, because you will make a butterfly. In origami there are several ways to create this beautiful insect. I will show one of them, which does not involve the use of scissors and glue. I present my simple instruction, how to make an origami butterfly.
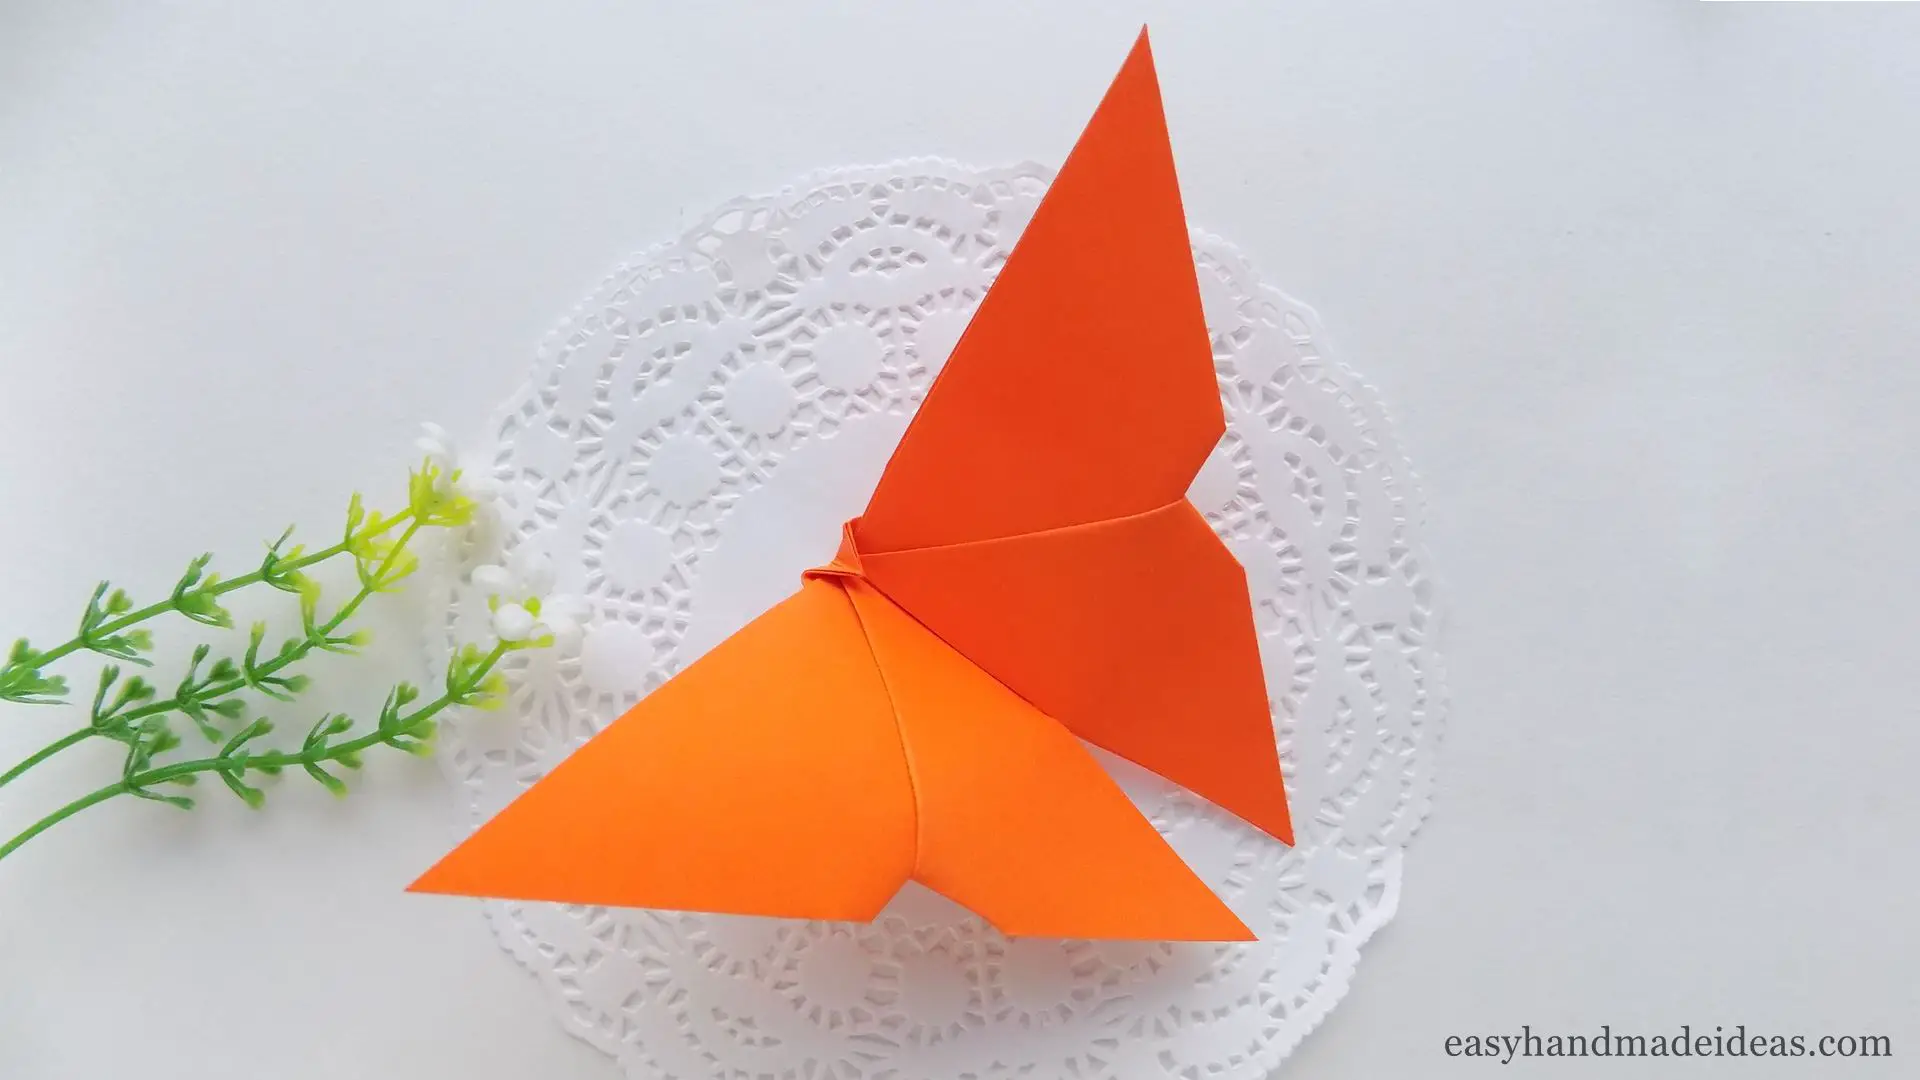
An origami butterfly
Total Time: 15 minutes
Step 1: Get a square of colored paper
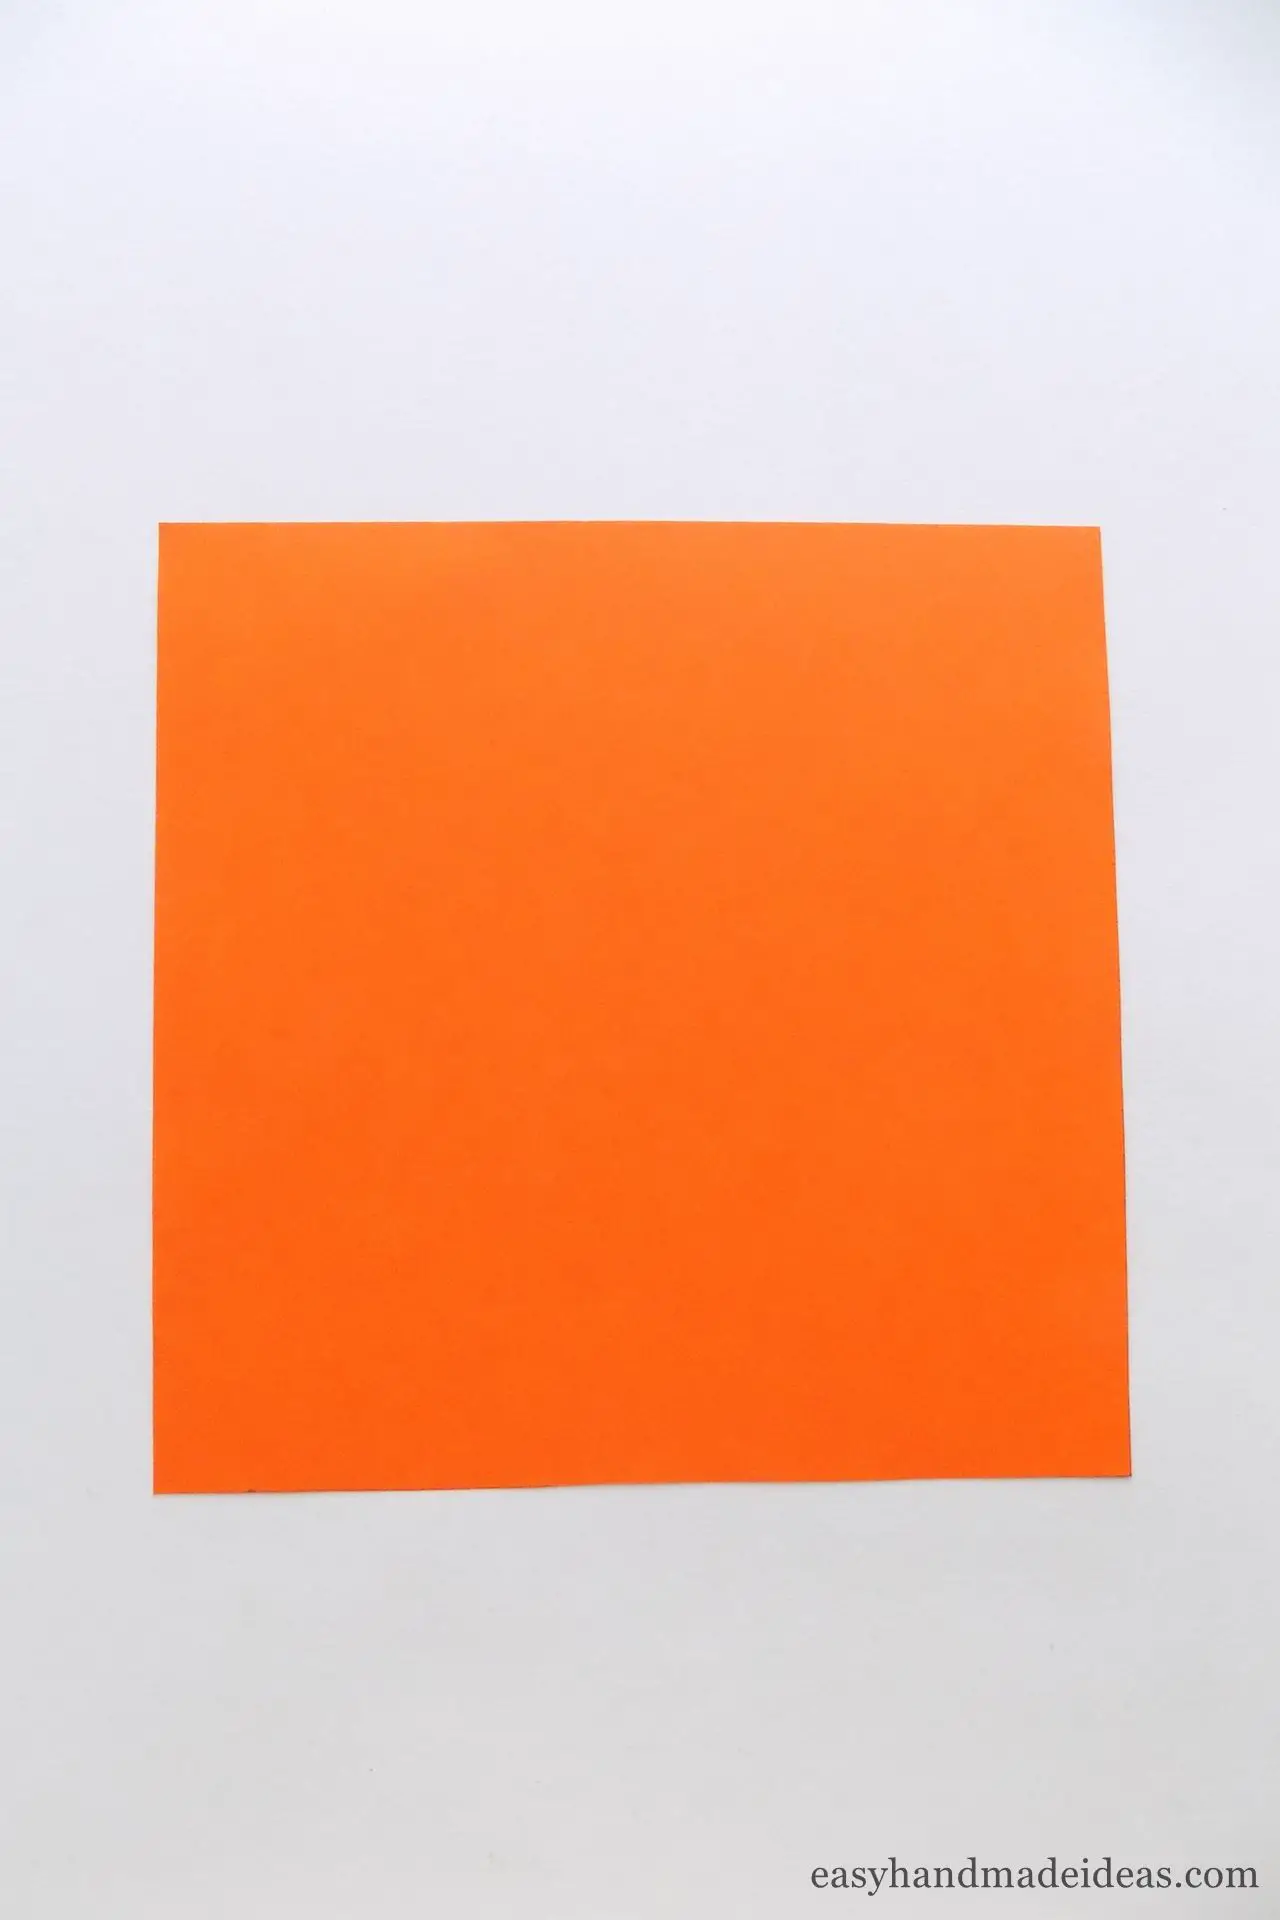
Prepare a square of colored paper of any size.
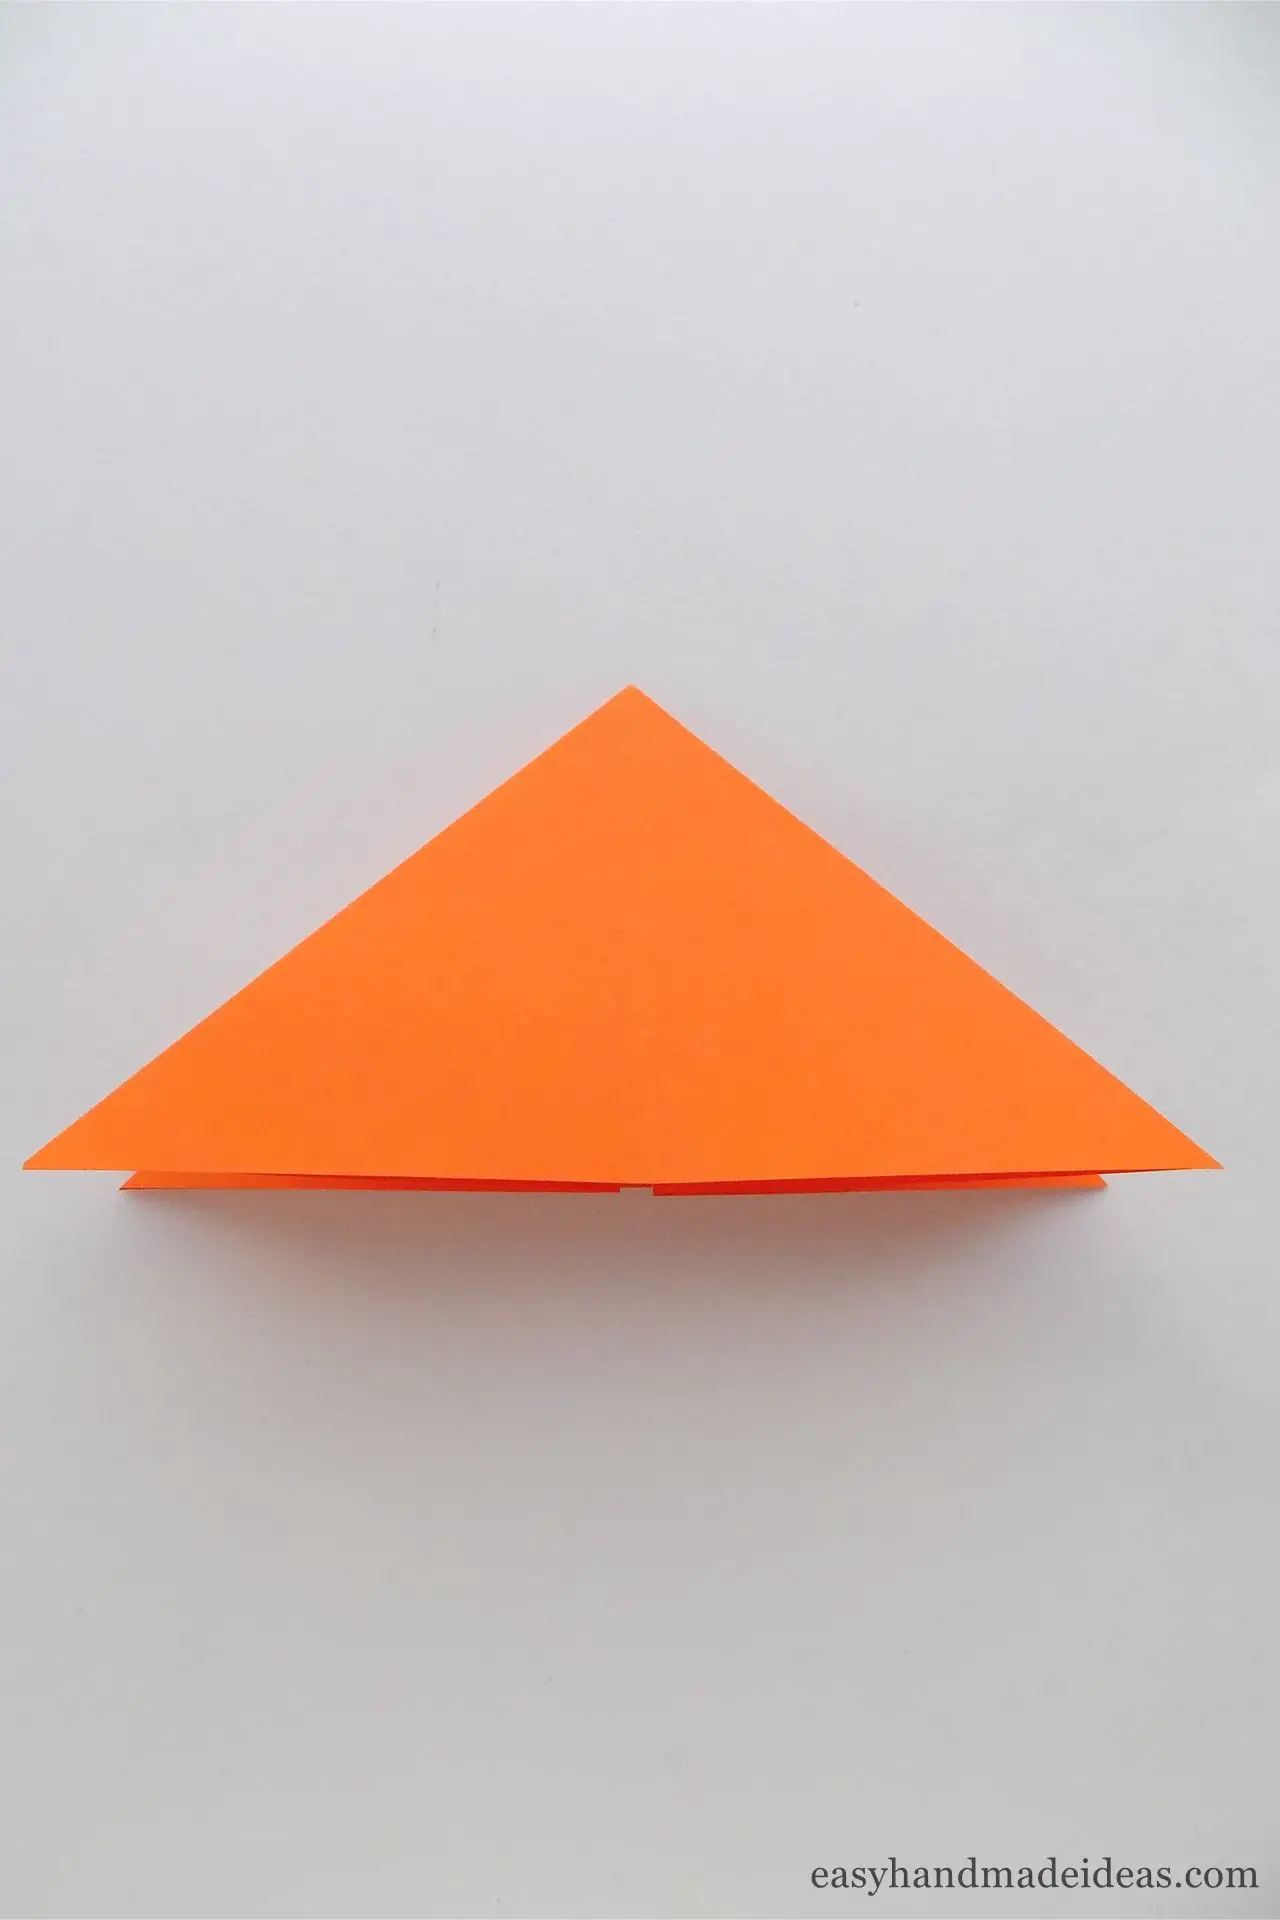
Step 2: Create a basic “Triangle” shape
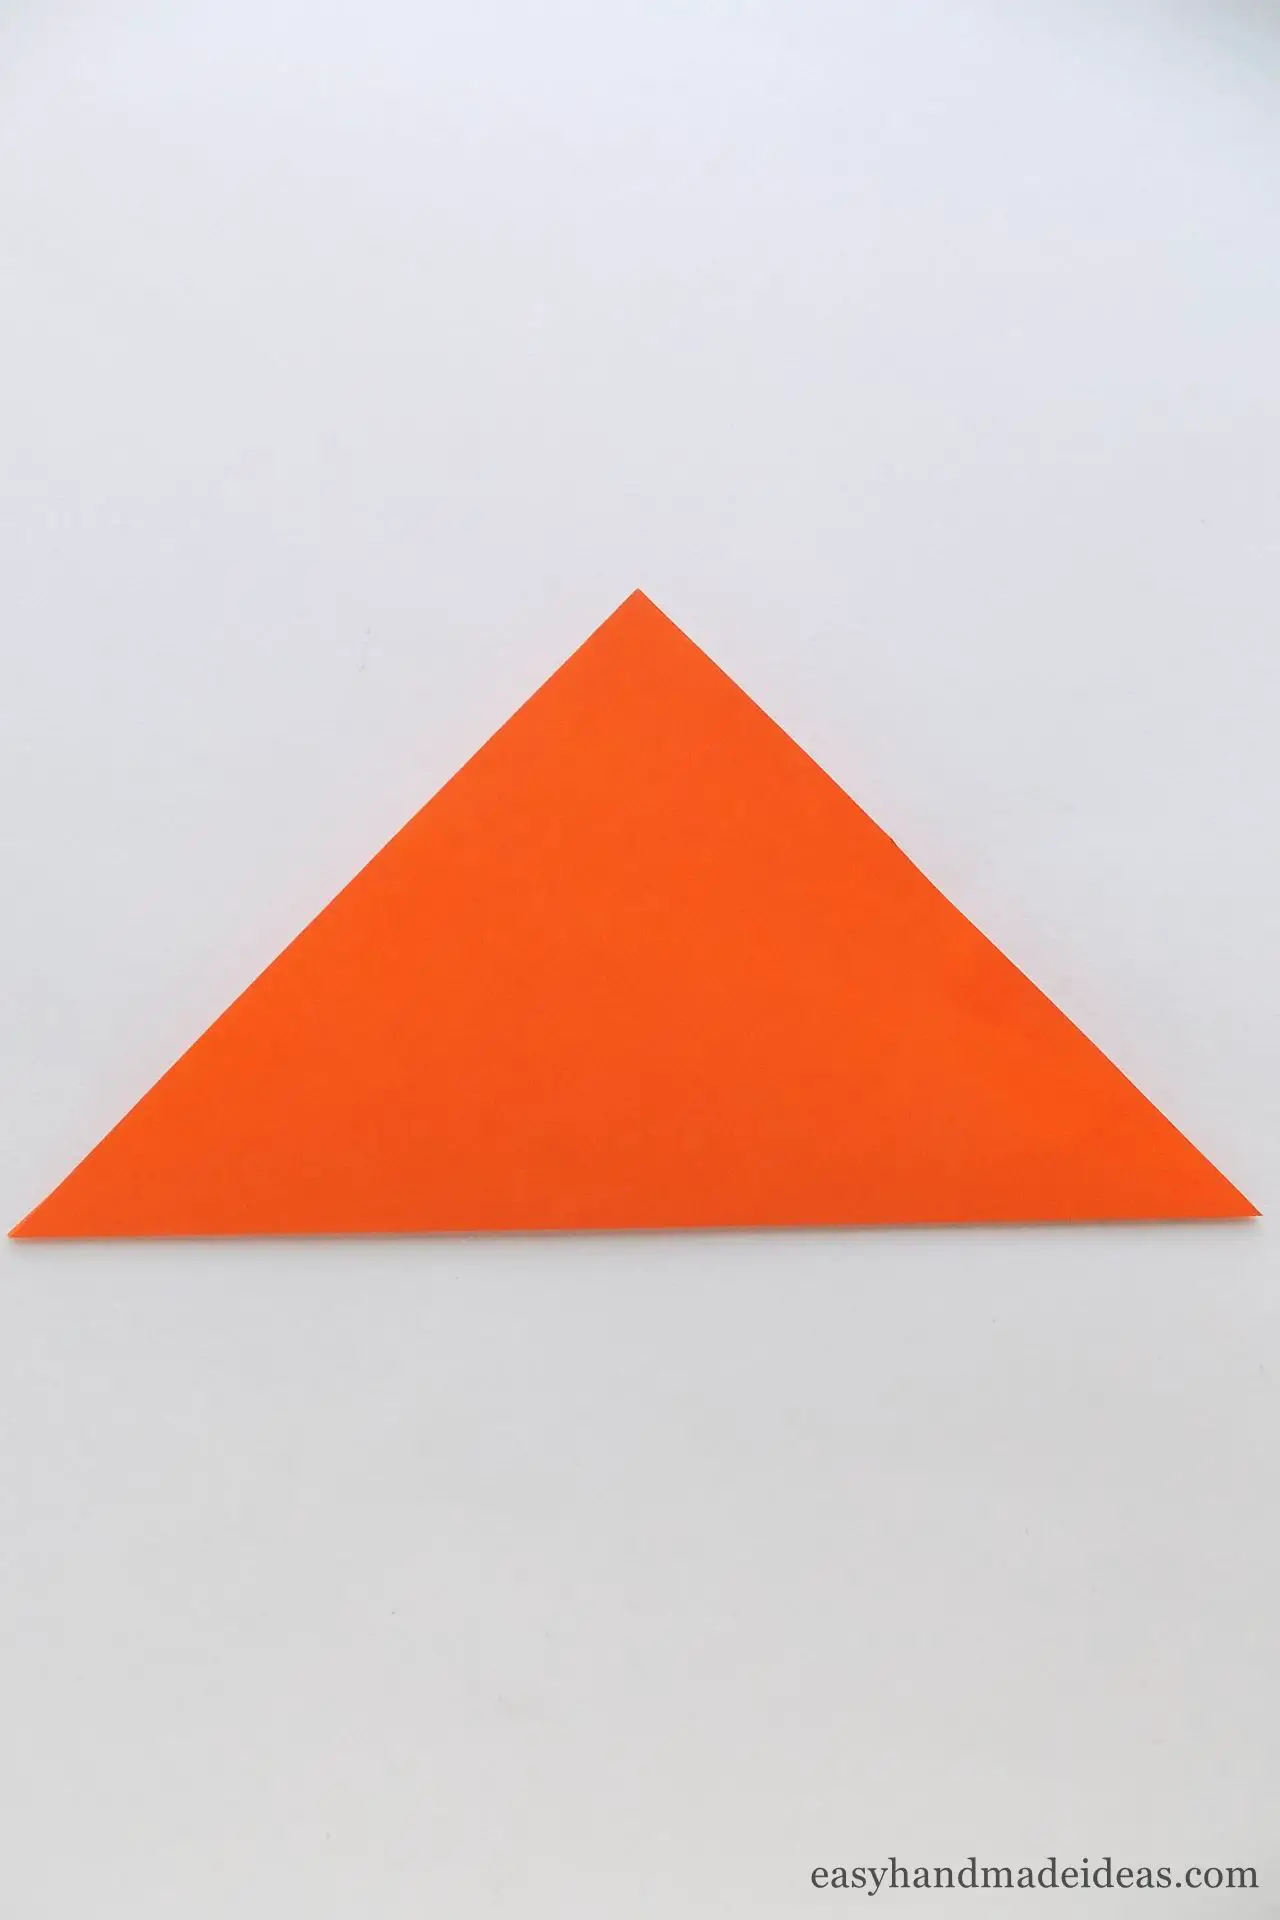
Fold the prepared square diagonally.
Step 3: Fold the triangle in half and flatten the piece
Make another fold in the triangle, and then straighten the piece to make a square.
Step 4: Fold the square in half
Fold the square across, making a fold in the other direction. You should get a rectangle.
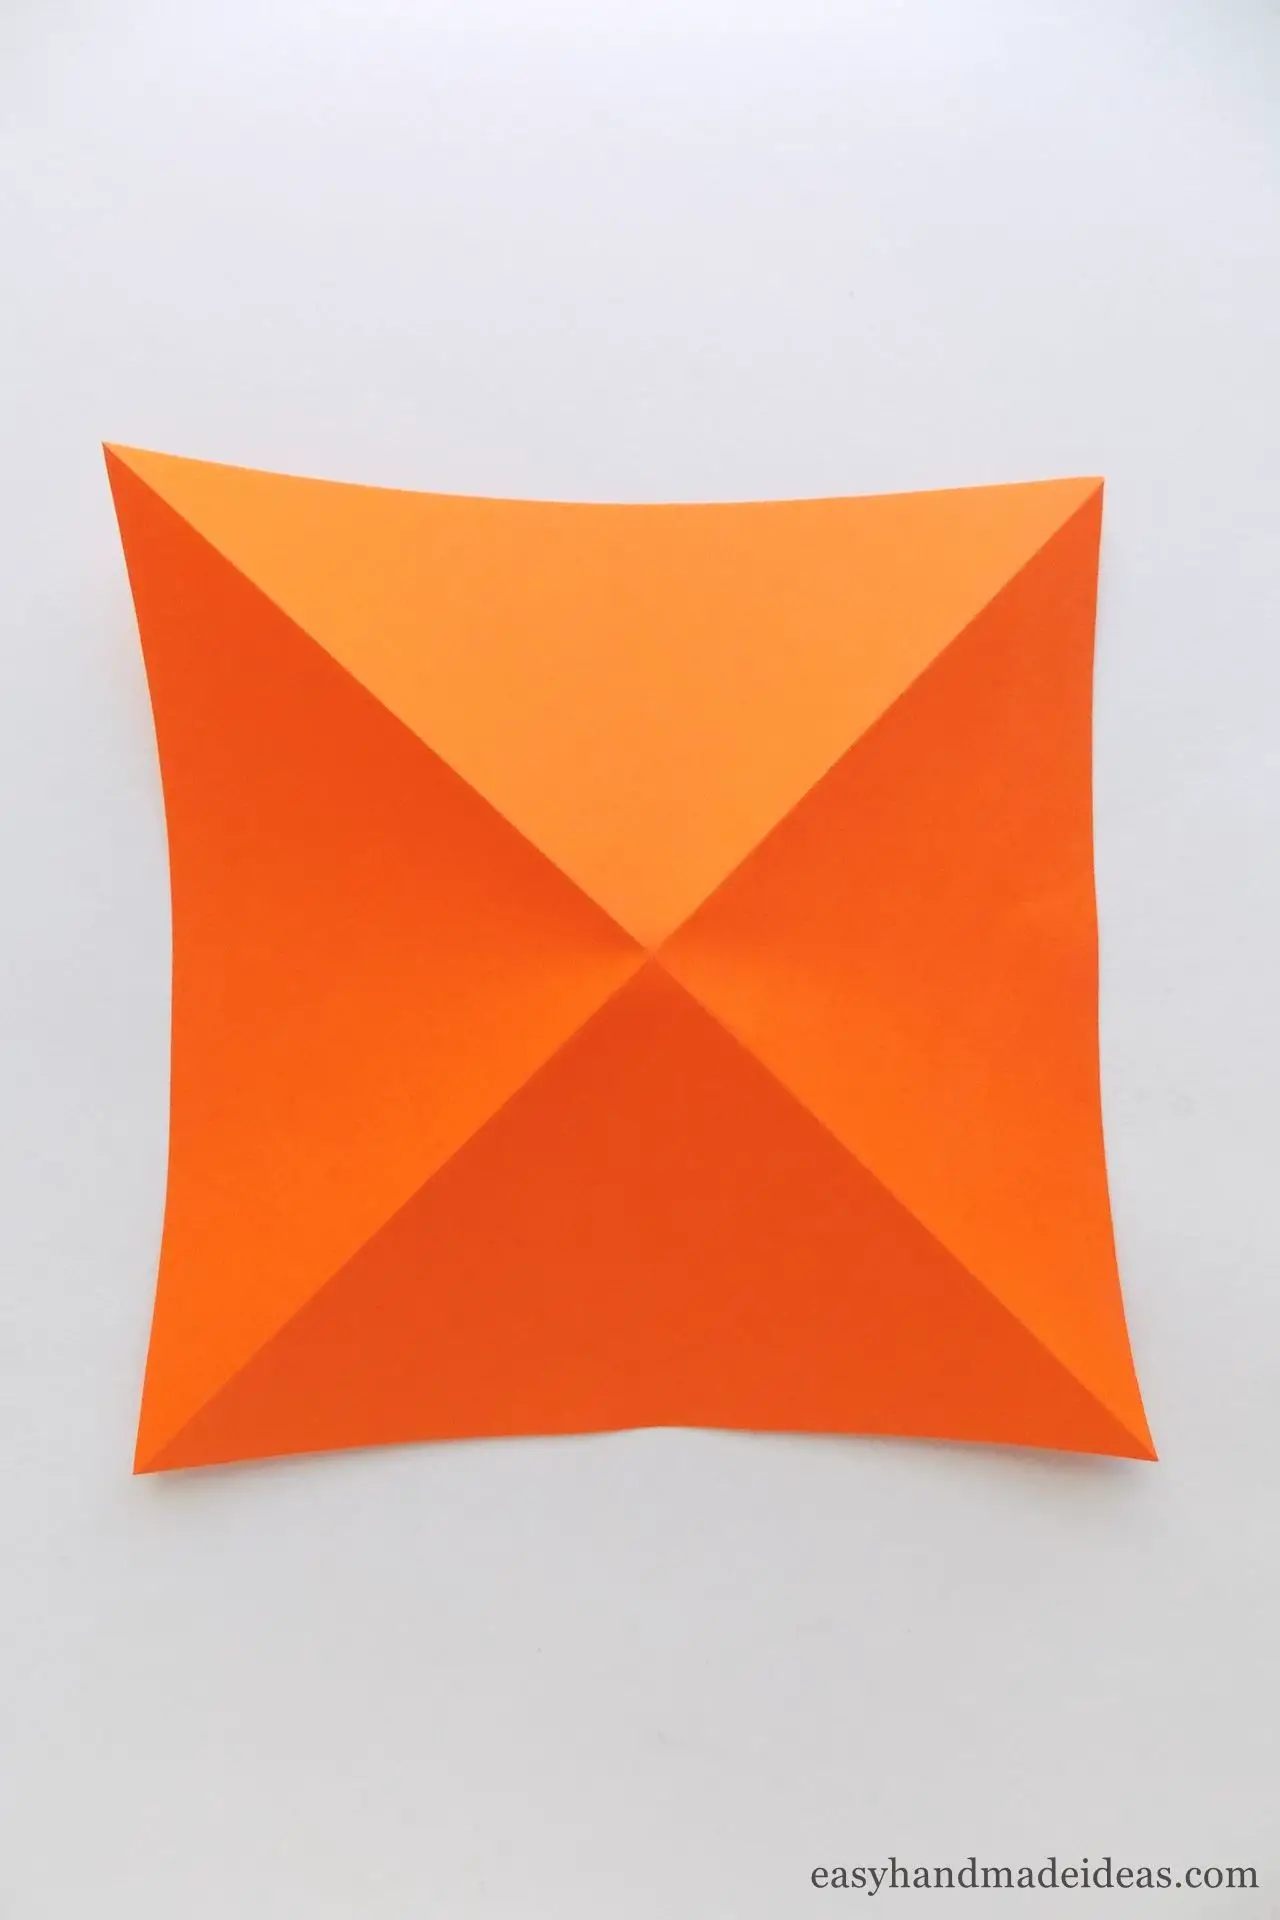
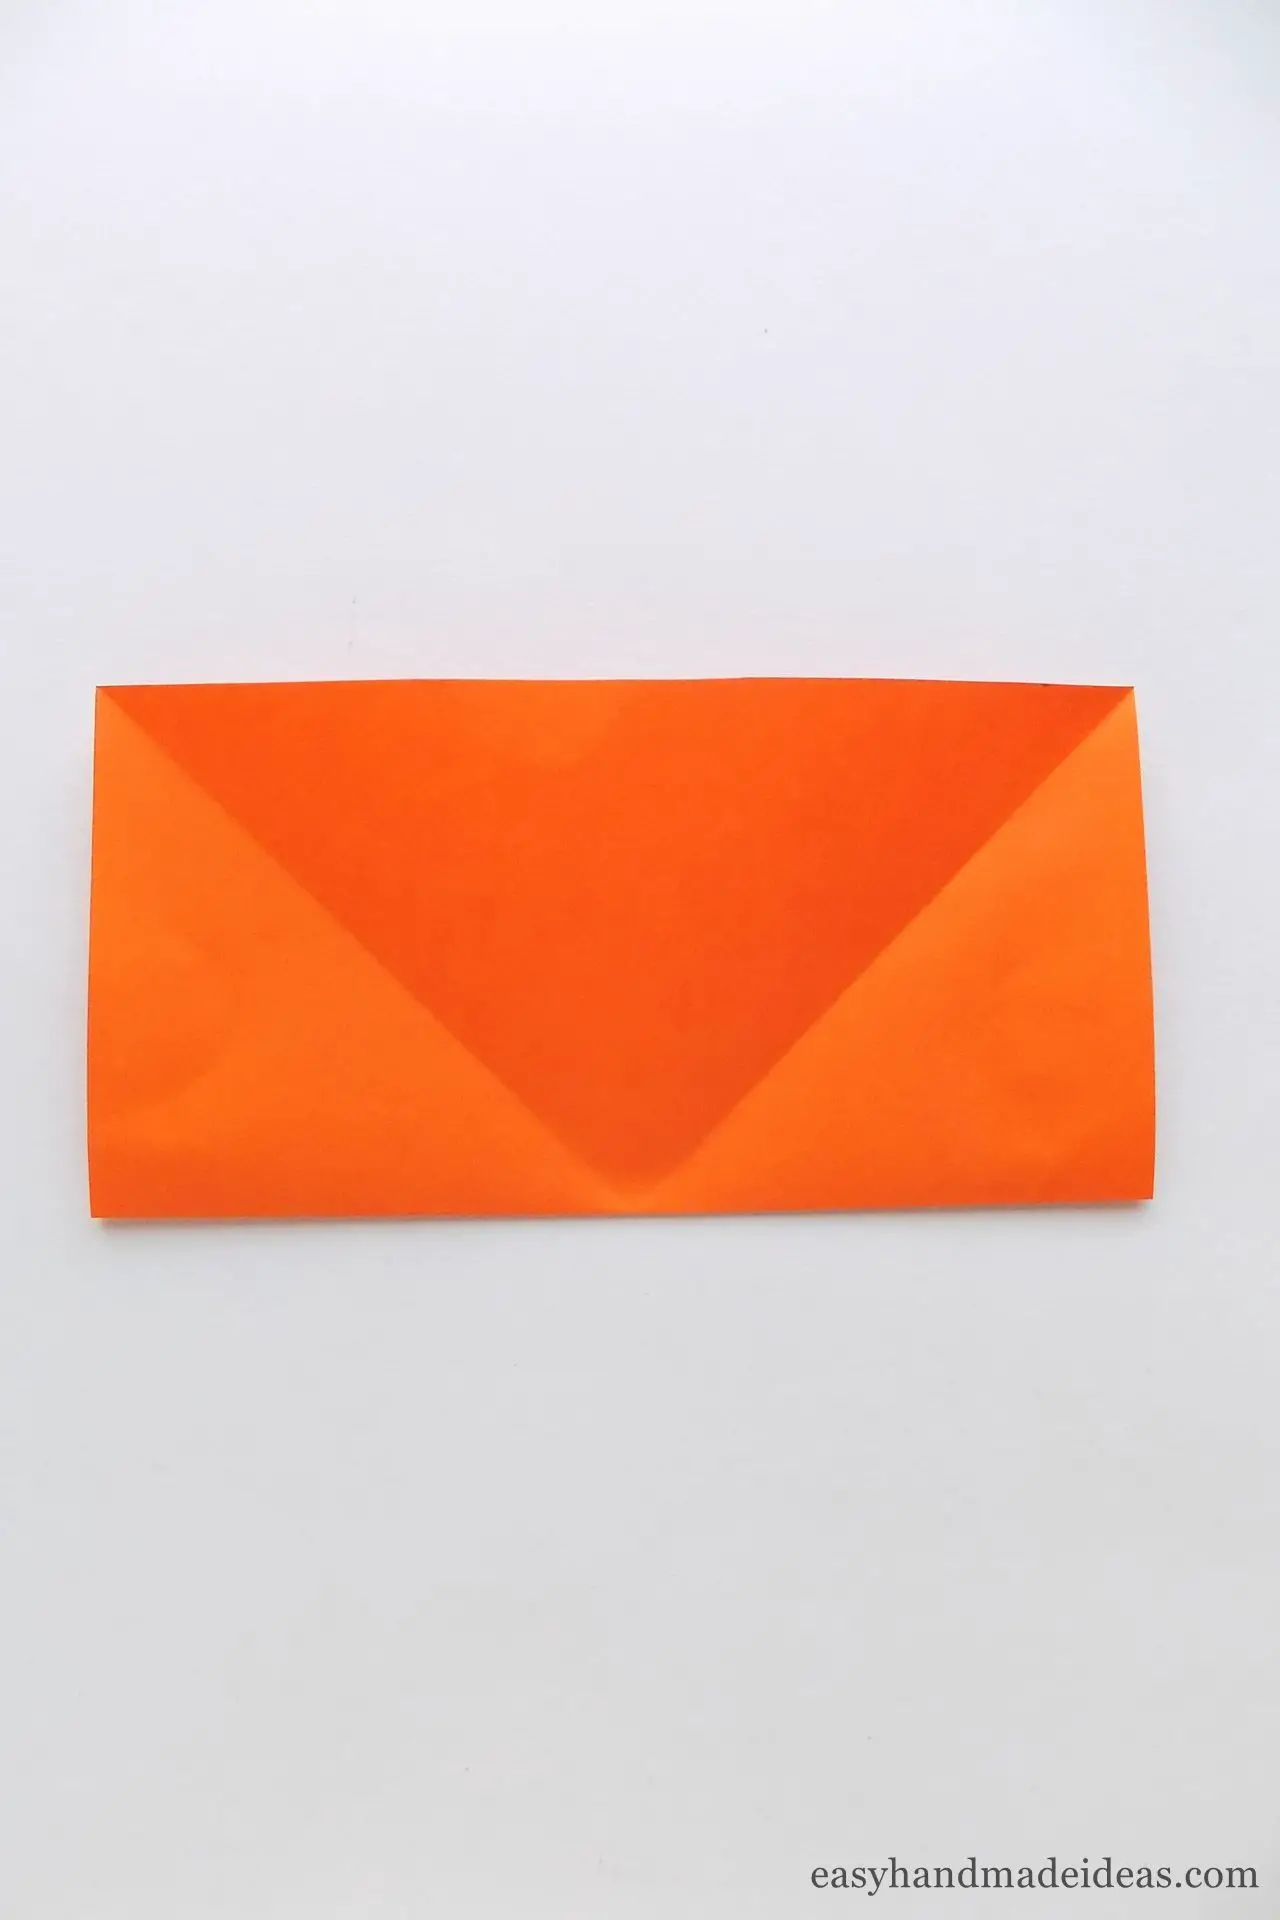
Step 5: Fold the square in half on the other side
Similarly, make a cross fold on the square and then straighten the piece.
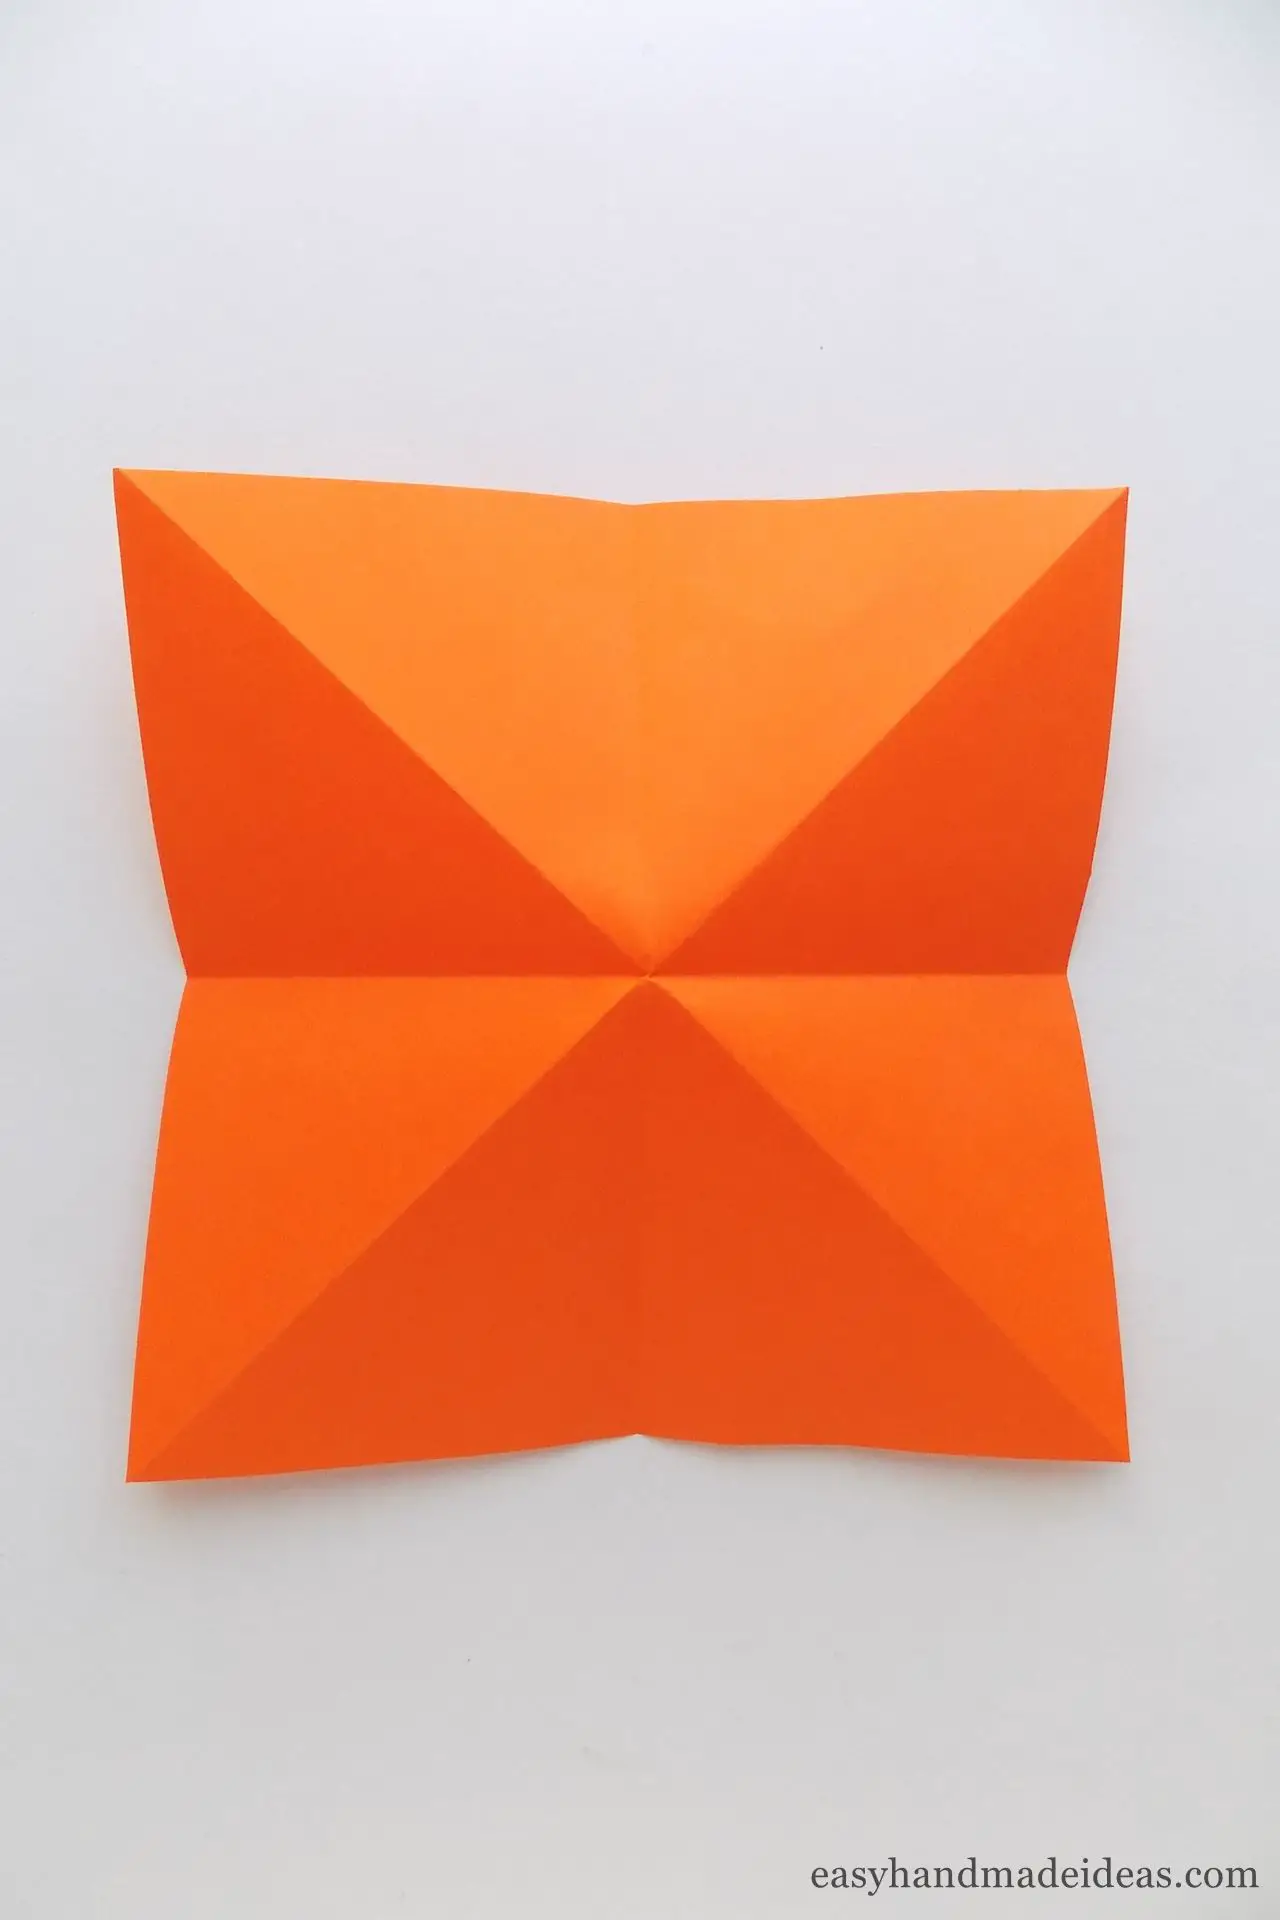
Step 6: Fold both sides of the square inward to make a triangle
Now fold the paper piece into a triangle shape by folding the left and right sides inward. This will be the basic origami shape for your craft.
Step 7: Fold the left and right corners up
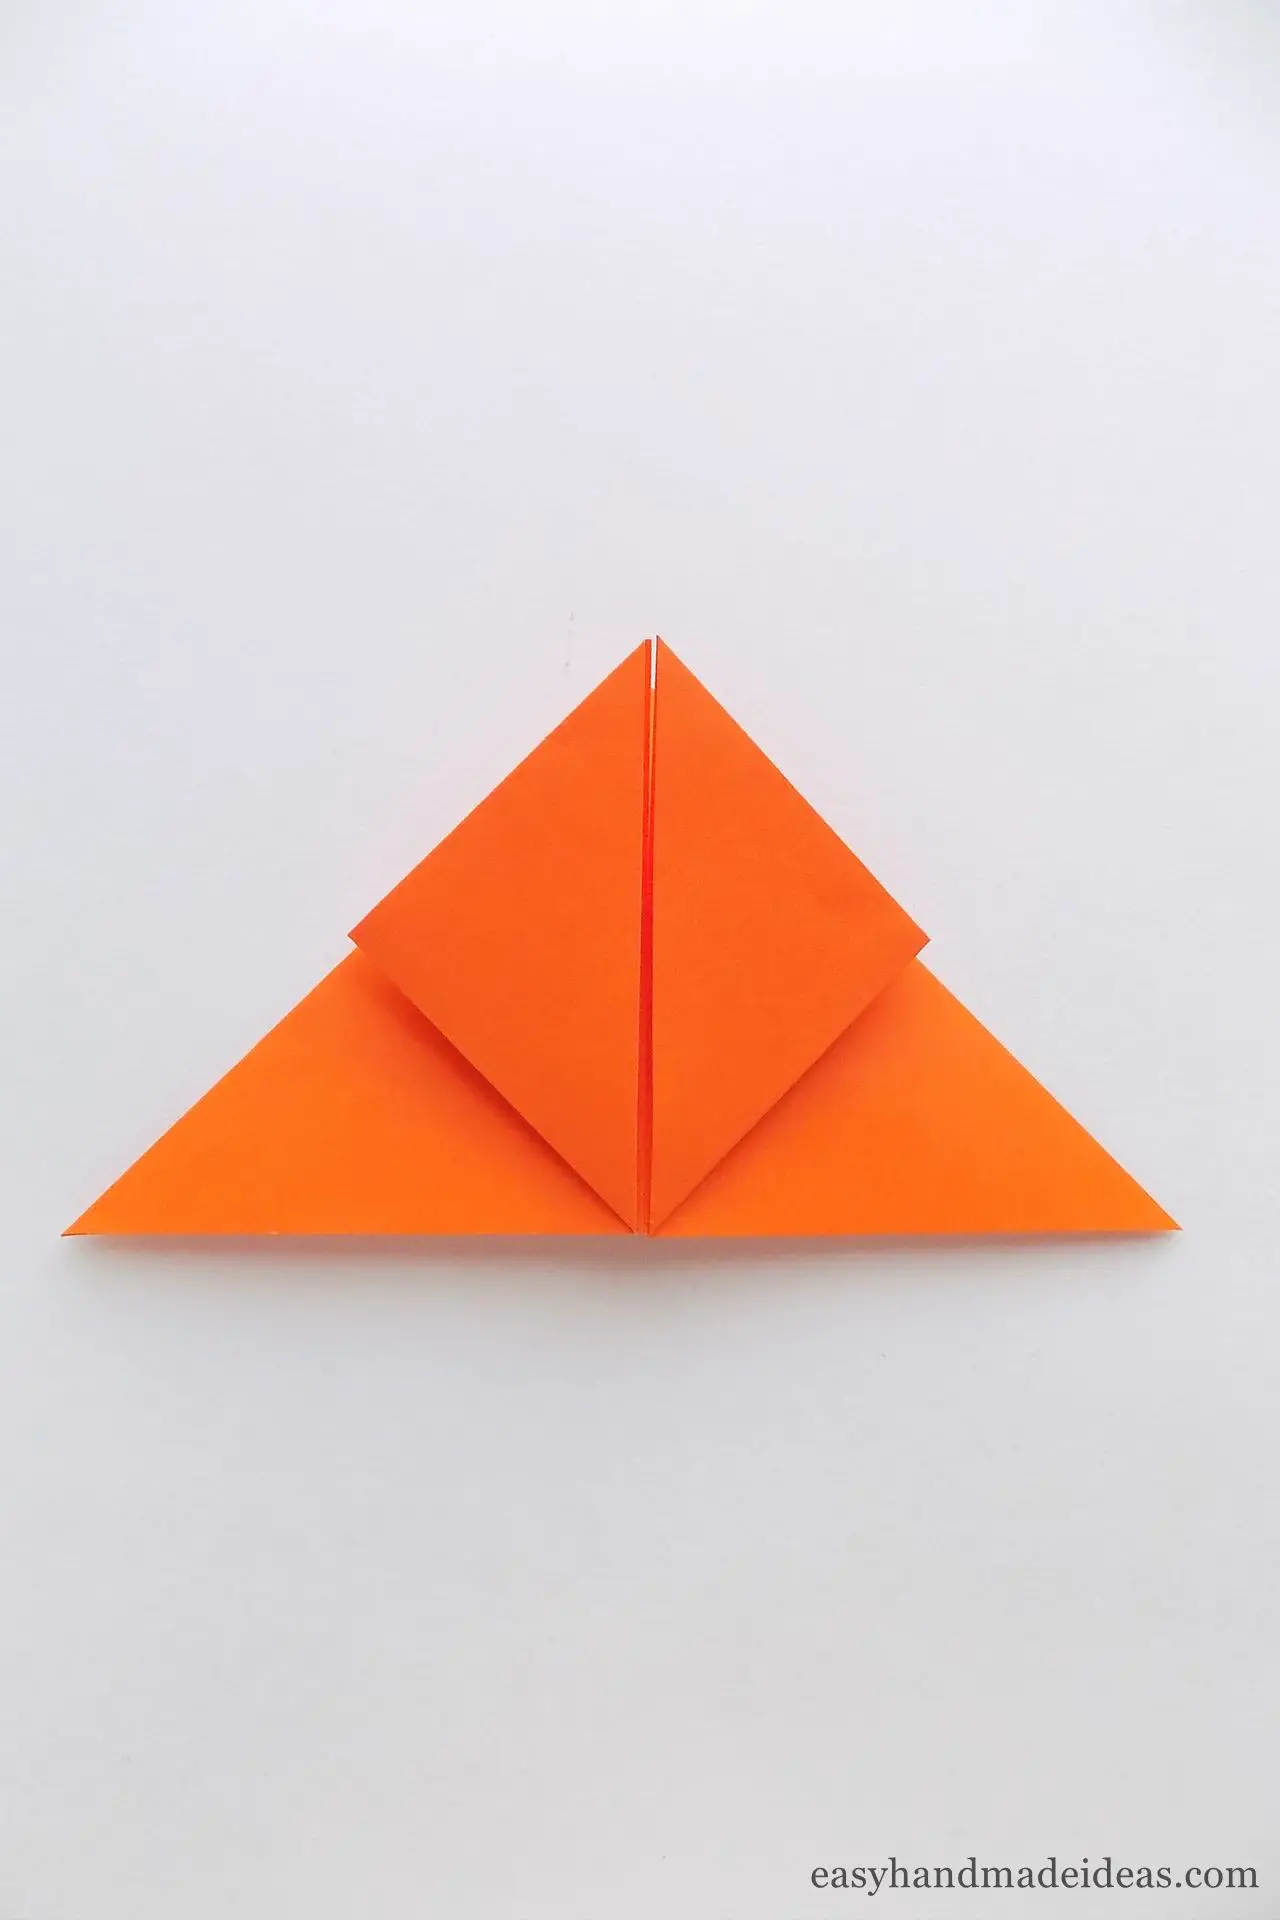
Hold the side corners of the top layer of your craft and fold them up.
Step 8: Flip the craft 180 degrees

Flip the craft over to the other side with the top of the triangle facing down. Take a corner of that top and unfold it up so that it protrudes slightly over the edge of the craft.
Step 9: Straighten the piece
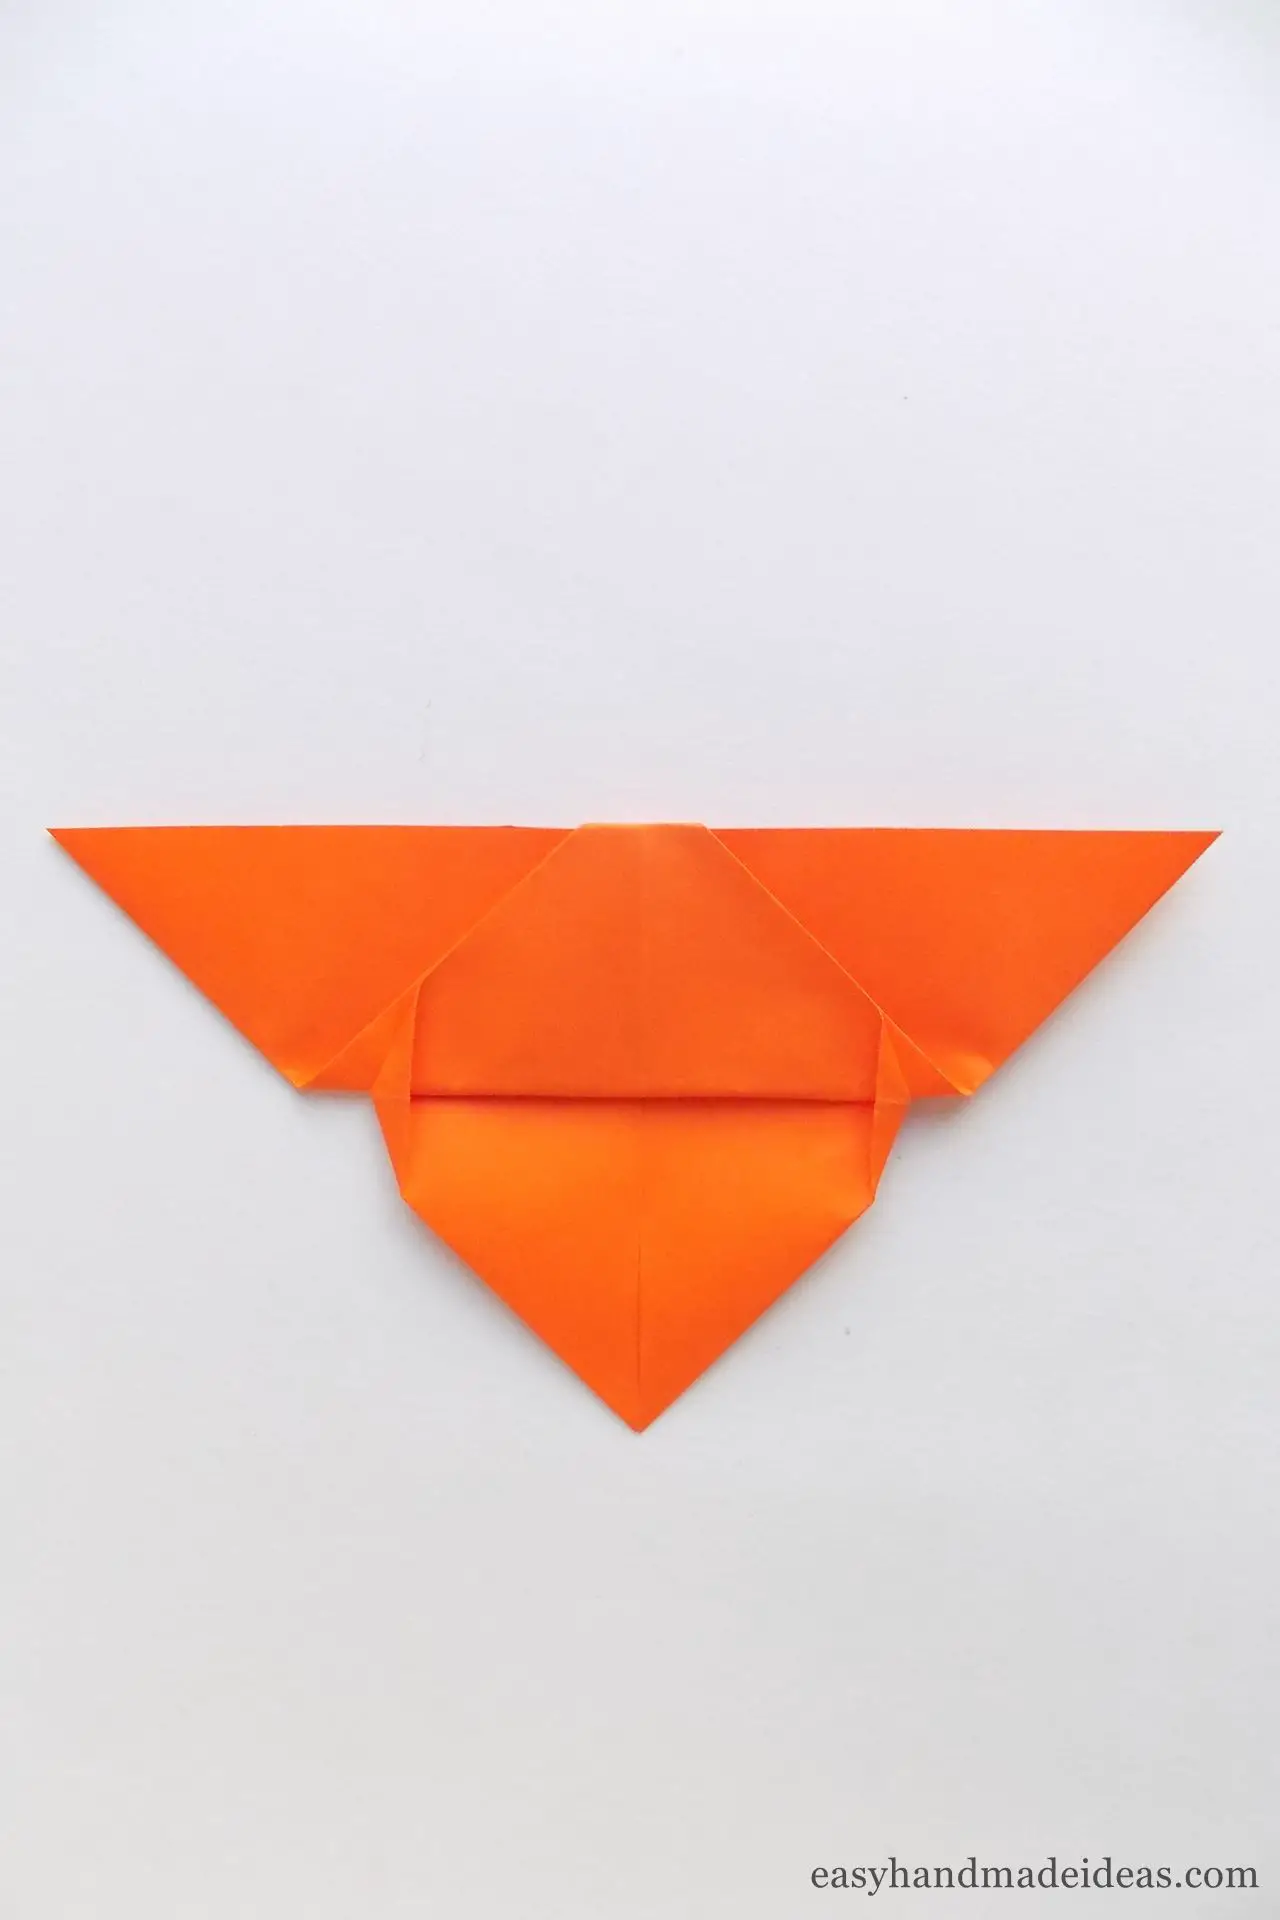
Gently press the resulting side folds into the shape of small triangles.
Step 10: Working on the reverse side

Flip the craft over to the other side.
Step 11: Finish the craft
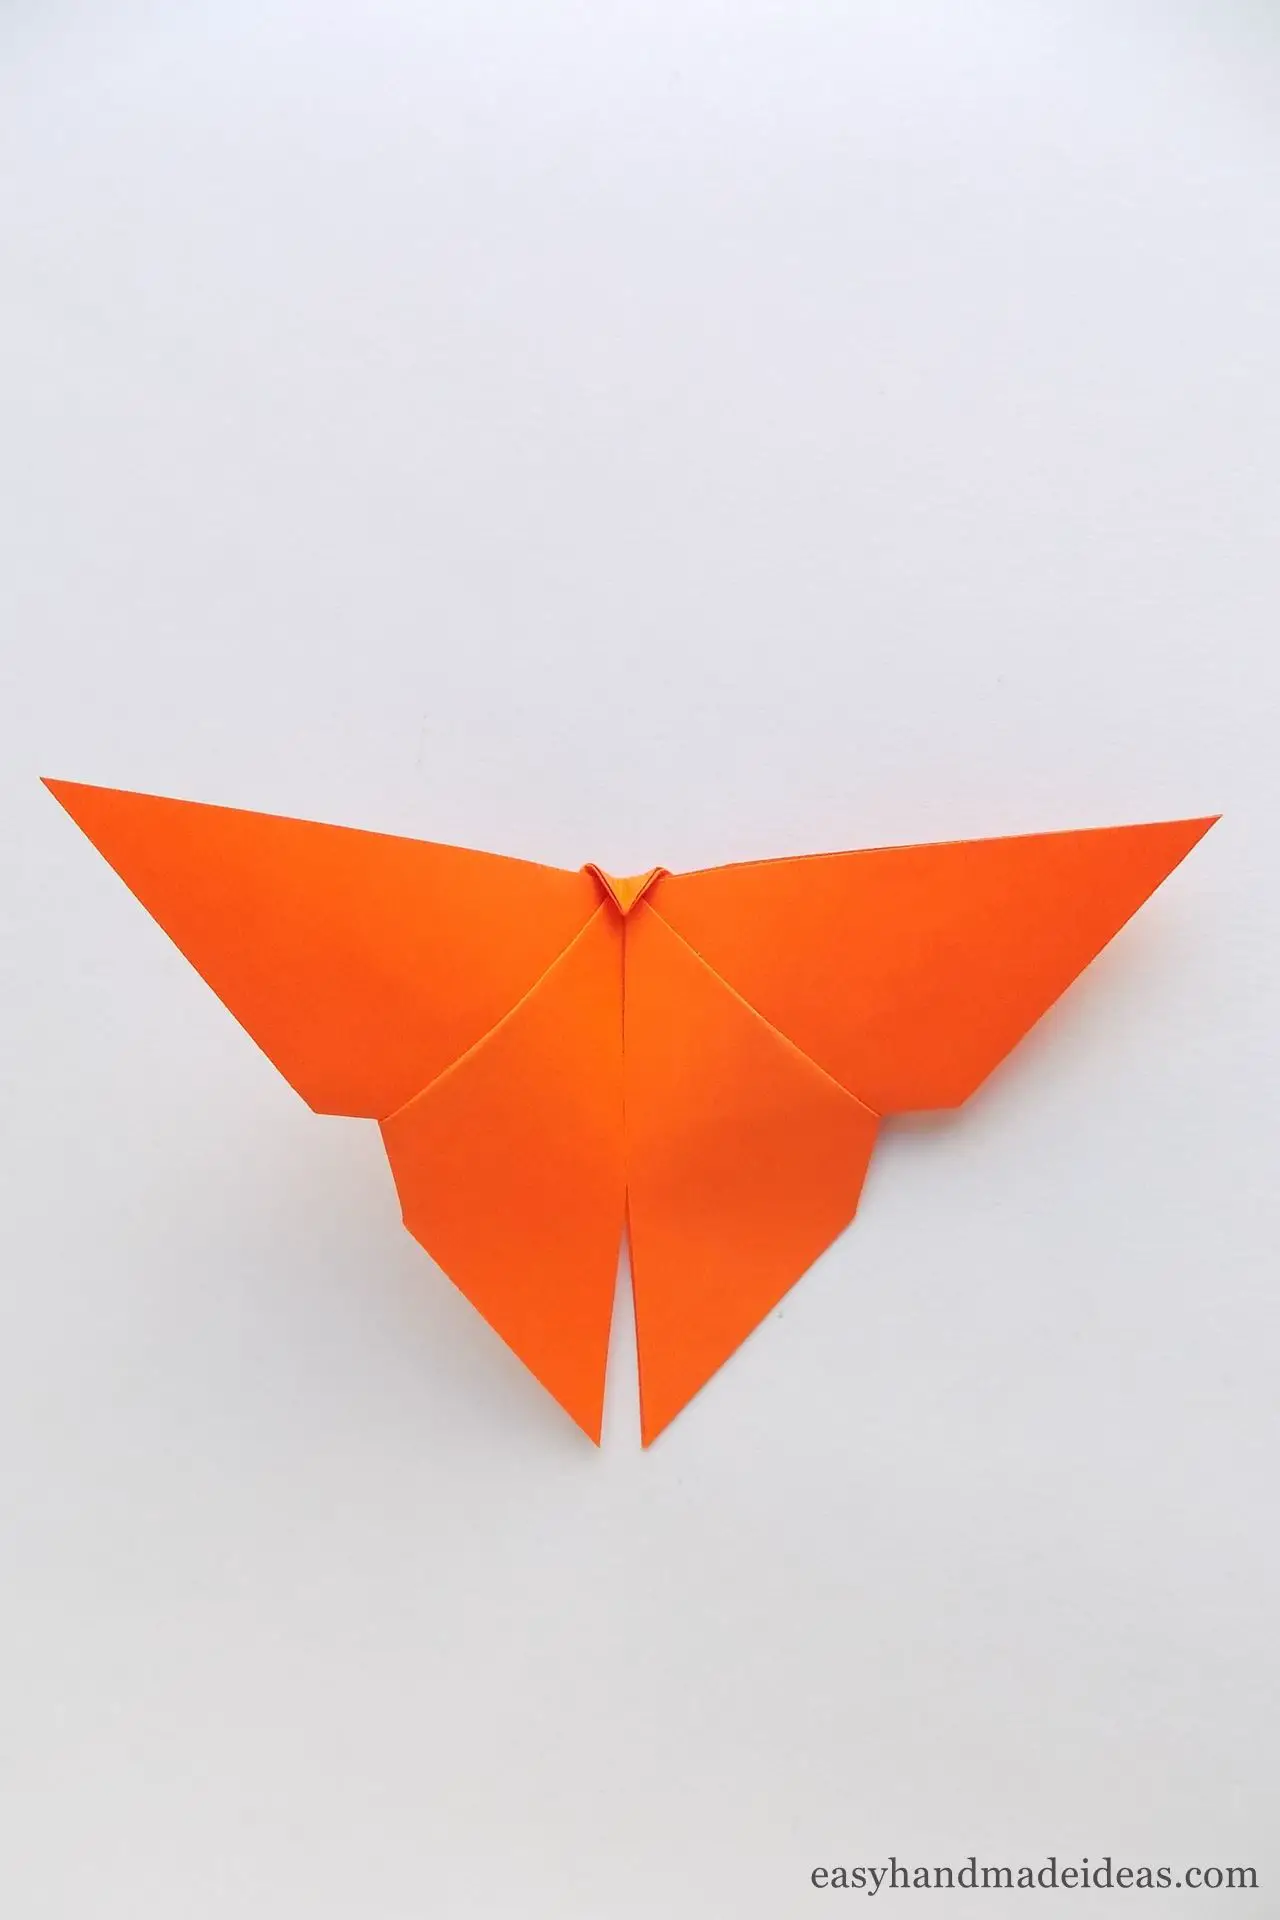
To make the final shape of the butterfly, fold it in the middle by folding the wings together and straighten it out a little. Your origami butterfly is ready.
Supply:
- a square of colored paper.
Tools:
- hands.
Such a beautiful craft can become a part of an applique or a decoration of a greeting card made with your own hands.