New Year’s crafts can be made of various materials. In my masterclass I suggest you to use paper and make a Christmas tree using origami technique.

Instructions, how to make an origami Christmas tree in 14 steps.
Total Time: 25 minutes
Step 1: Prepare your materials
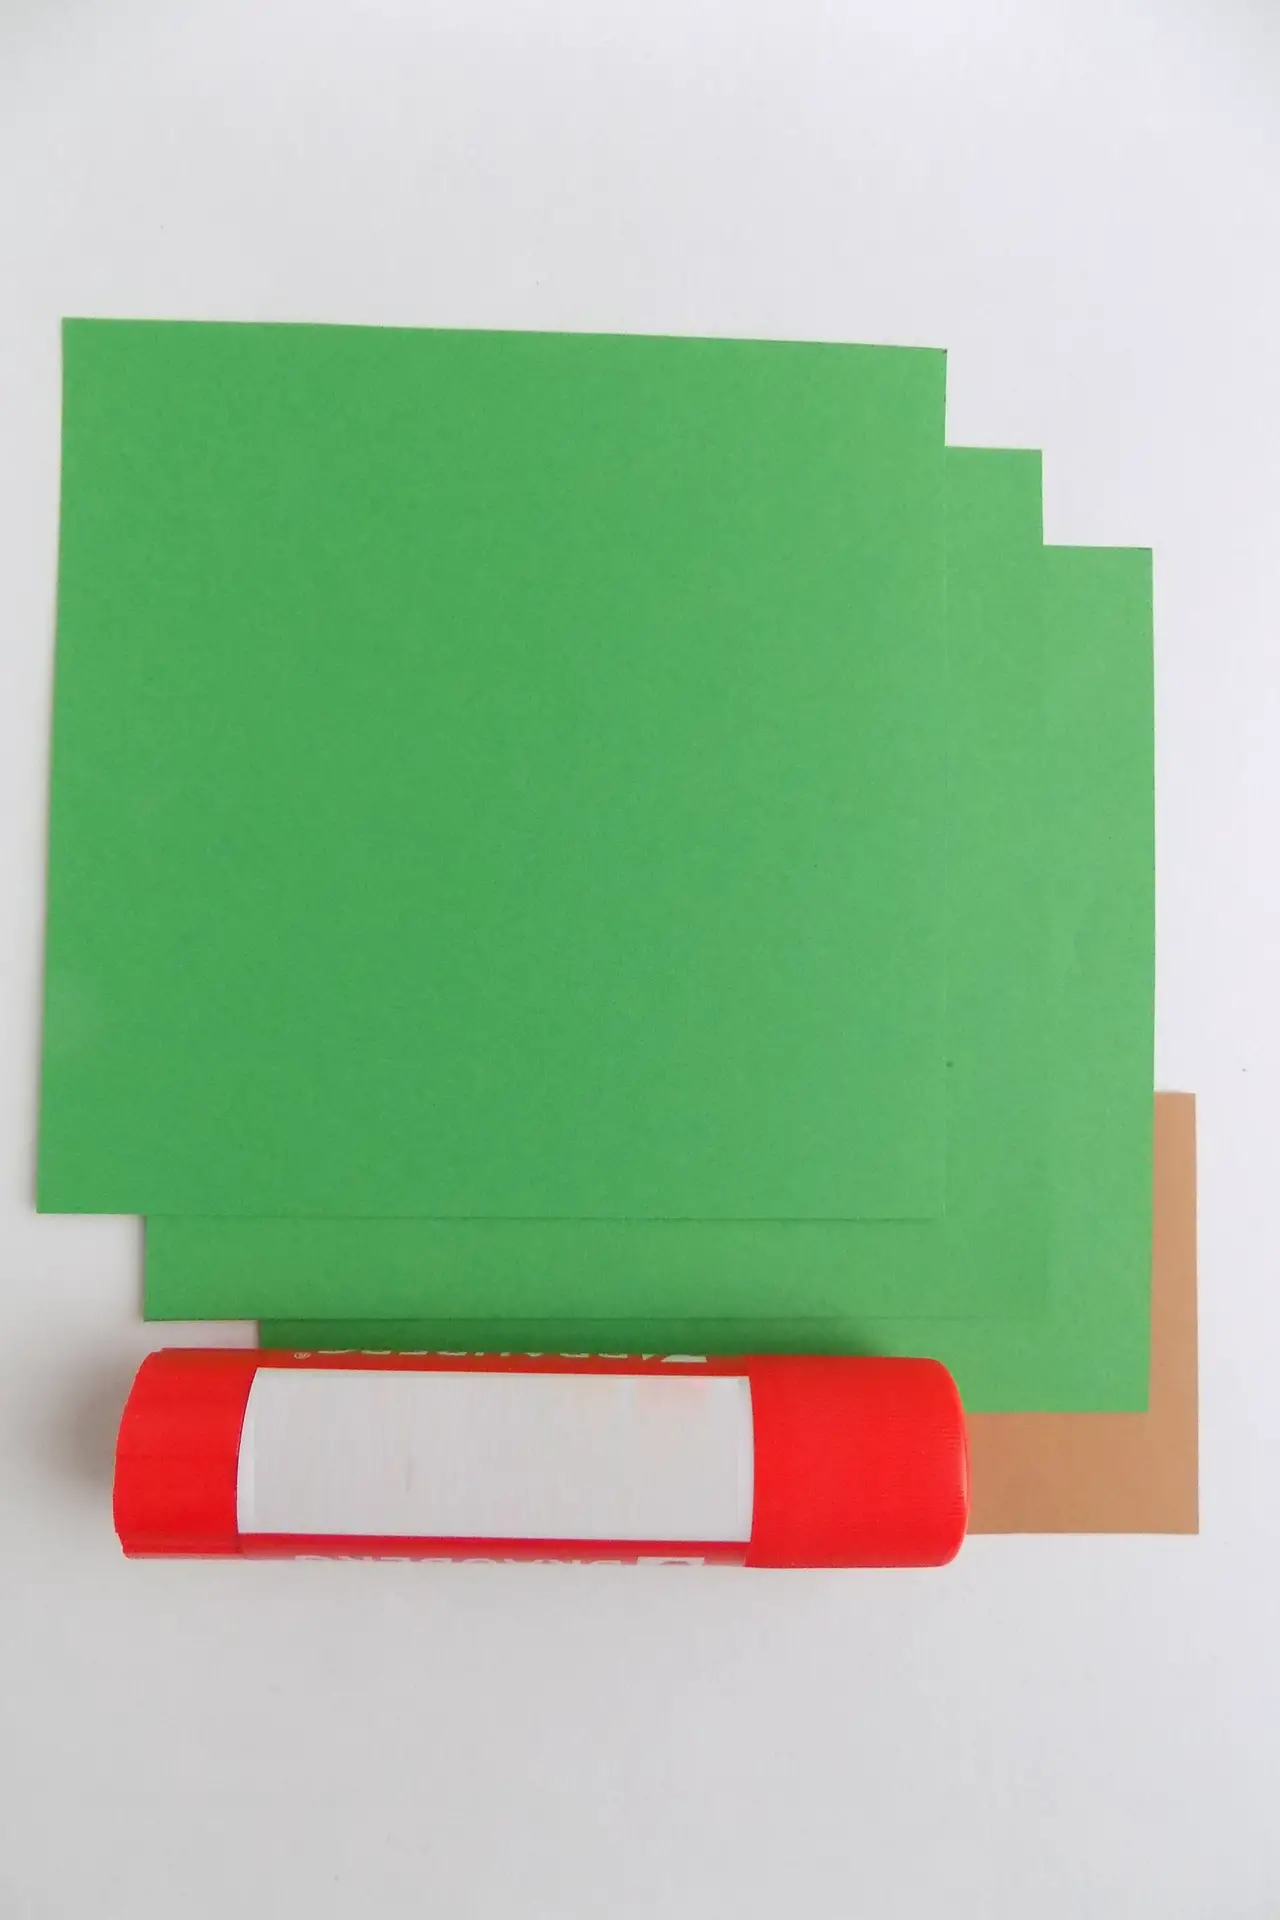
Take all the materials and tools from the list.
Step 2: Take the green paper
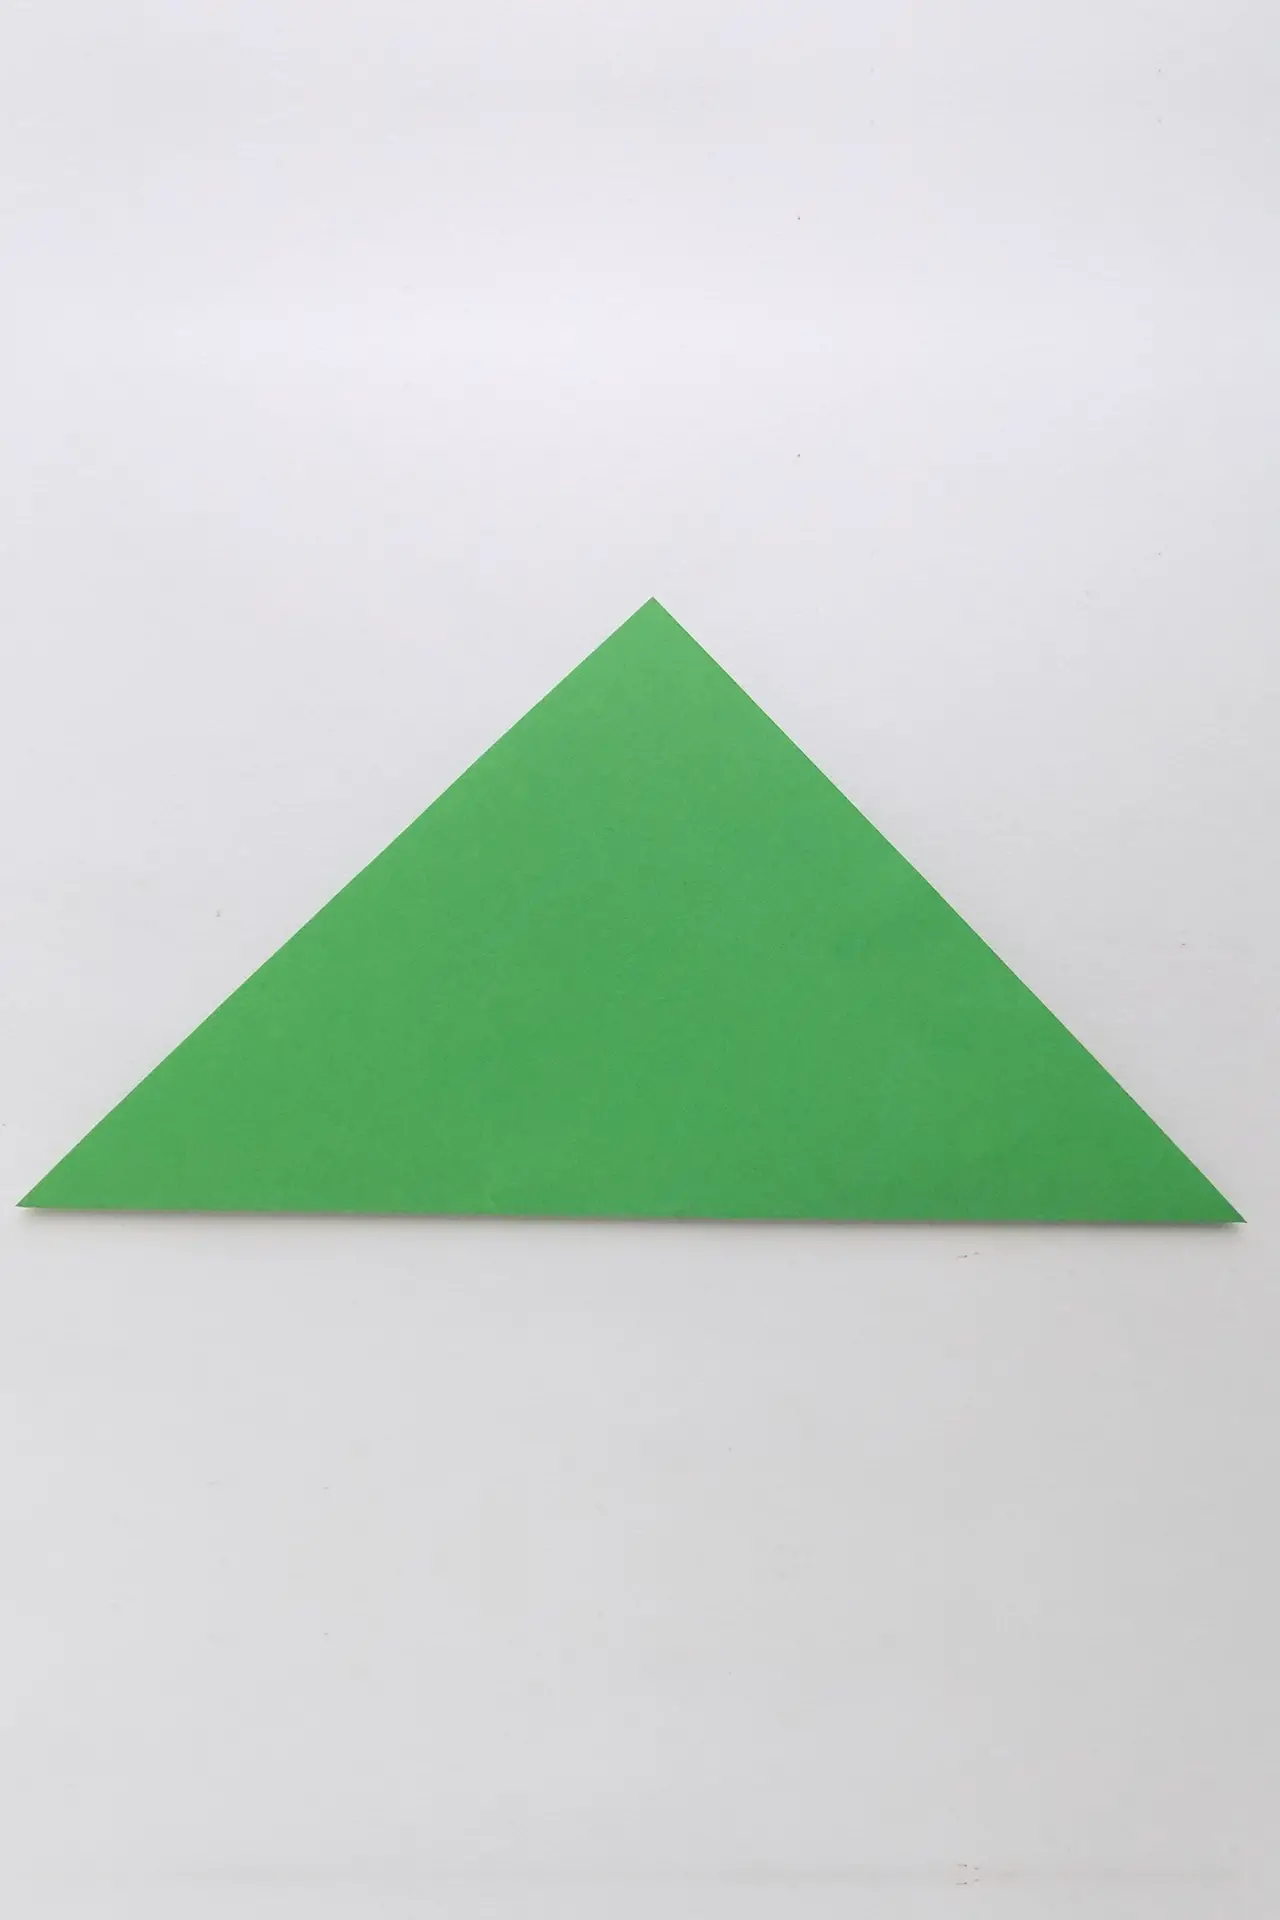
Fold one of the green squares diagonally.
Step 3: Fold the figure in half again
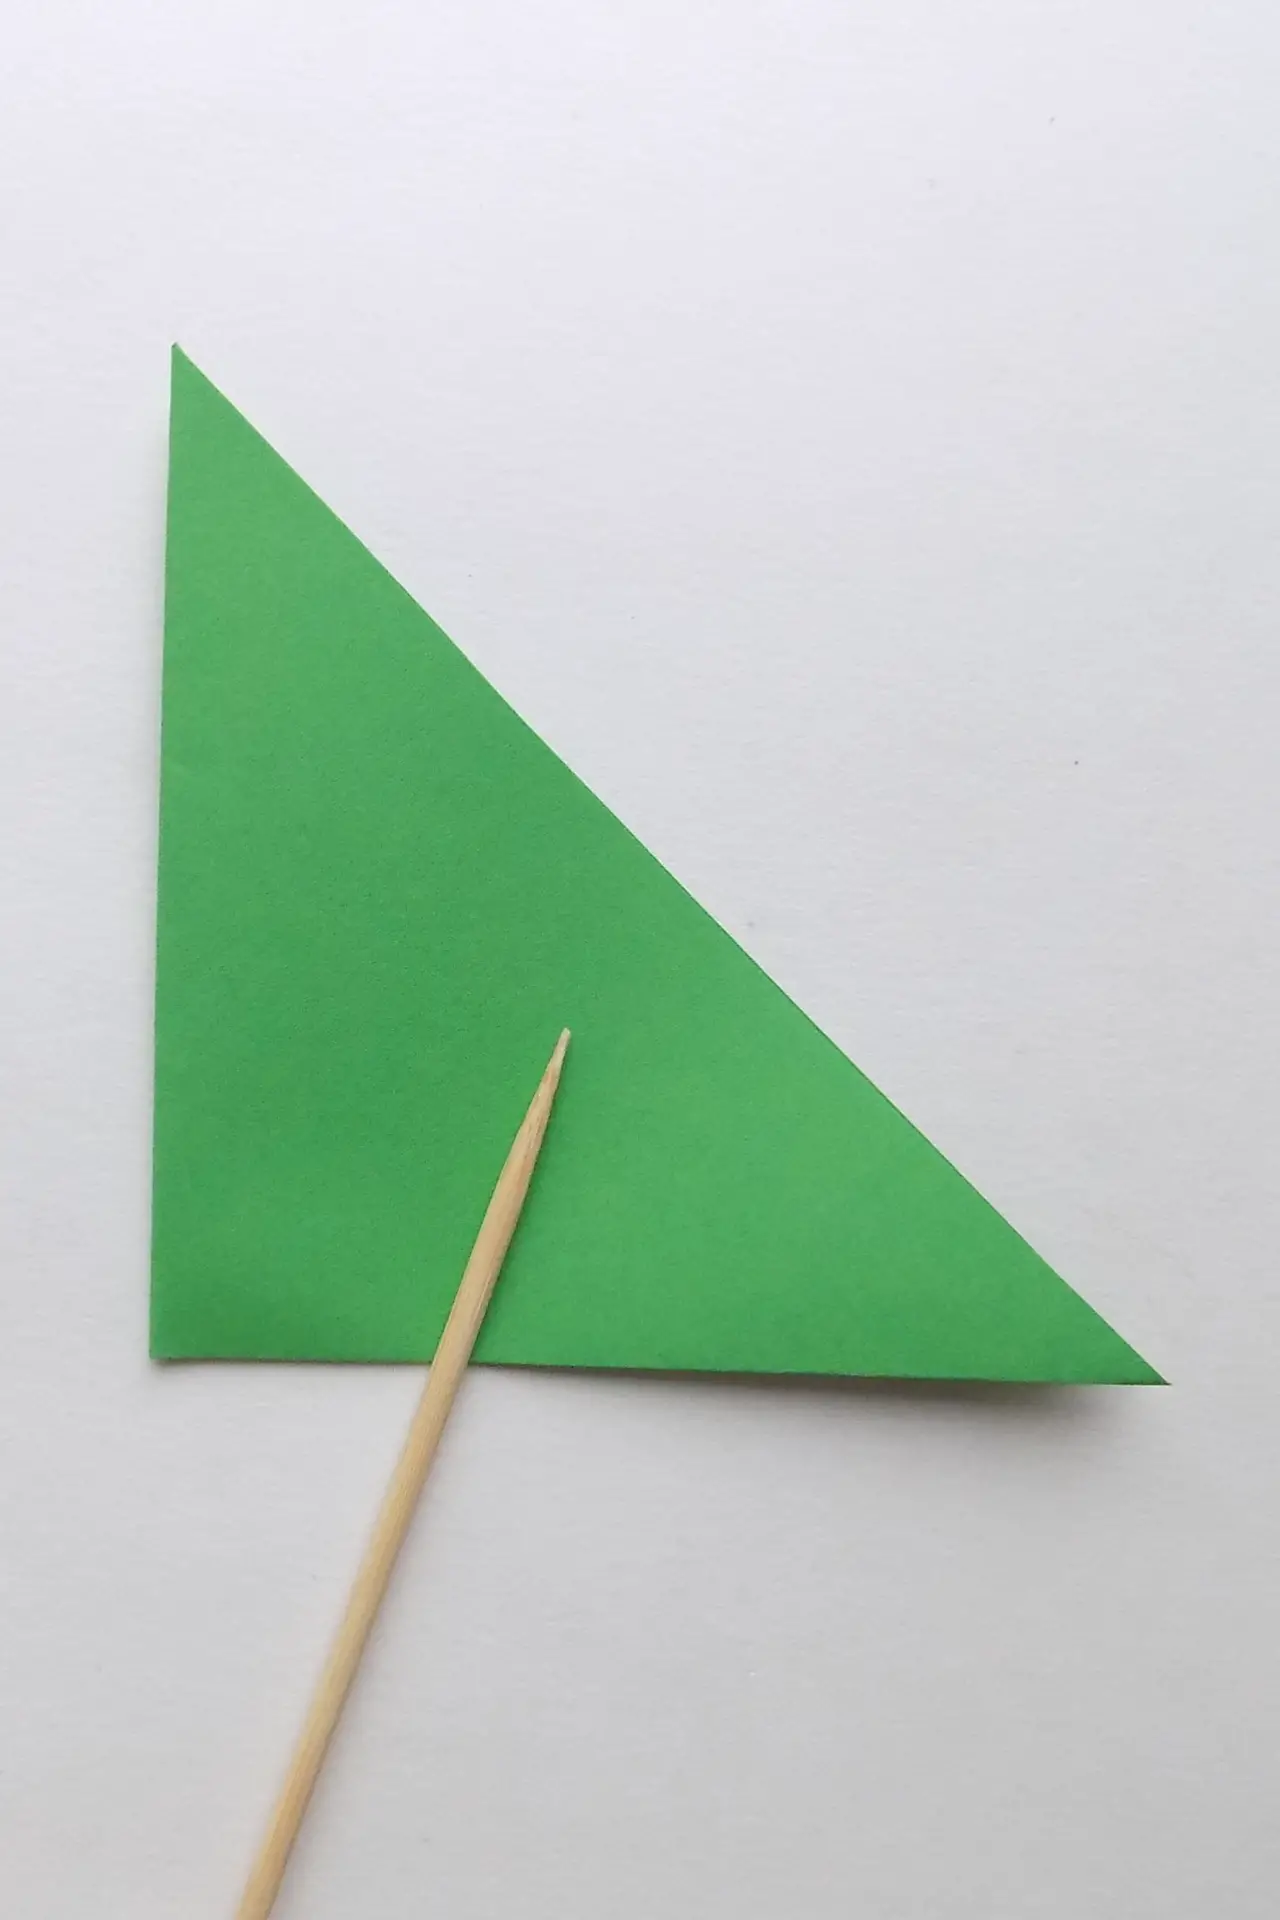
Fold the resulting triangle in half, marking the center line.
Step 4: Make the triangle into a square
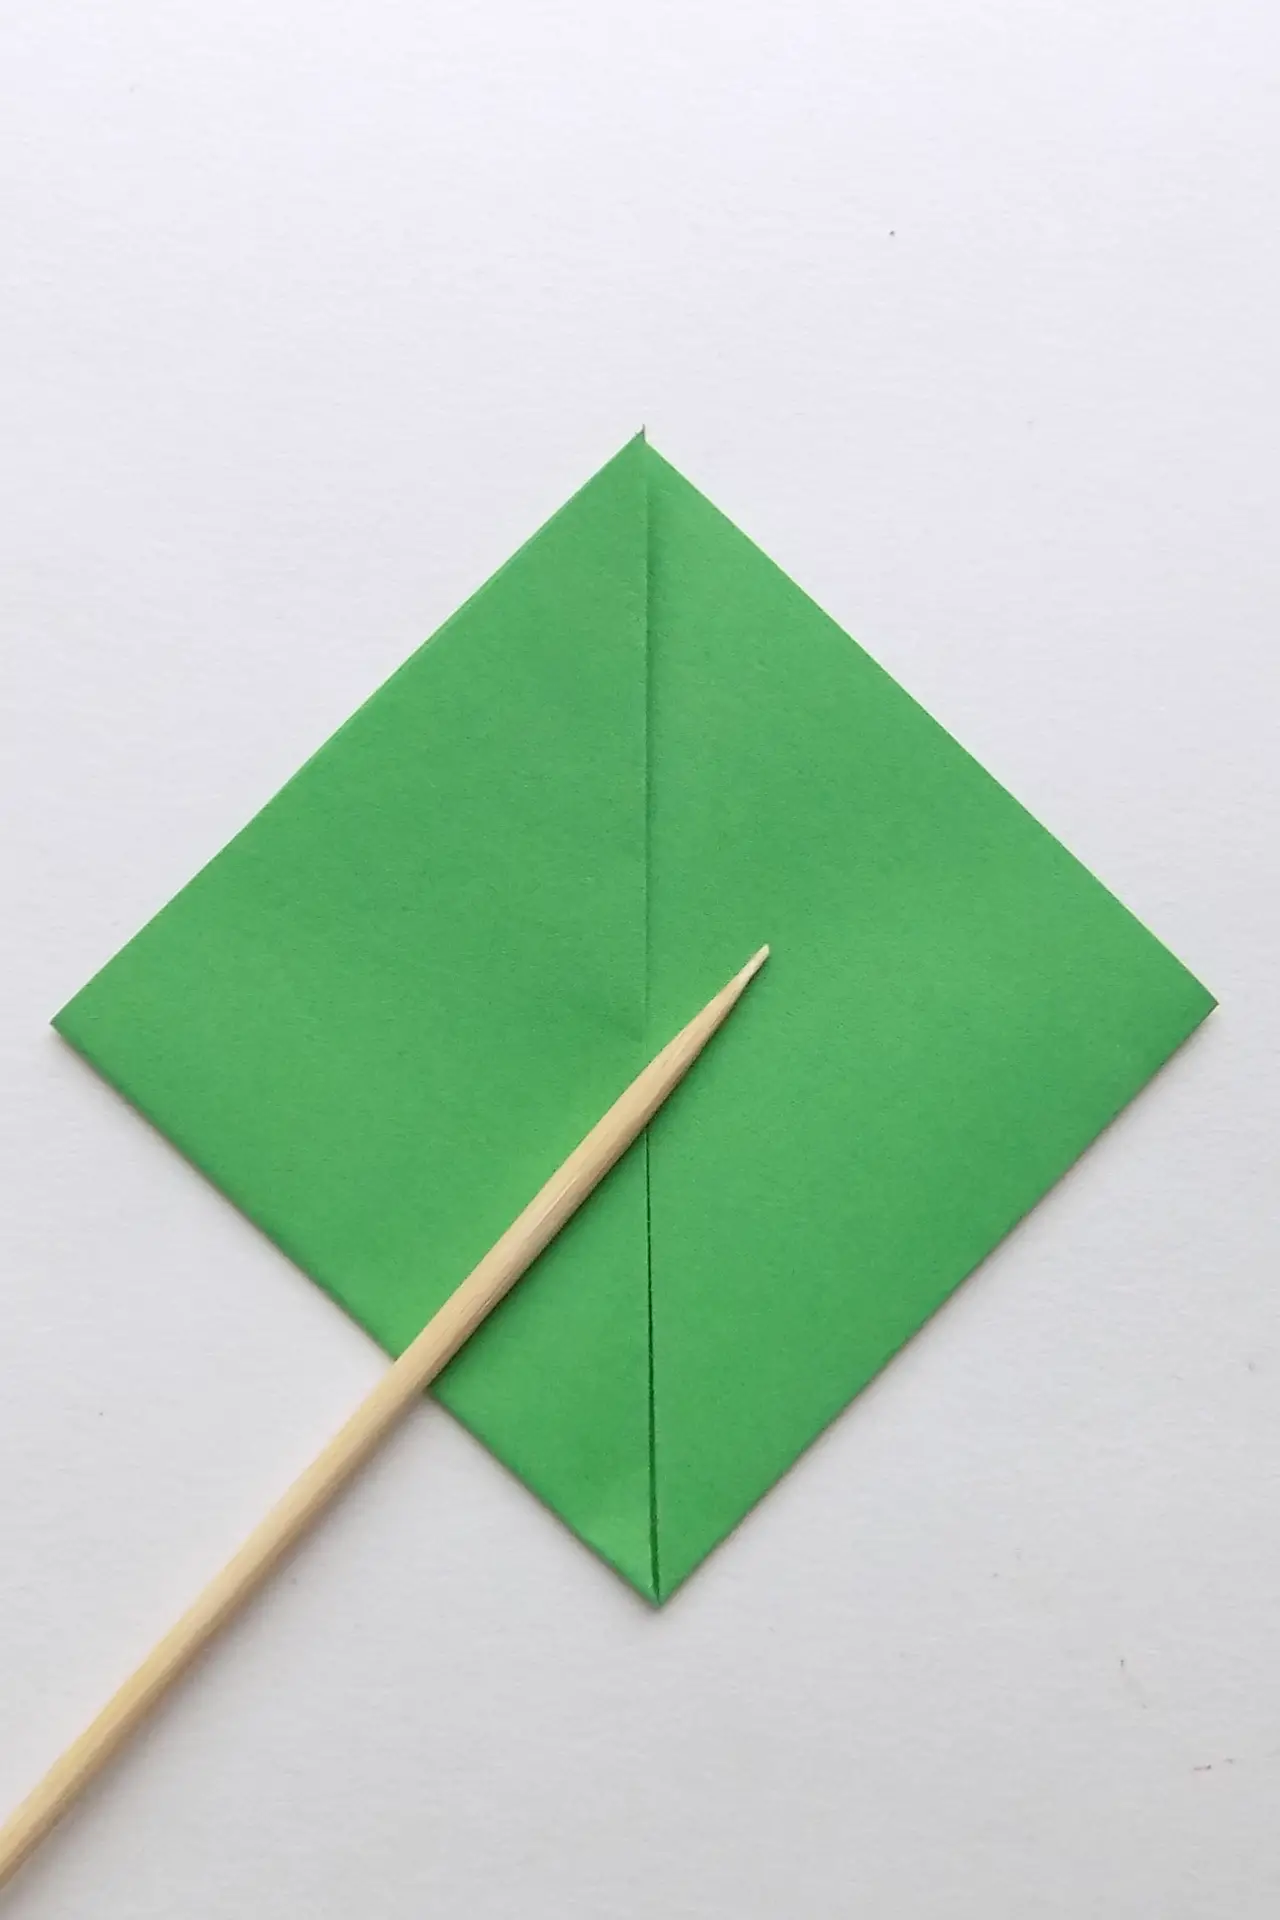
Fold the side corners of the triangle to this center line.
Step 5: Use glue for the corners
Flip the piece 180 degrees, then join the corners and glue them together.
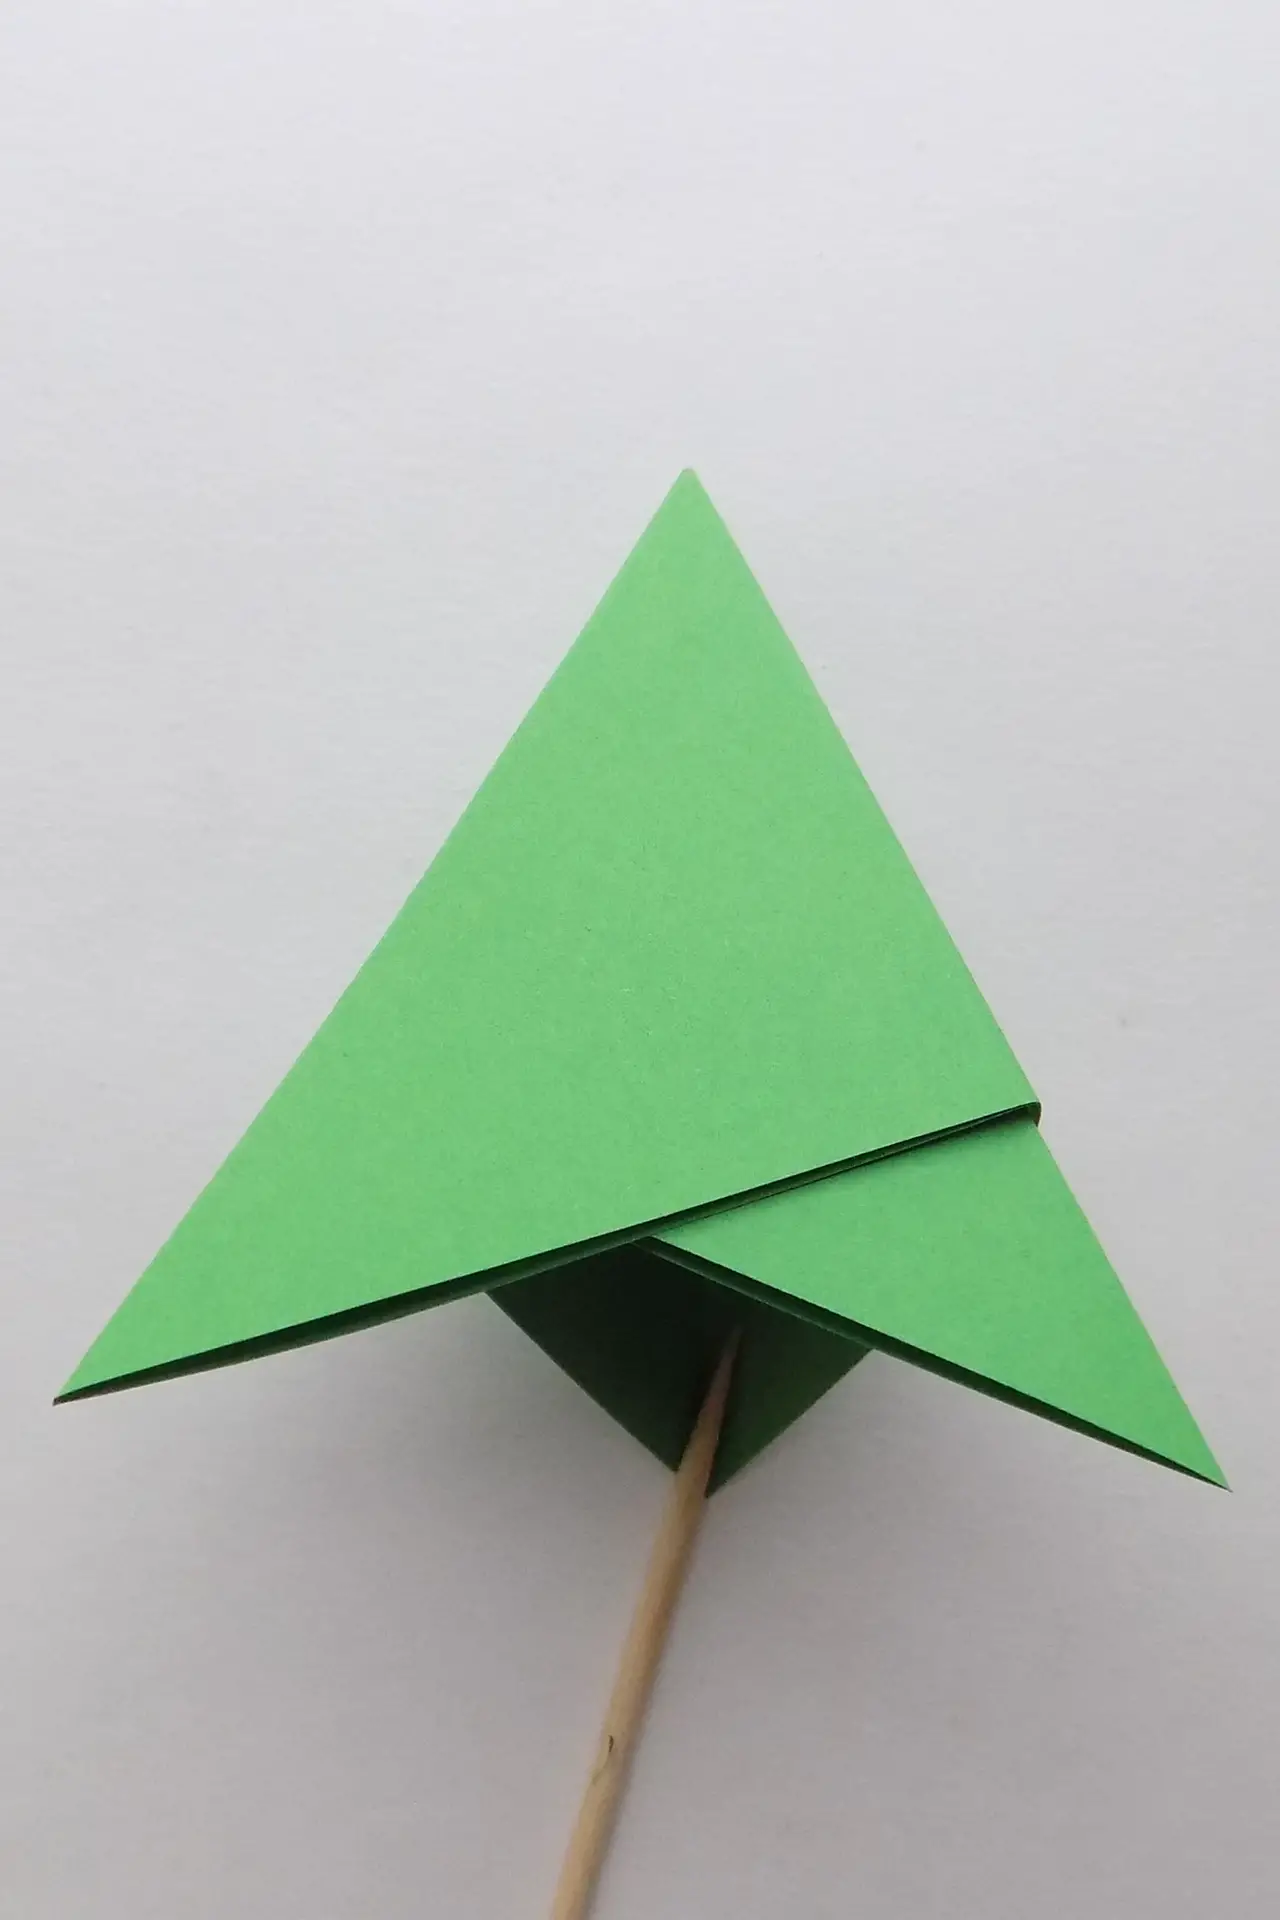
Step 6: Fold the pieces as shown in the photo
Now fold each side of the piece so that the center line is marked. The first origami module for the future Christmas tree is ready.
Step 7: Repeat the previous steps and make 2 more identical pieces

From the remaining two green squares, make the same pieces. We should have a total of 3 blanks for the Christmas tree.
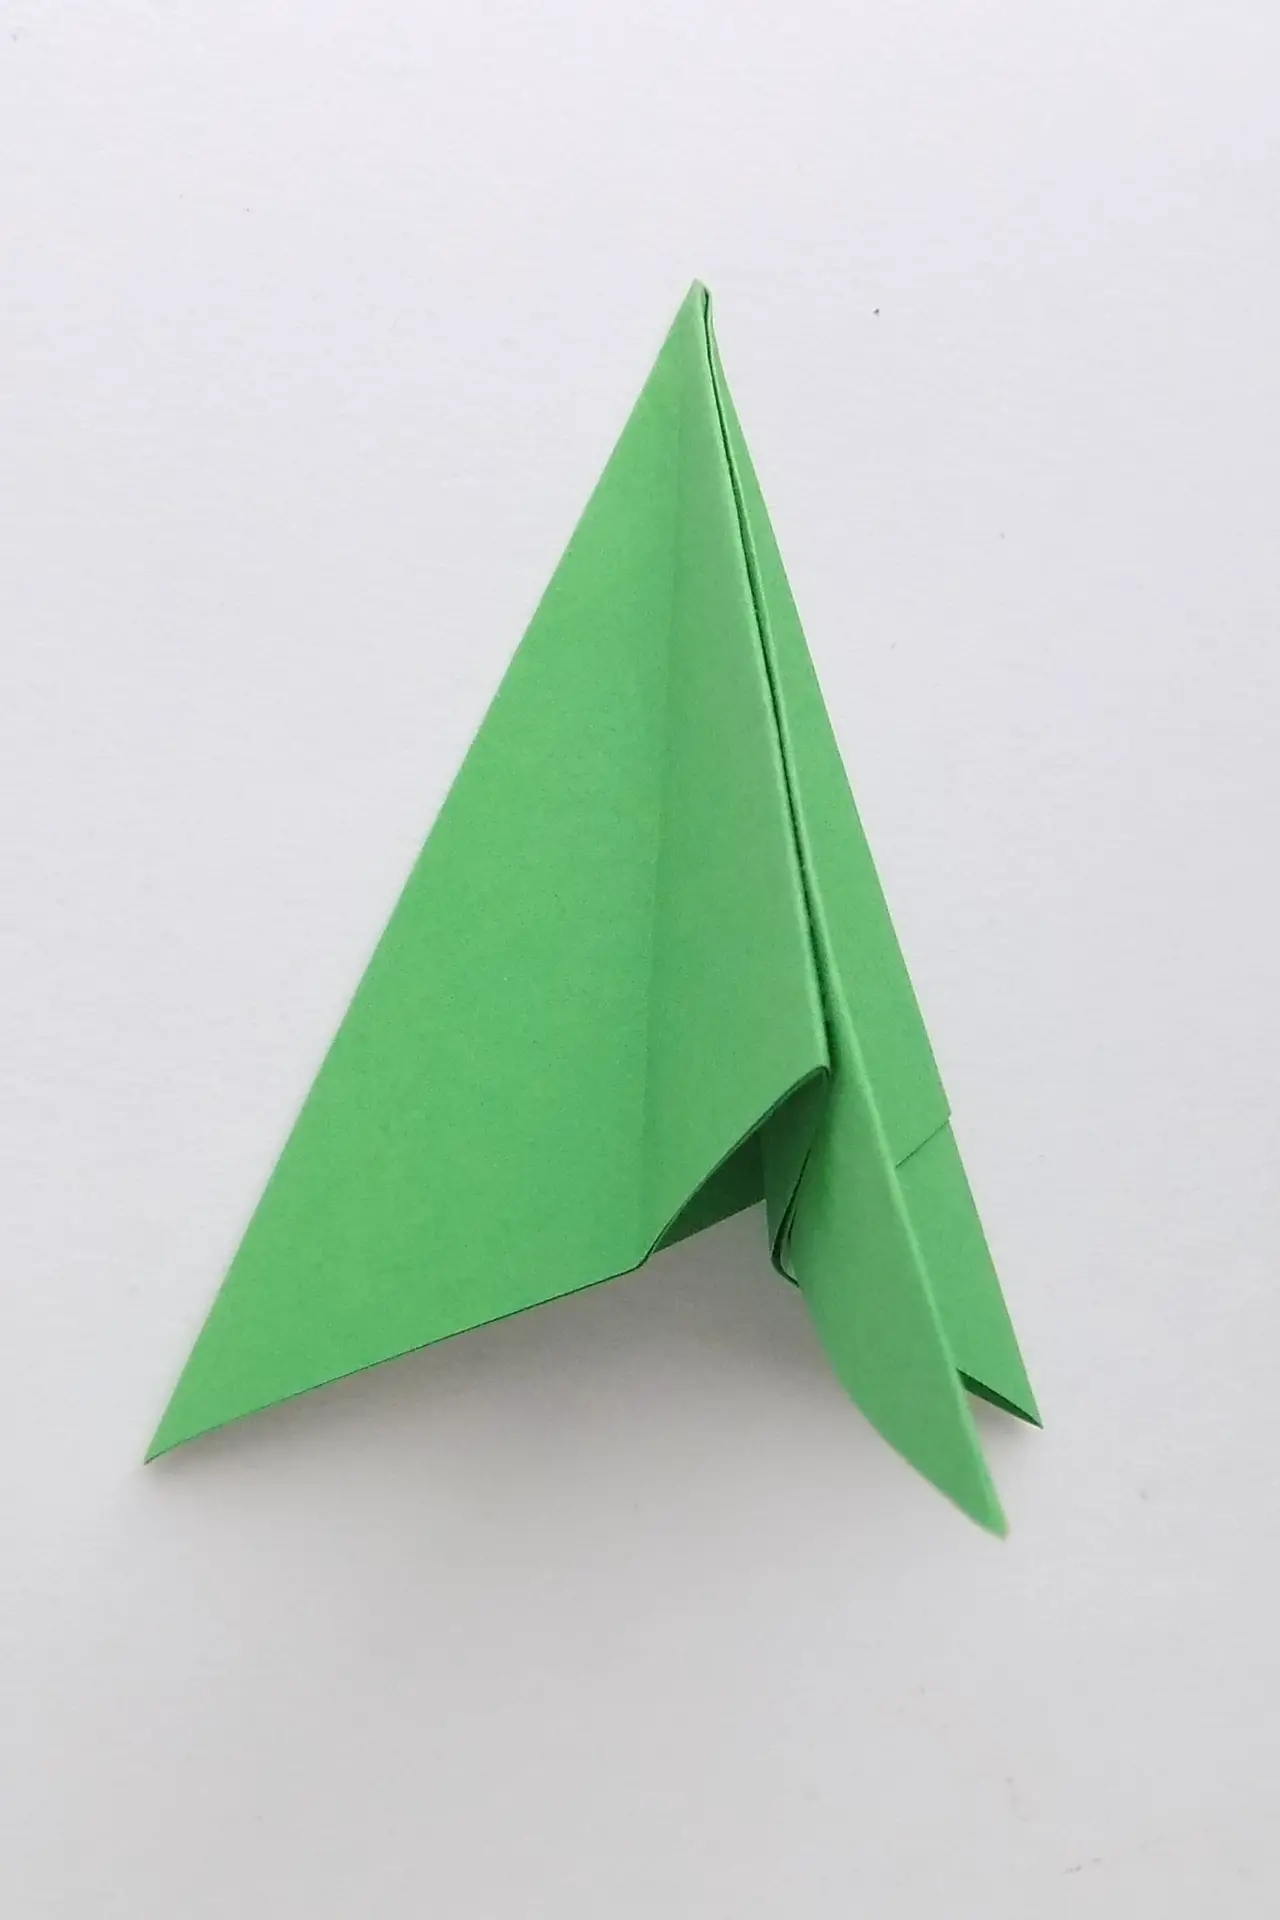
Step 8: Joining the two pieces together
Start connecting the two pieces together. Apply glue to the thin part of one module and then insert it into the other.
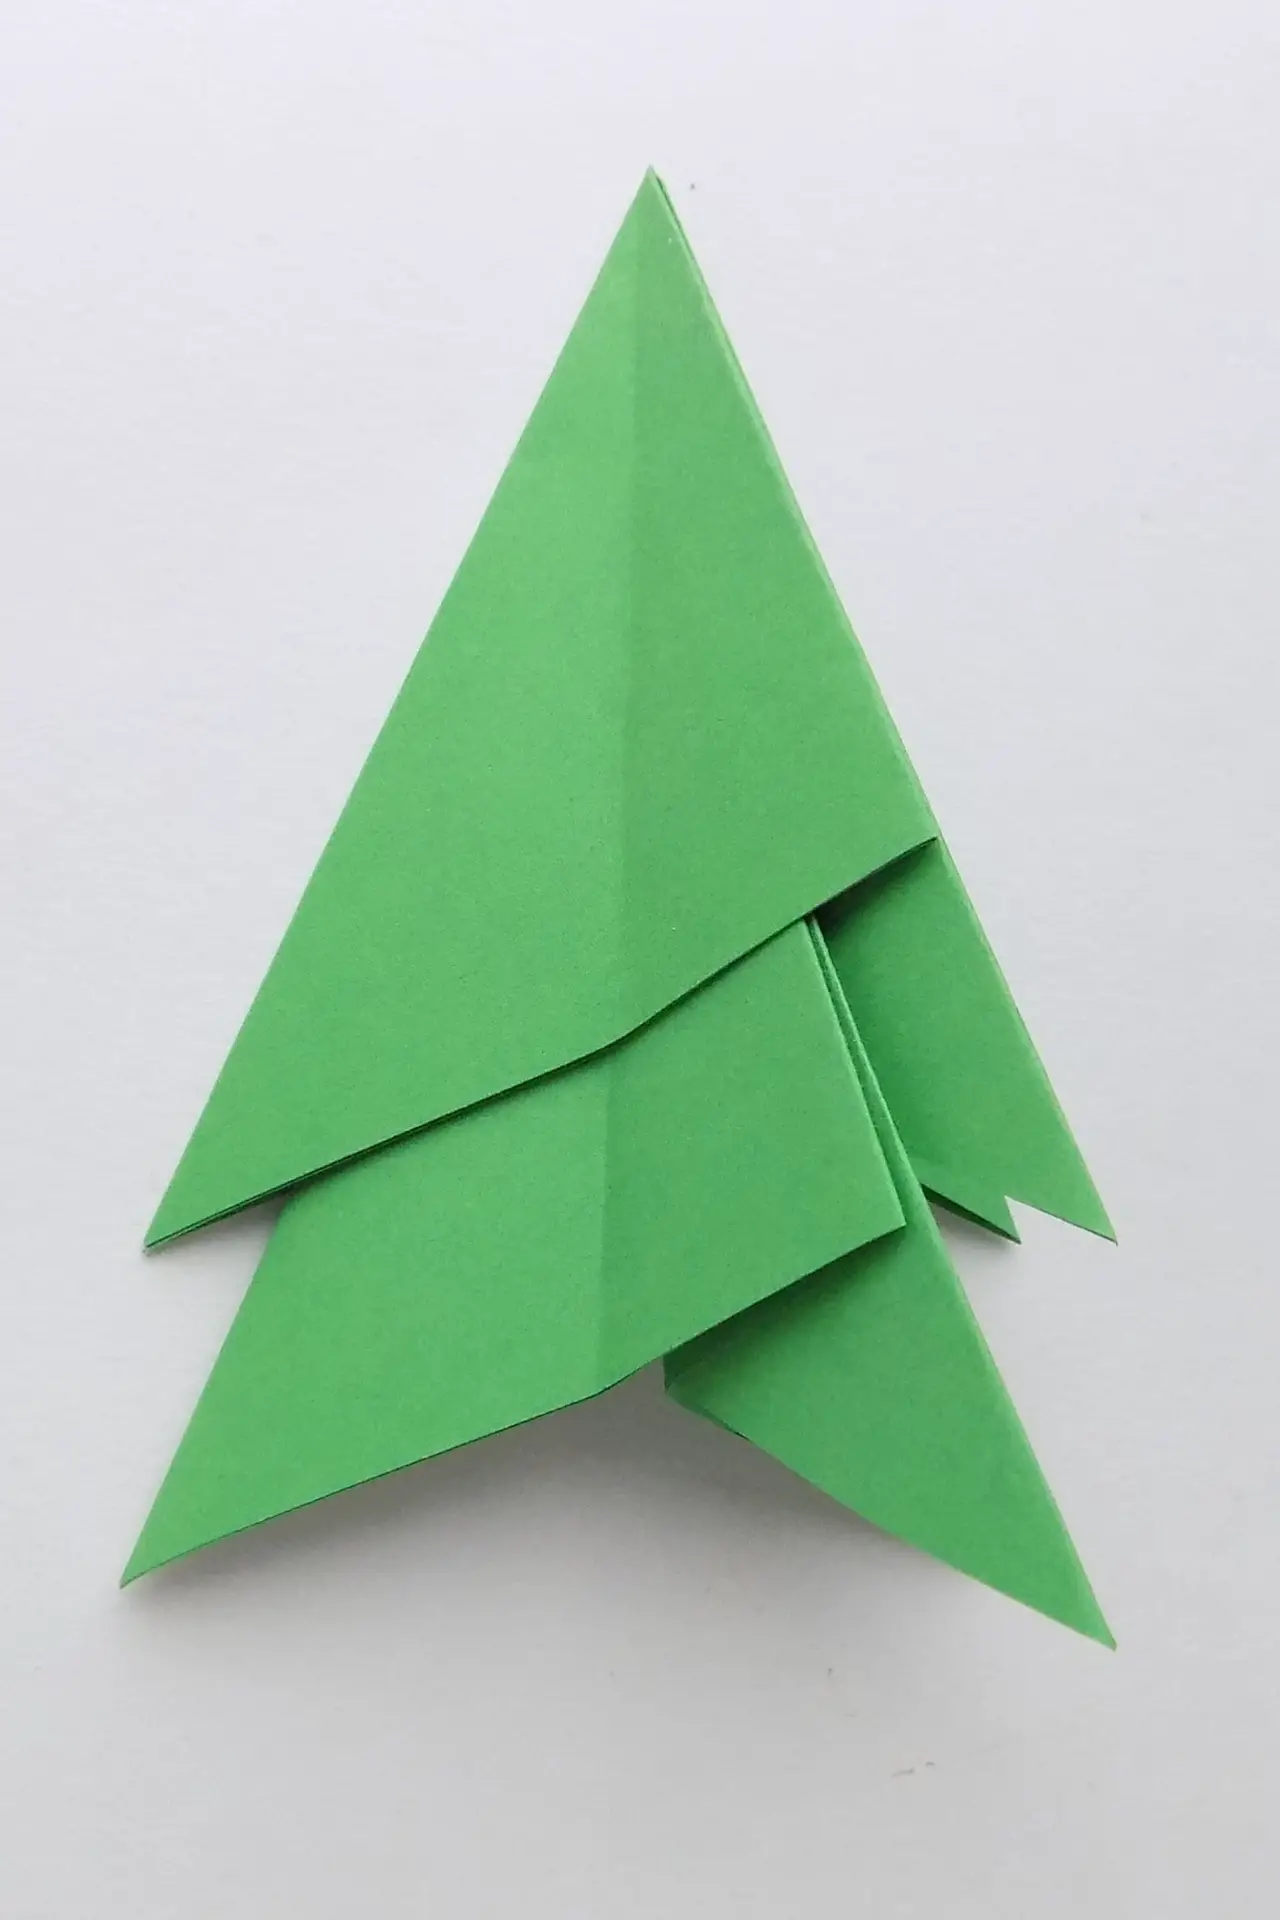
Step 9: Make a Christmas tree from three modules
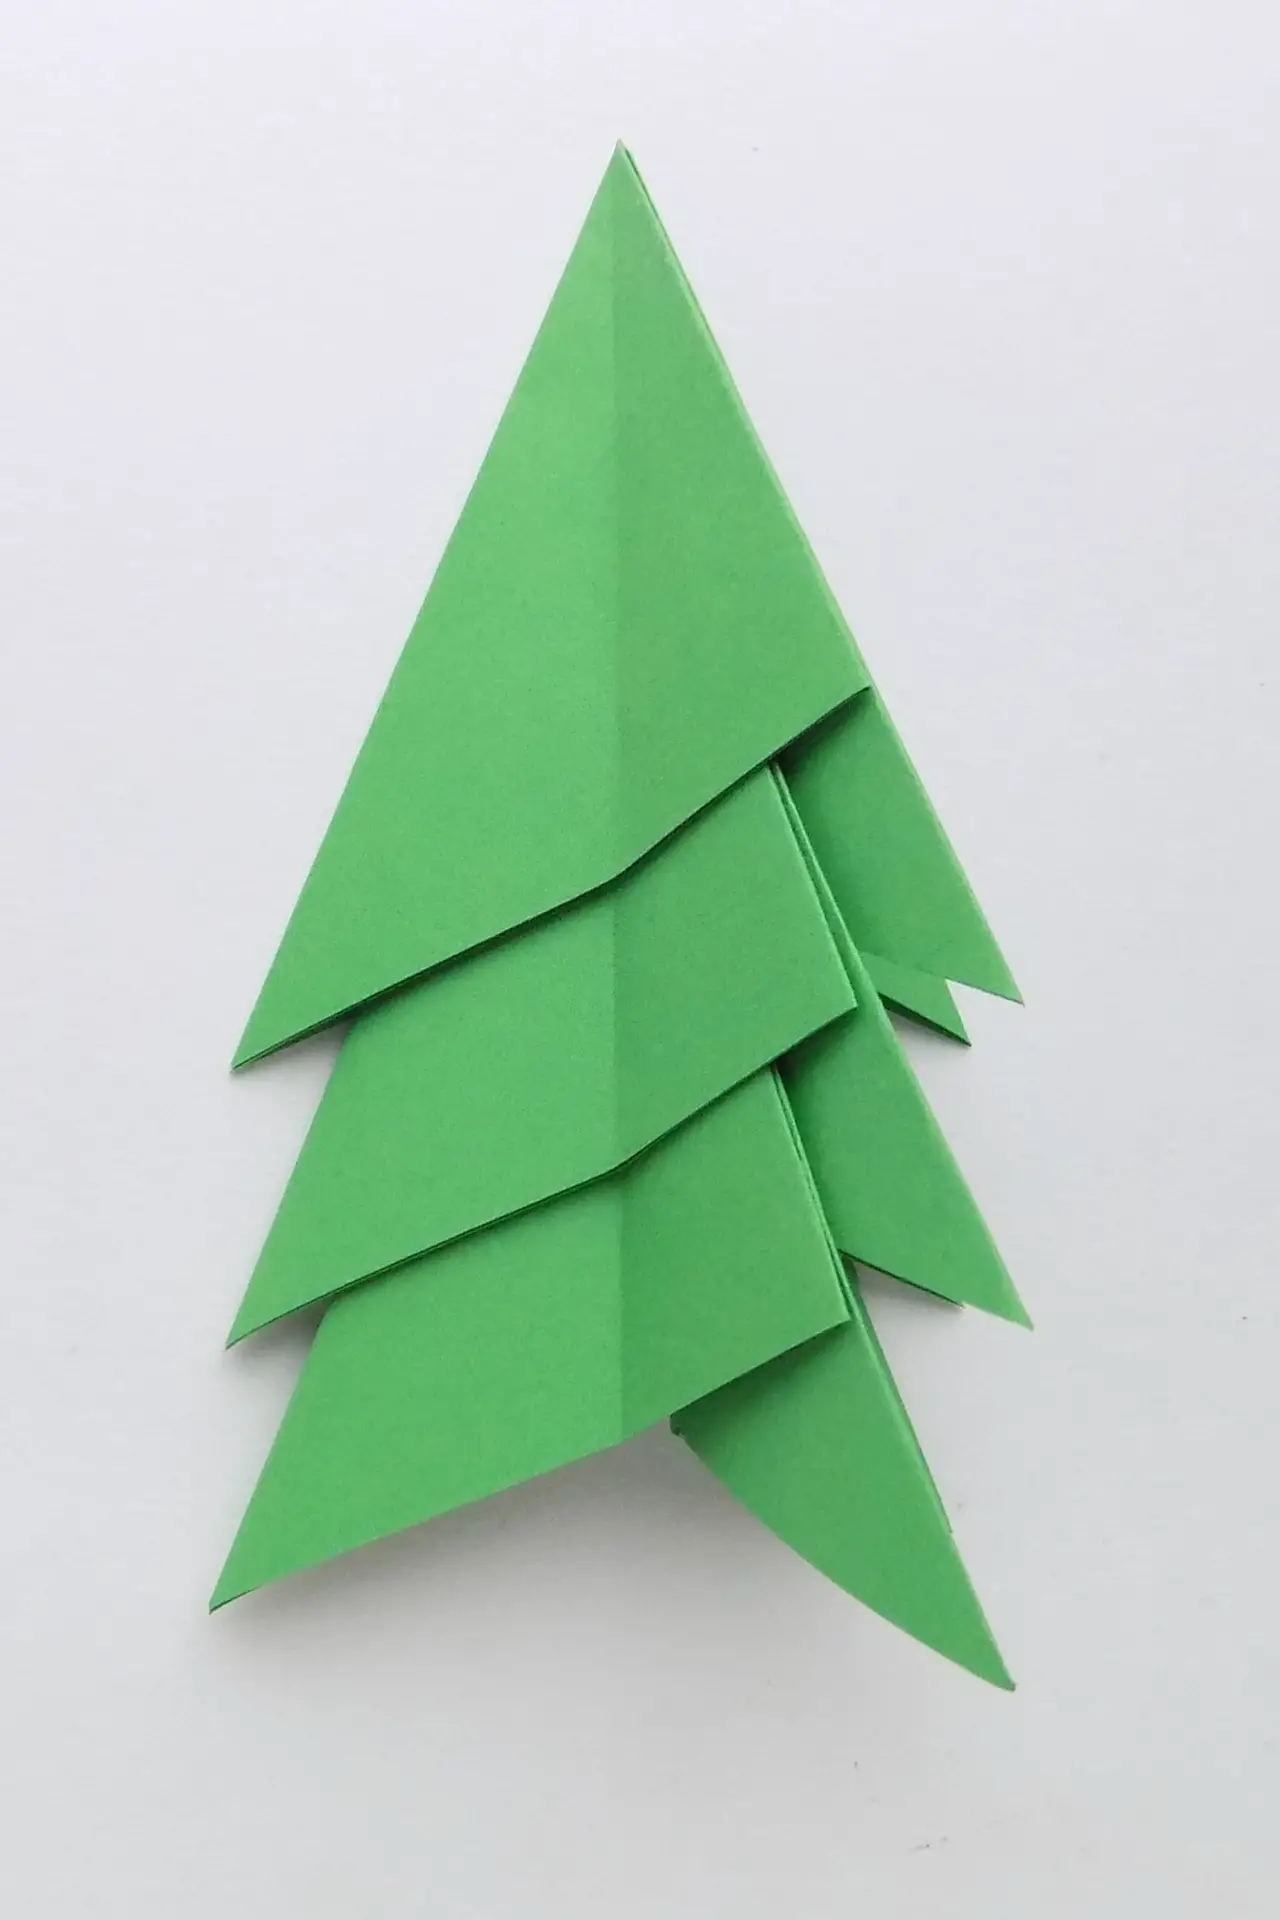
Add the third module by gluing it together. The result is a green Christmas tree like the one shown in the photo.
Step 10: Start creating the trunk
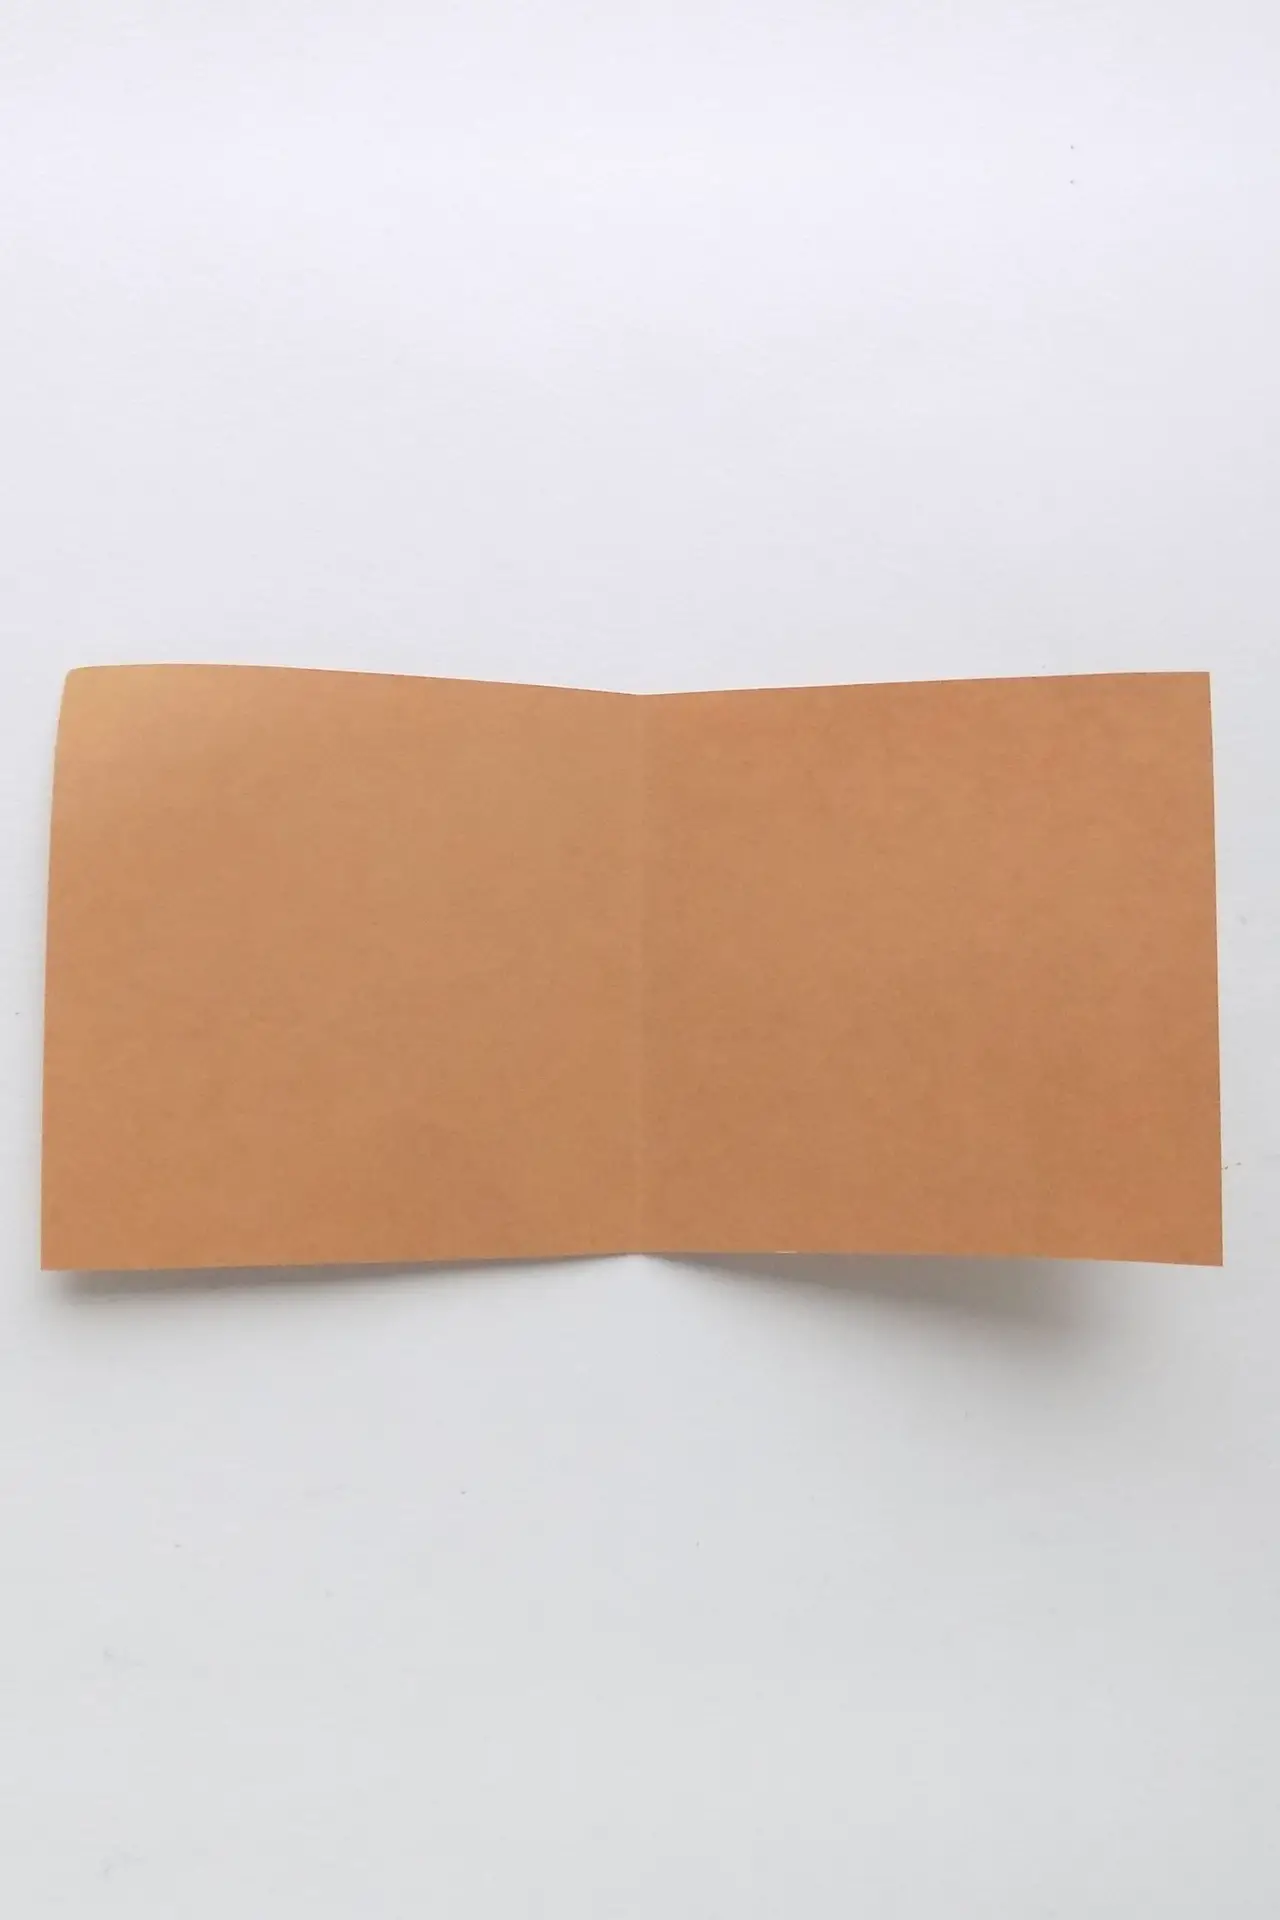
Take the brown rectangle you prepared earlier, fold it in half, and then unfold it.
Step 11: Make a square out of the rectangle
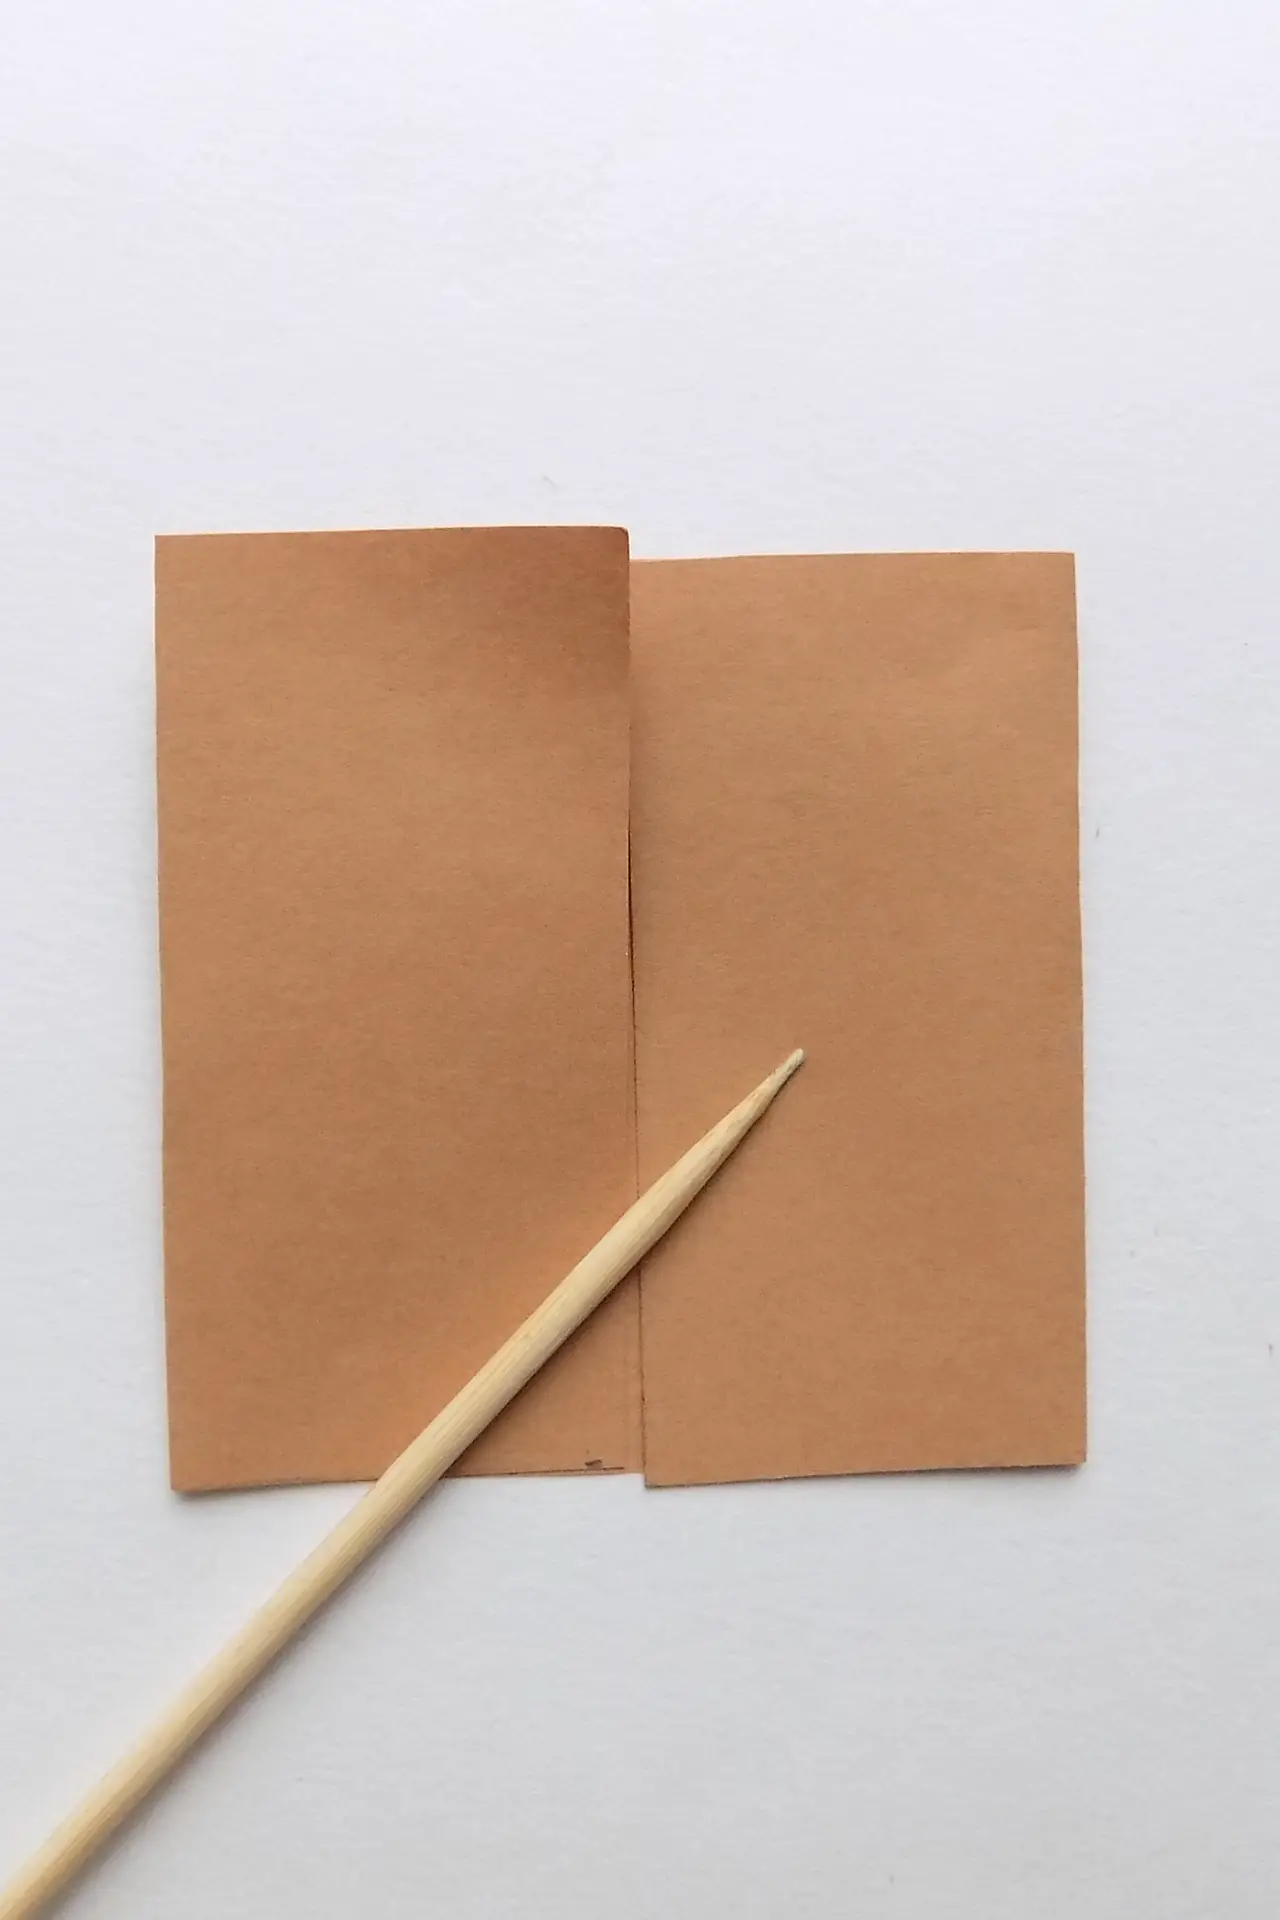
Fold the sides of the rectangle to the center line.
Step 12: Glue the two sides of the brown piece together
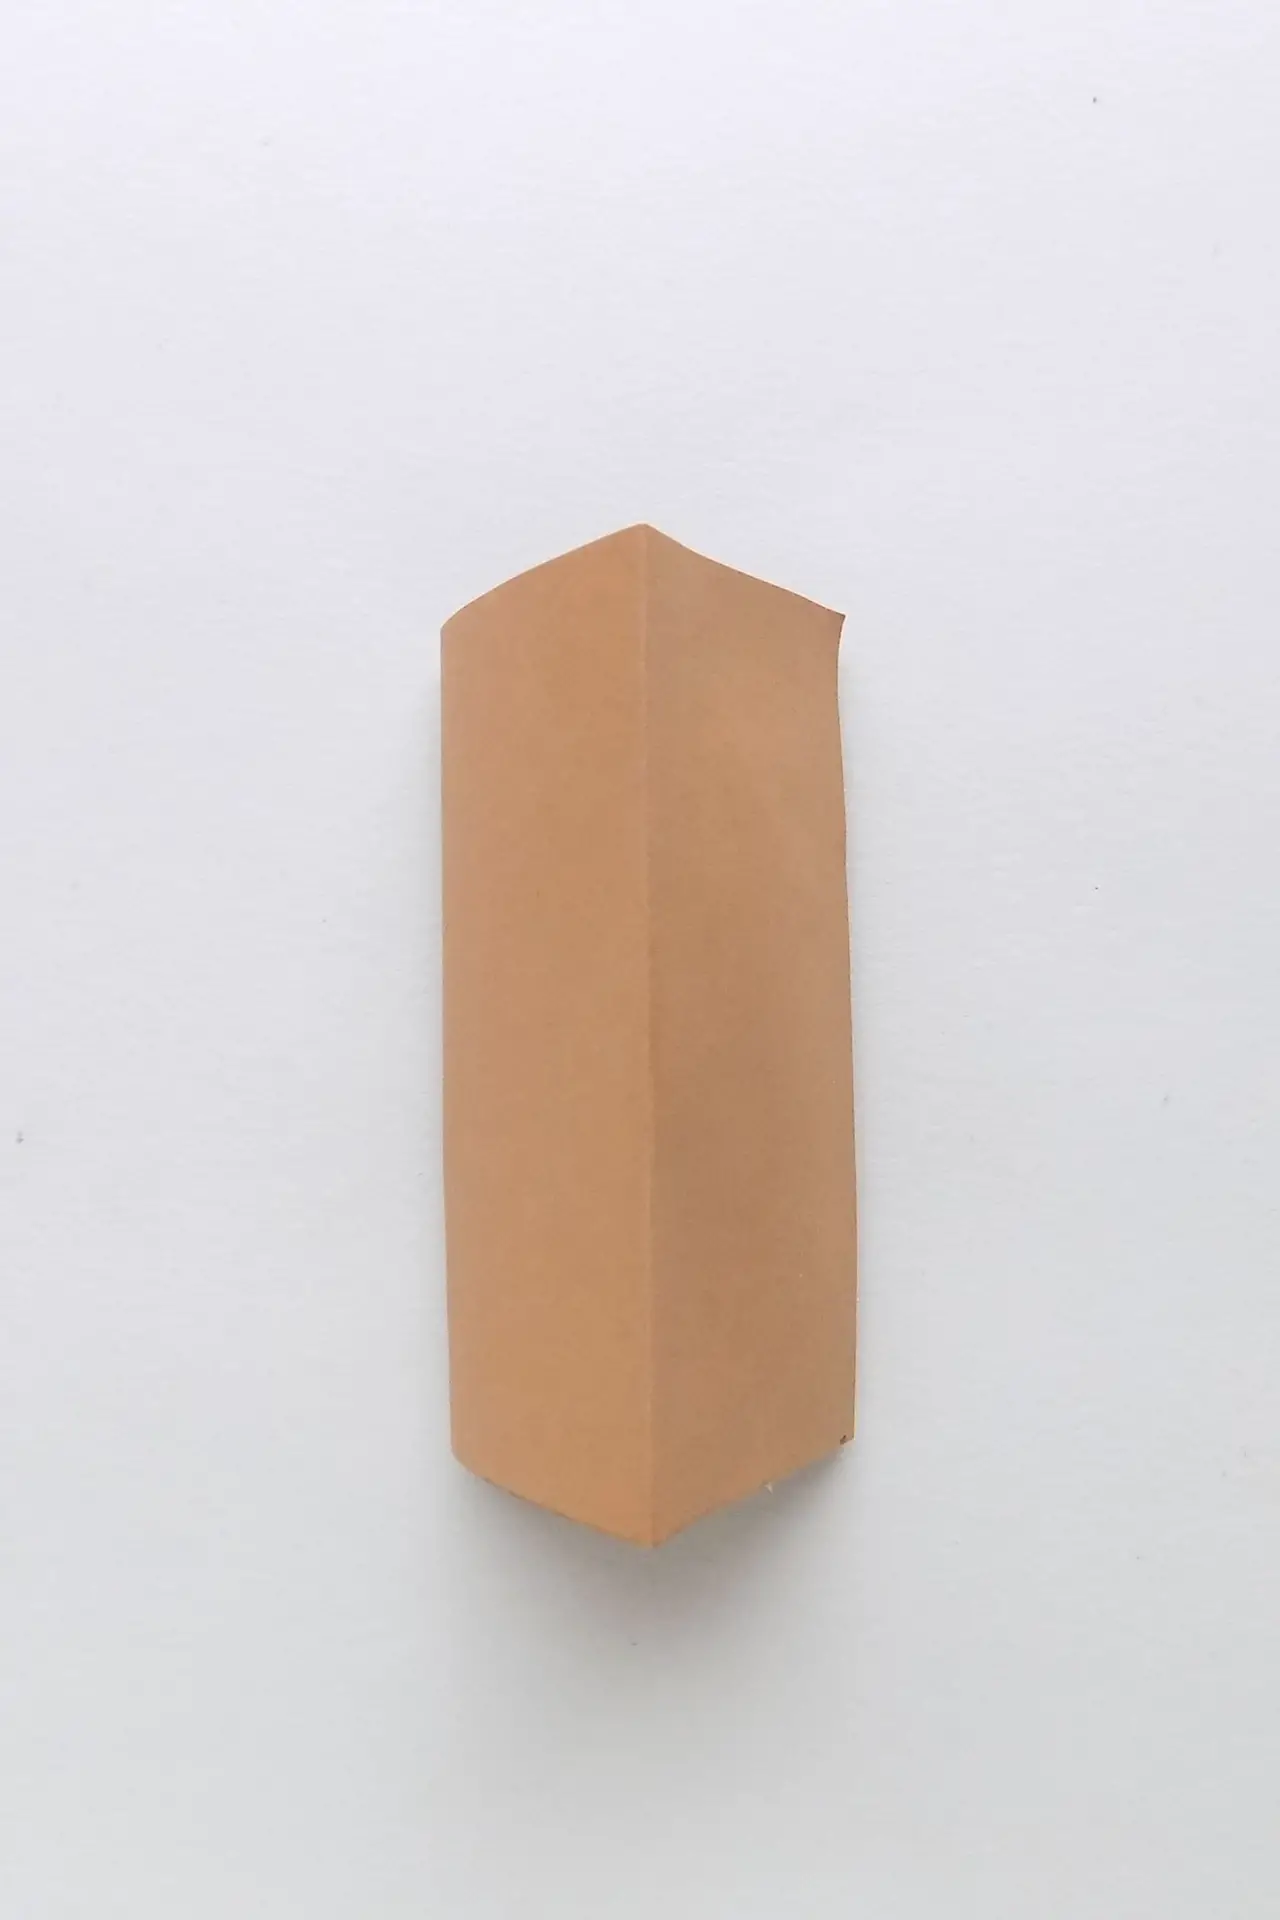
Then apply glue to one side of the square, and glue the opposite side on top. The result is a blank with three sides.
Step 13: Fold the trunk
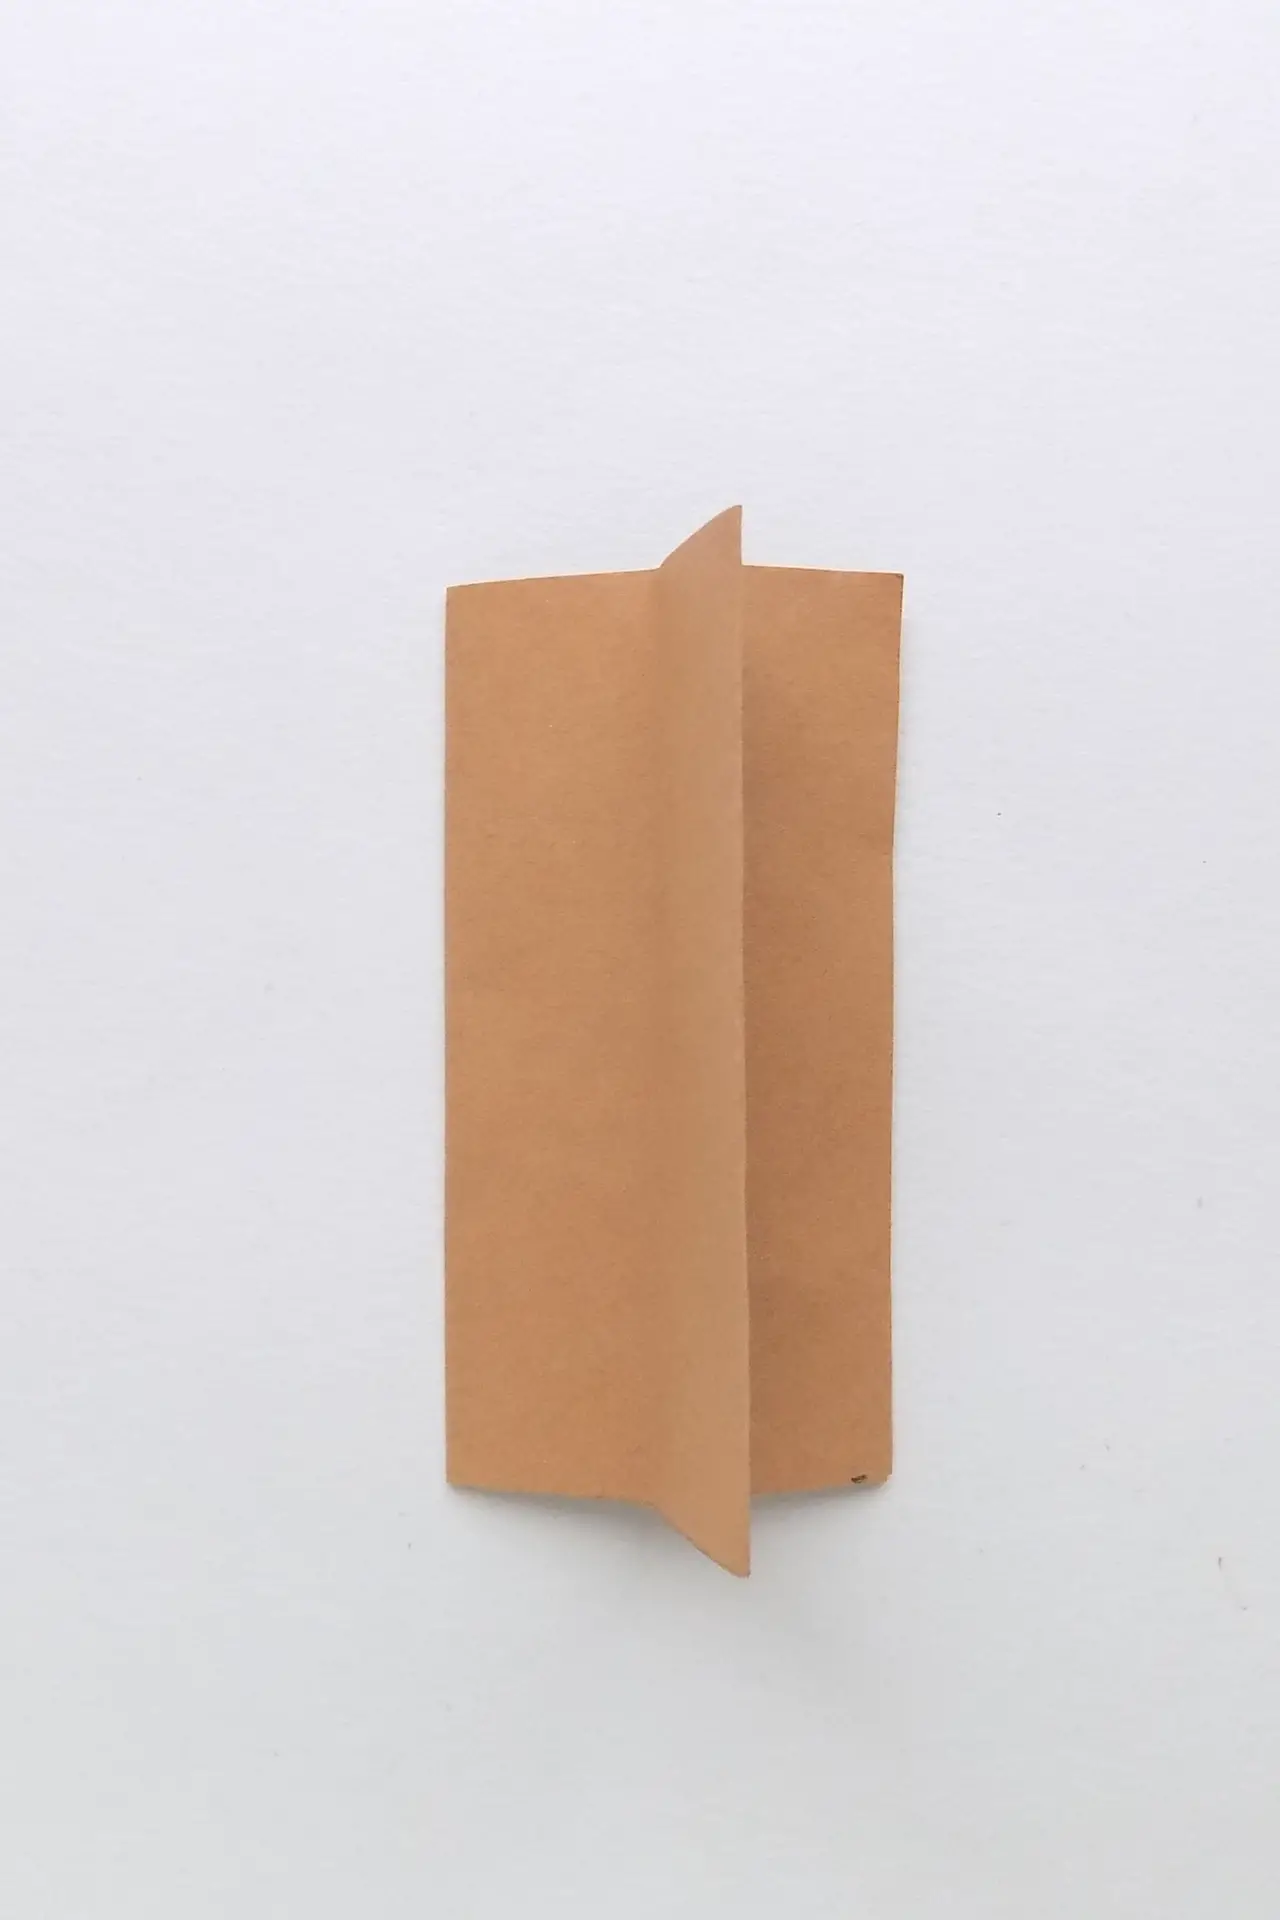
Fold each side in half, marking the center line. The trunk is ready.
Step 14: Connecting the trunk to the Christmas tree
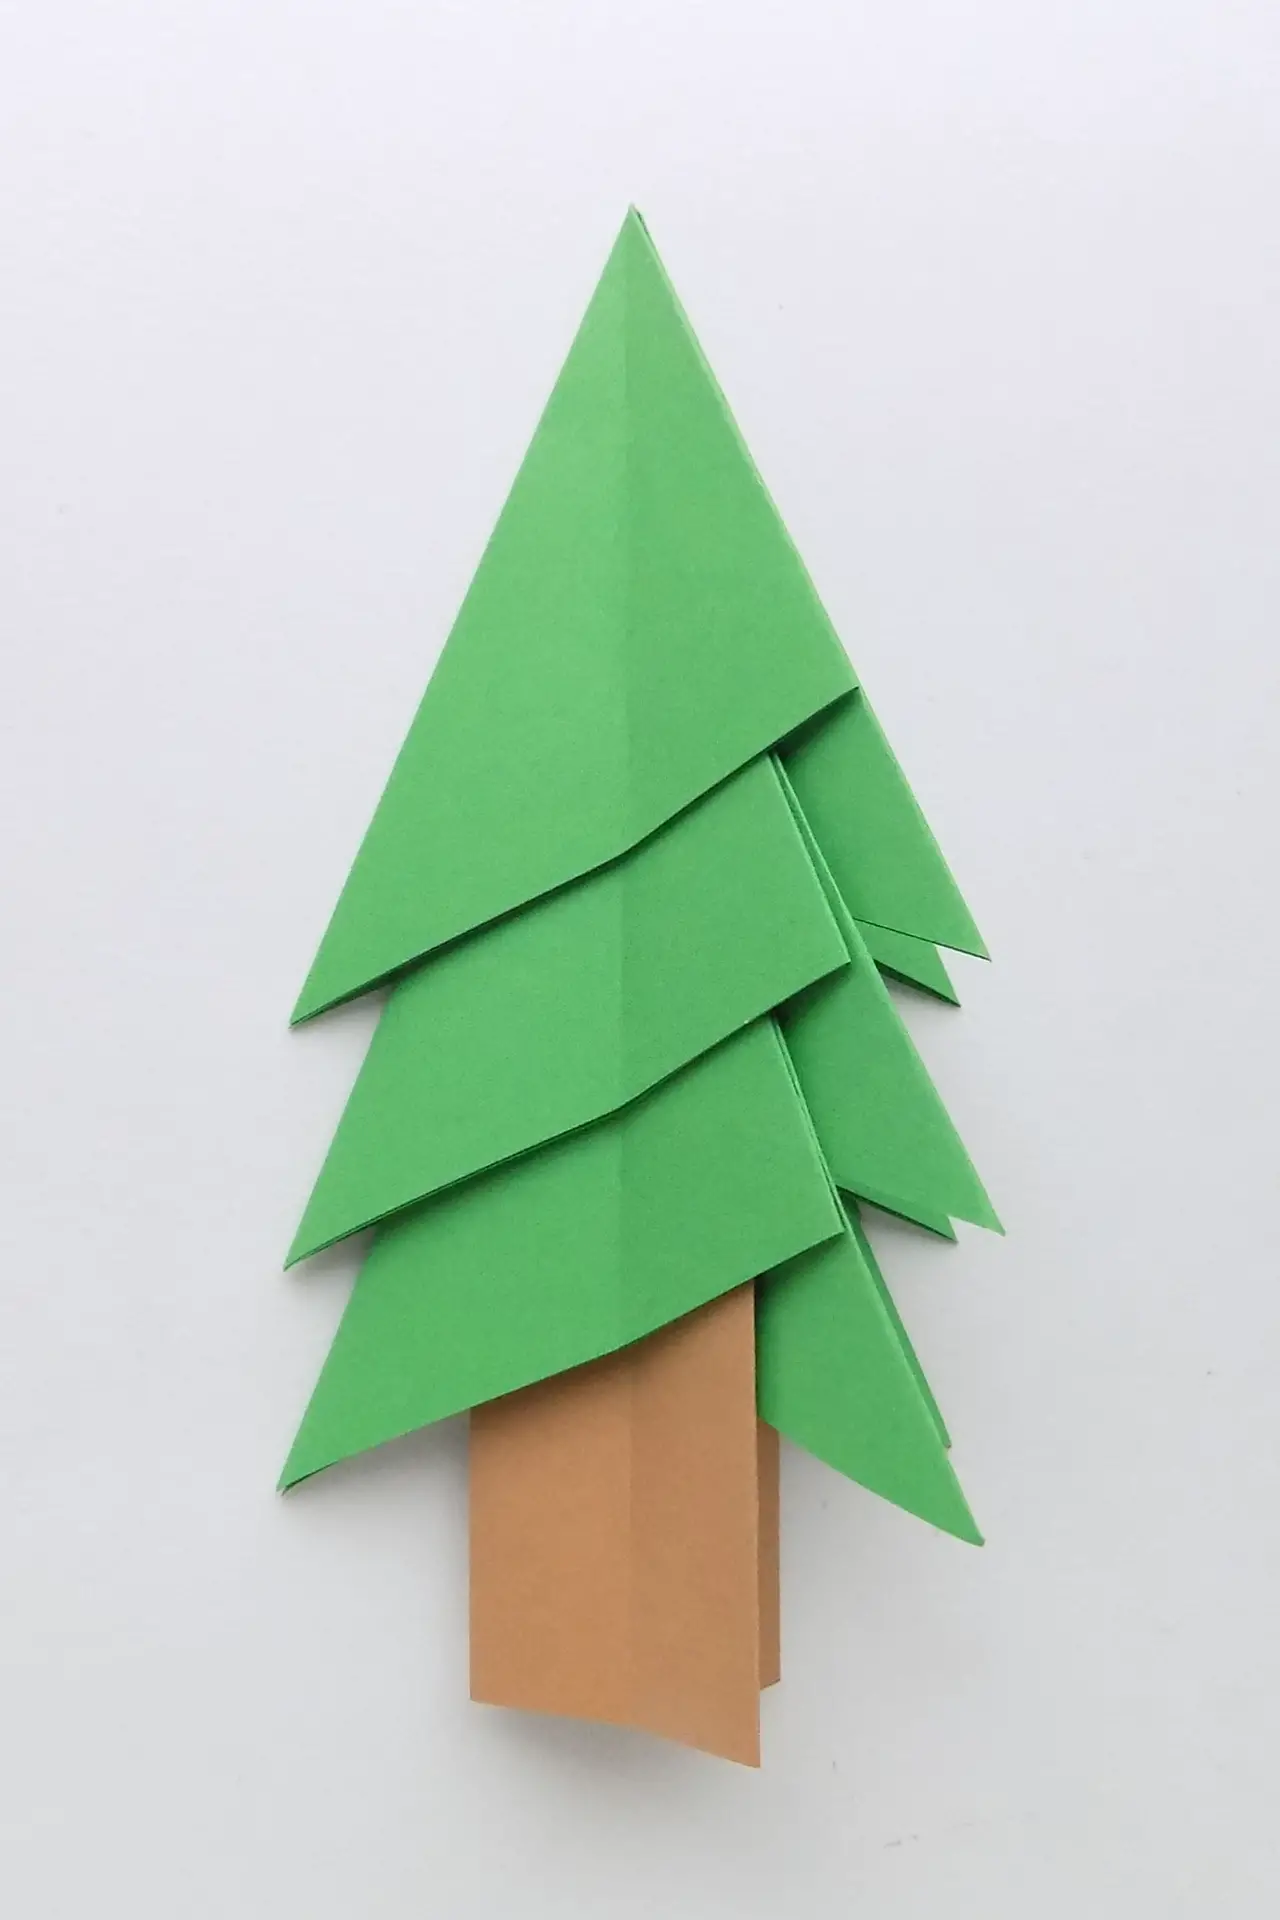
Grease the top of the trunk with glue and insert it into the green base you made earlier. Your paper origami Christmas tree is finished.
Supply:
- 3 squares of green paper 14×14 cm;
- 1 rectangle of brown paper 14×7 cm.
Tools:
- glue stick.
Similar Christmas trees can be made in different sizes and colors. They will make a wonderful table decoration and add to the New Year spirit.