Today I offer you the chance to make a simple paper cup using origami techniques. Detailed photos from my masterclass will help you to do this, which any child can make, not only with their parents, but also by themselves.
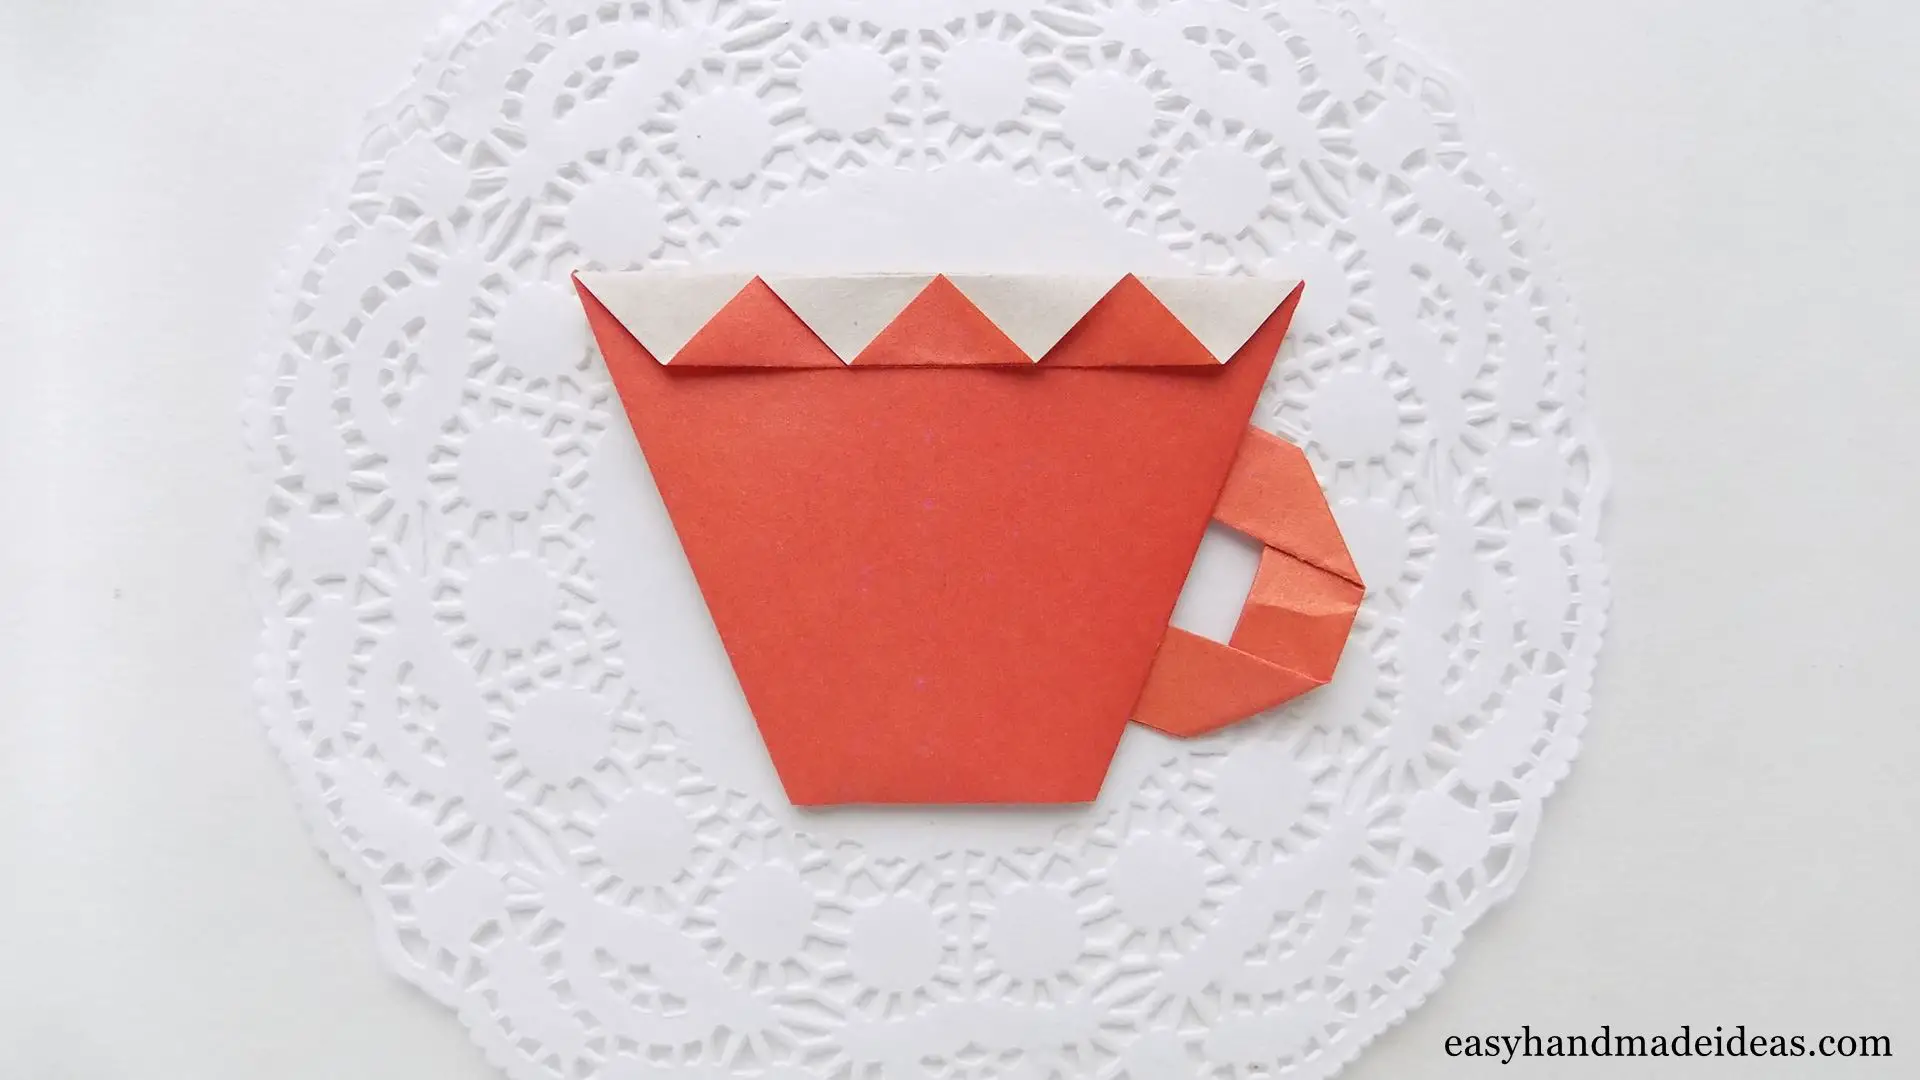
Instructions, how to make an origami cup with a beautiful decoration.
Total Time: 15 minutes
Step 1: Prepare the tools
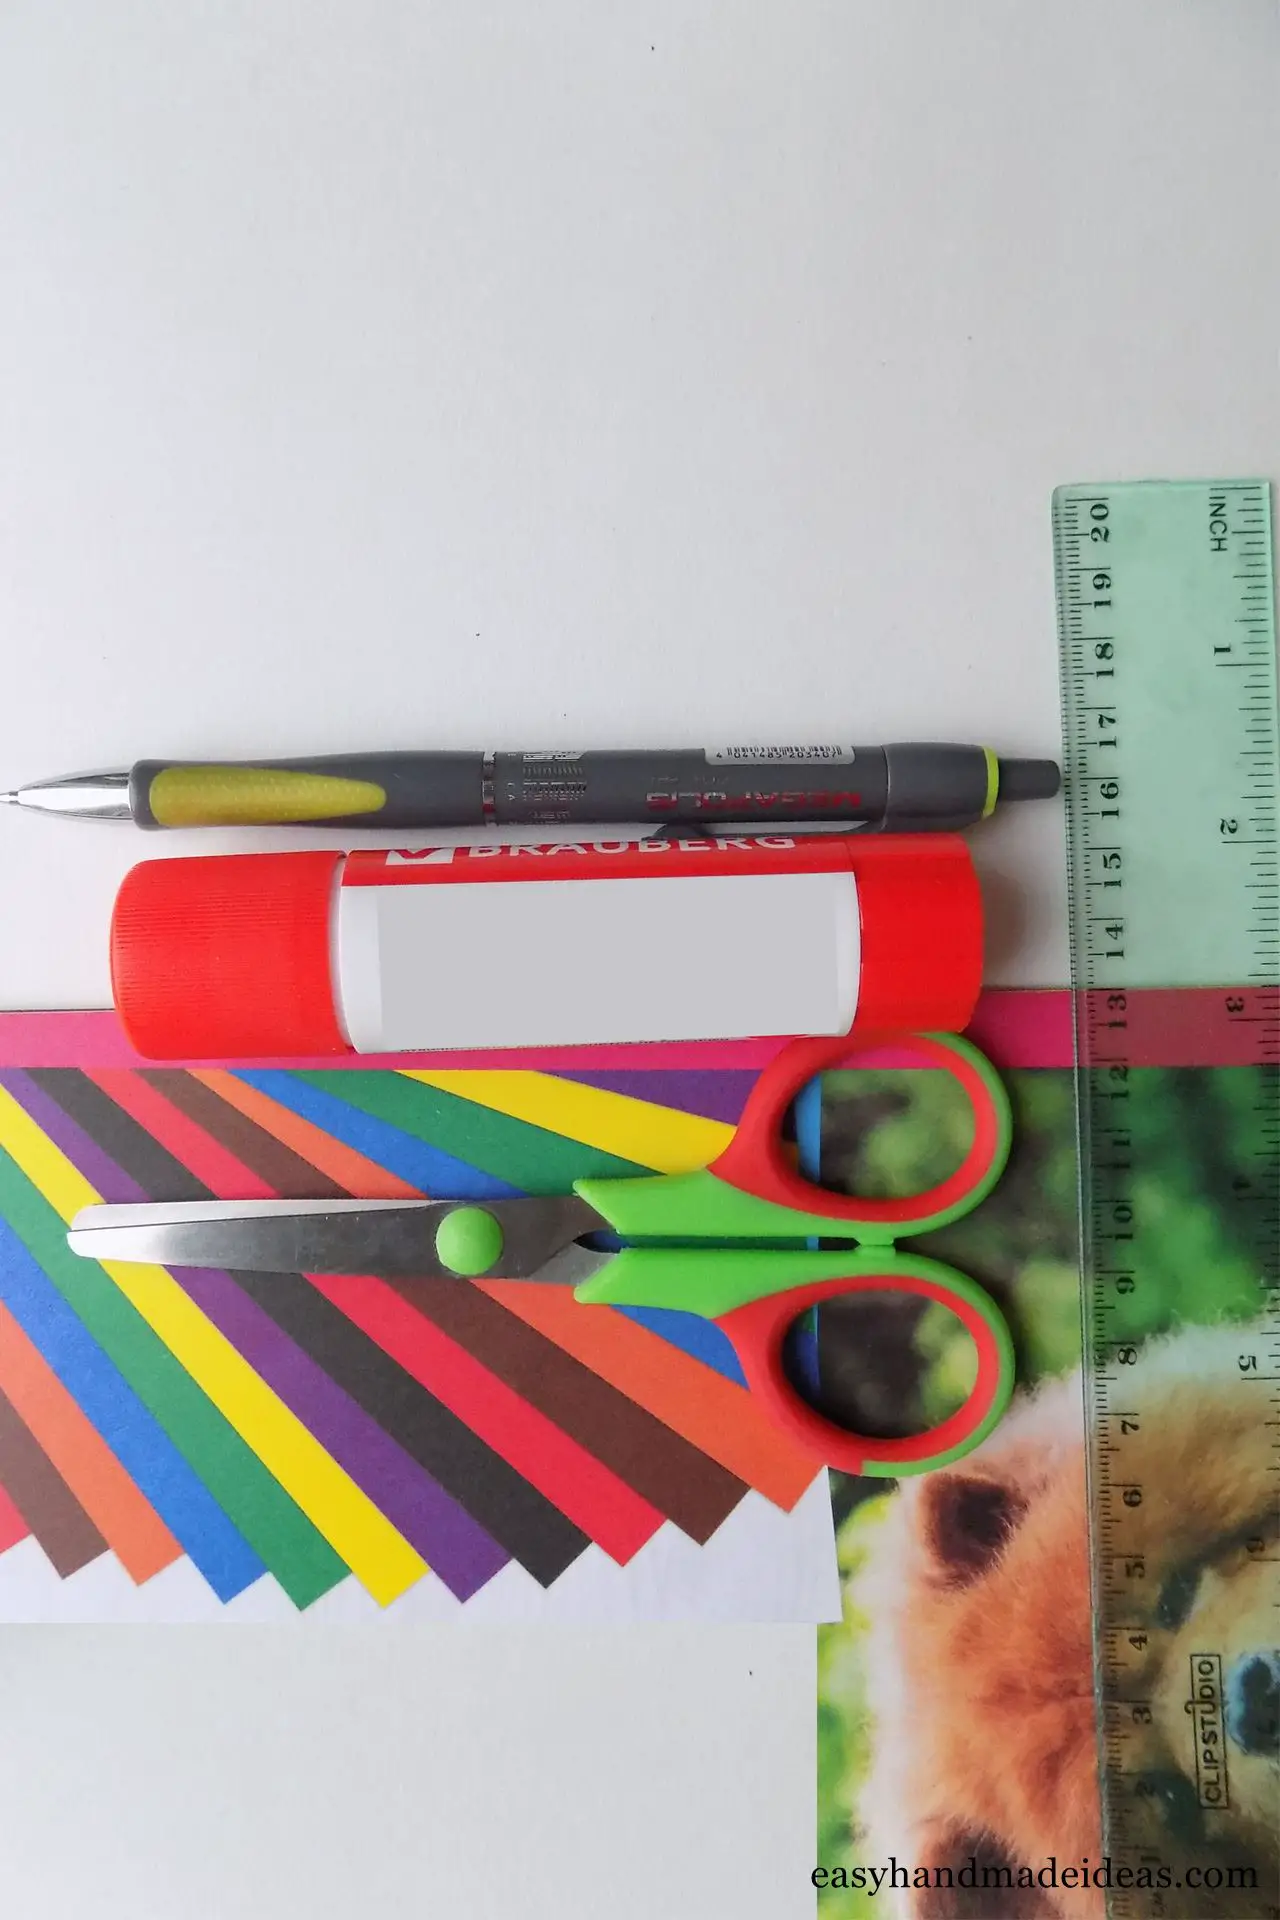
Take the necessary materials and tools as shown in the photo.
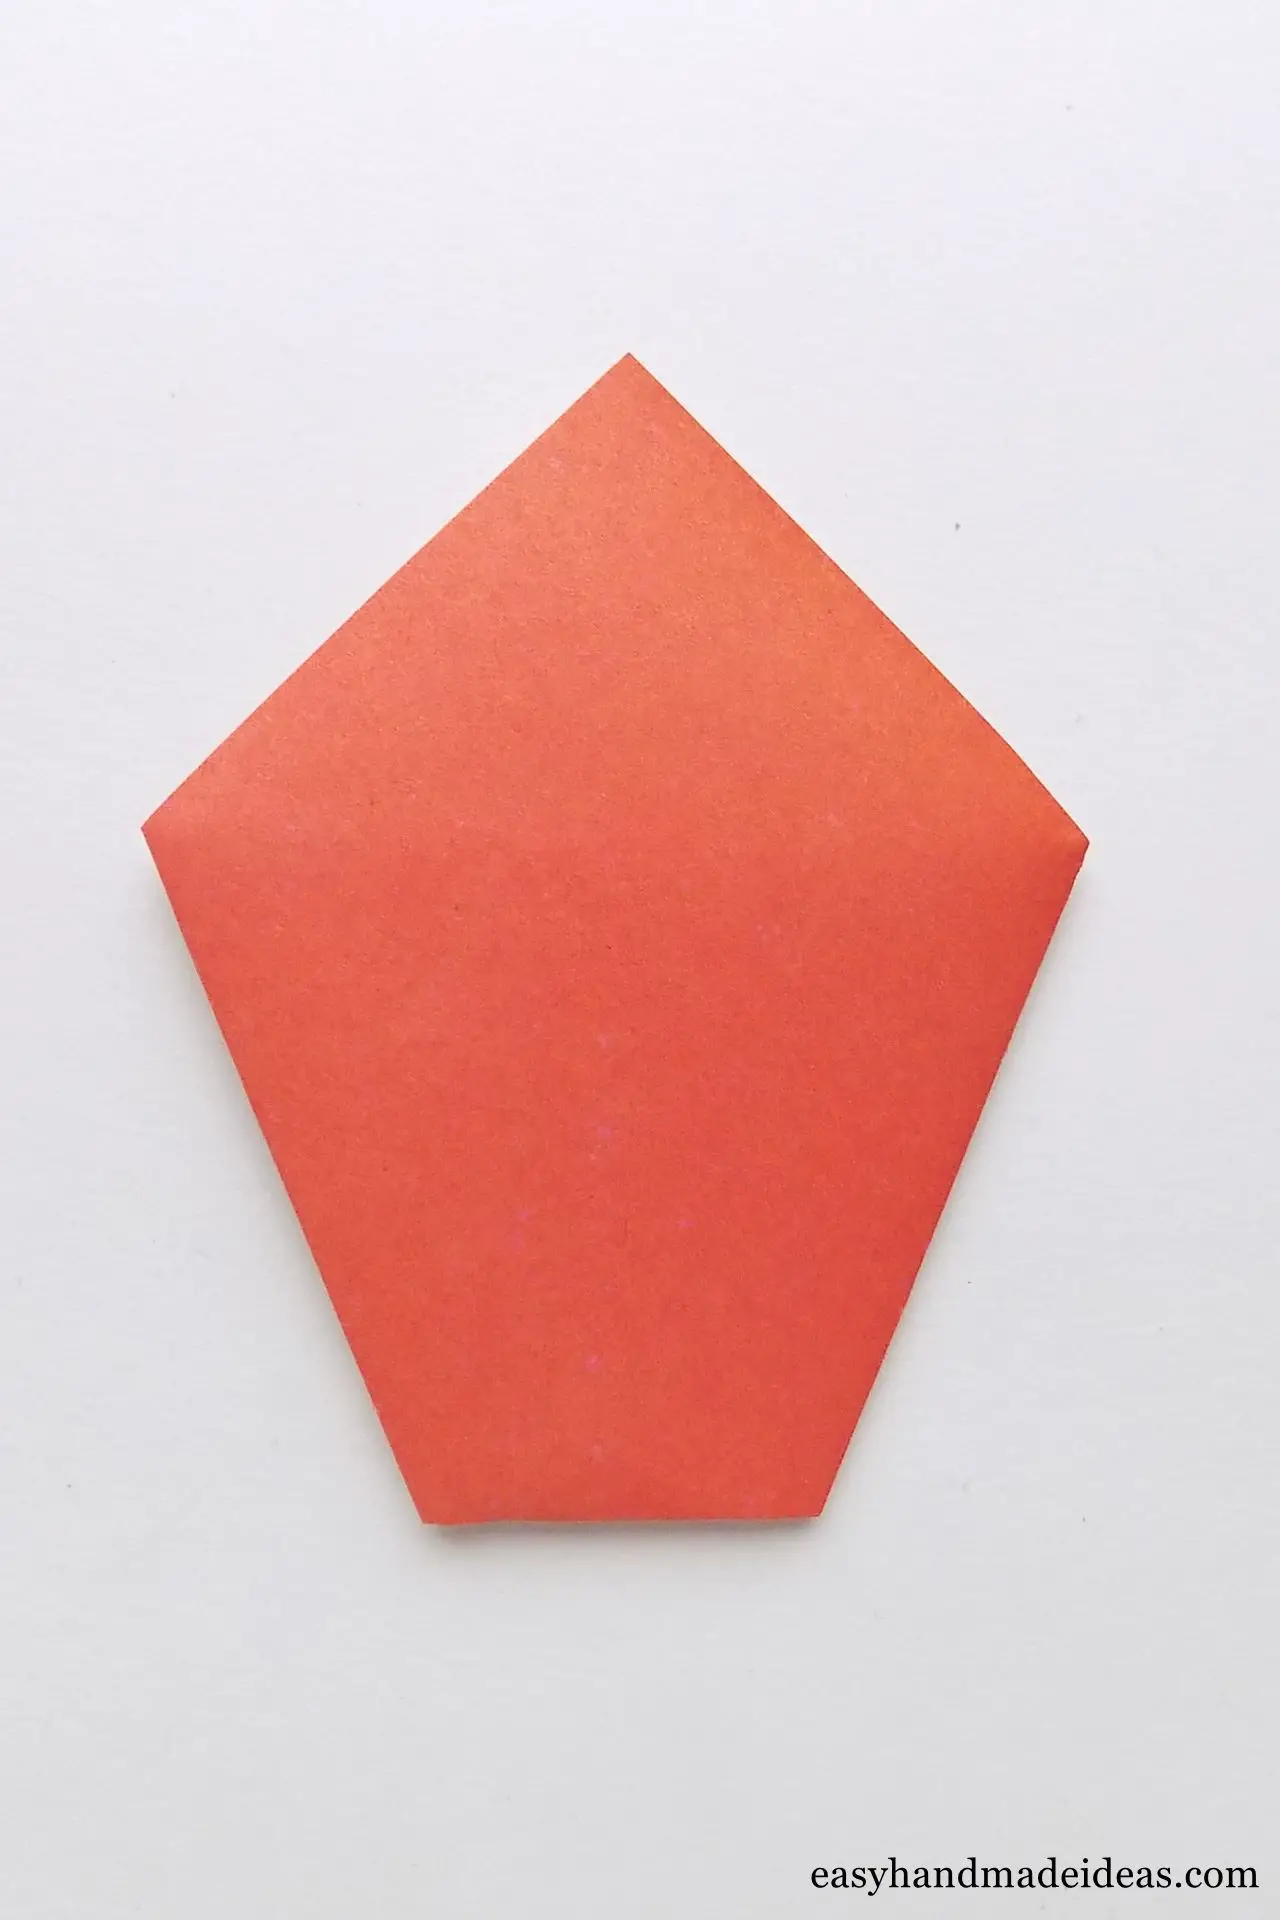
Step 2: Cut out a square of colored paper
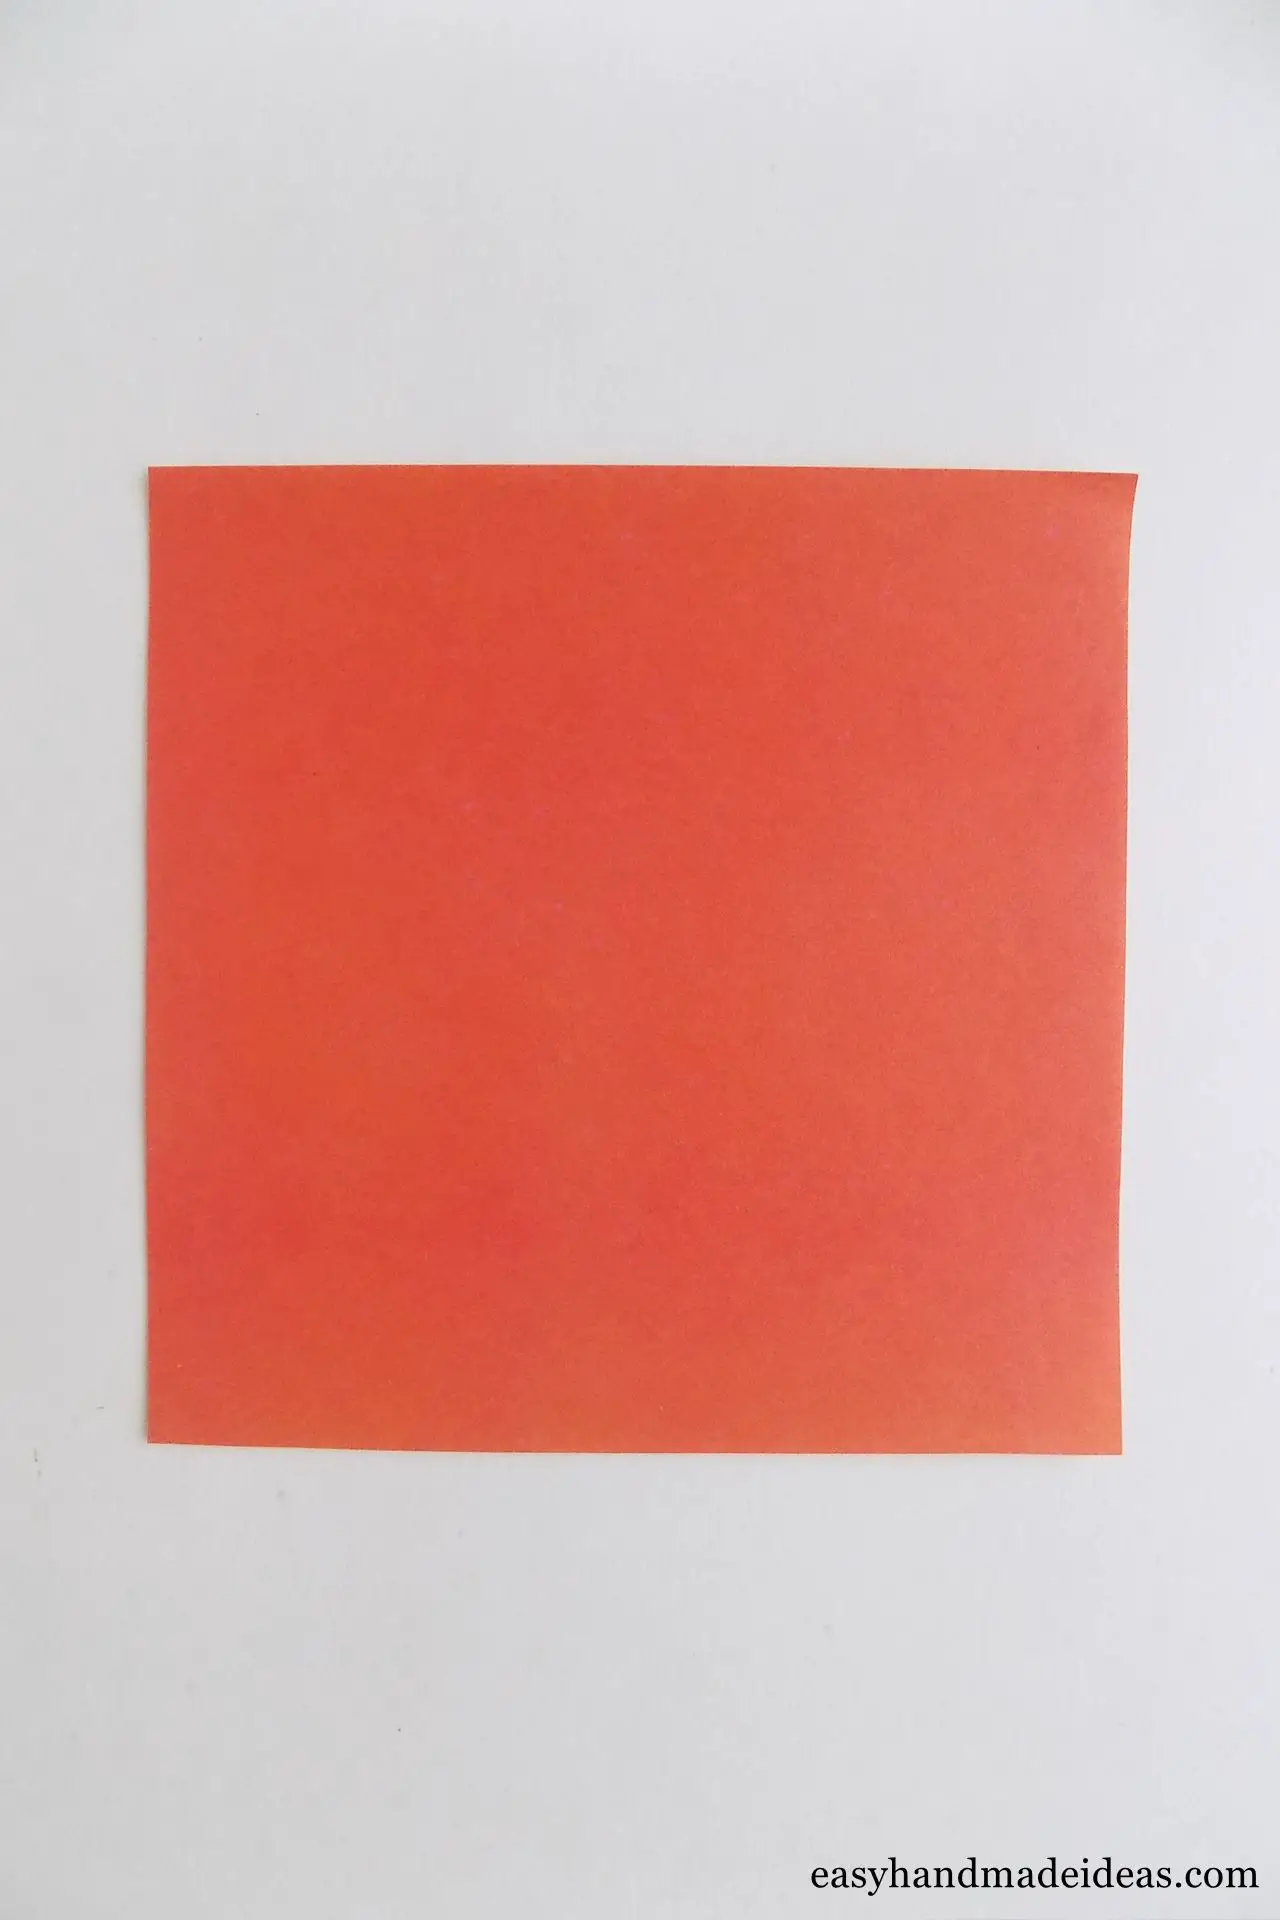
For the cup itself, prepare a square of red single-sided paper with a side of 14cm.
Step 3: Make a triangle out of the square
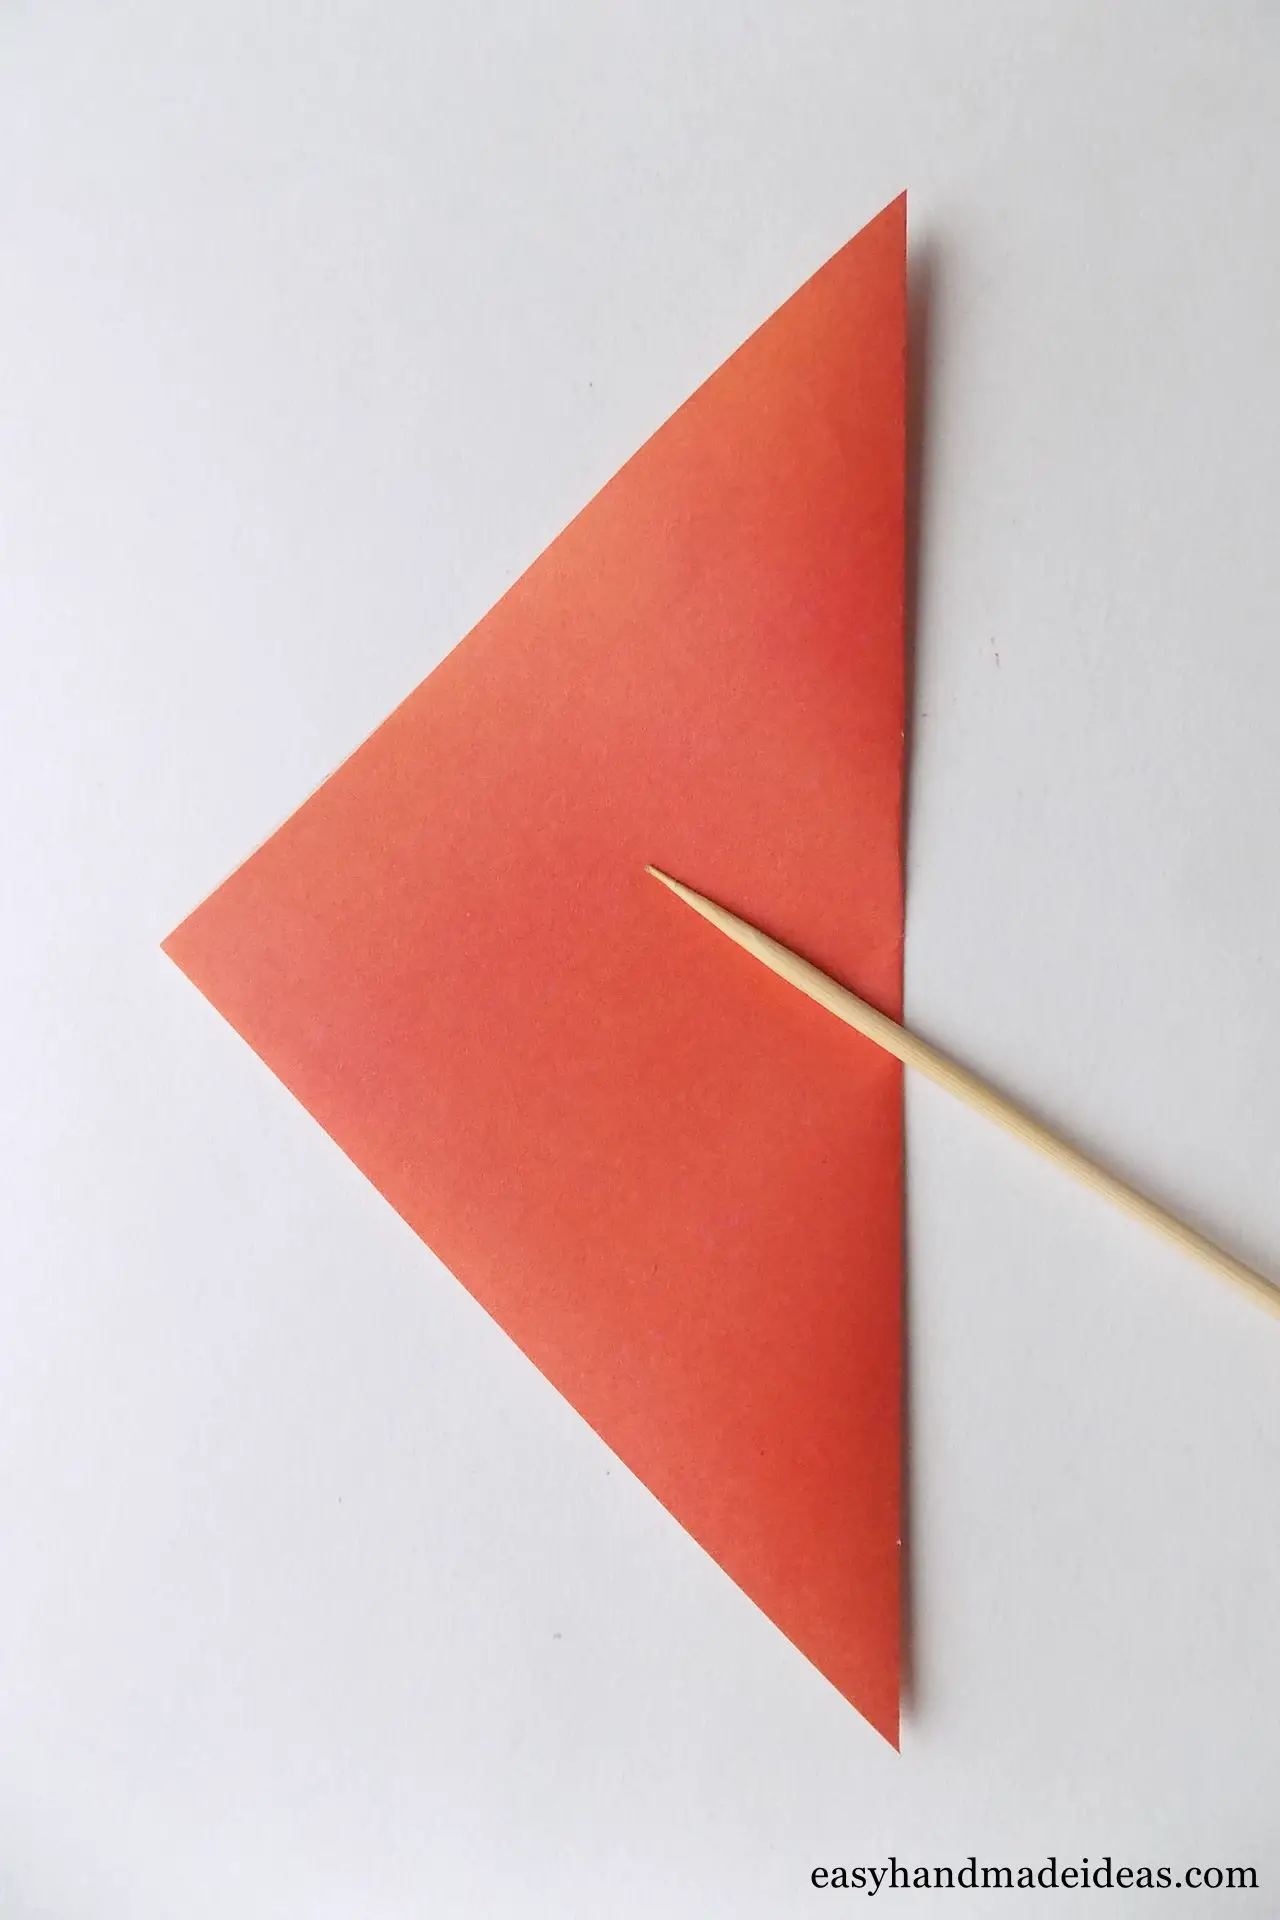
Start by folding the square diagonally so that the colored side is on the outside.
Step 4: Mark only the fold on the left side of the triangle
Now make a mark on the left side of the triangle. To do this, fold the corner slightly towards the bottom, tacking only the top layer.
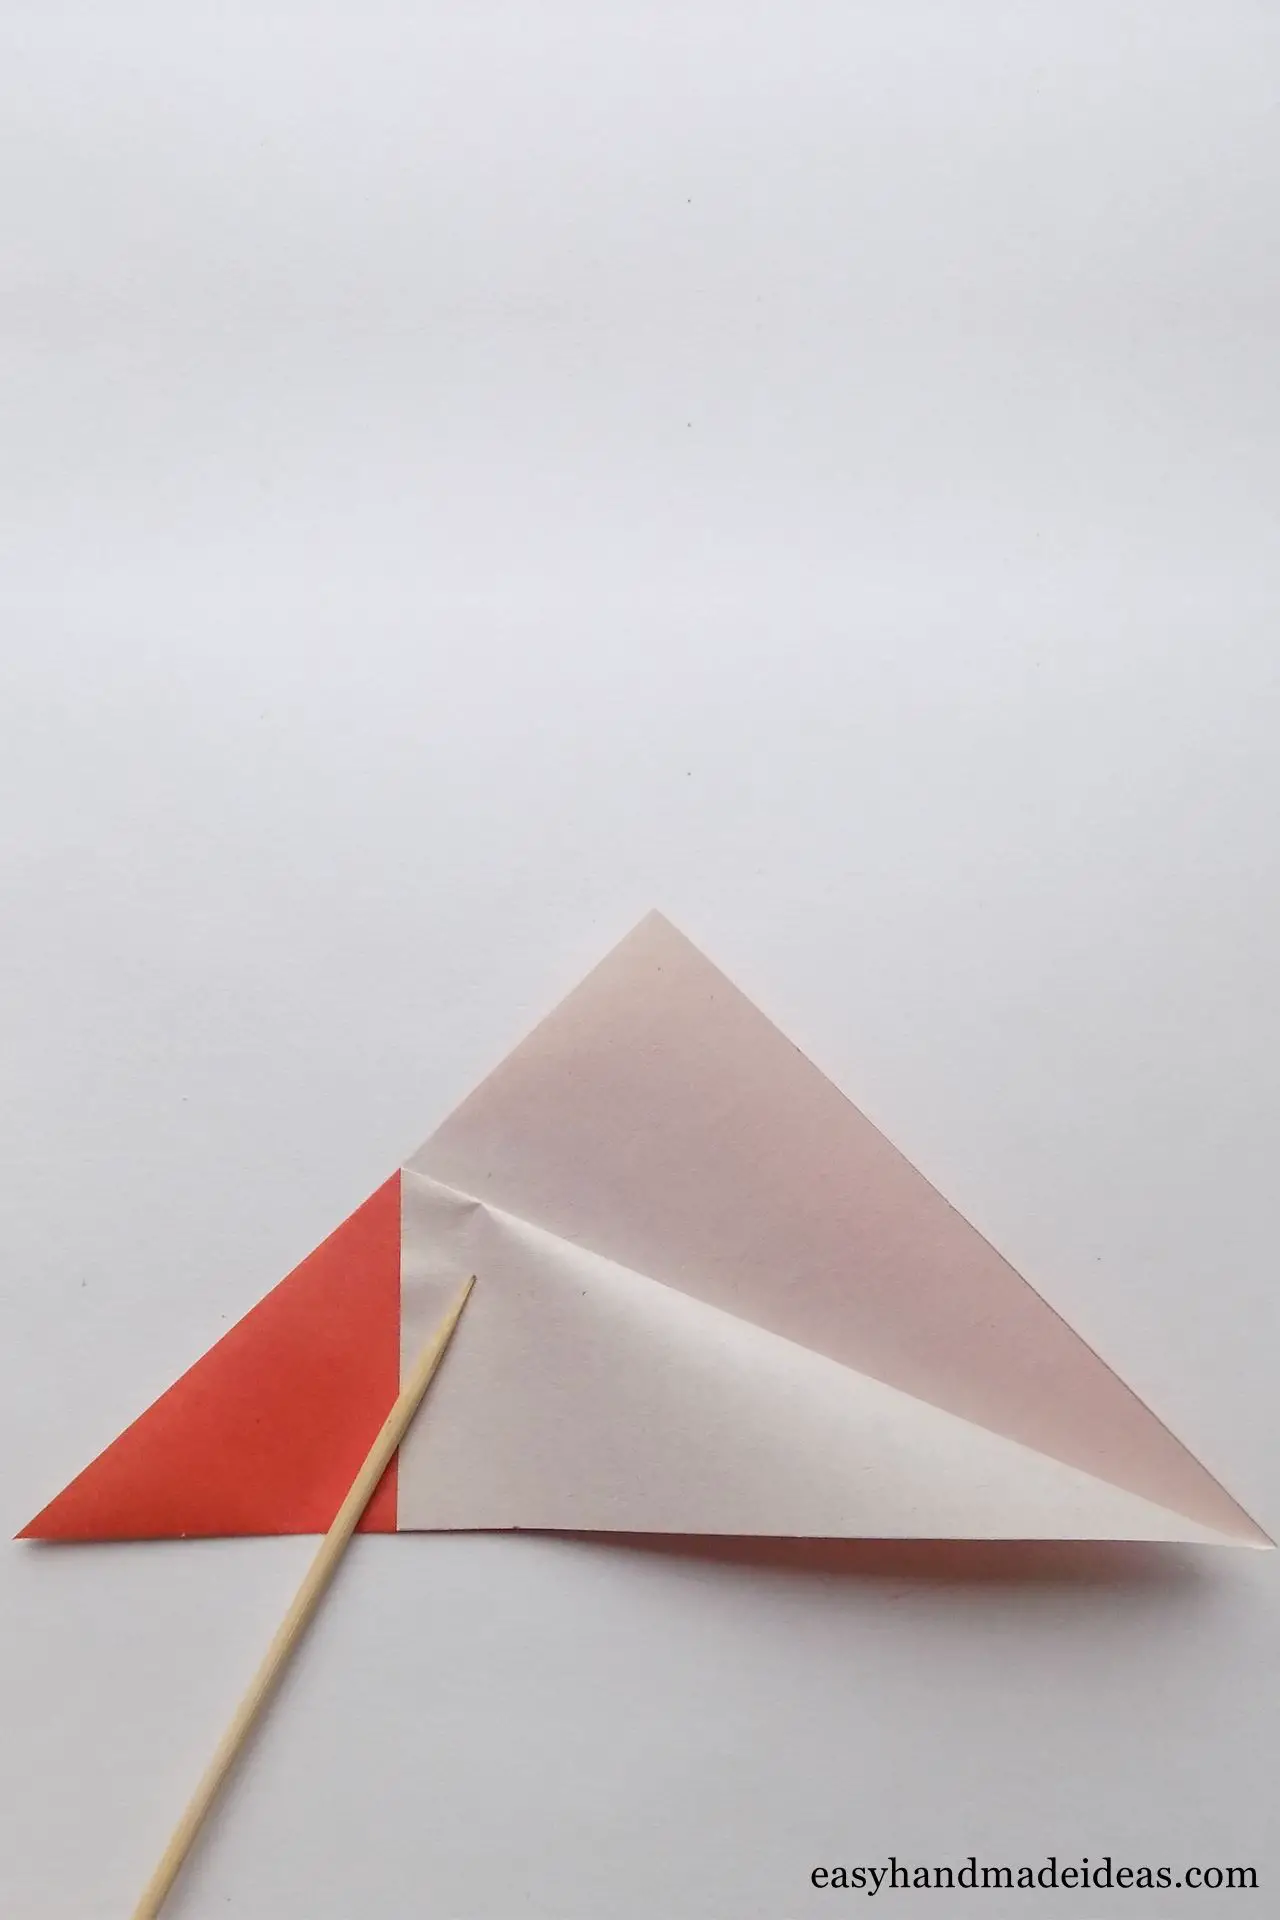
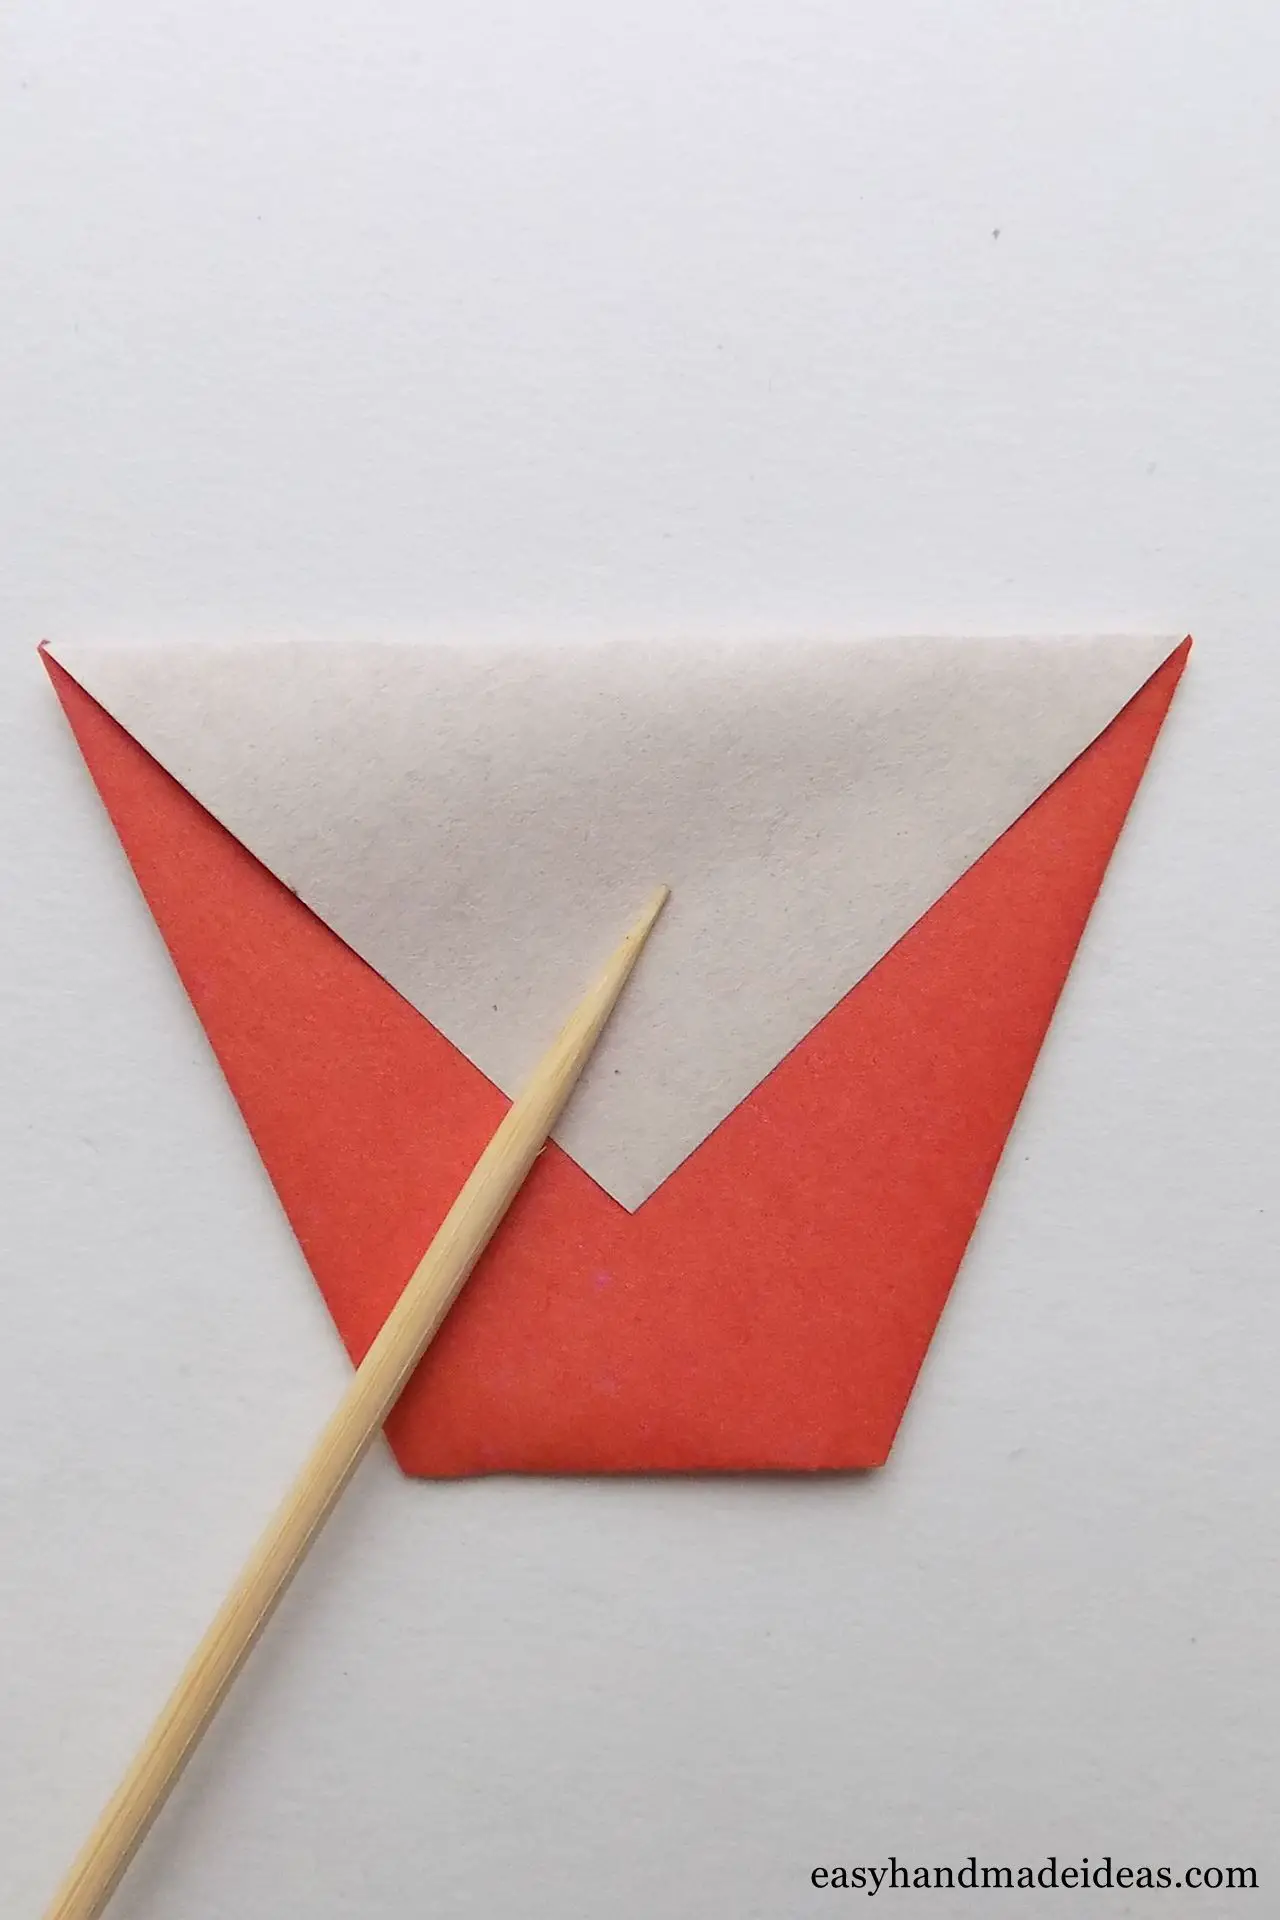
Step 5: Fold up the right corner of the triangle
Fold the corner up again. Next, to form the cup, you need to fold the right-hand corner to the left-hand point.
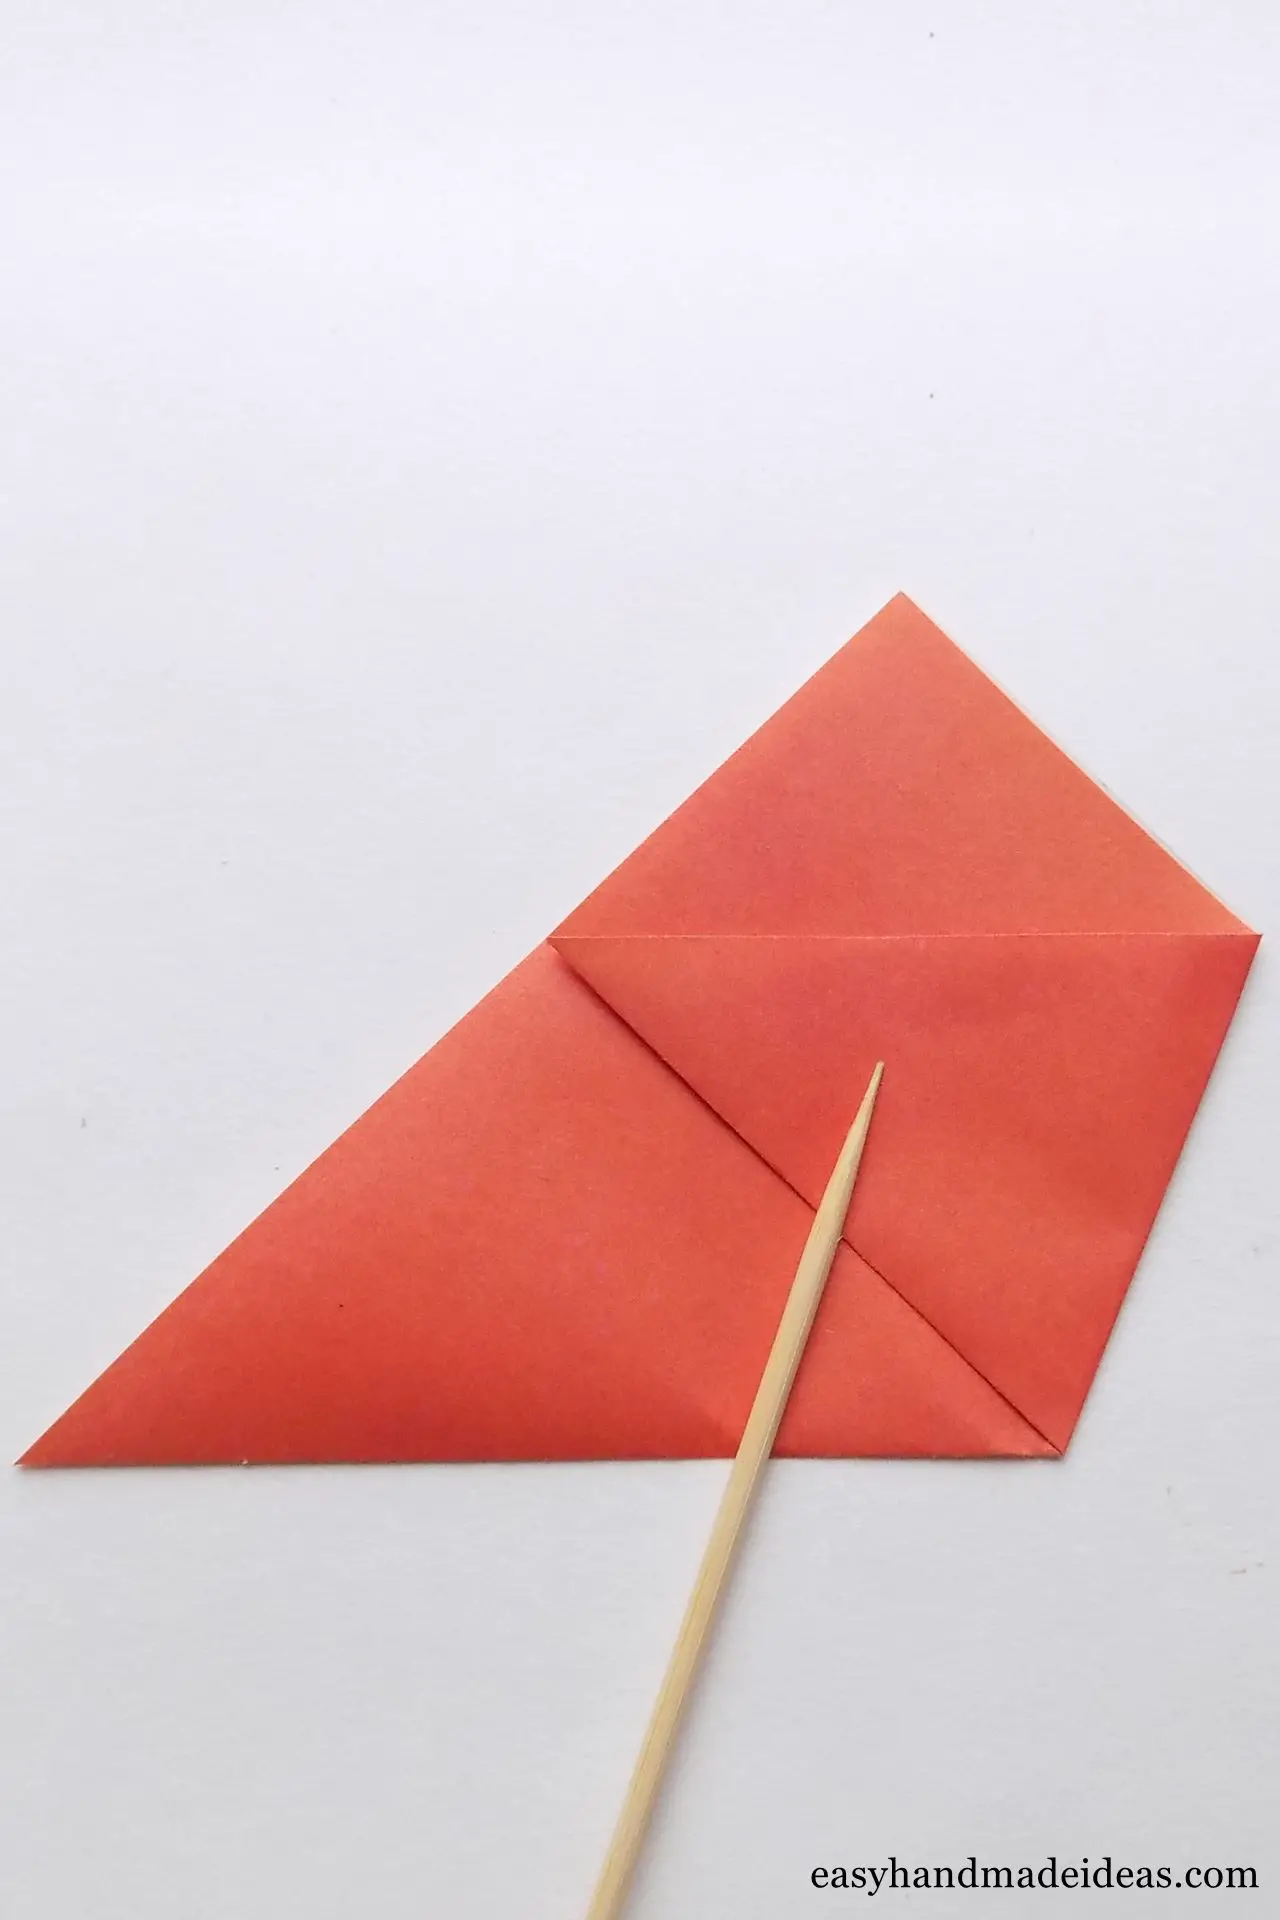
Step 6: Create the left corner fold
Fold the left corner of your craft symmetrically to the right.
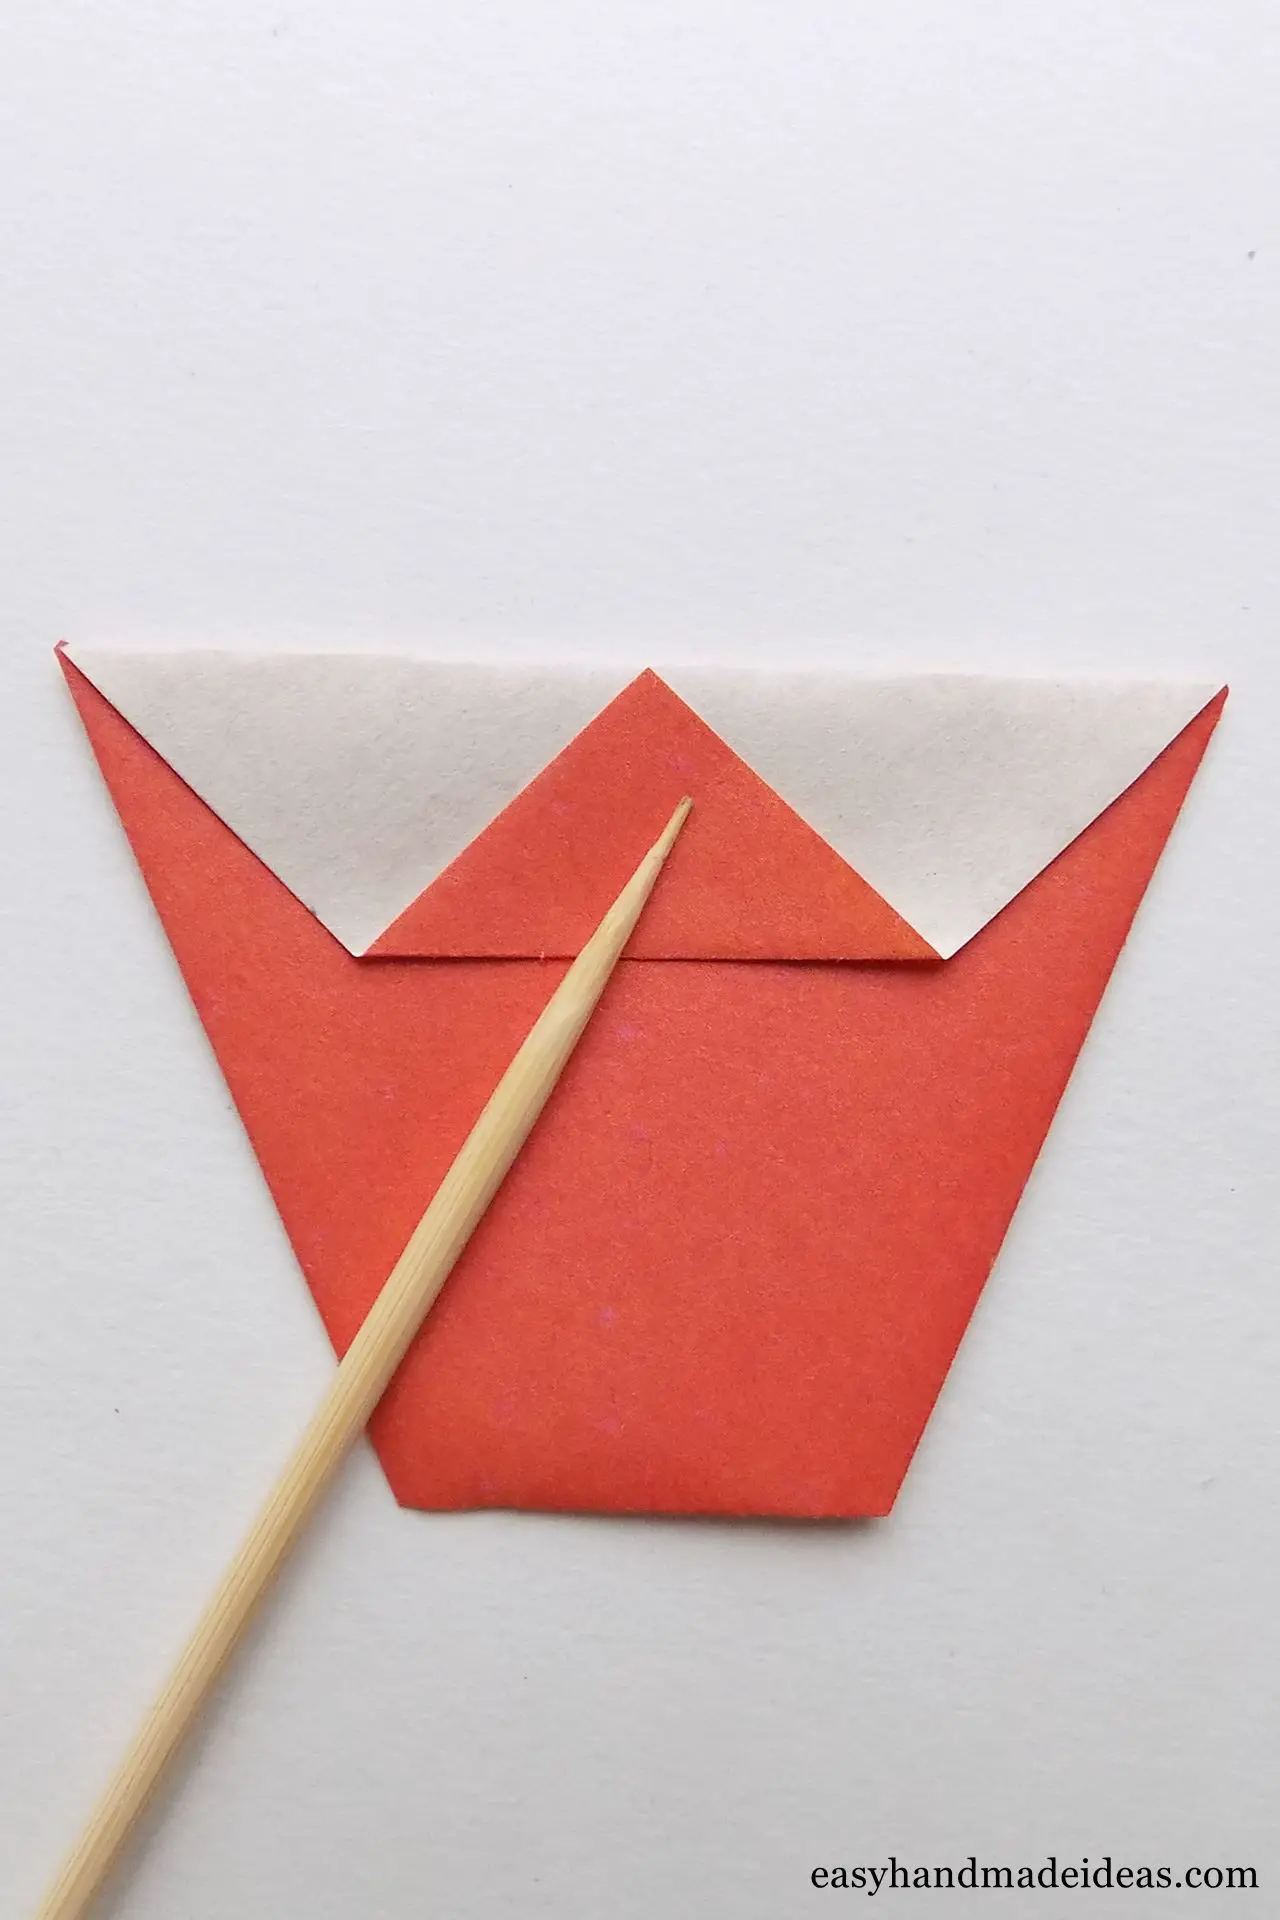
Step 7: Fold one top corner
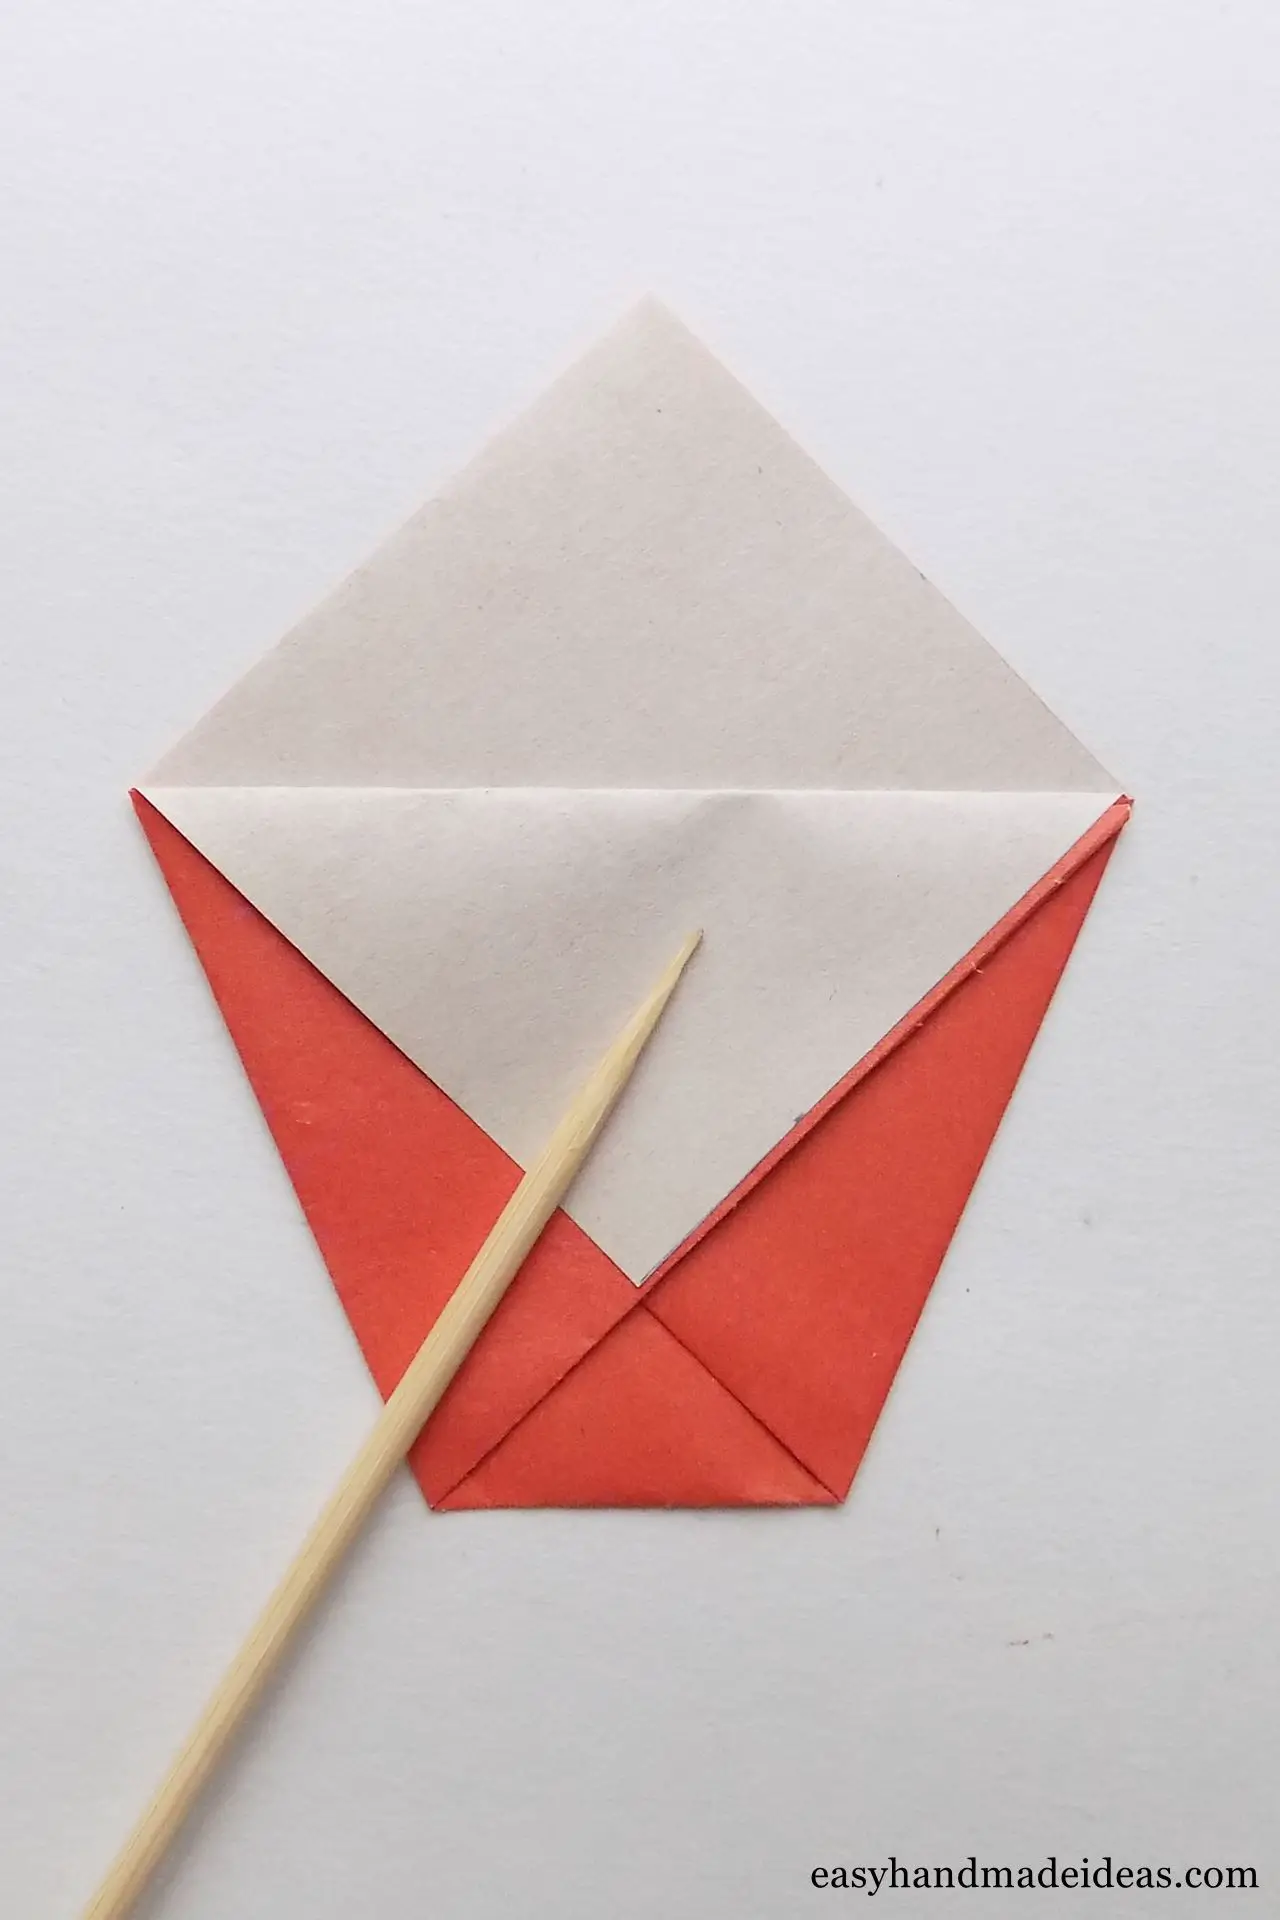
There are 2 layers left at the top. First fold the top one down.
Step 8: Then push the corner inside
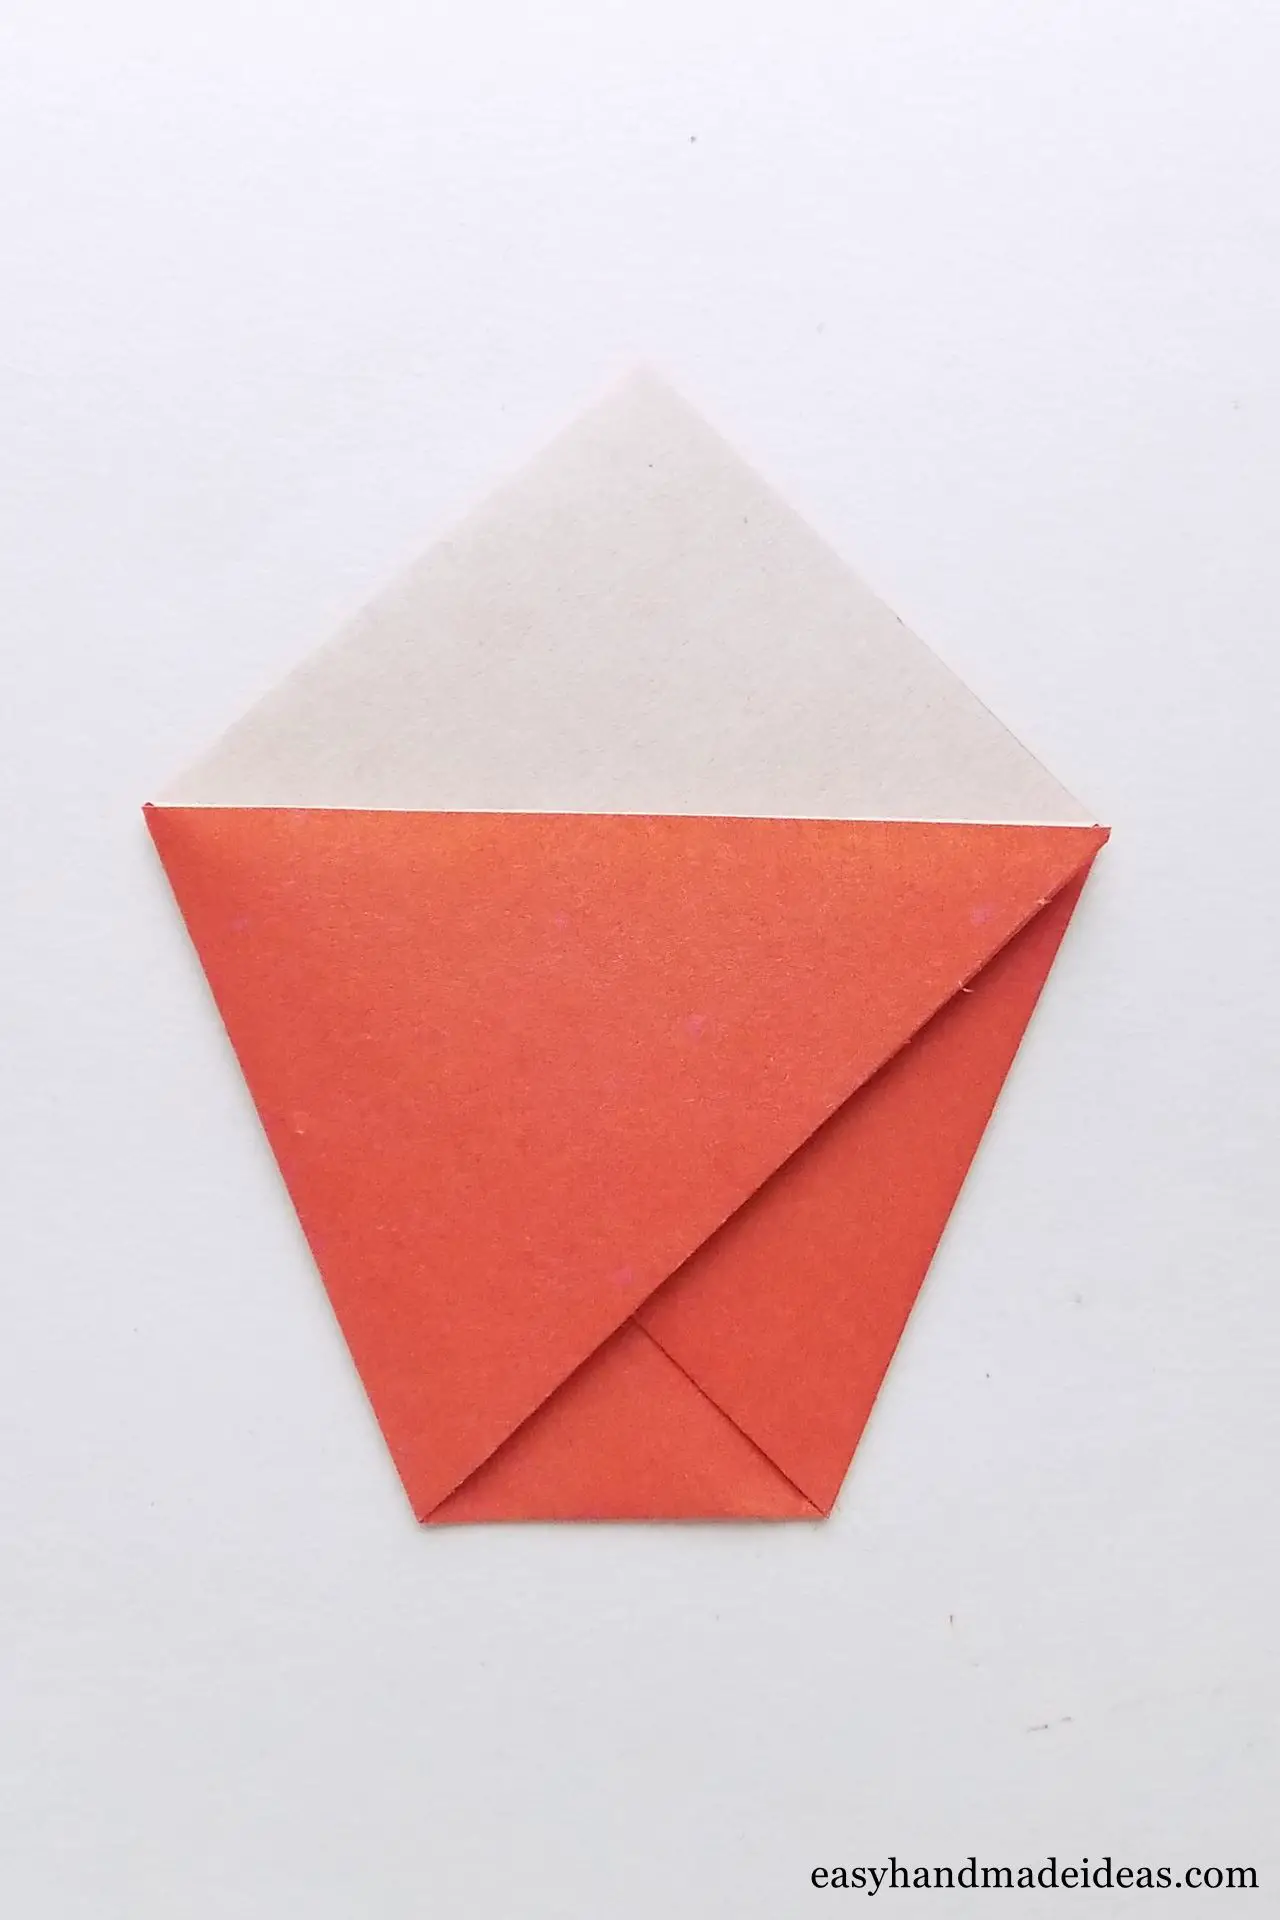
Tuck the folded part from the previous step inside the craft.
Step 9: Flip the craft in the opposite direction
Turn the cup piece over to the other side.
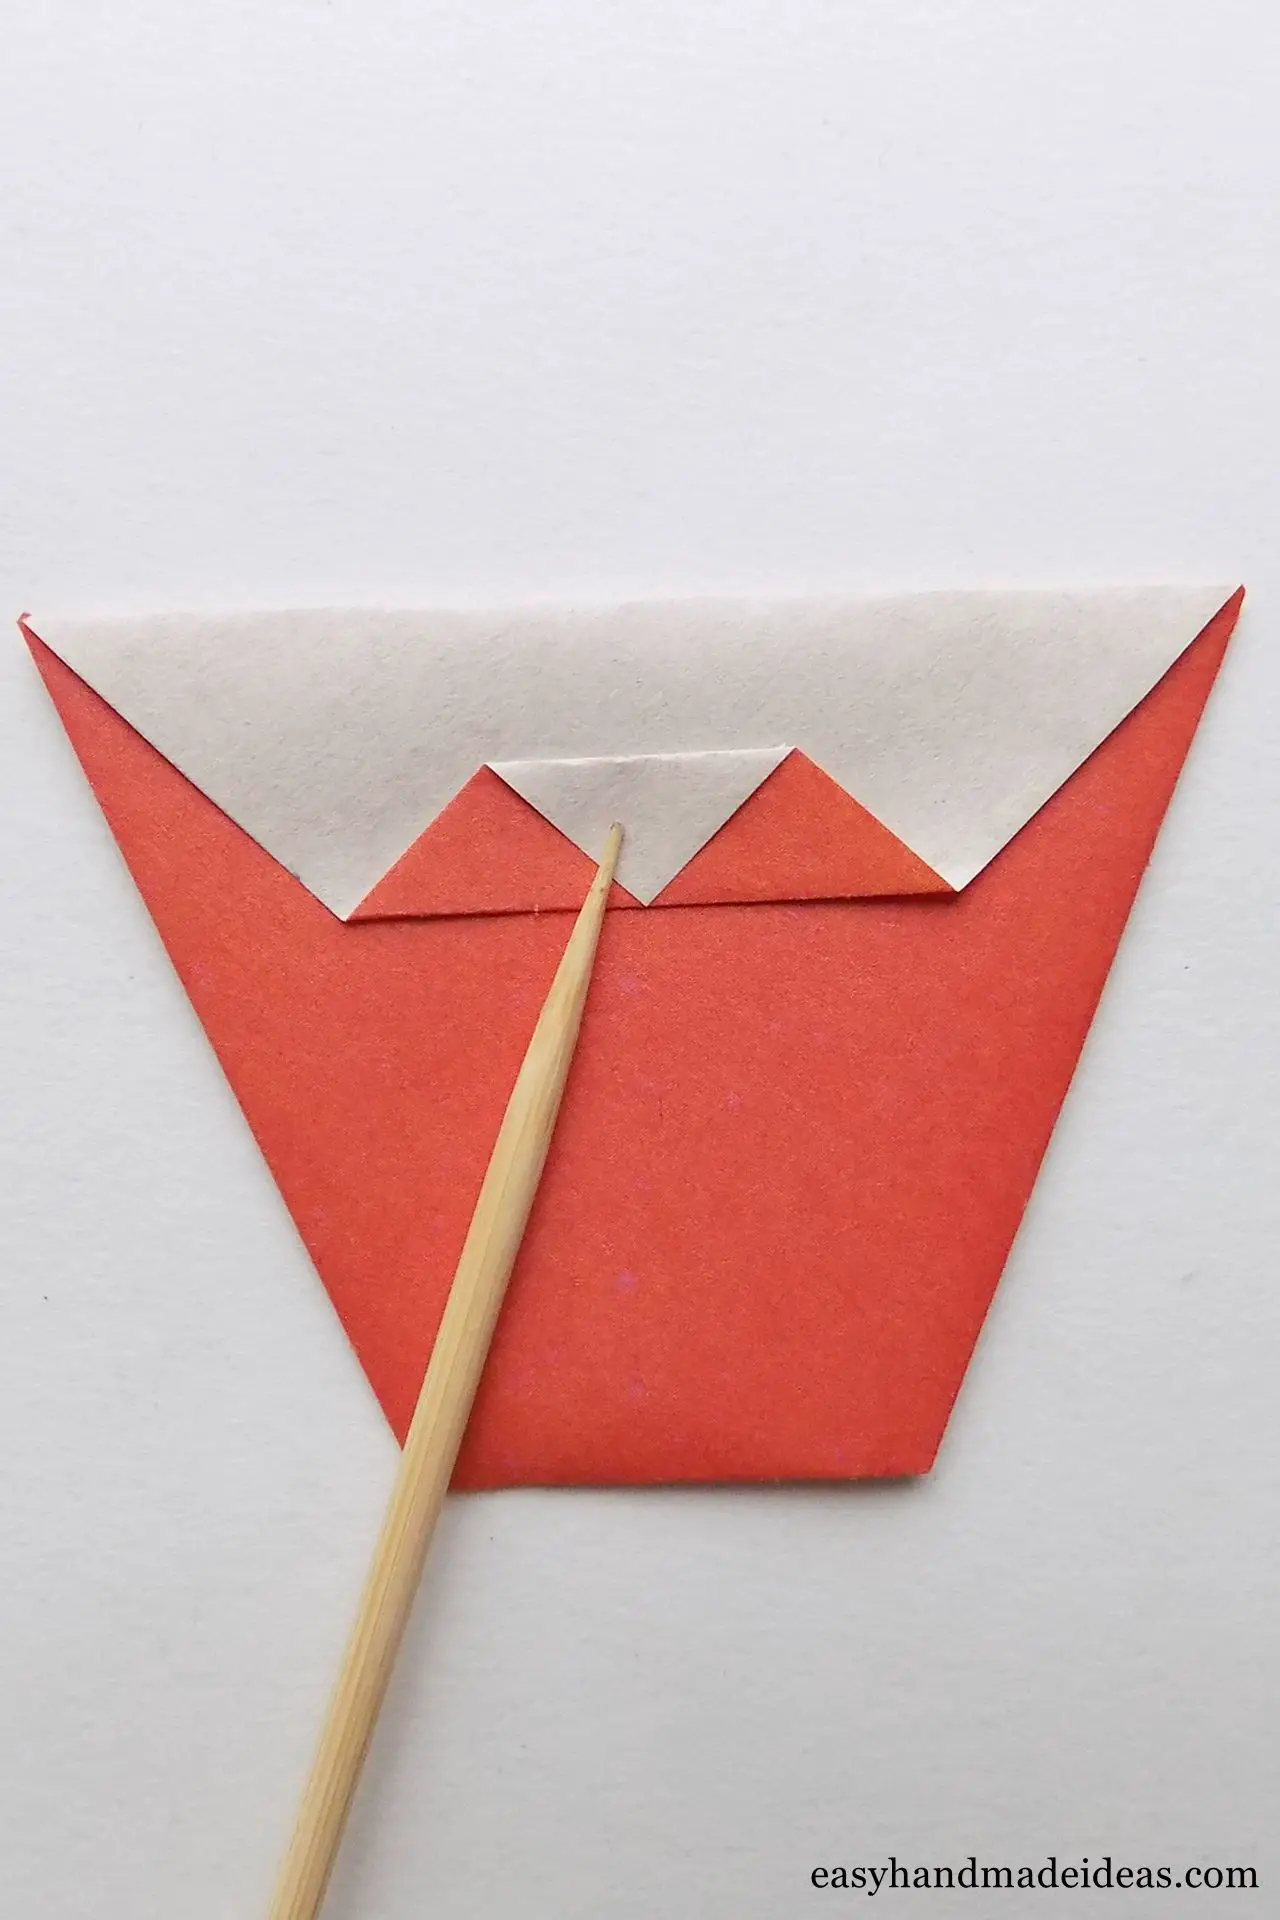
Step 10: Fold the top corner inward
Here, fold the corner down again, just as you did in Step 6.
Step 11: Fold the white lower corner in half to the top
From the folded triangle you will form the top of the cup (as if there is a drink in it). To do this, the corner then fold over the top.
Step 12: Fold the corner back in half
Fold the corner back down in half again.
Step 13: Unfold the triangle
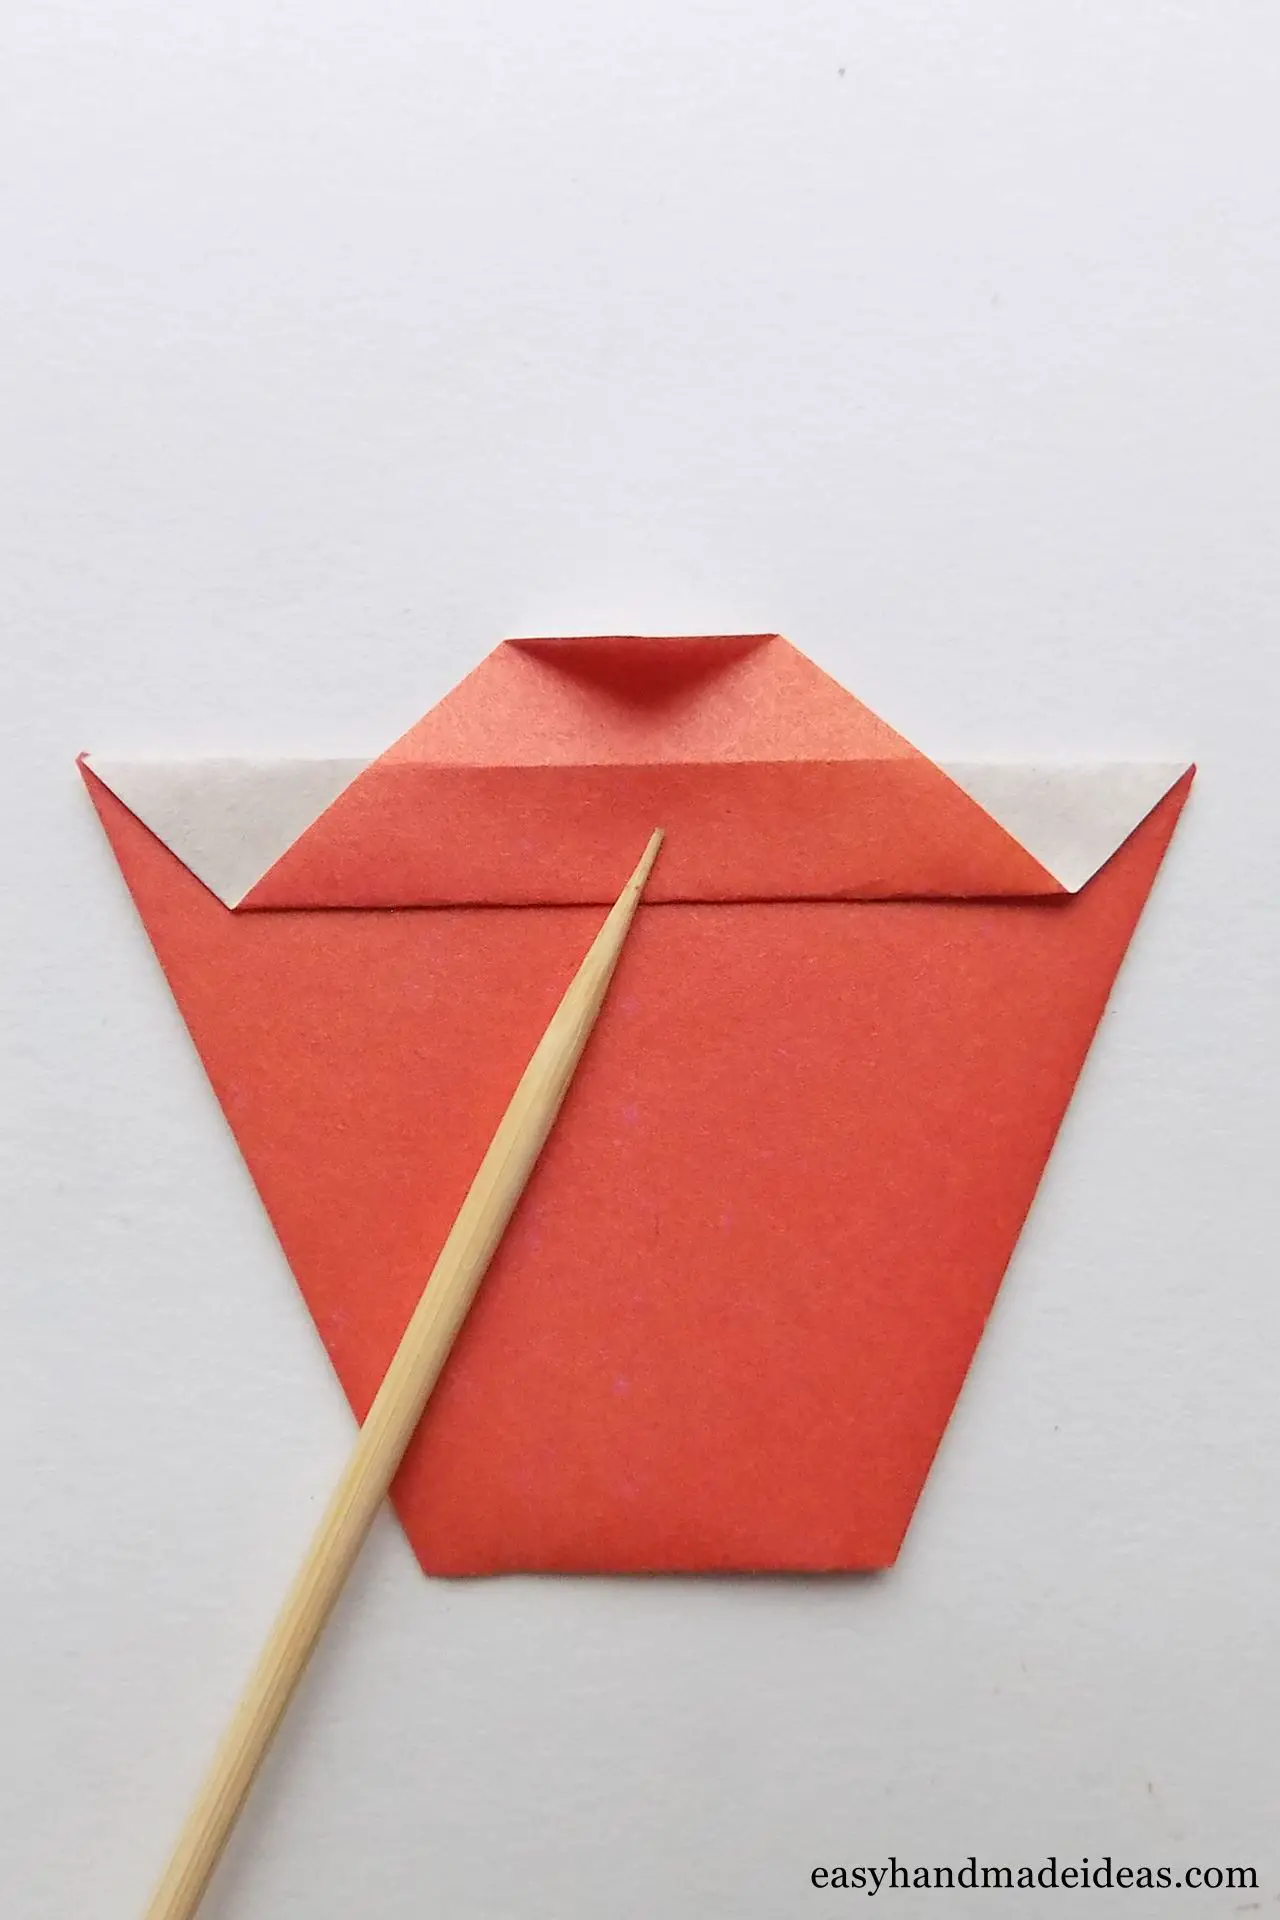
Next, lift this part up, aligning the fold line with the edge of the craft.
Step 14: Make a beautiful decoration on the cup
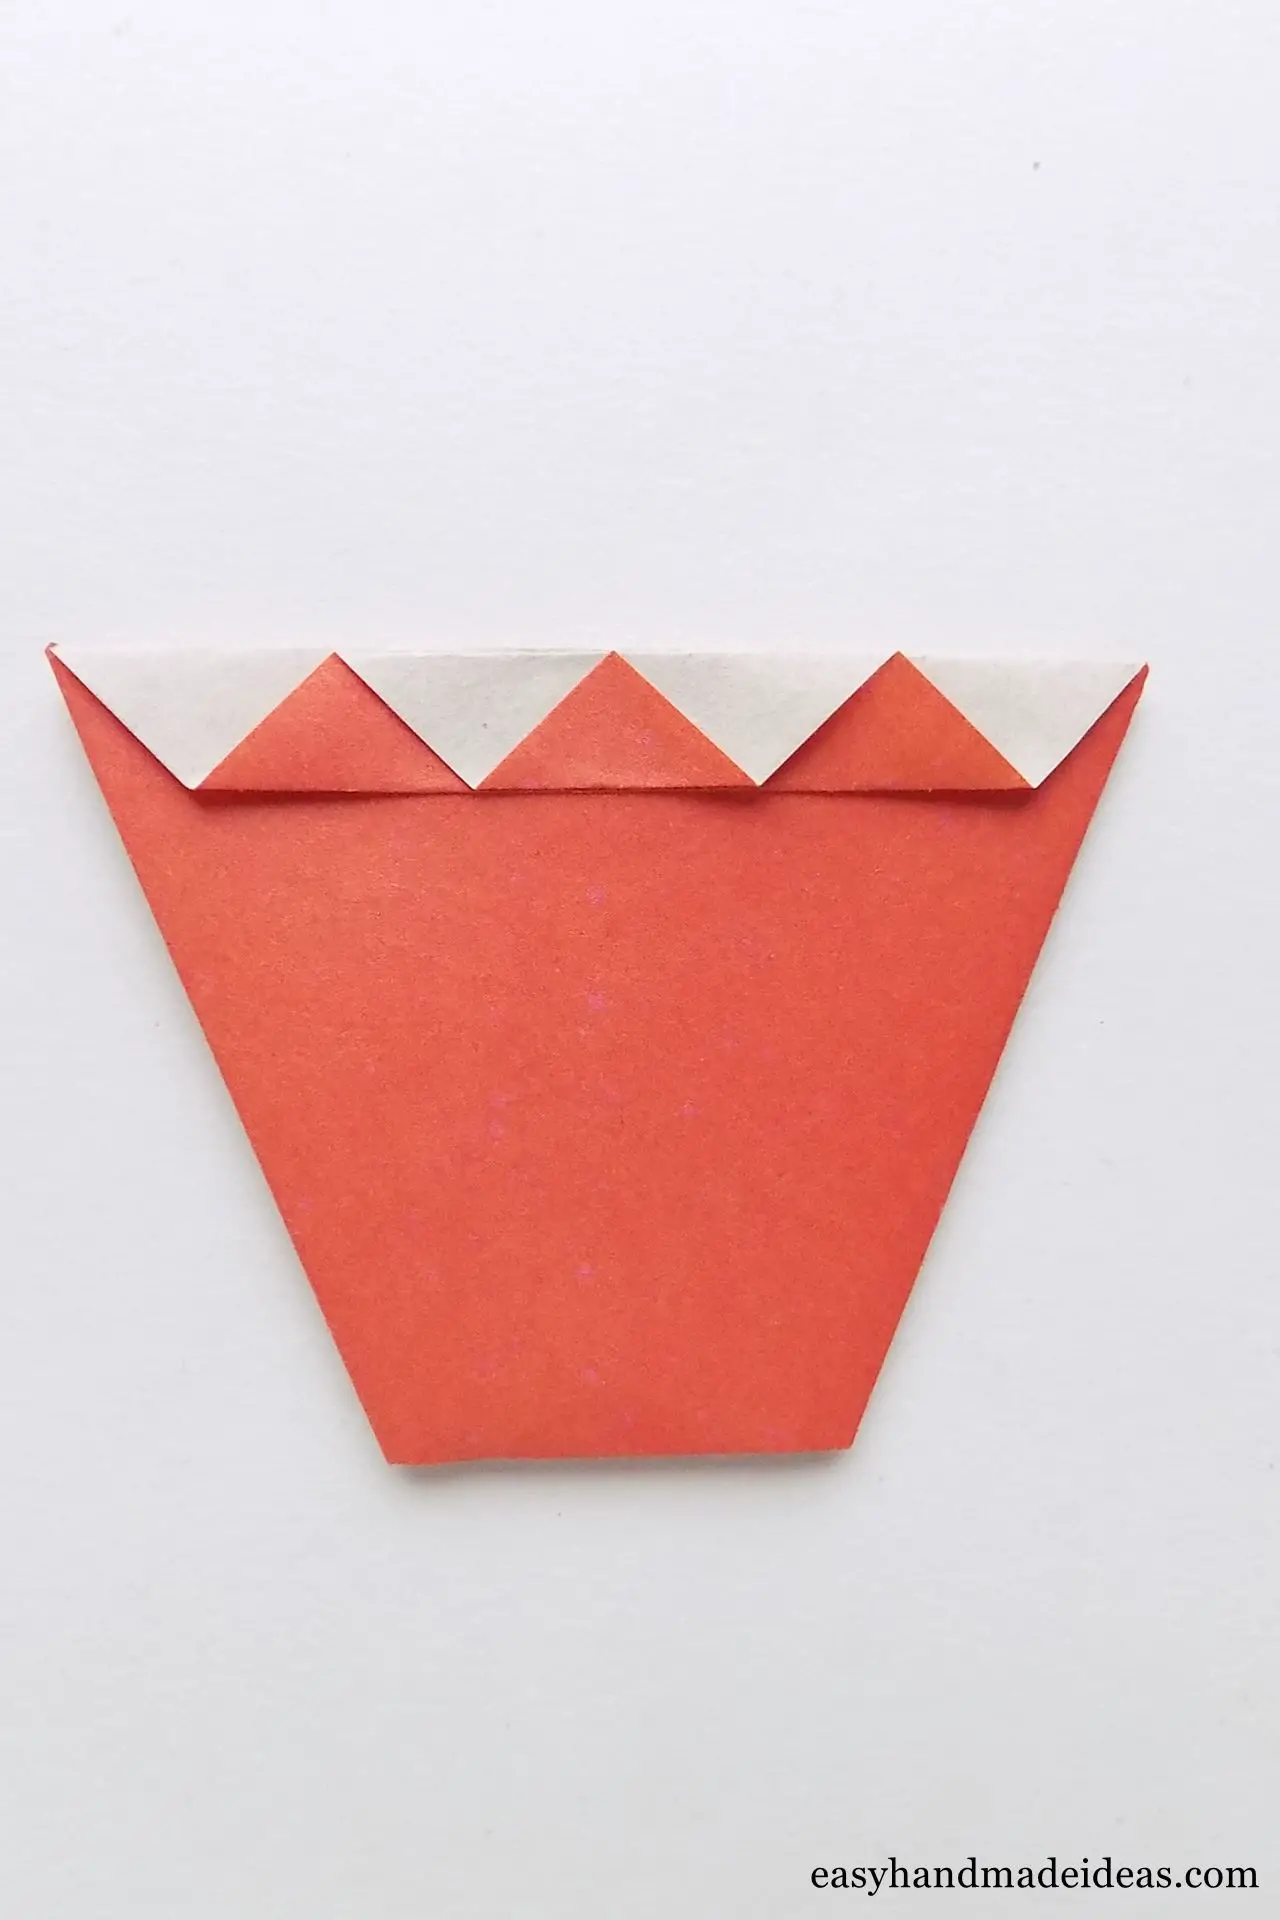
Fold the accordion again along this line, then fix all the folds with glue.
Step 15: Cut out the rectangle
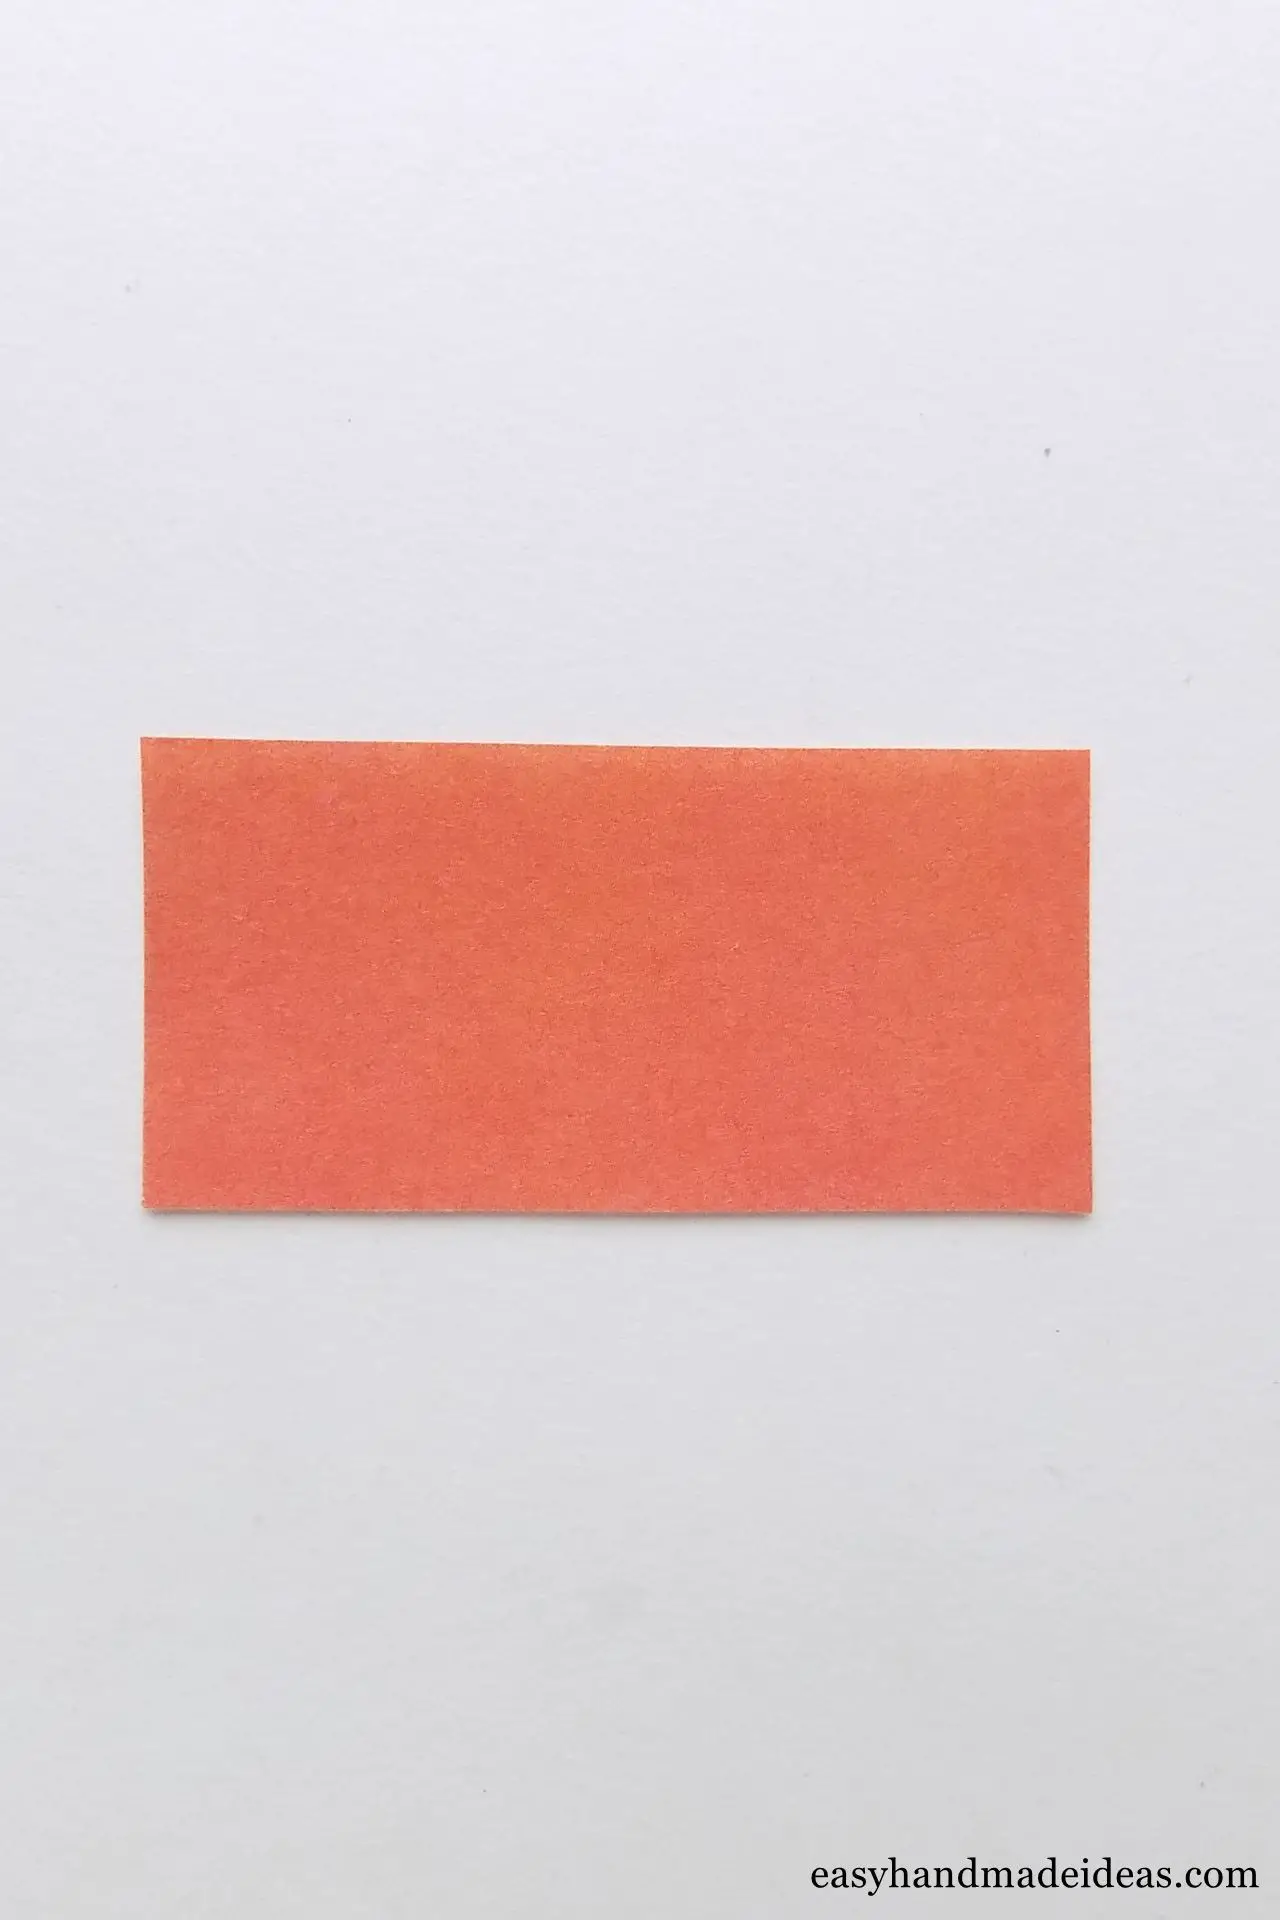
Now make a handle for your cup. Prepare a small 7×3.5 cm rectangle of the same color paper.
Step 16: Make a thin figure
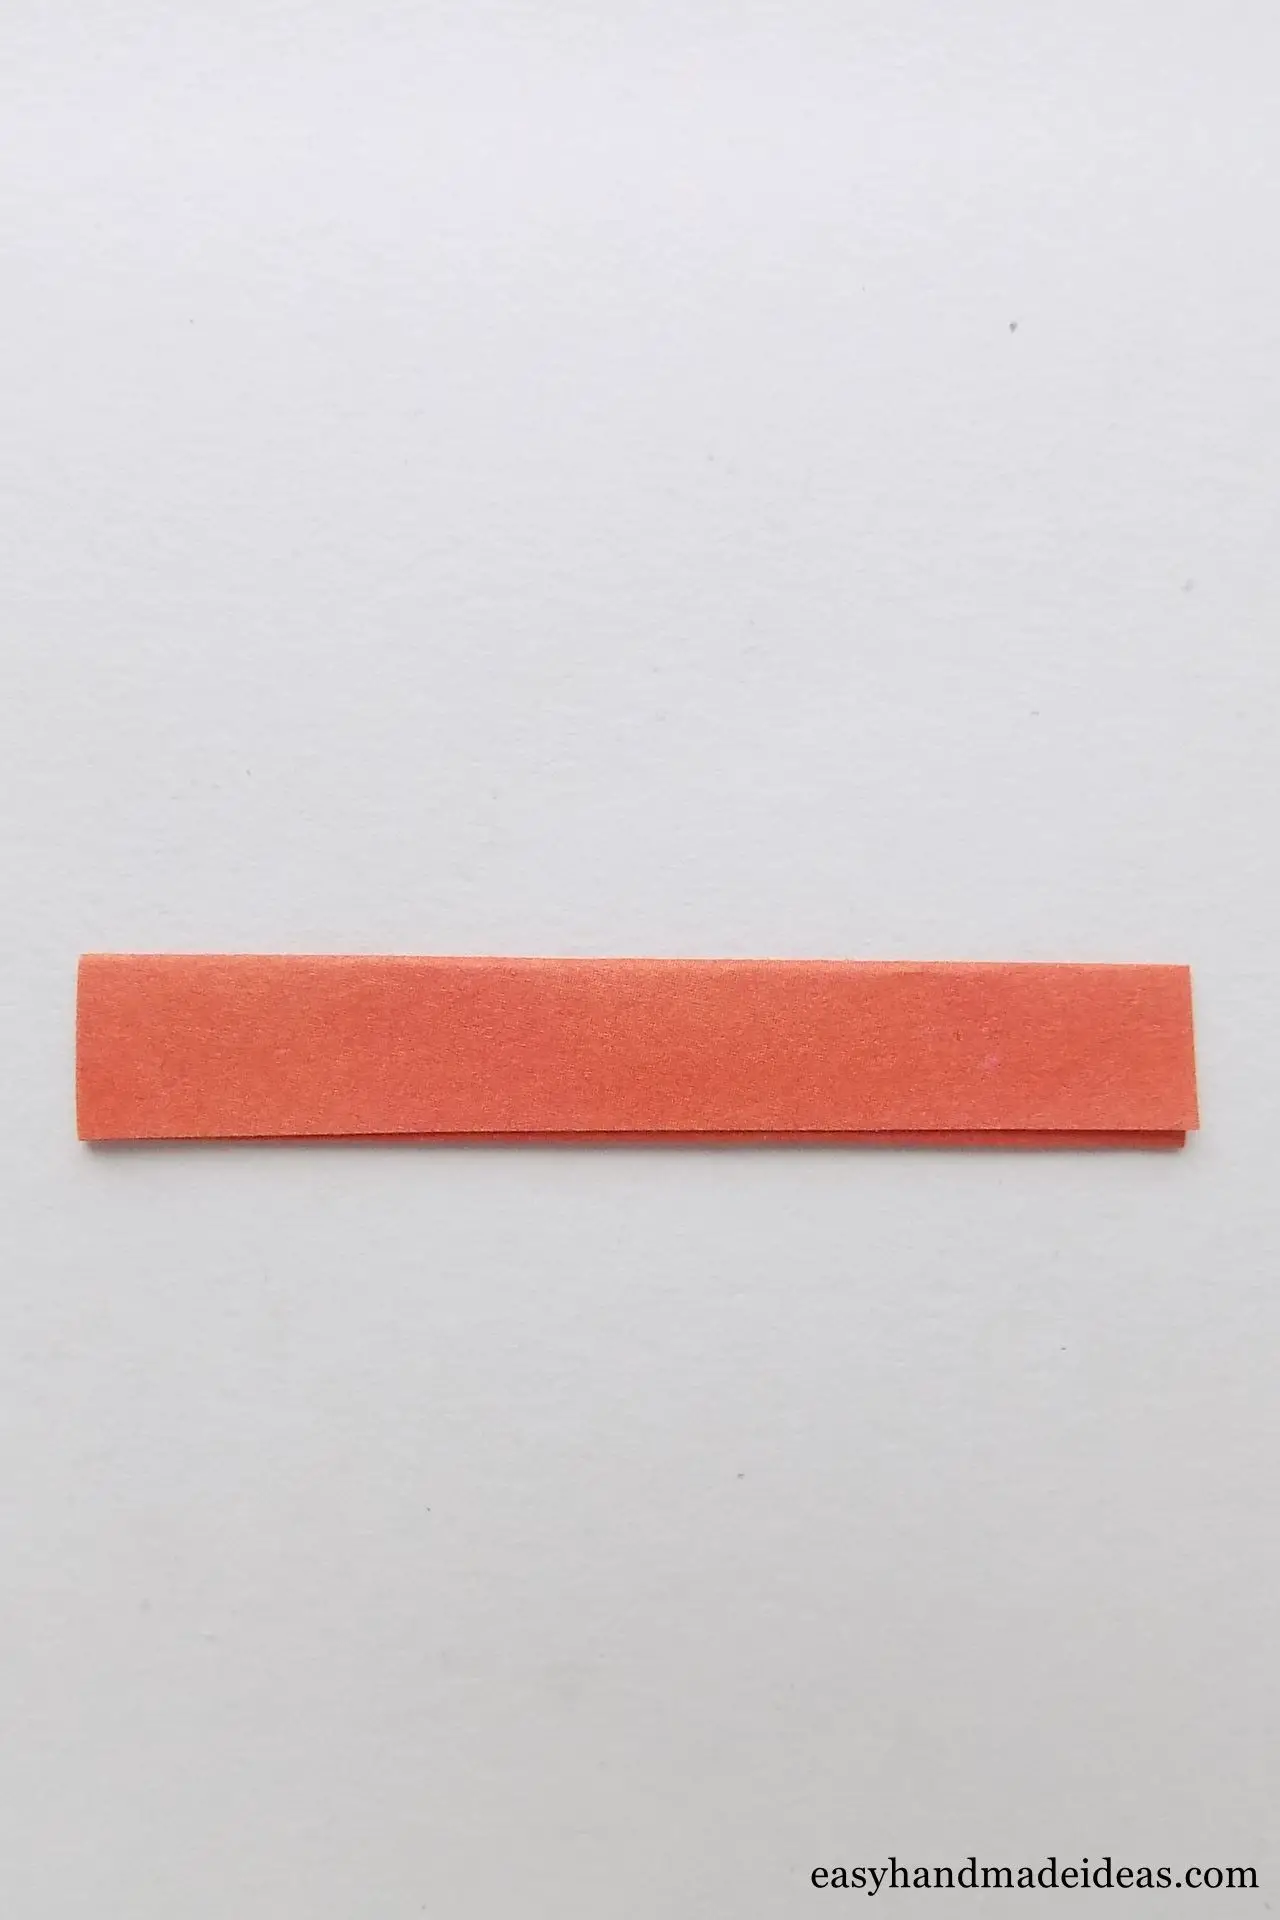
Fold the rectangle into 3 times and then glue the layers to fix it.
Step 17: Make a cup handle
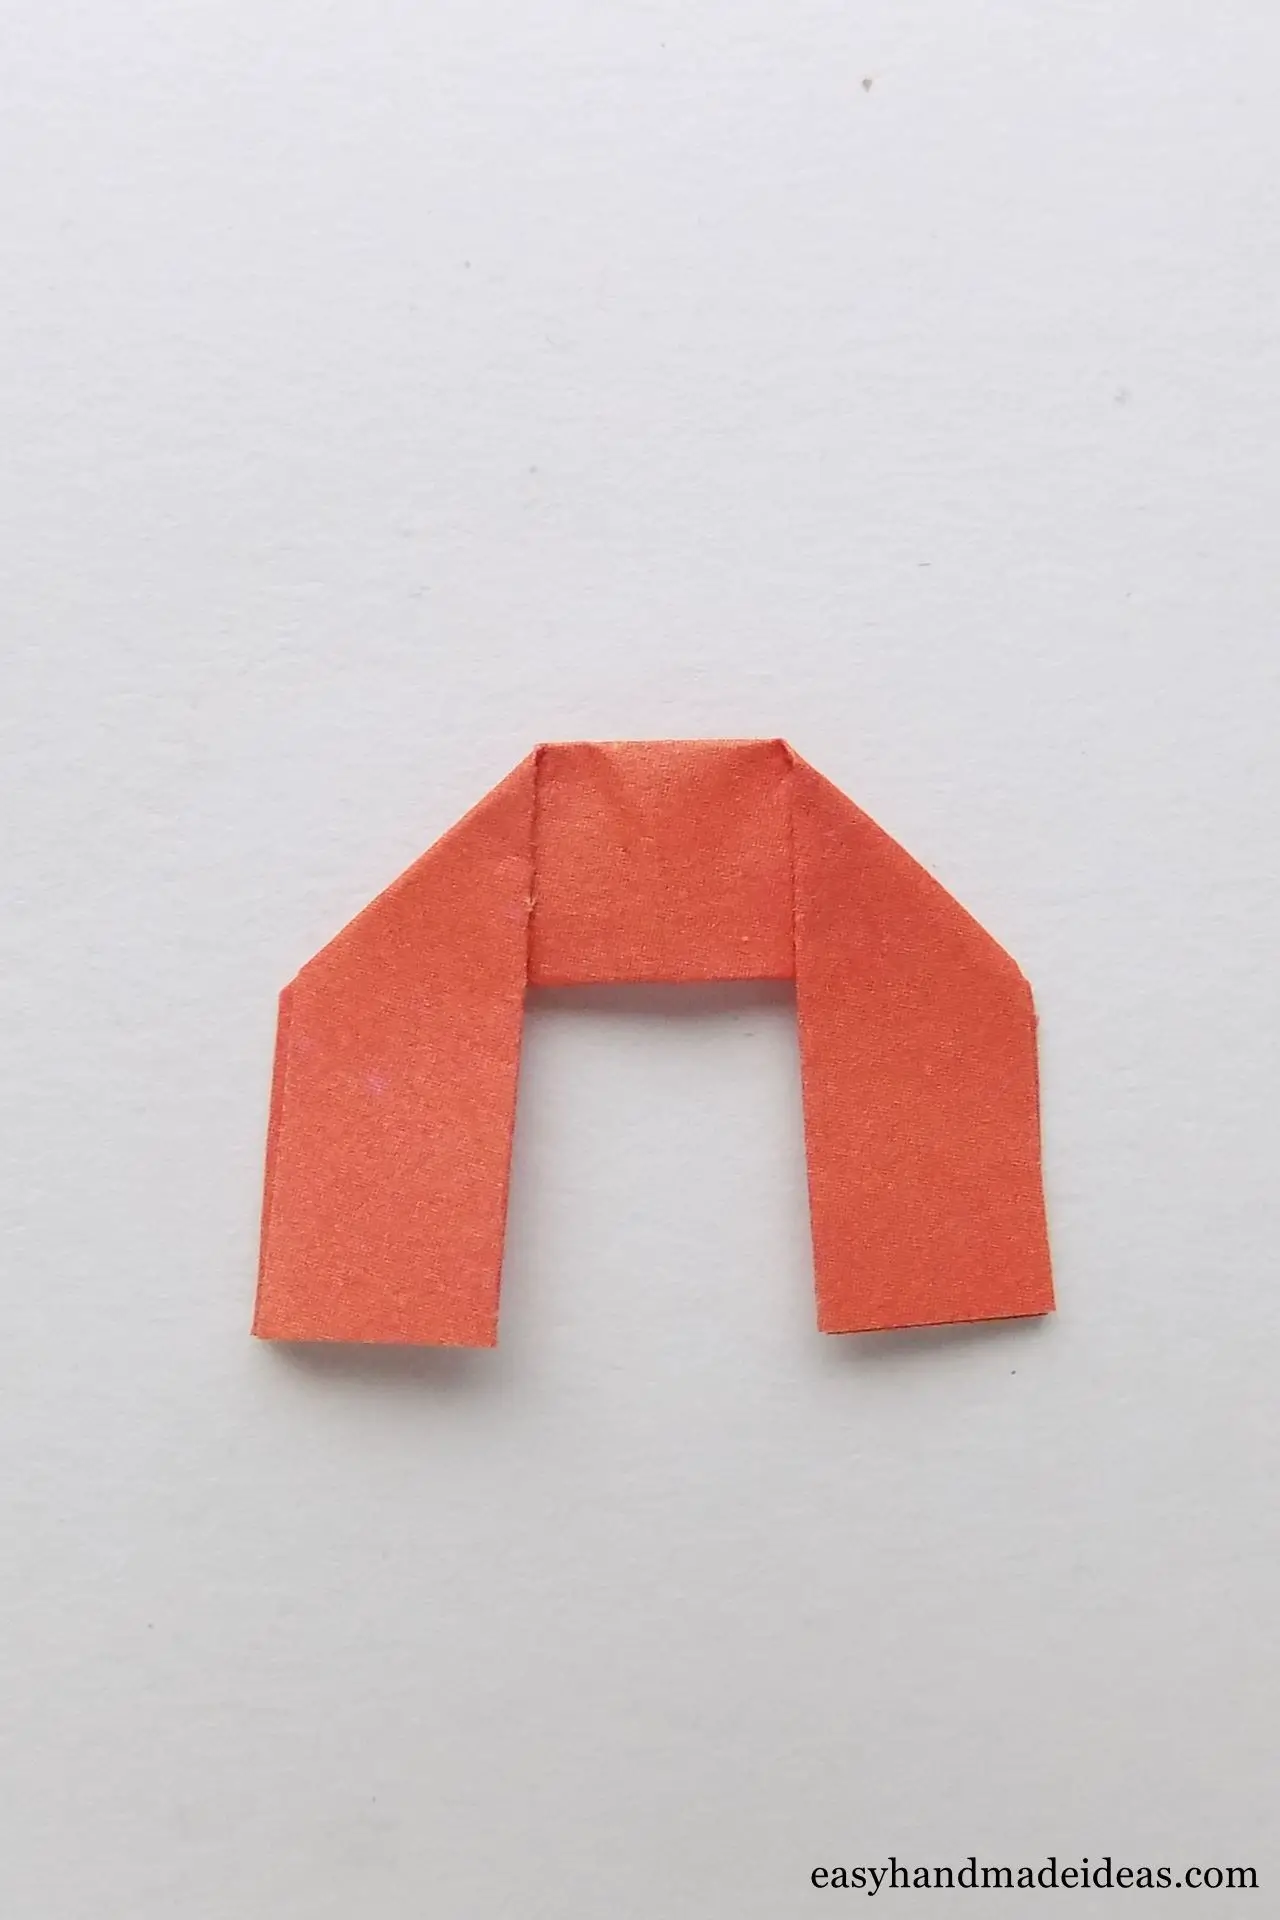
Fold the ends of the resulting strip at a right angle. Photo 18.
Step 18: Connecting the pieces
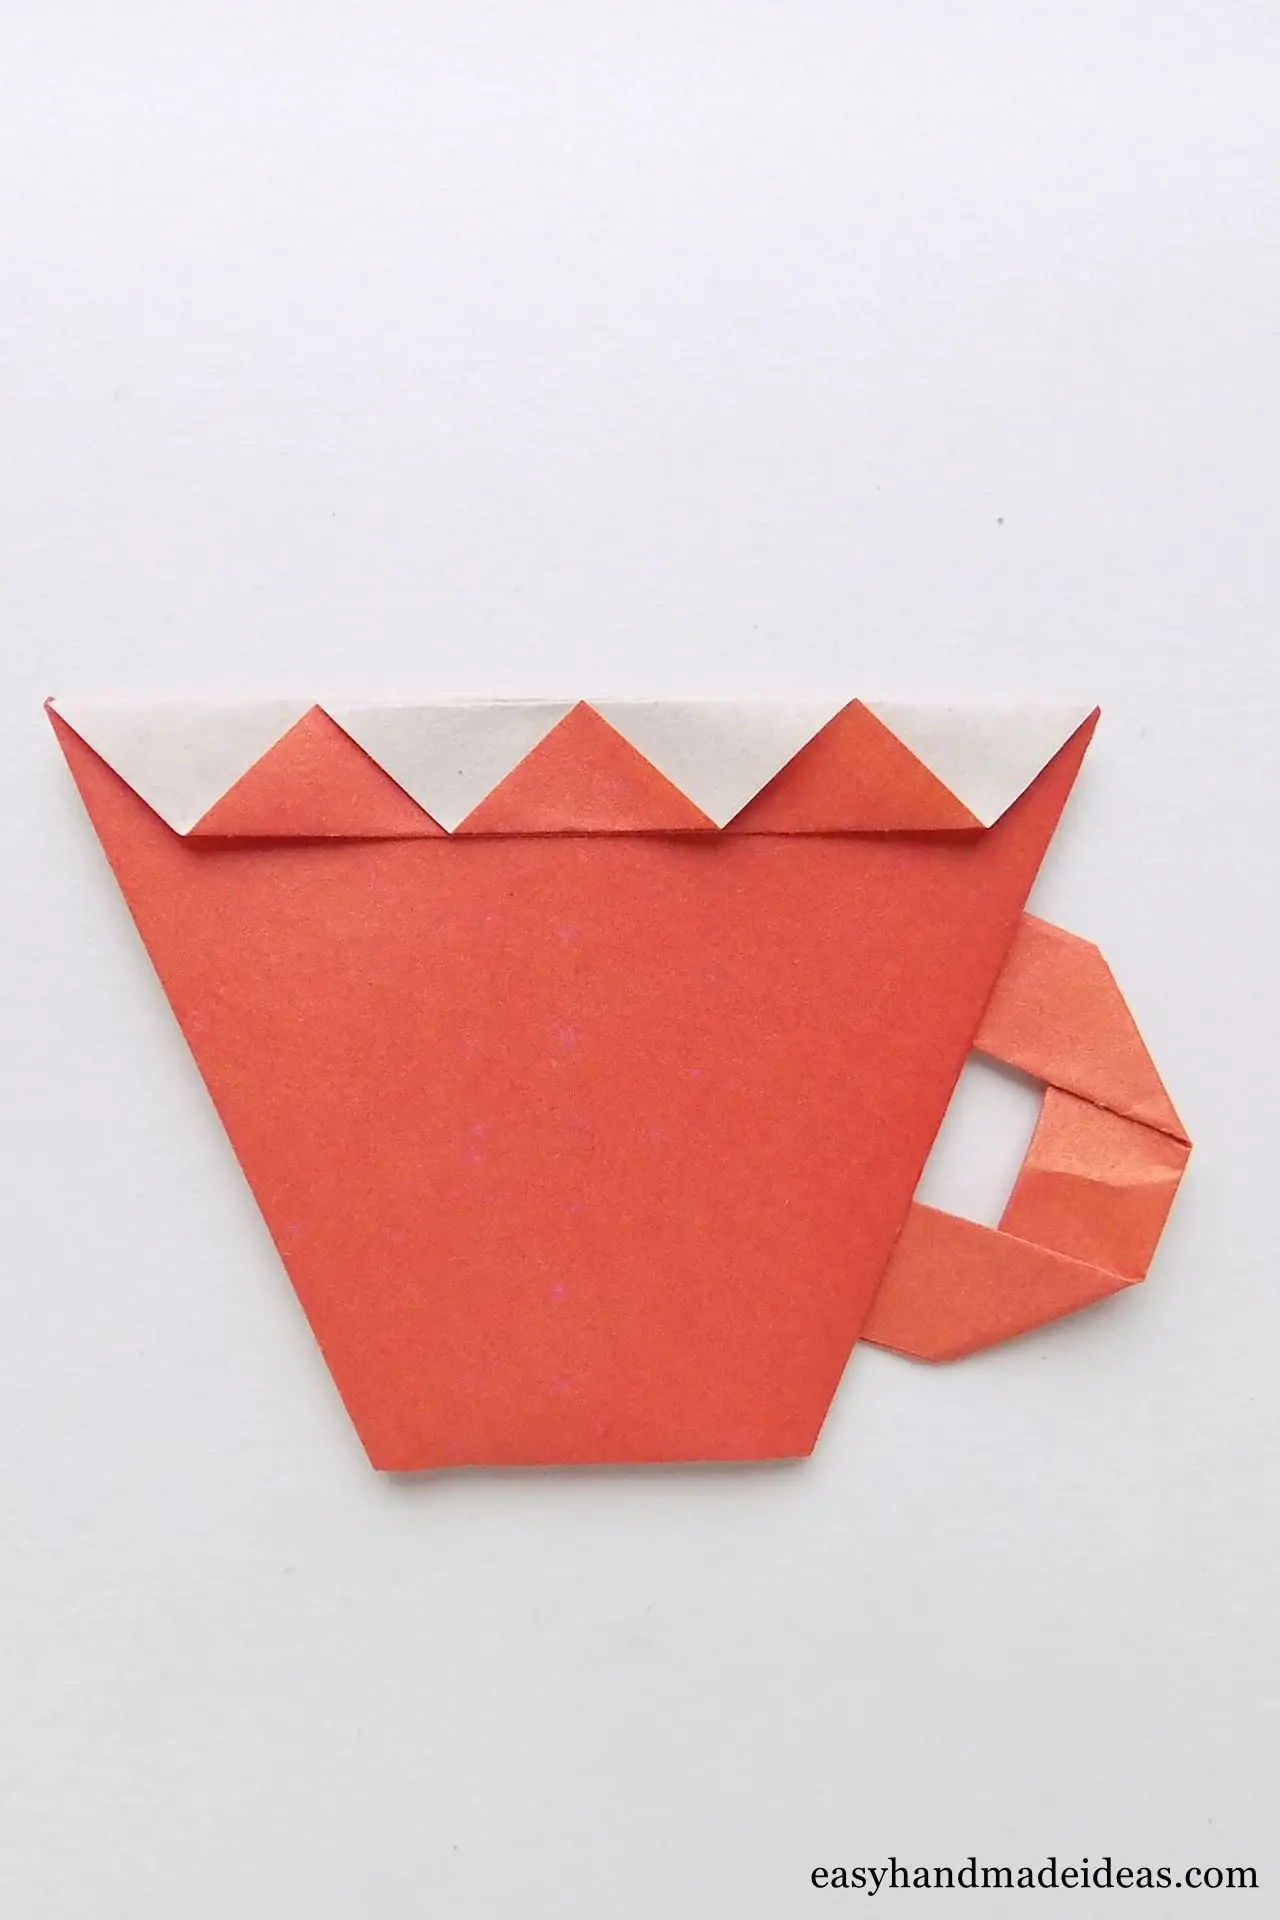
Now you just need to glue the handle to the cup. You have a decorated origami cup made of paper.
Supply:
- one-sided colored paper.
Tools:
- ruler;
- simple pencil;
- scissors;
- glue.
Following this principle, you can make several cups of different colours, which can be used as a teaching tool for developmental games with a child. You can also use this craft to play role-playing games, such as a tea party.