Some toys for the kid you can make with your own hands from paper. And in some cases, origami technique will help. Thanks to my detailed instructions, you will learn how to make an origami jumping frog.
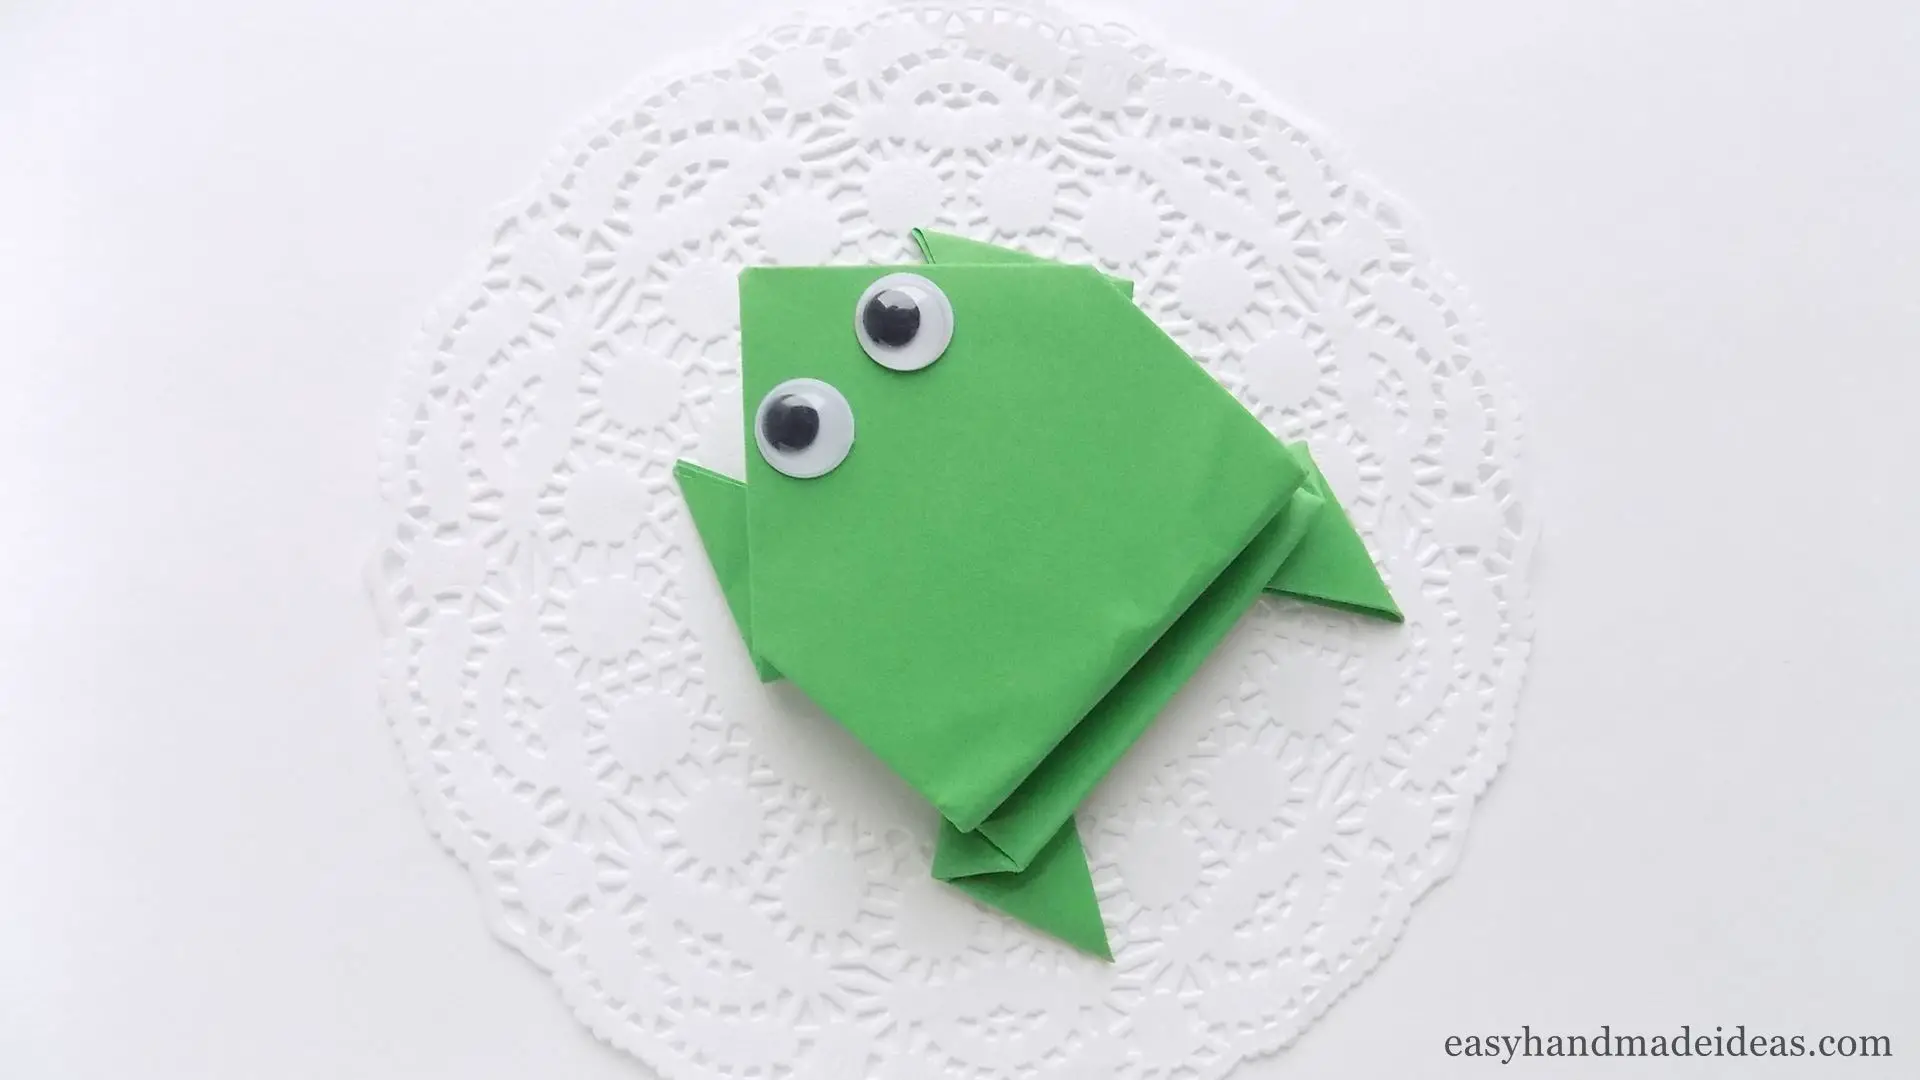
Origami jumping frog
Total Time: 20 minutes
Step 1: Prepare the materials
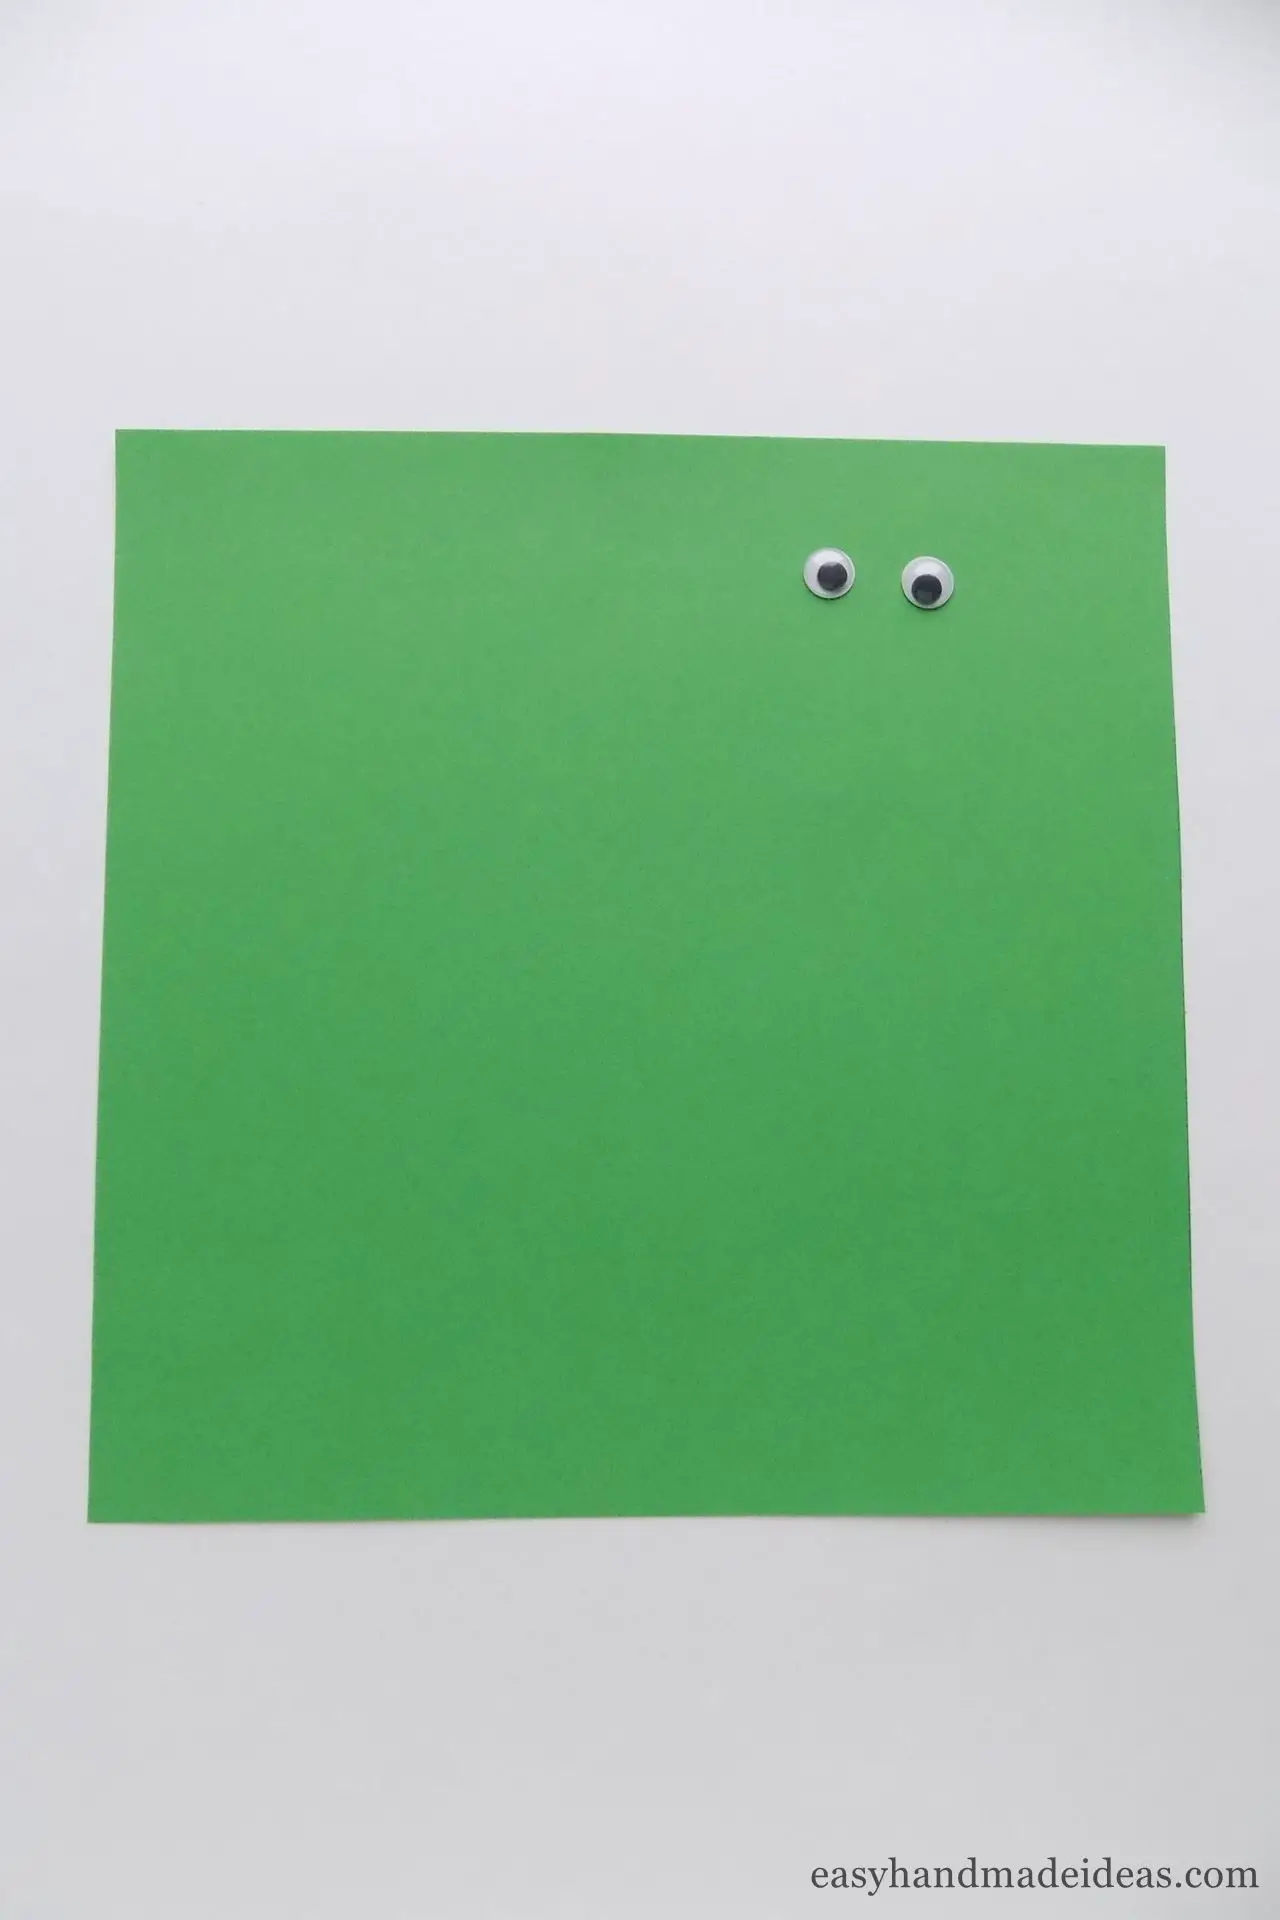
Take a piece of green paper and decorative eyes.
Step 2: Make a rectangle from a square
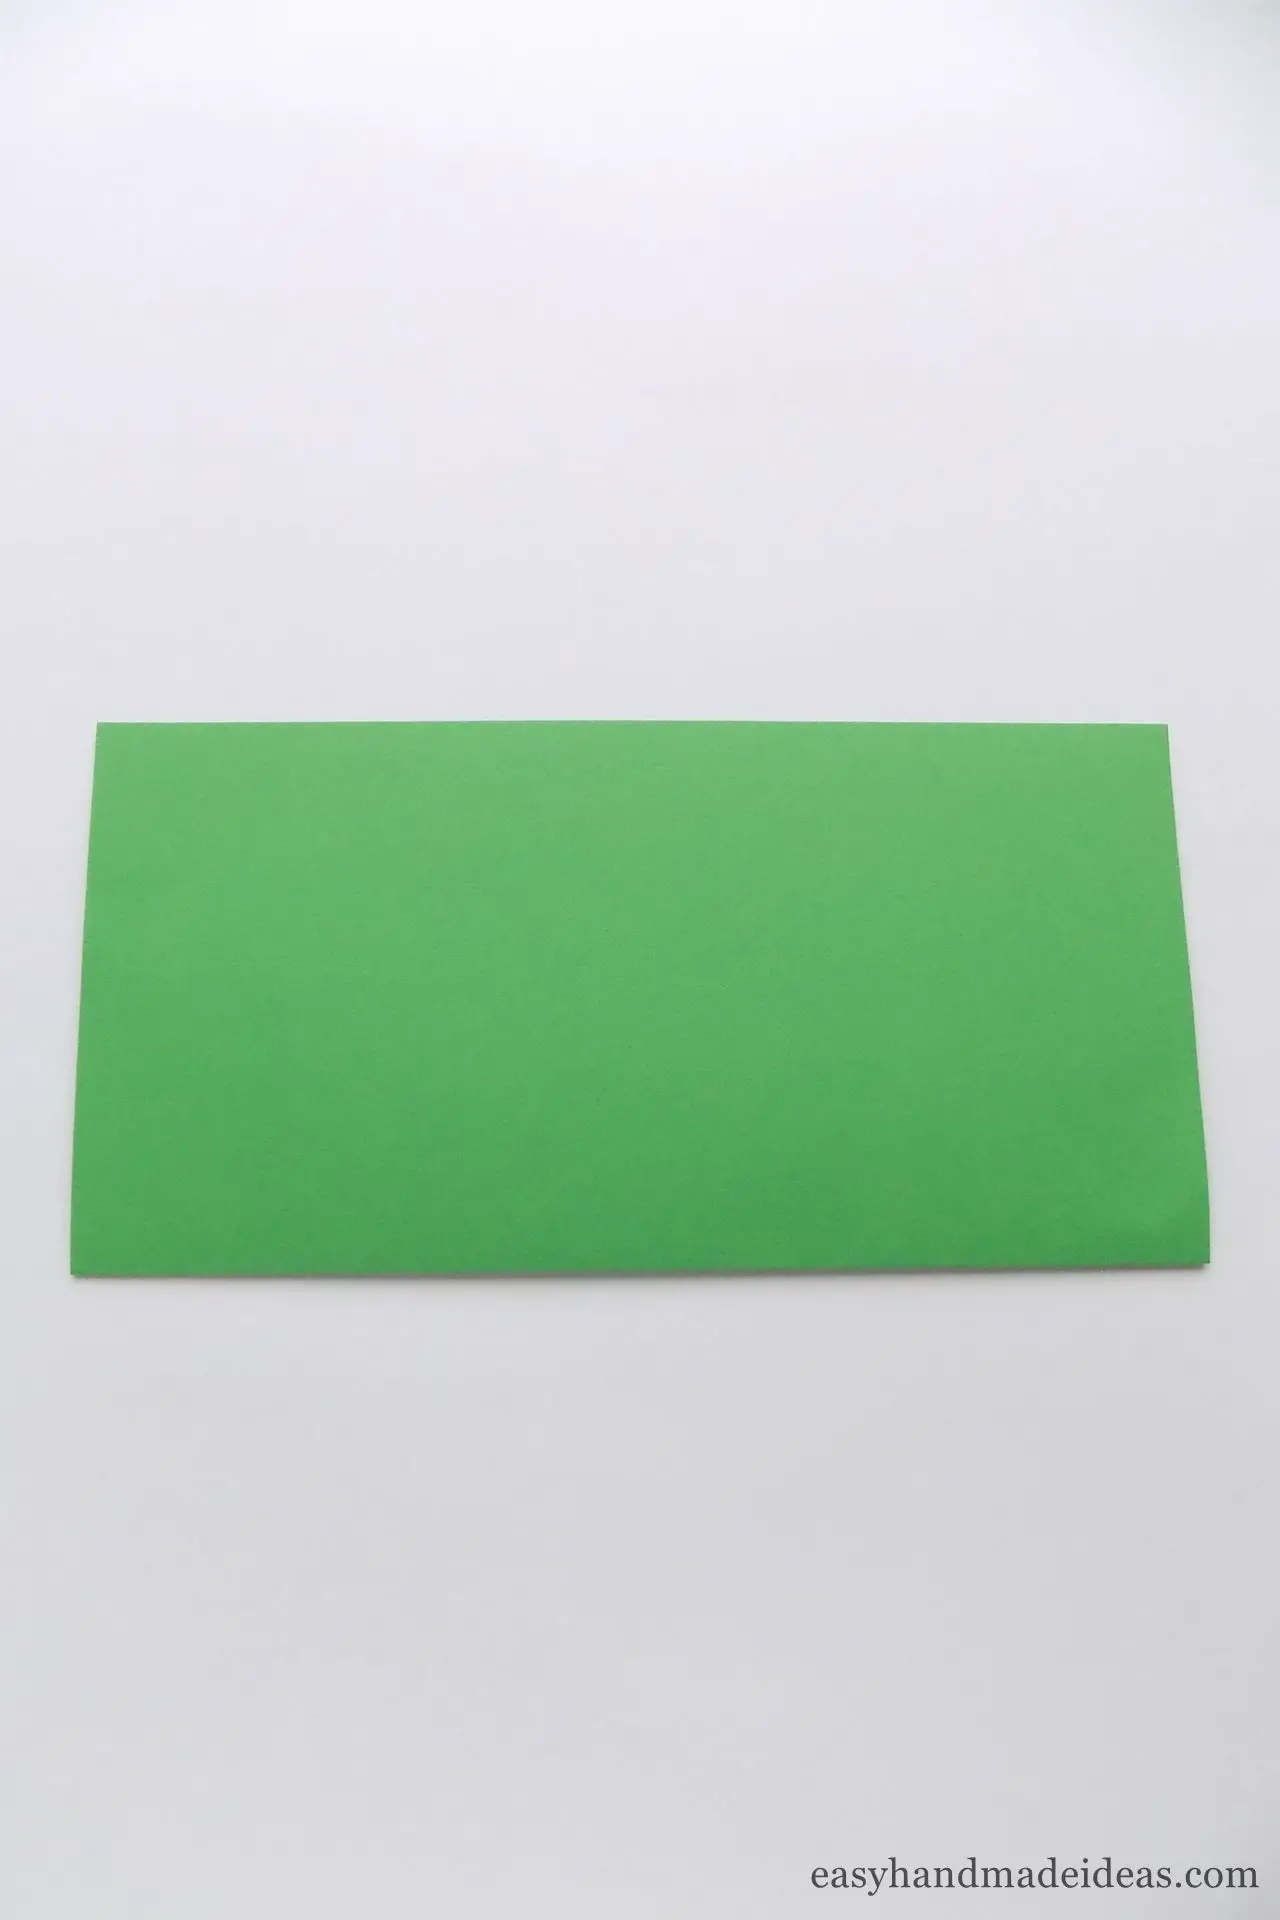
Fold the prepared green square in half to make a rectangle.
Step 3: Fold the right corner
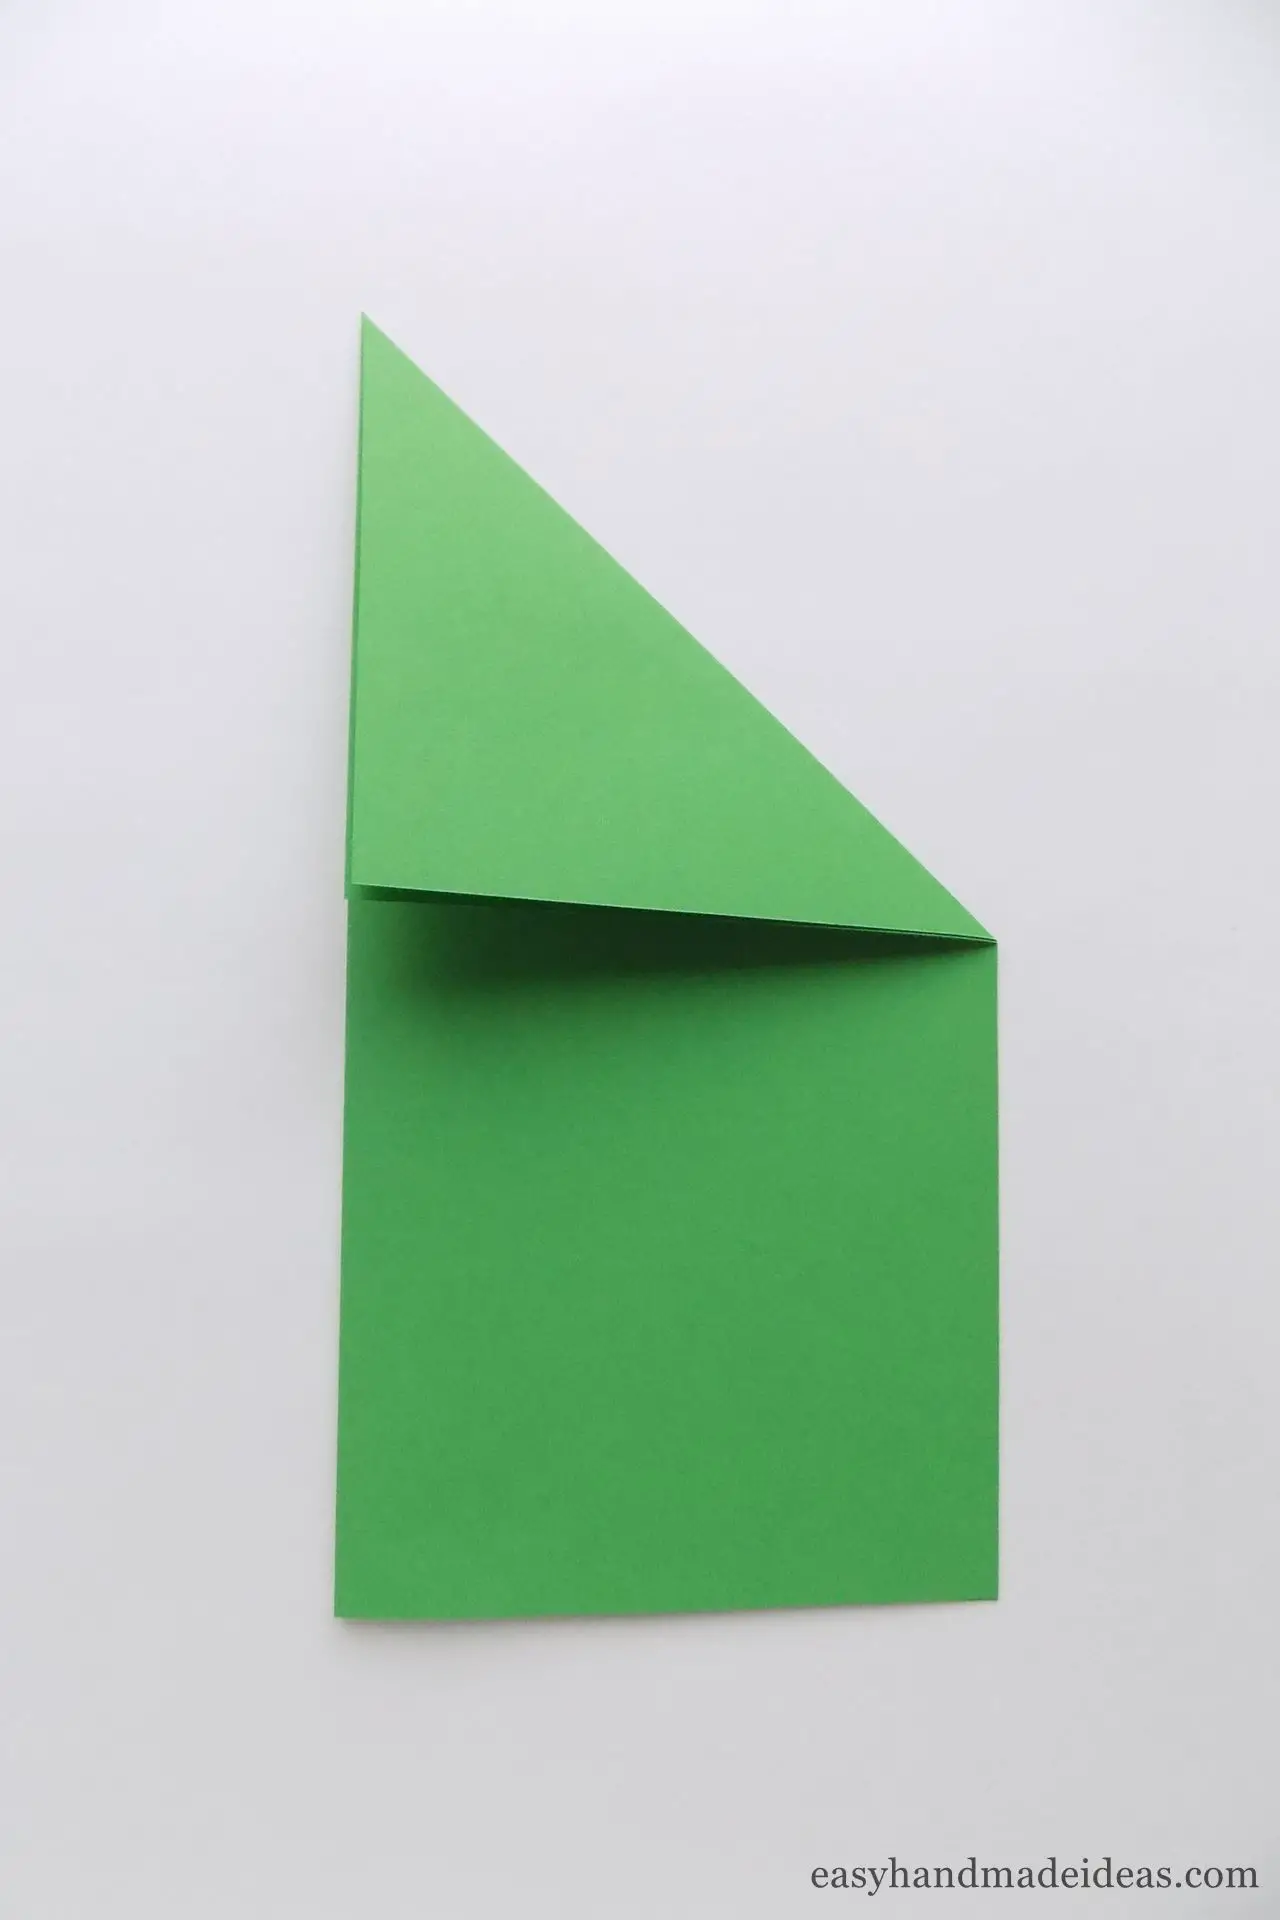
Rotate the rectangle 45 degrees. Fold the top right corner to the left.
Step 4: Fold the left corner
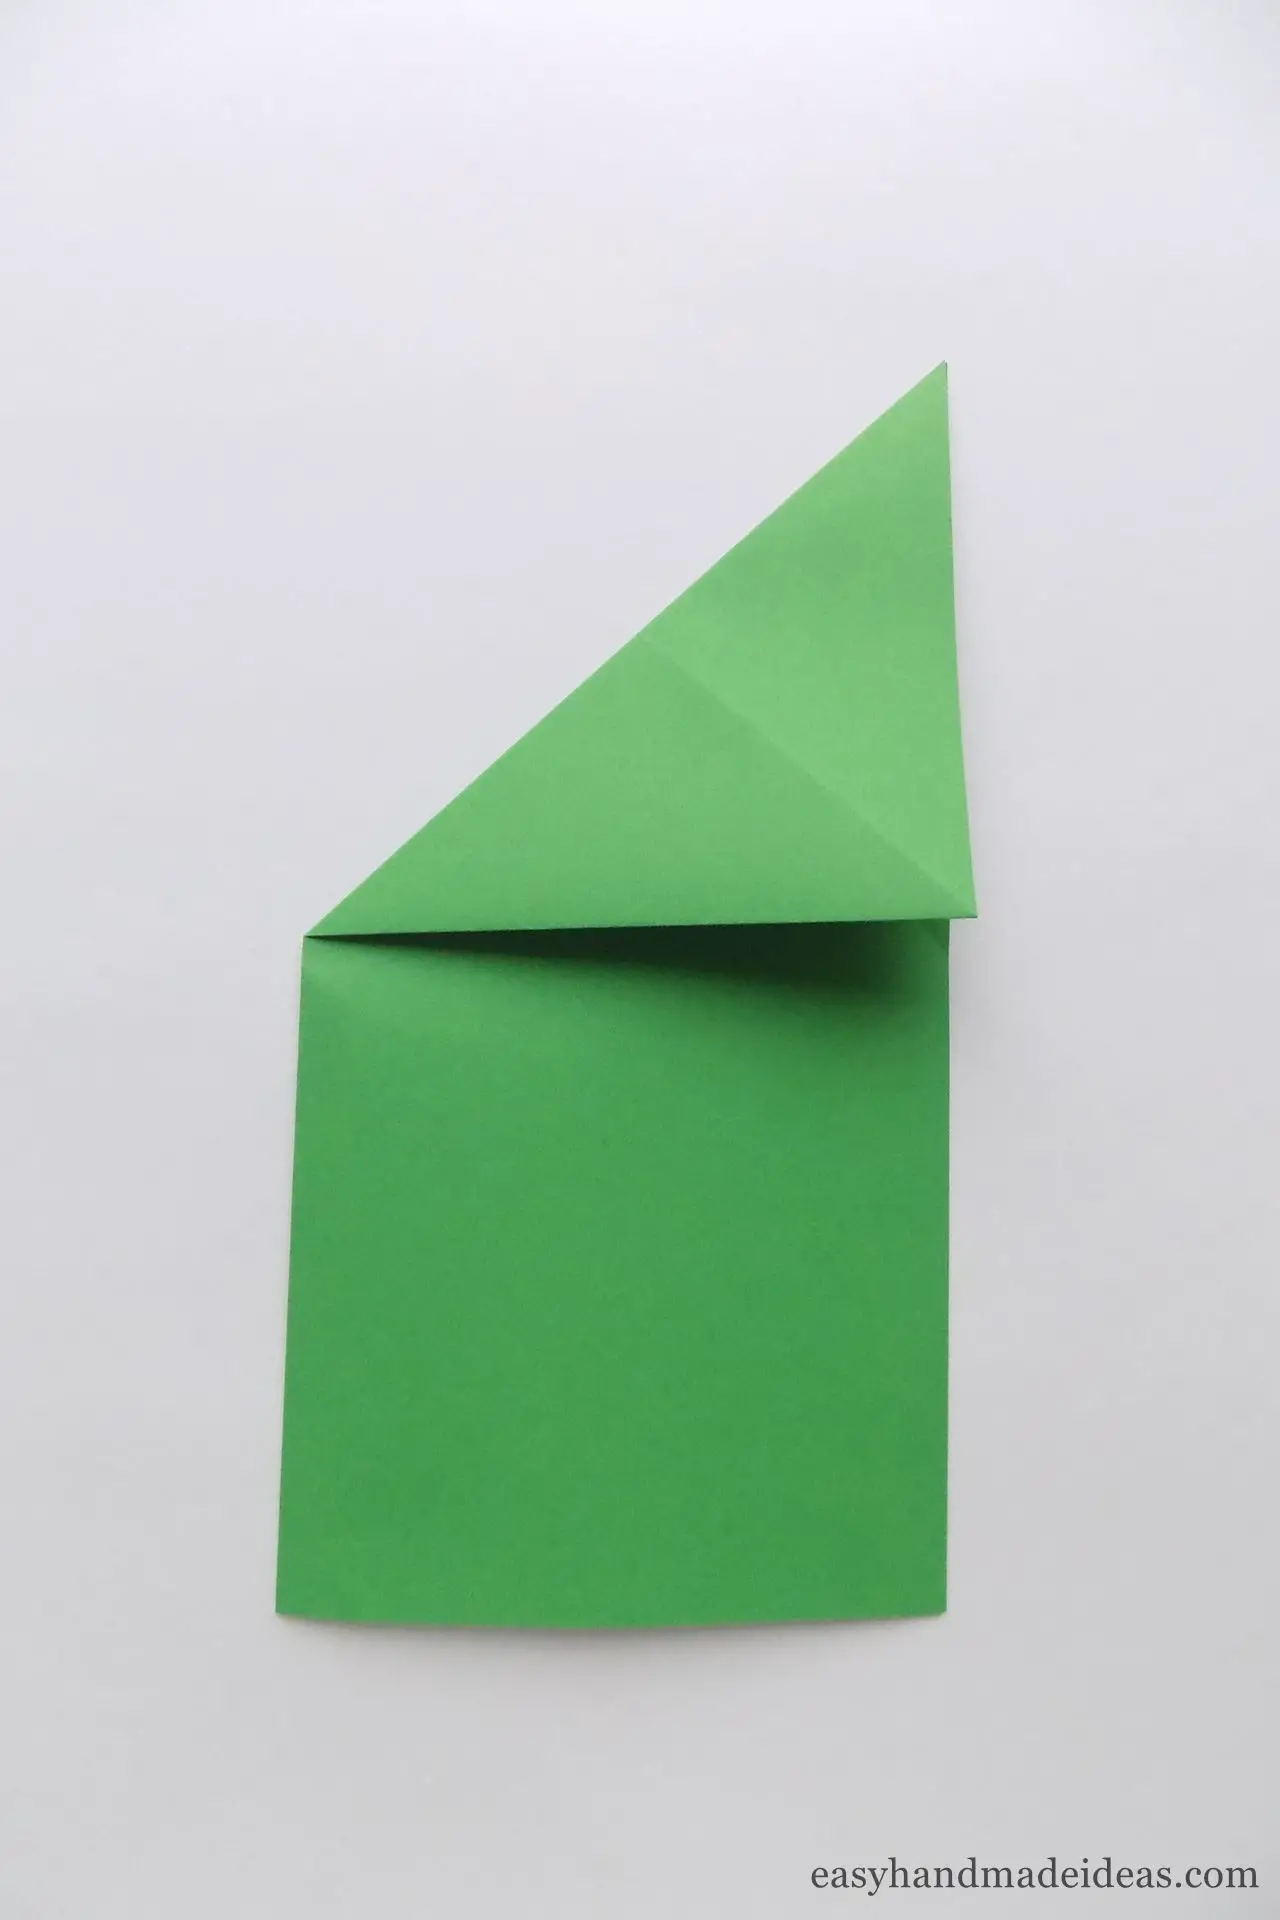
Fold the right corner. Fold the top left corner to the right side.
Step 5: Make a top-to-bottom fold
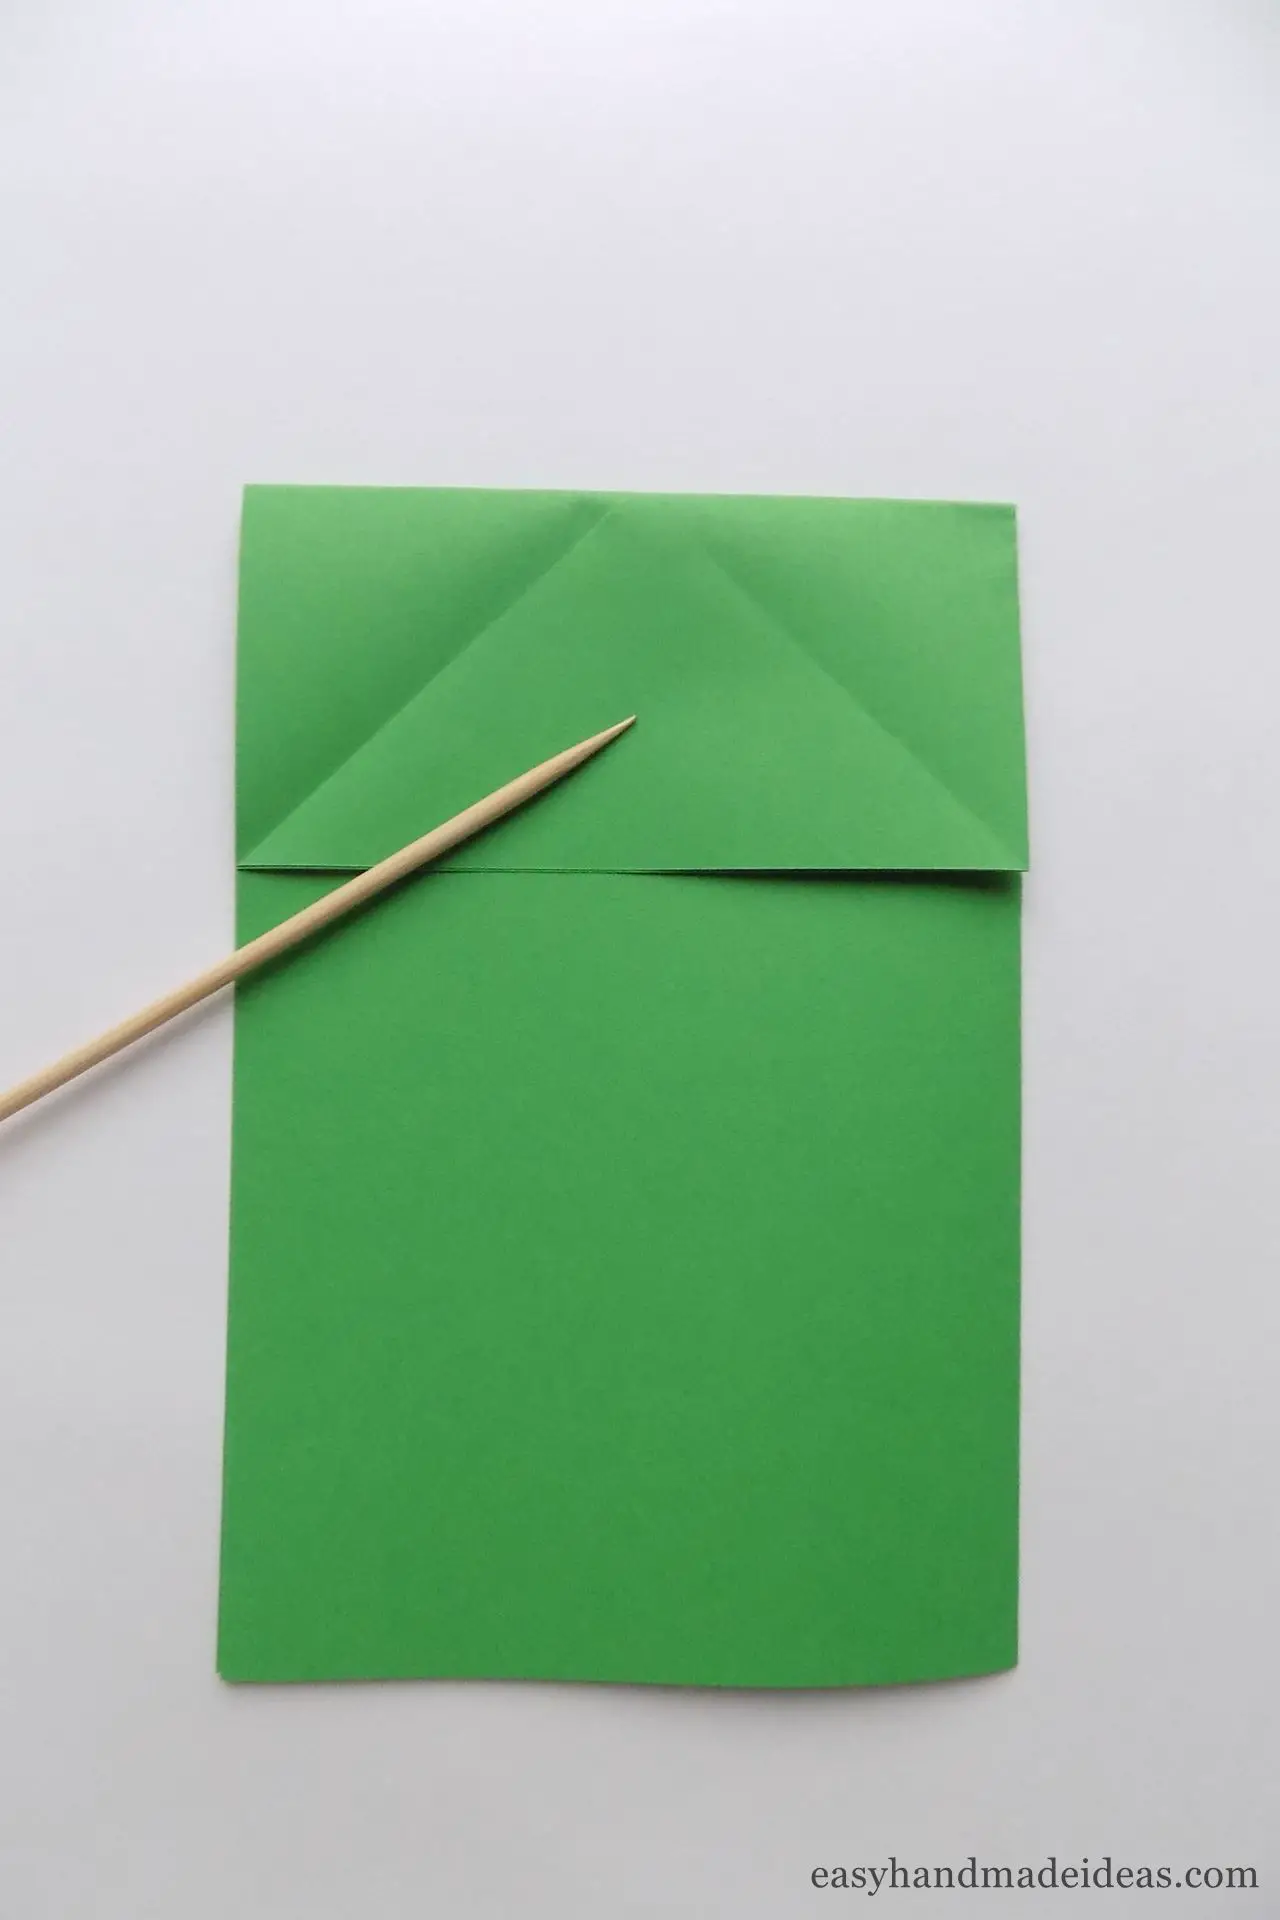
Straighten the piece. There should be 2 crossing diagonal lines. Flip the rectangle over. Orienting on the point where the diagonal lines cross, make a fold from top to bottom.
Step 6: Fold the top corners inside to make a triangle
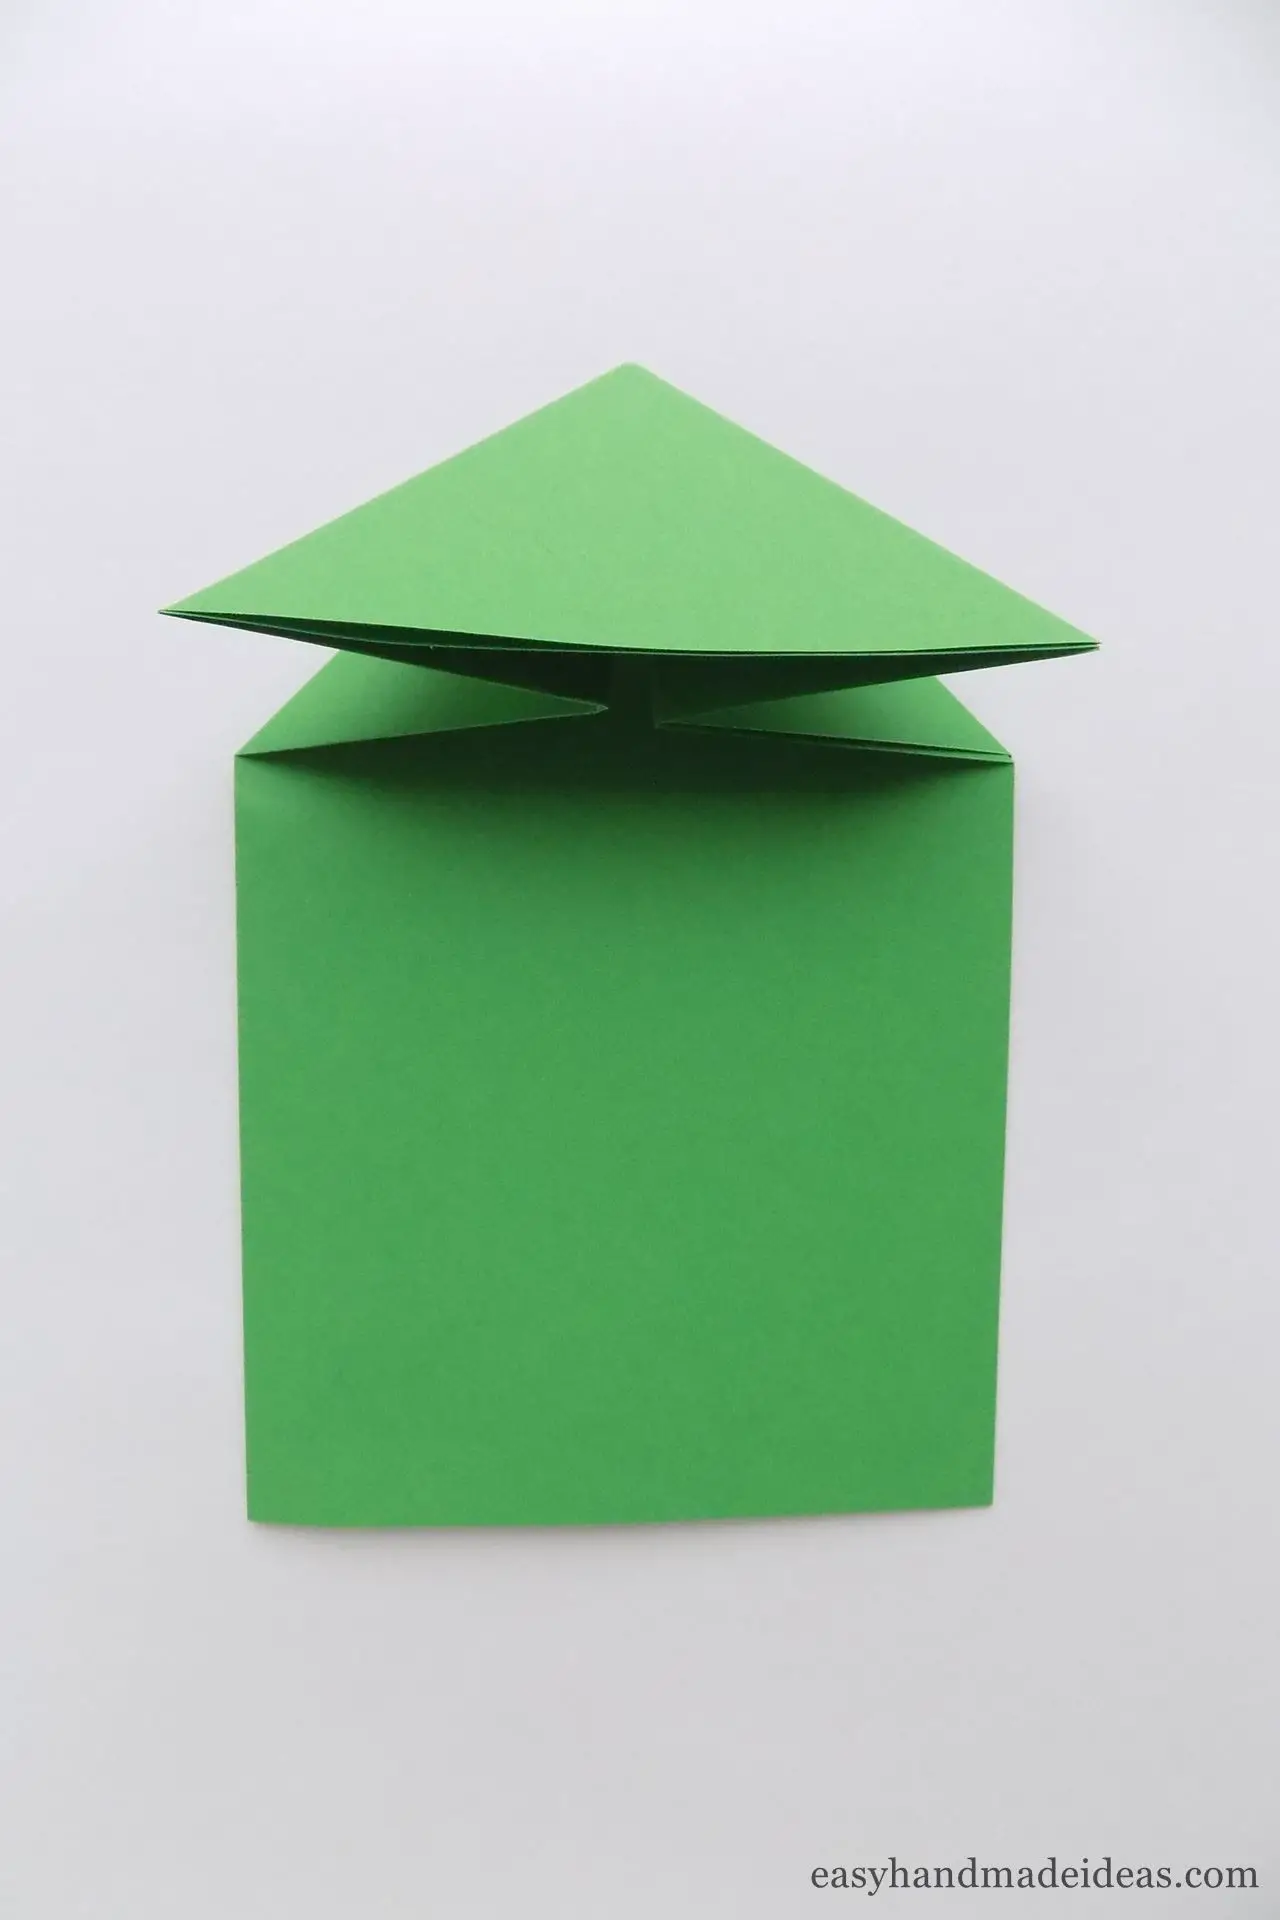
Fold the top over the marked fold lines to form a triangle with inner folds on the sides. This will be the head of your frog.
Step 7: Shape the front legs
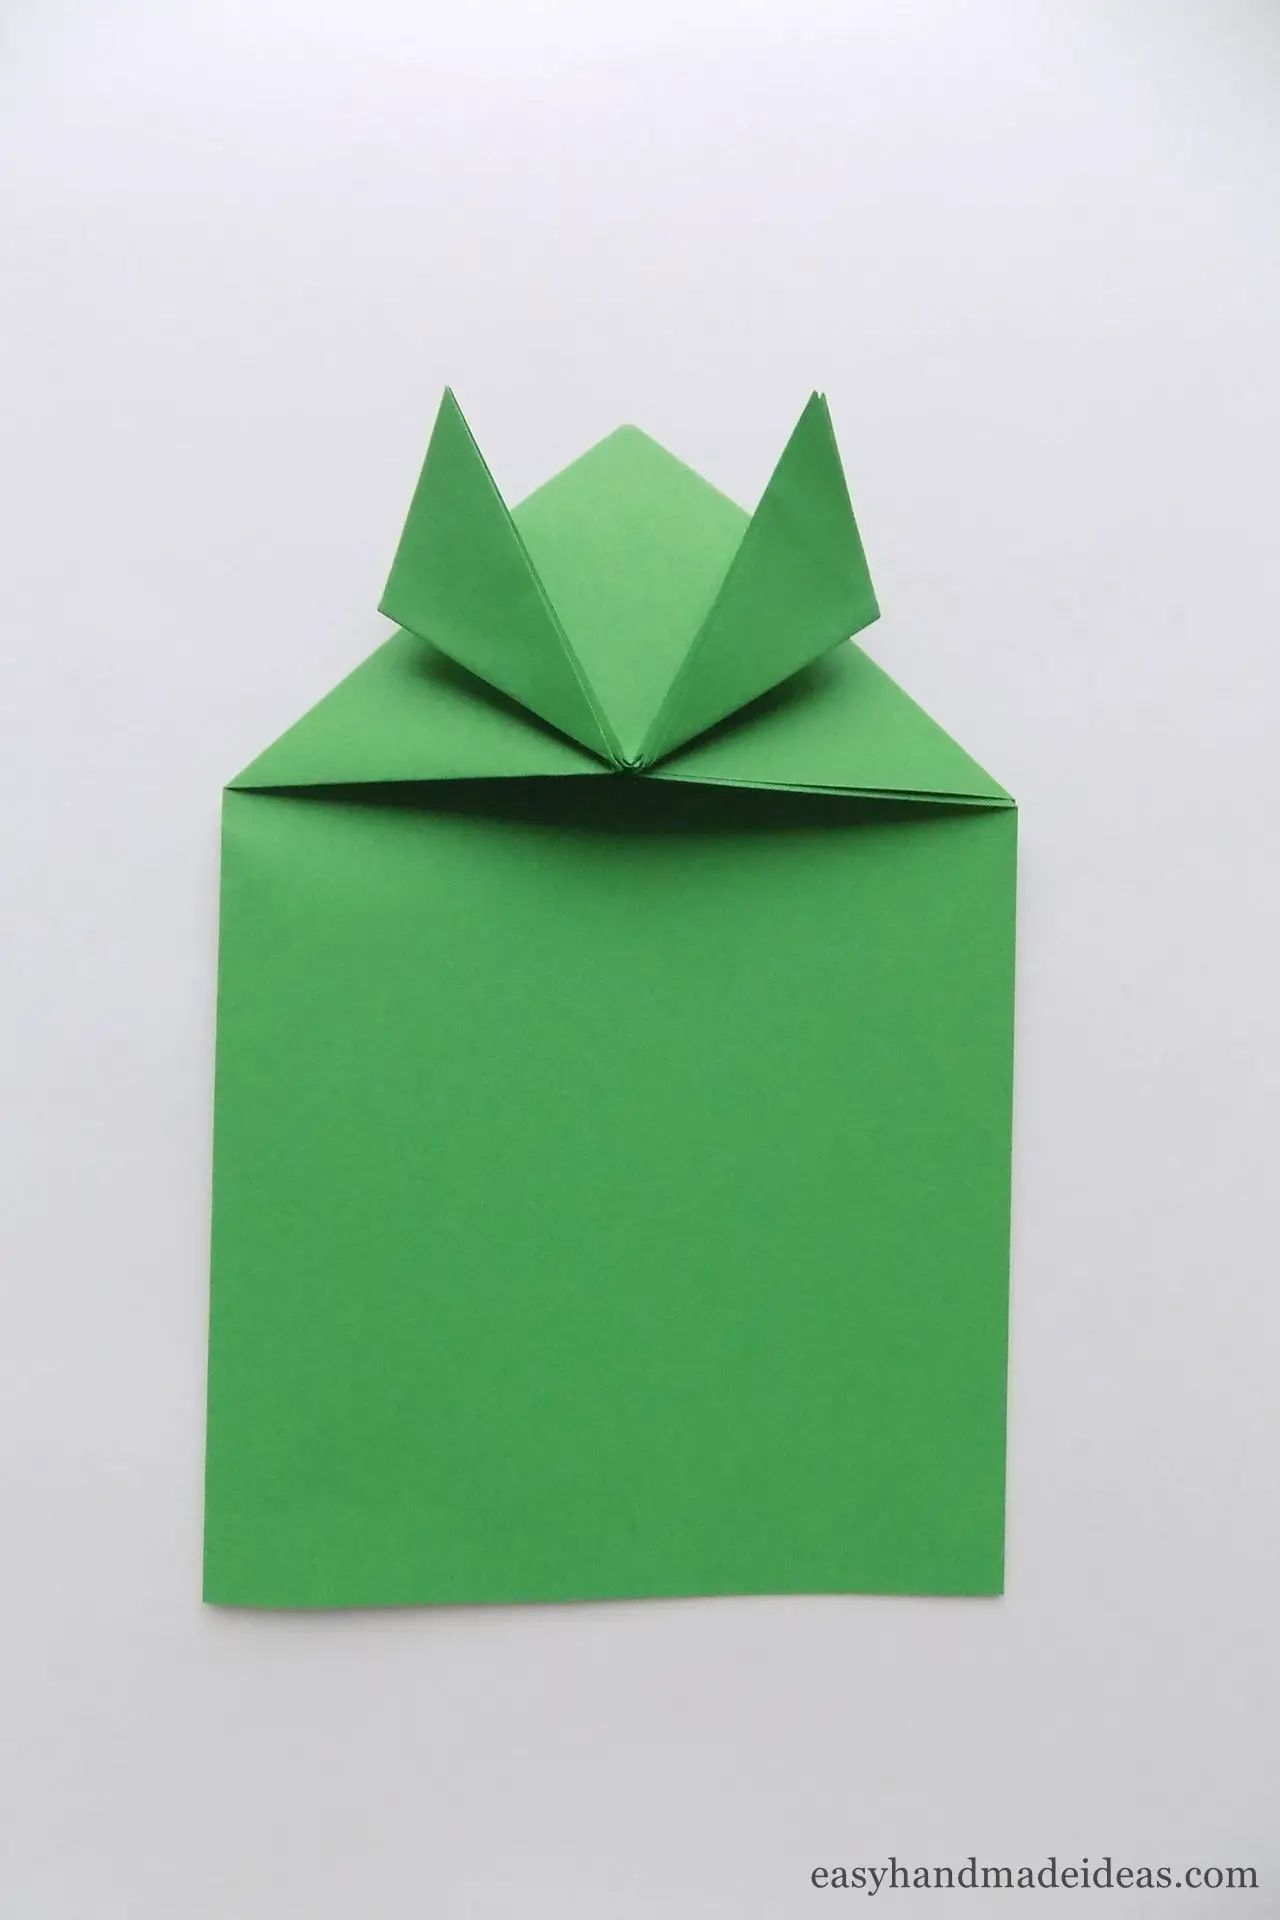
Fold the side corners of this triangle slightly up and to the sides. These will be the front legs.
Step 8: Creating the body
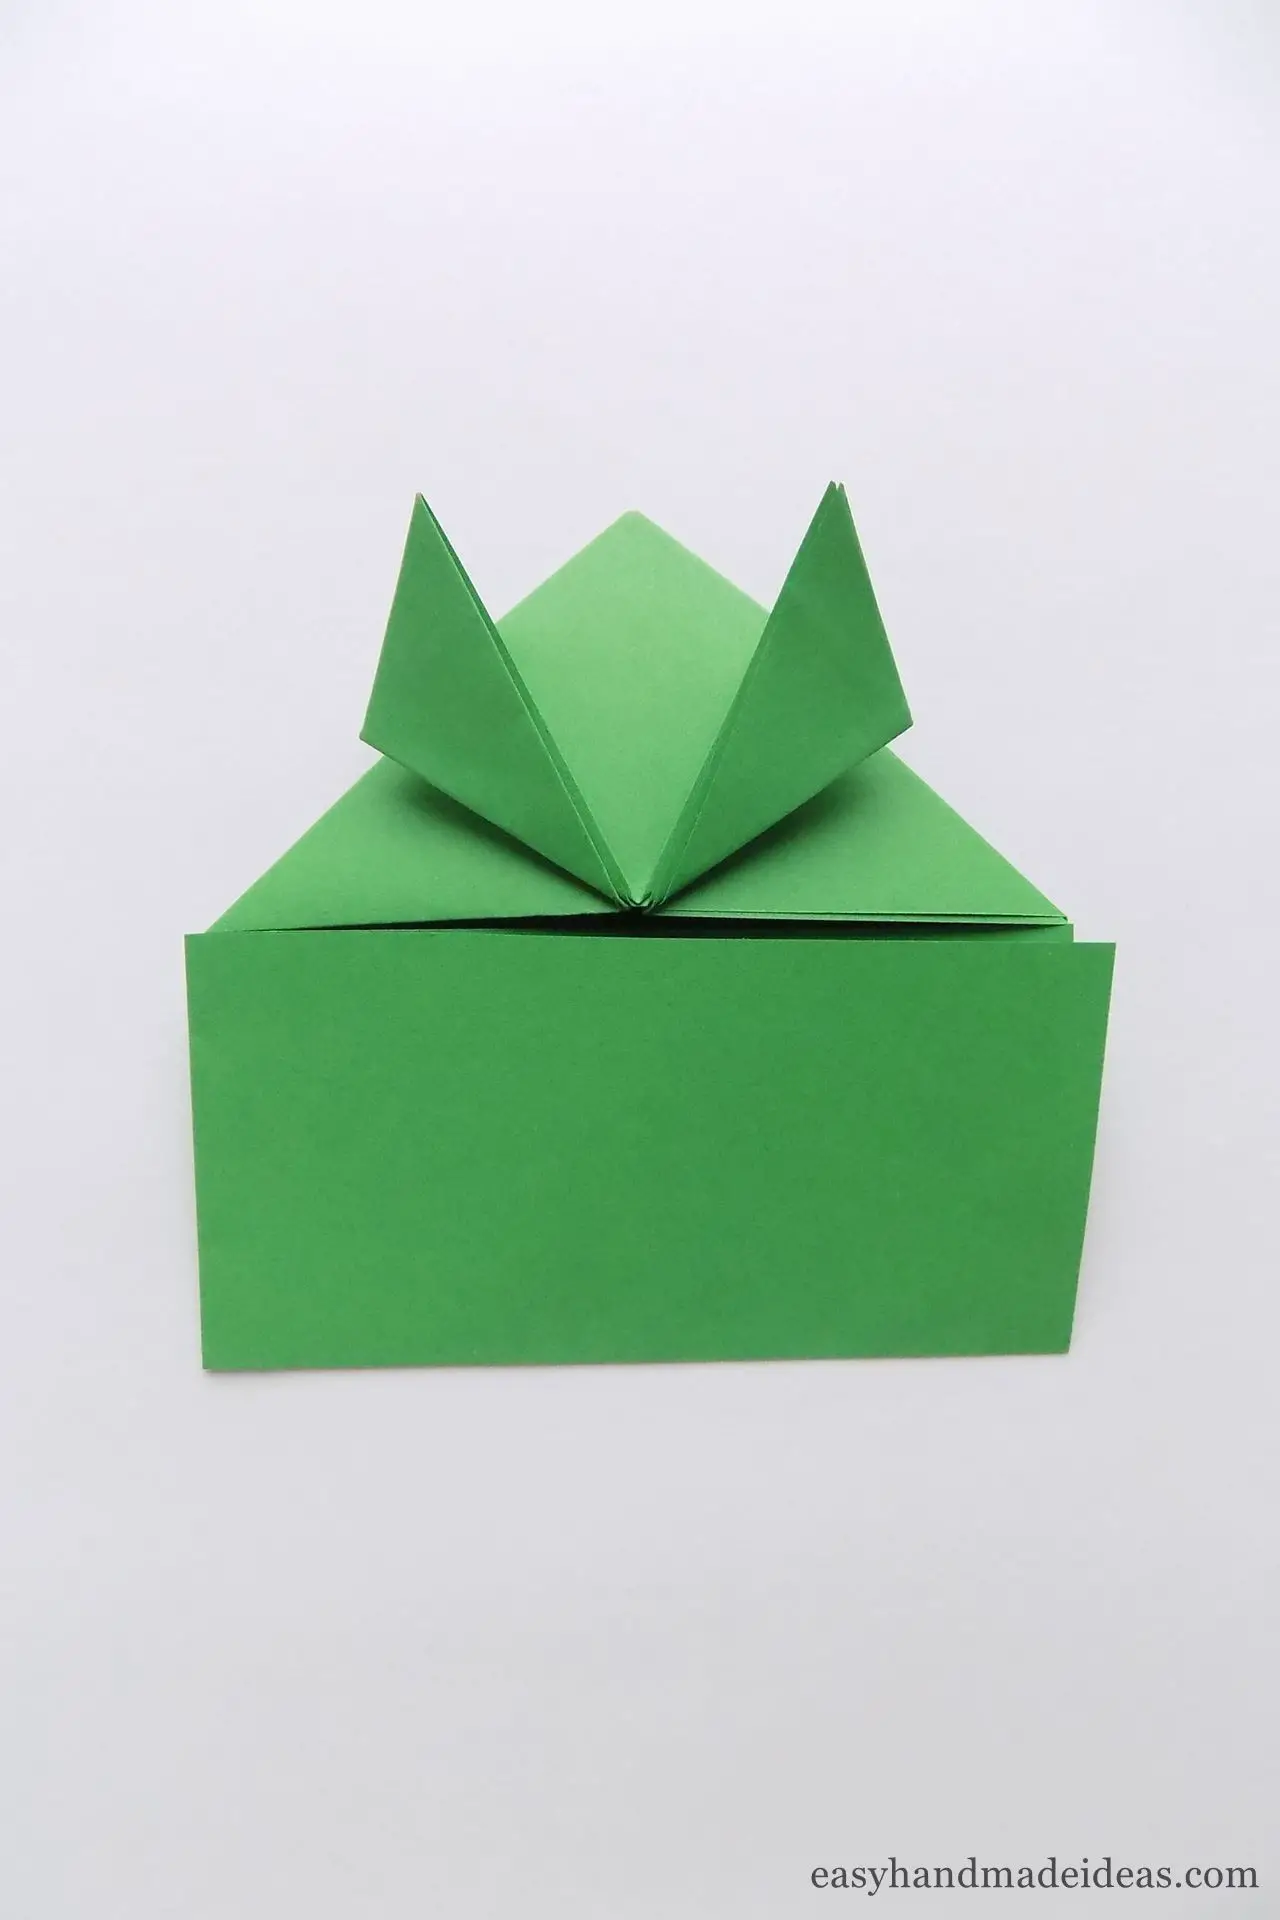
Fold the bottom part of the blank up to the triangle.
Step 9: Fold the right side in
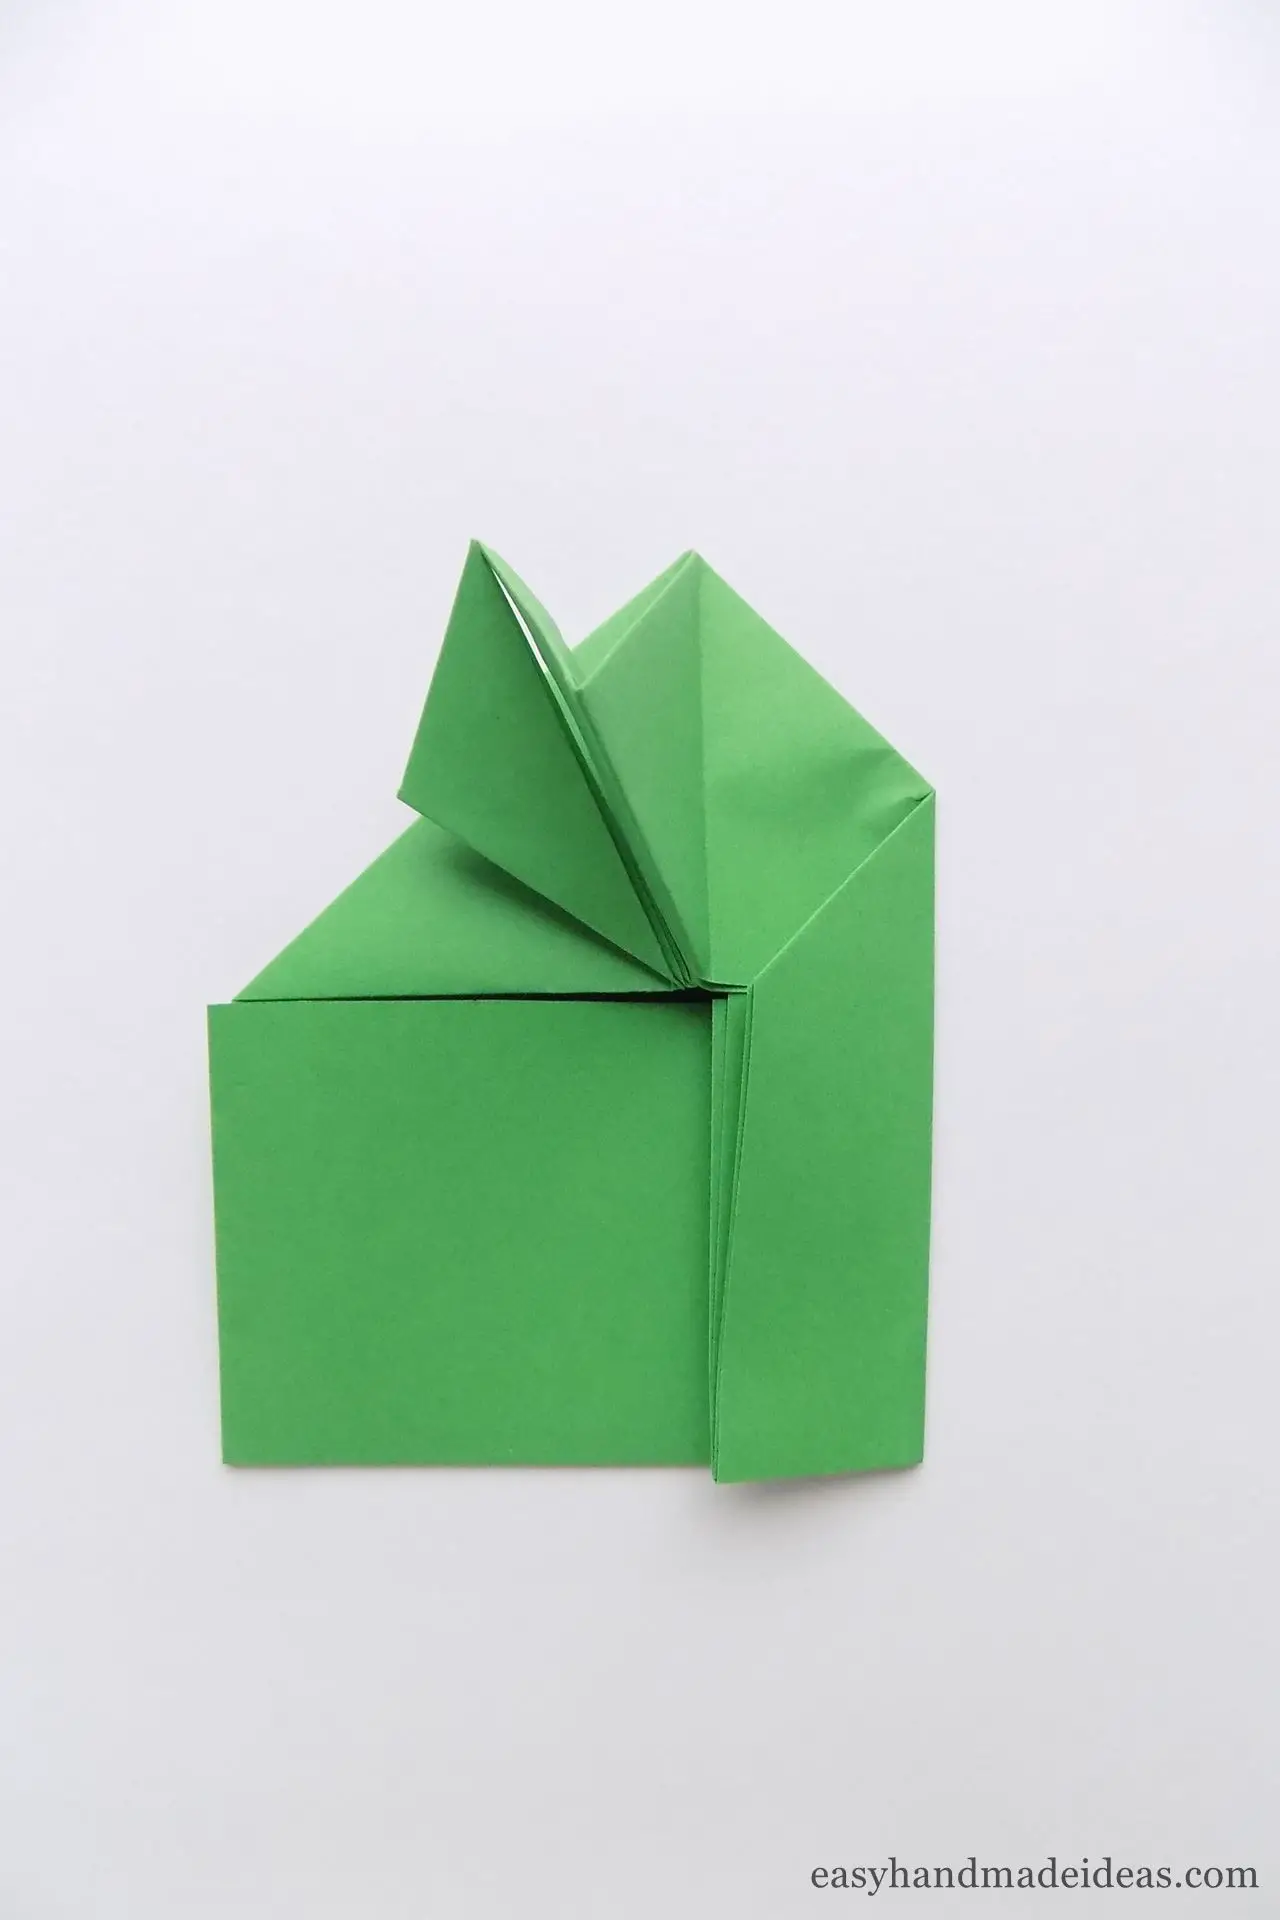
To form the body, first fold the right side inward to the center, unfolding the right leg in the opposite direction.
Step 10: Fold the left side
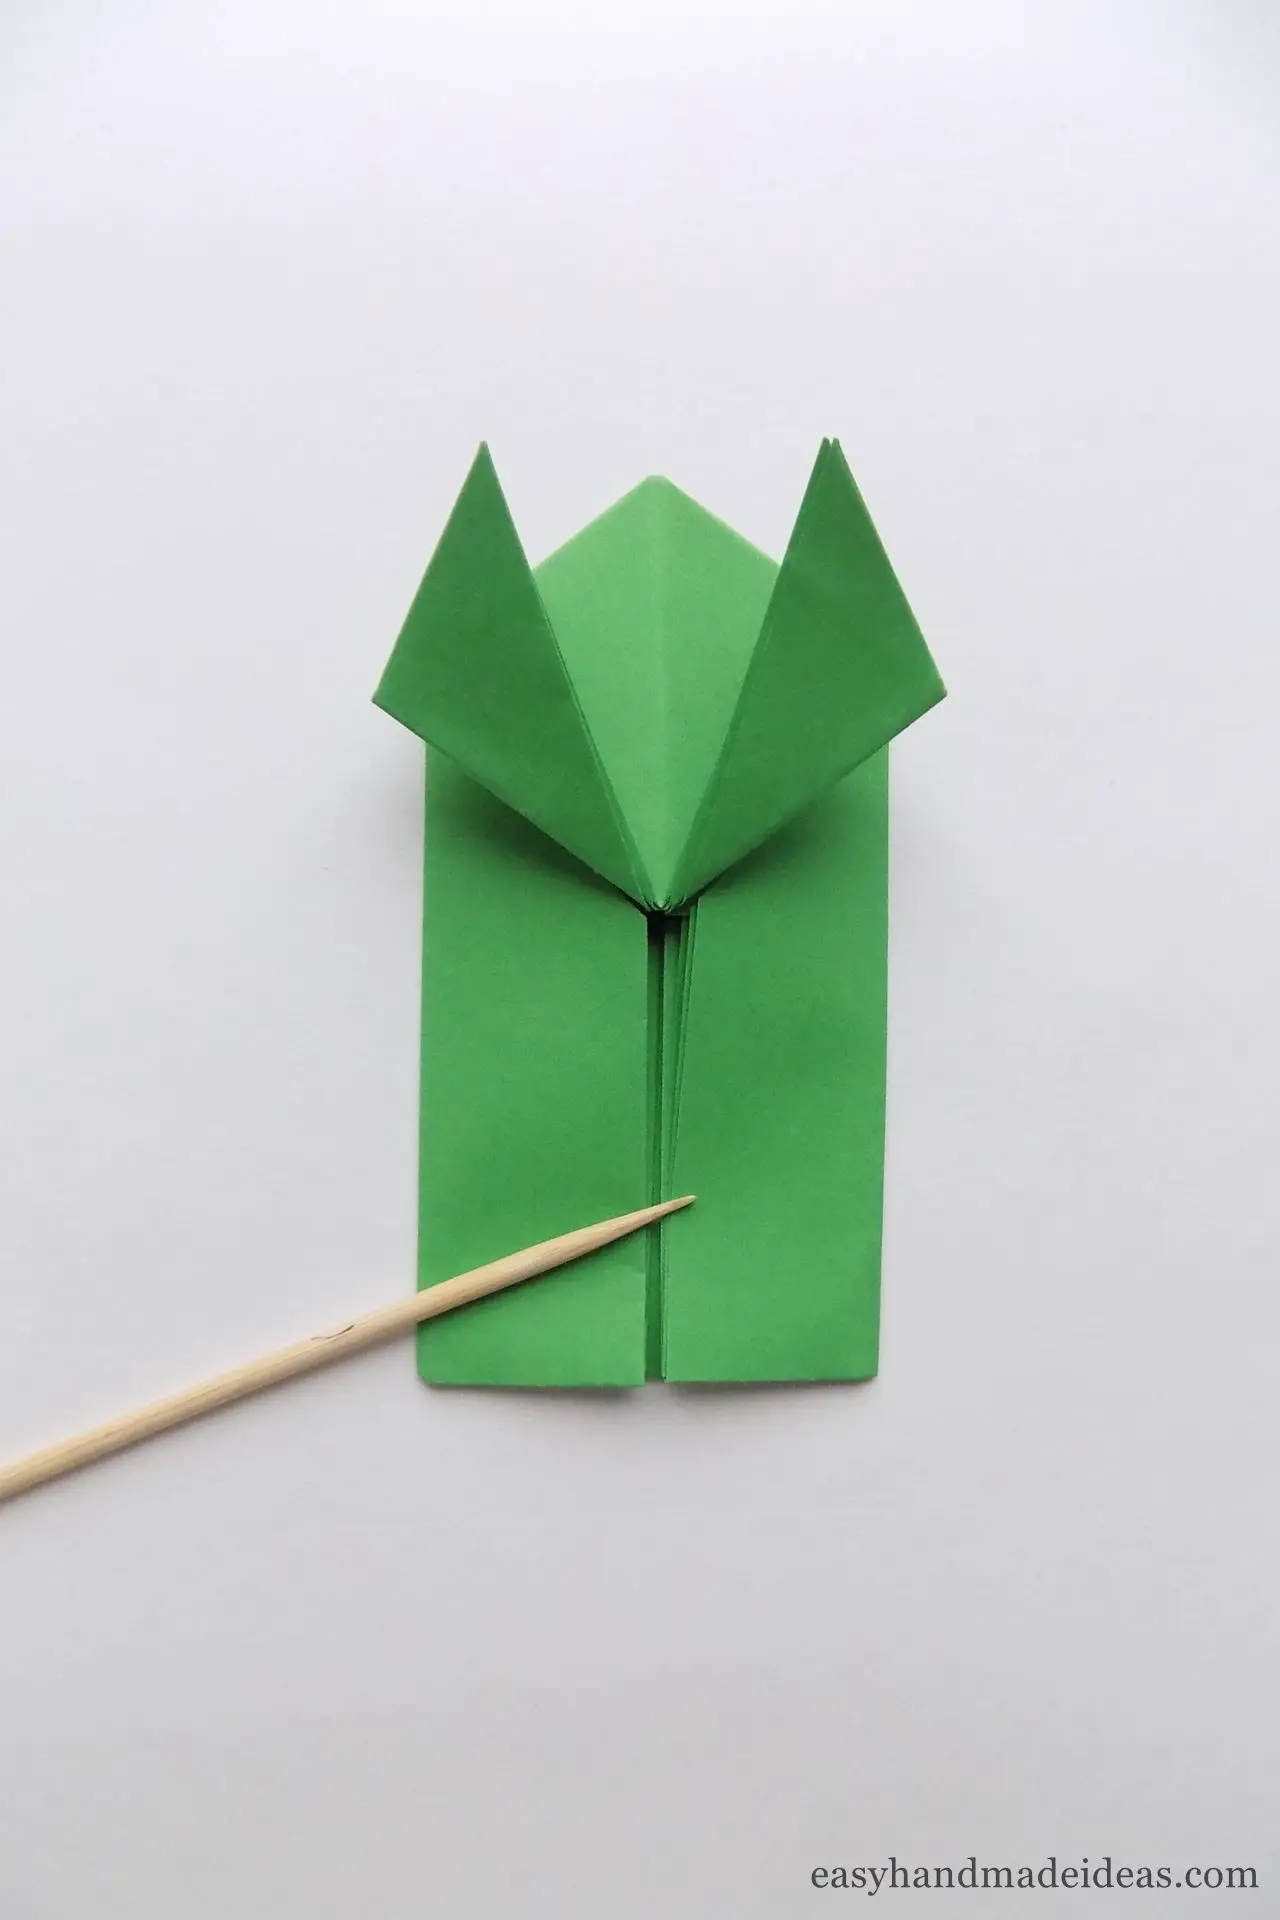
Repeat the same fold with the left side.
Step 11: Fold the bottom of the piece upward
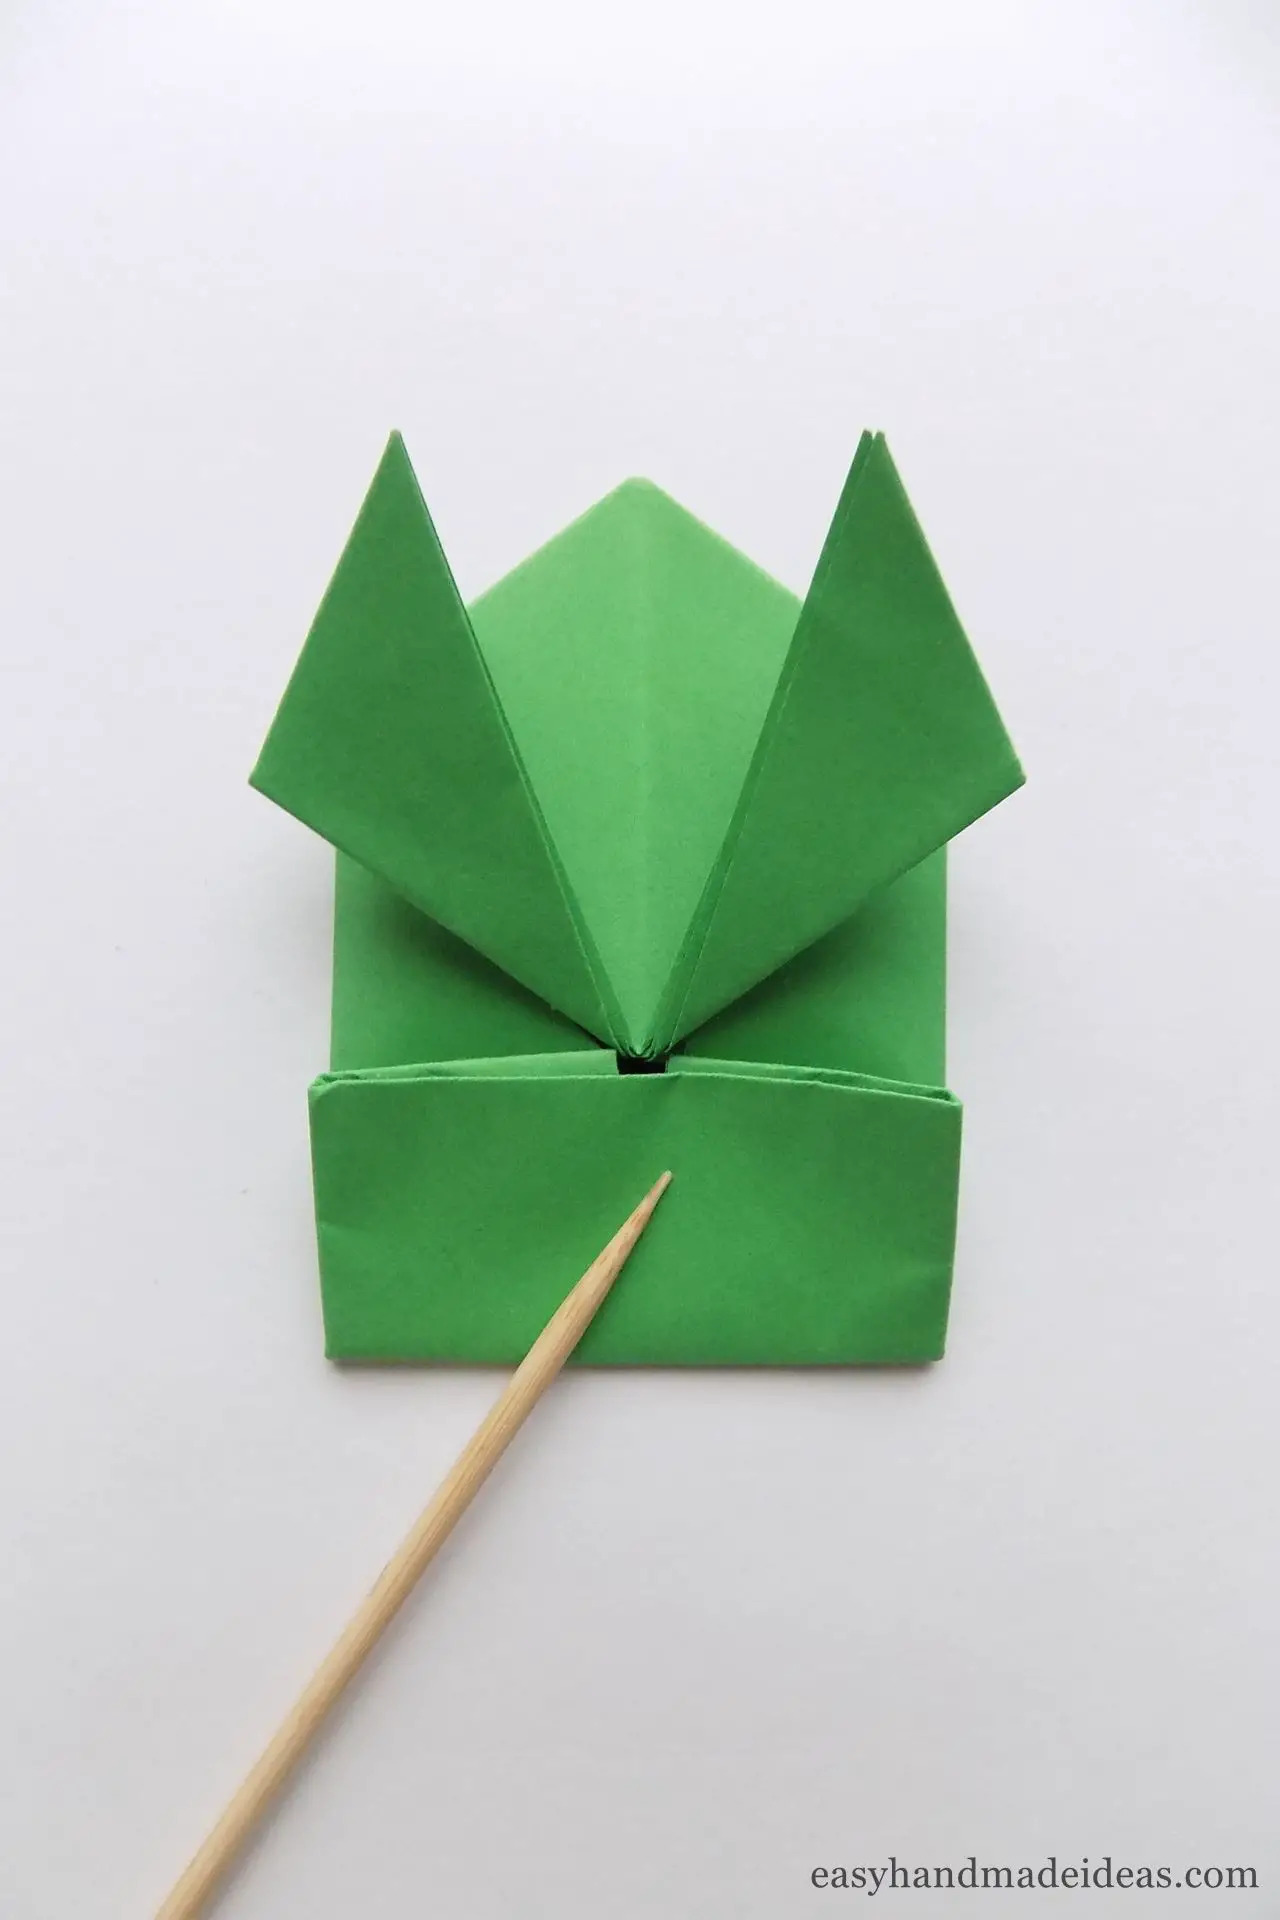
Fold up the bottom of the craft.
Step 12: Unfold the craft
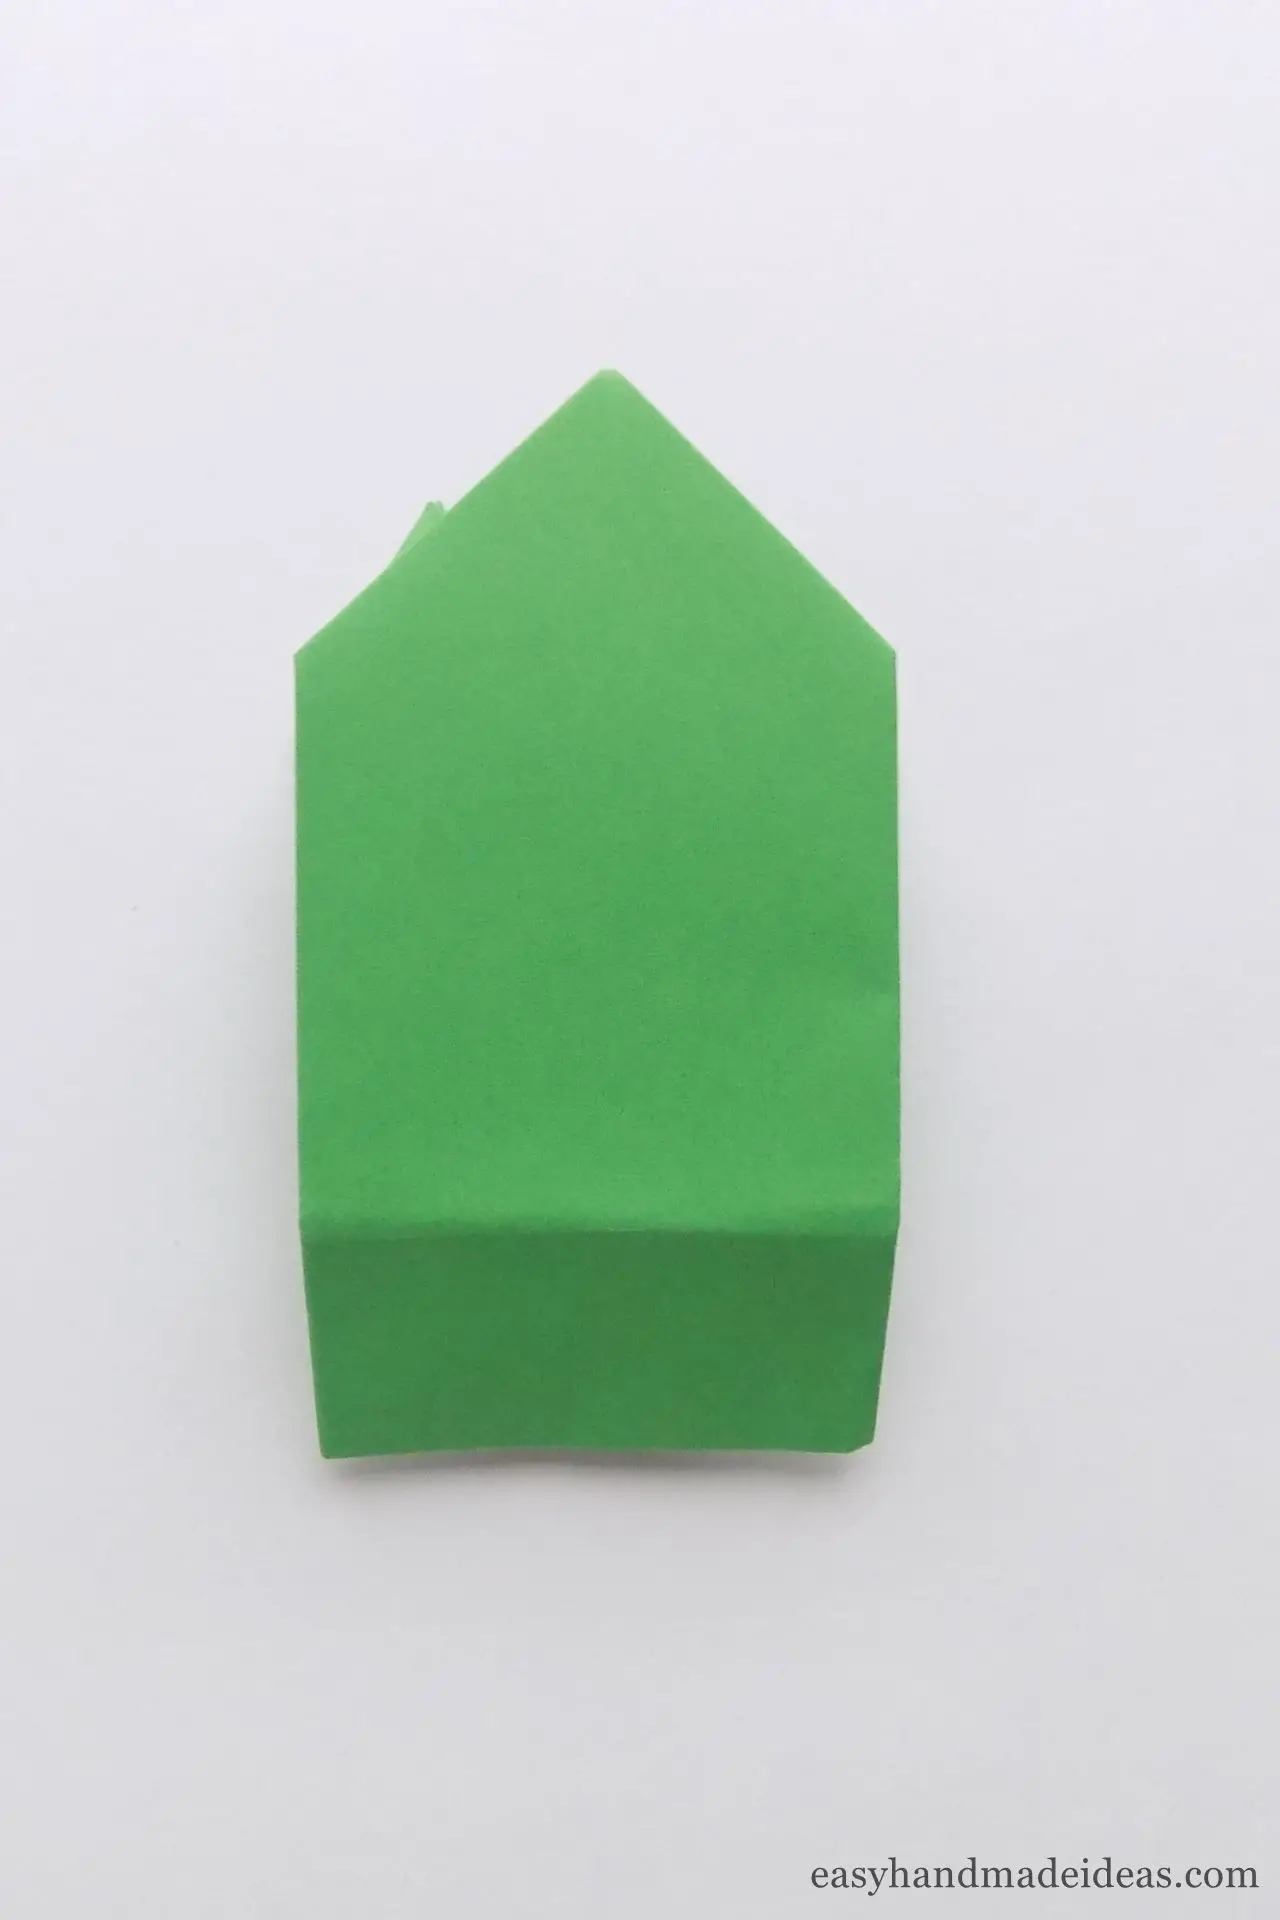
Unfold the previous fold, and flip the craft over to the other side.
Step 13: Fold the bottom corners
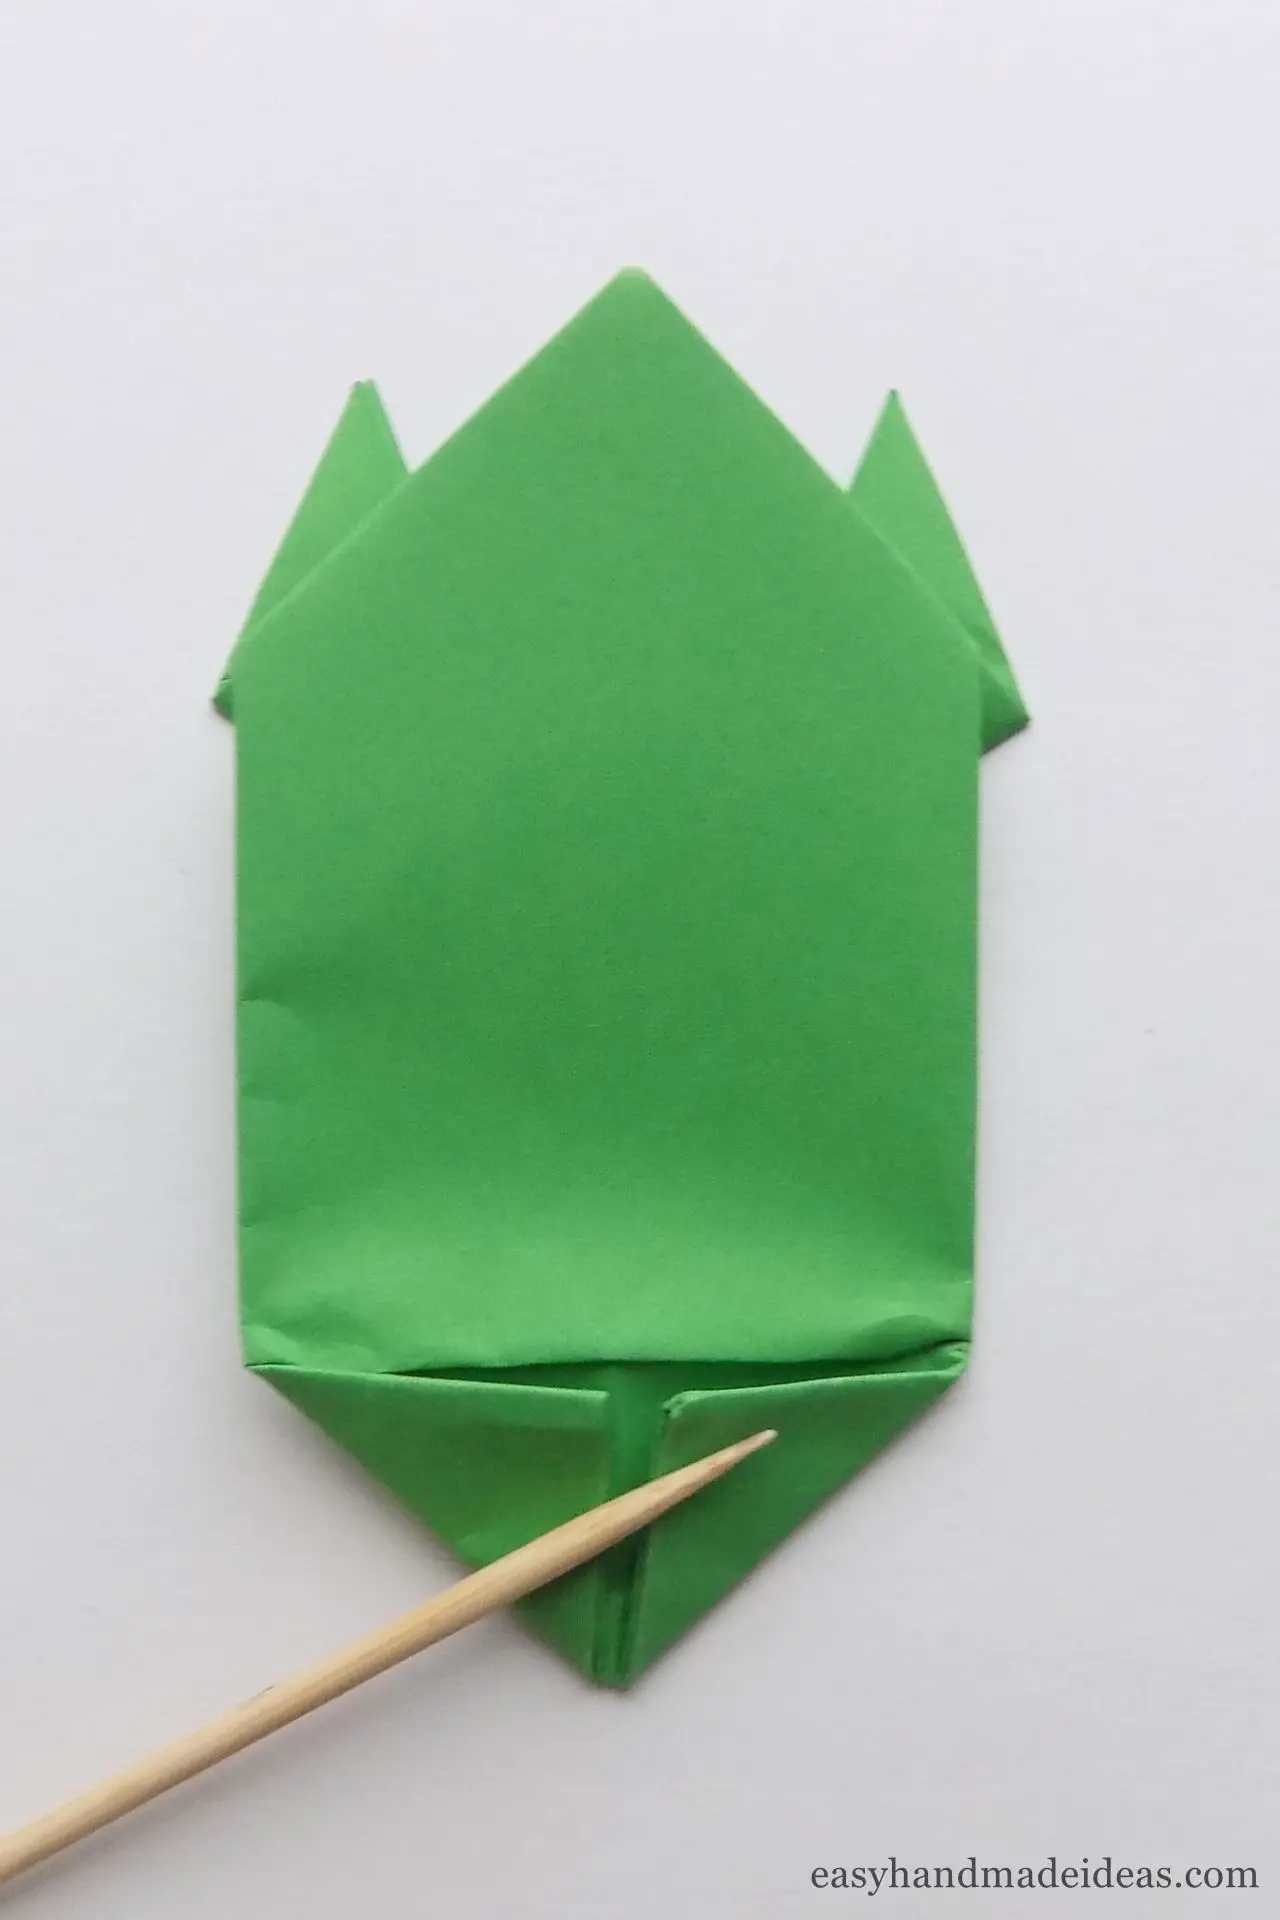
Fold the side bottom corners to the center.
Step 14: Flip and straighten the corners
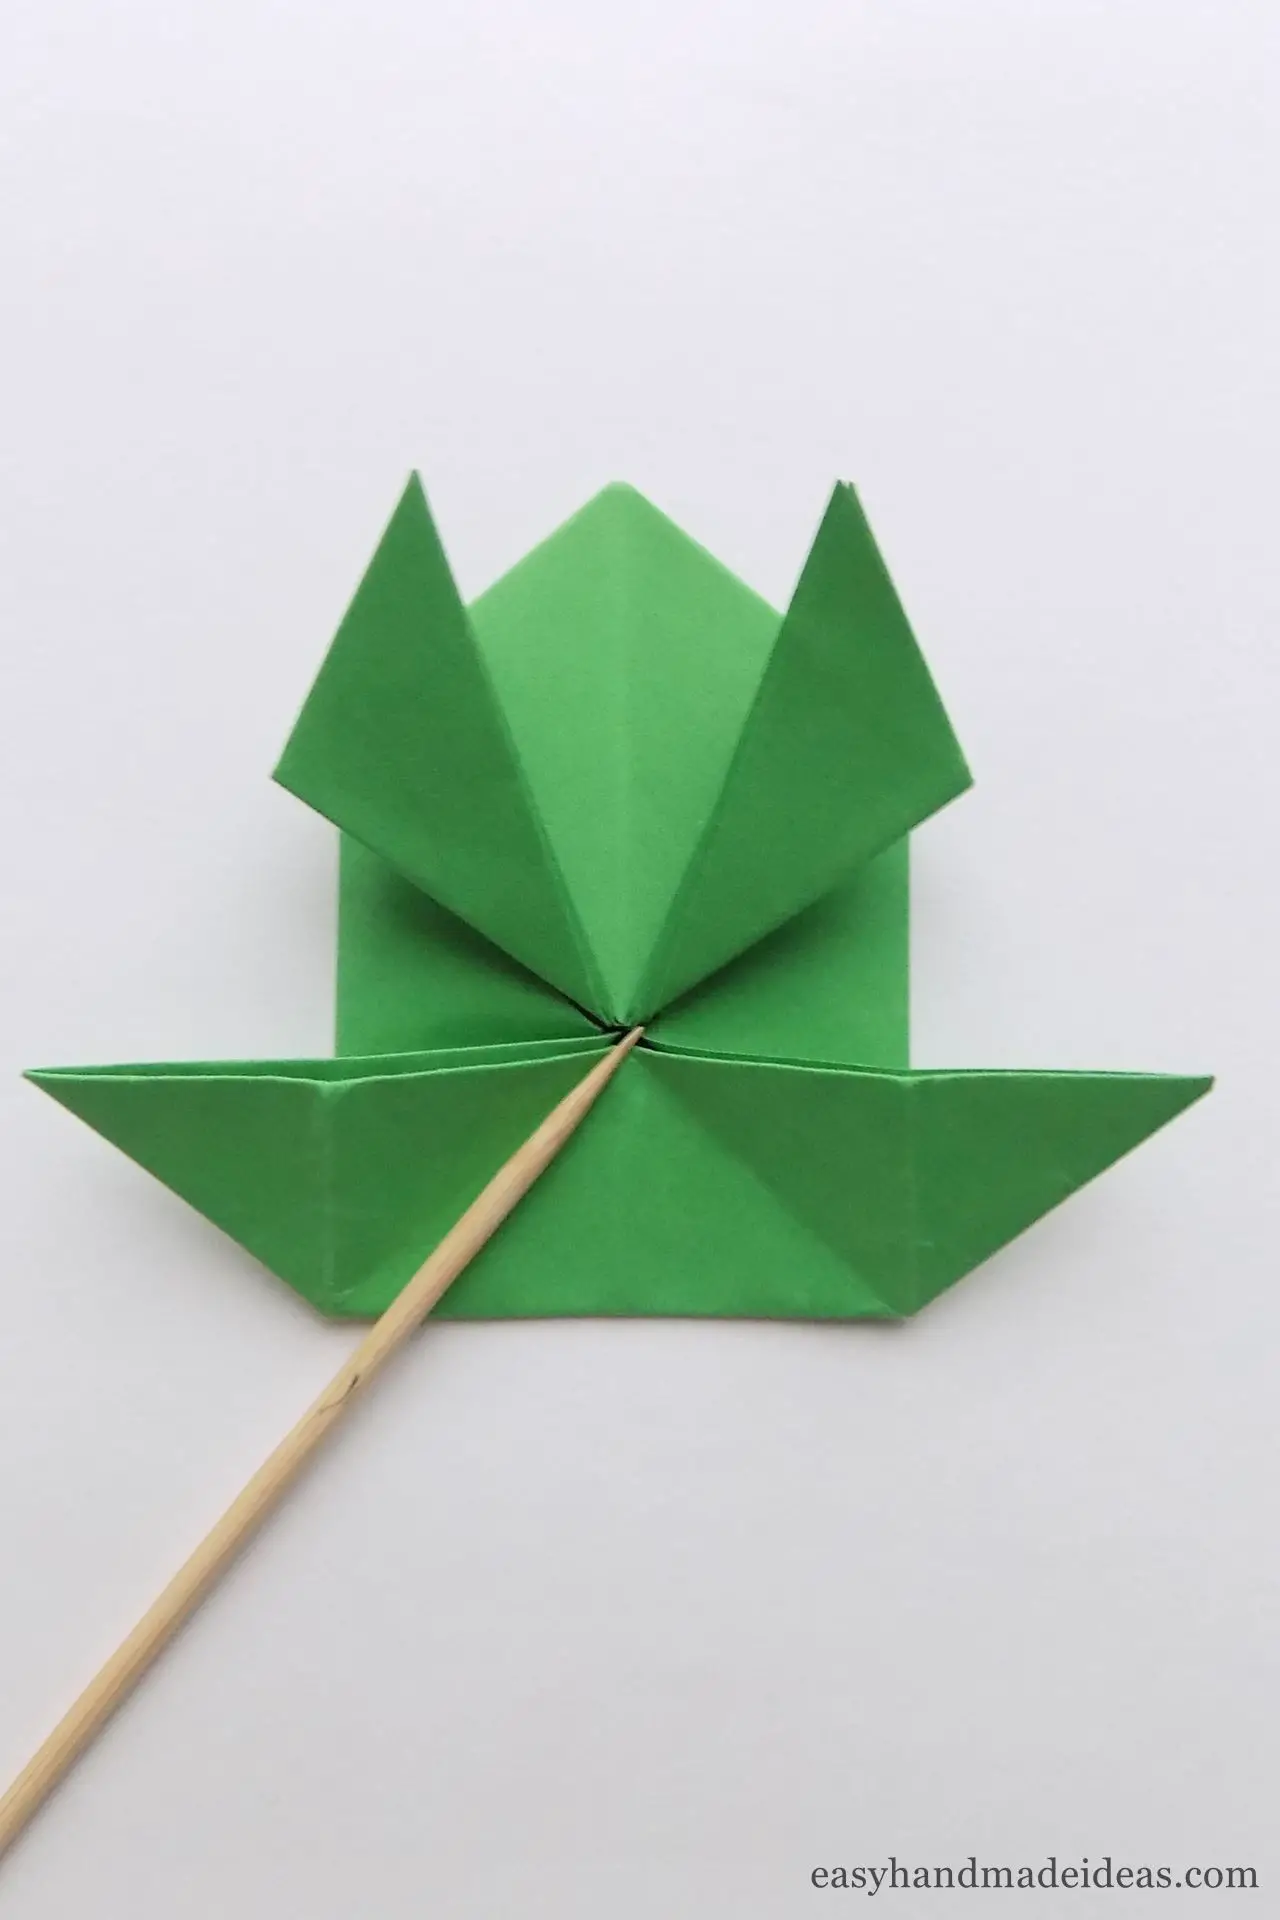
Flip the craft over, and spread the folded corners so that the bottom is an elongated trapezoid.
Step 15: Make the frog’s back legs
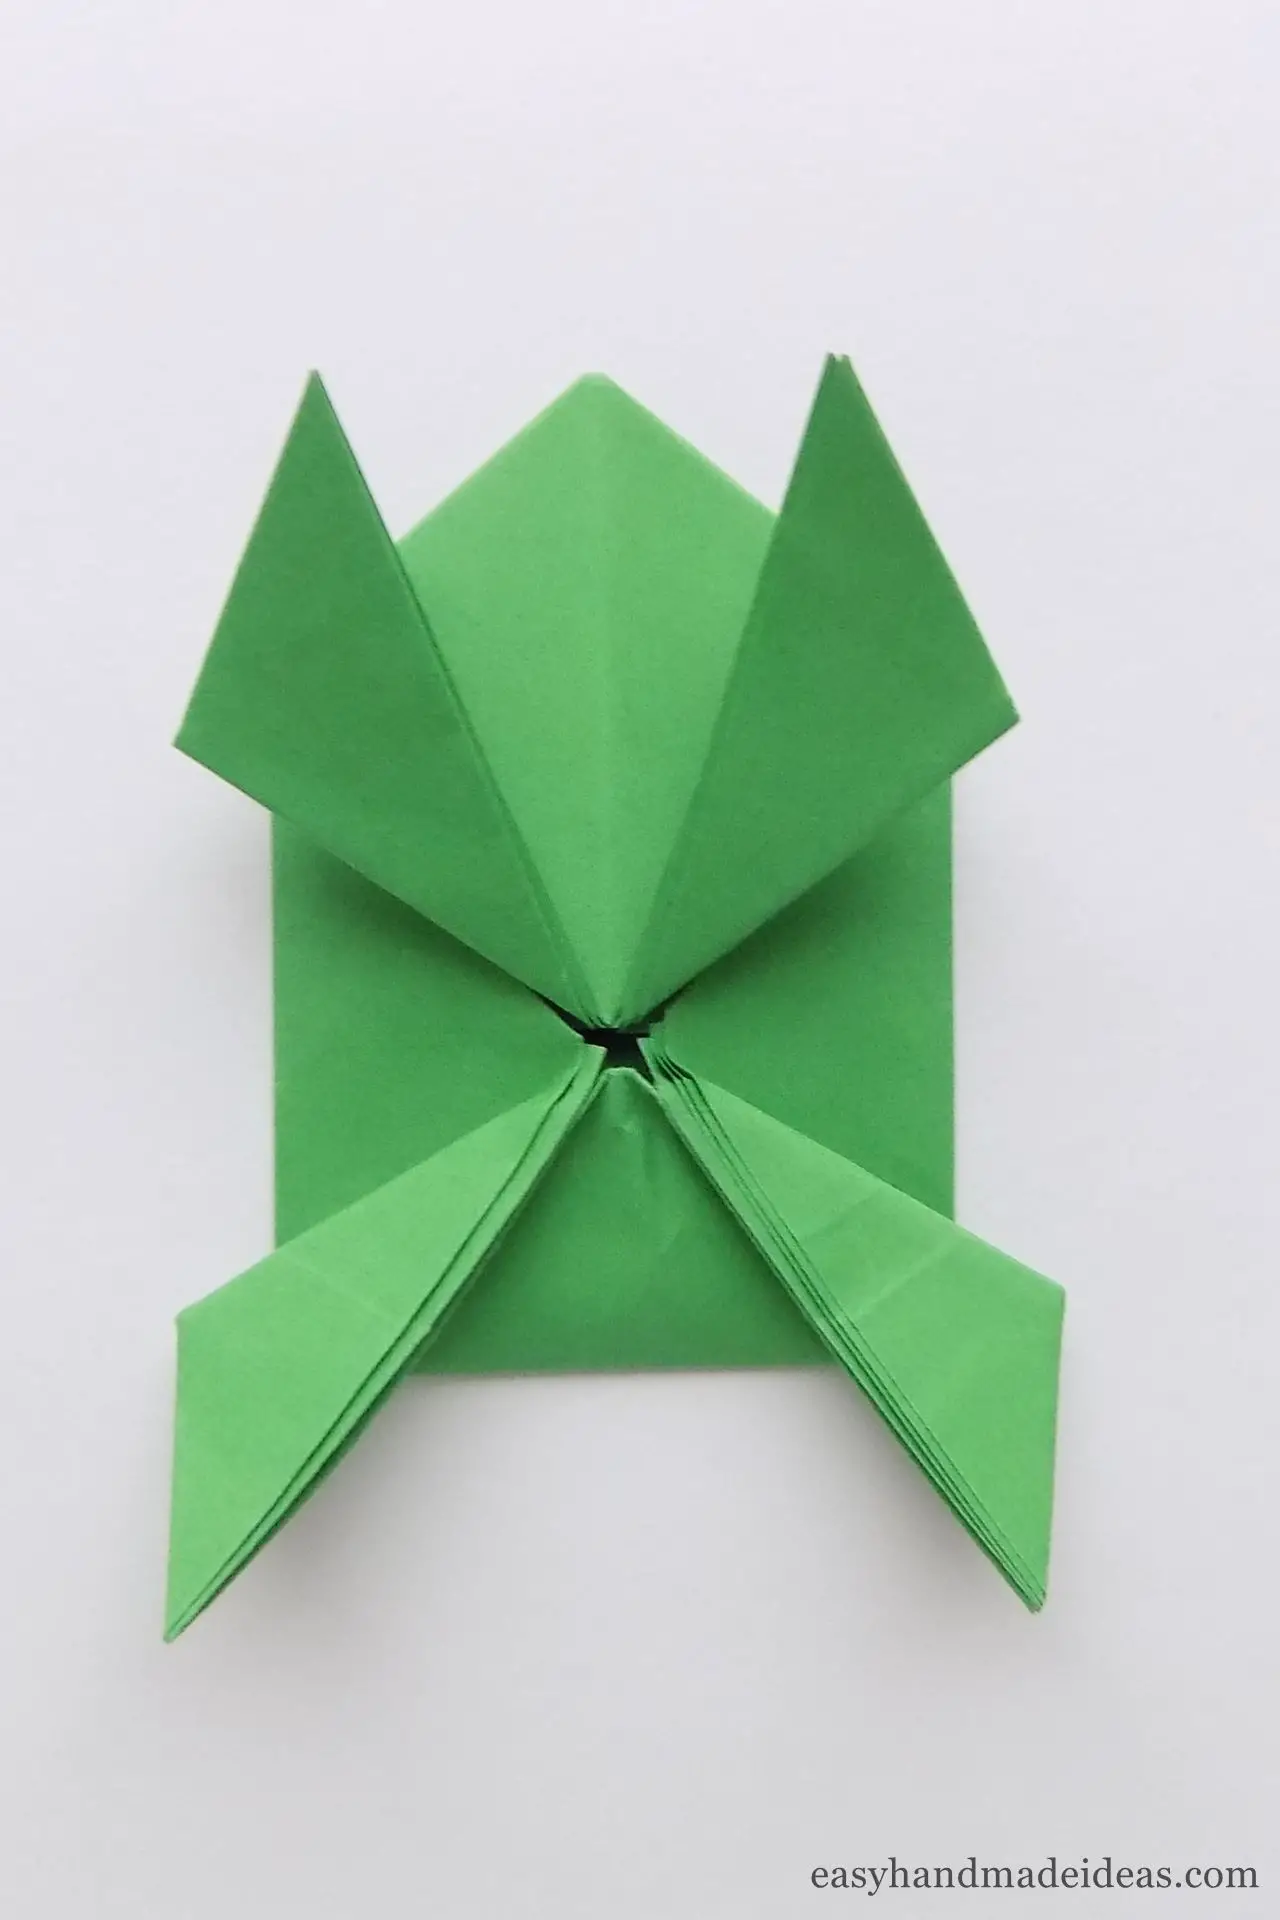
Fold the bottom sides down along the marked fold lines. This will be the base for the back legs.
Step 16: Flip the piece over and fold the bottom up slightly
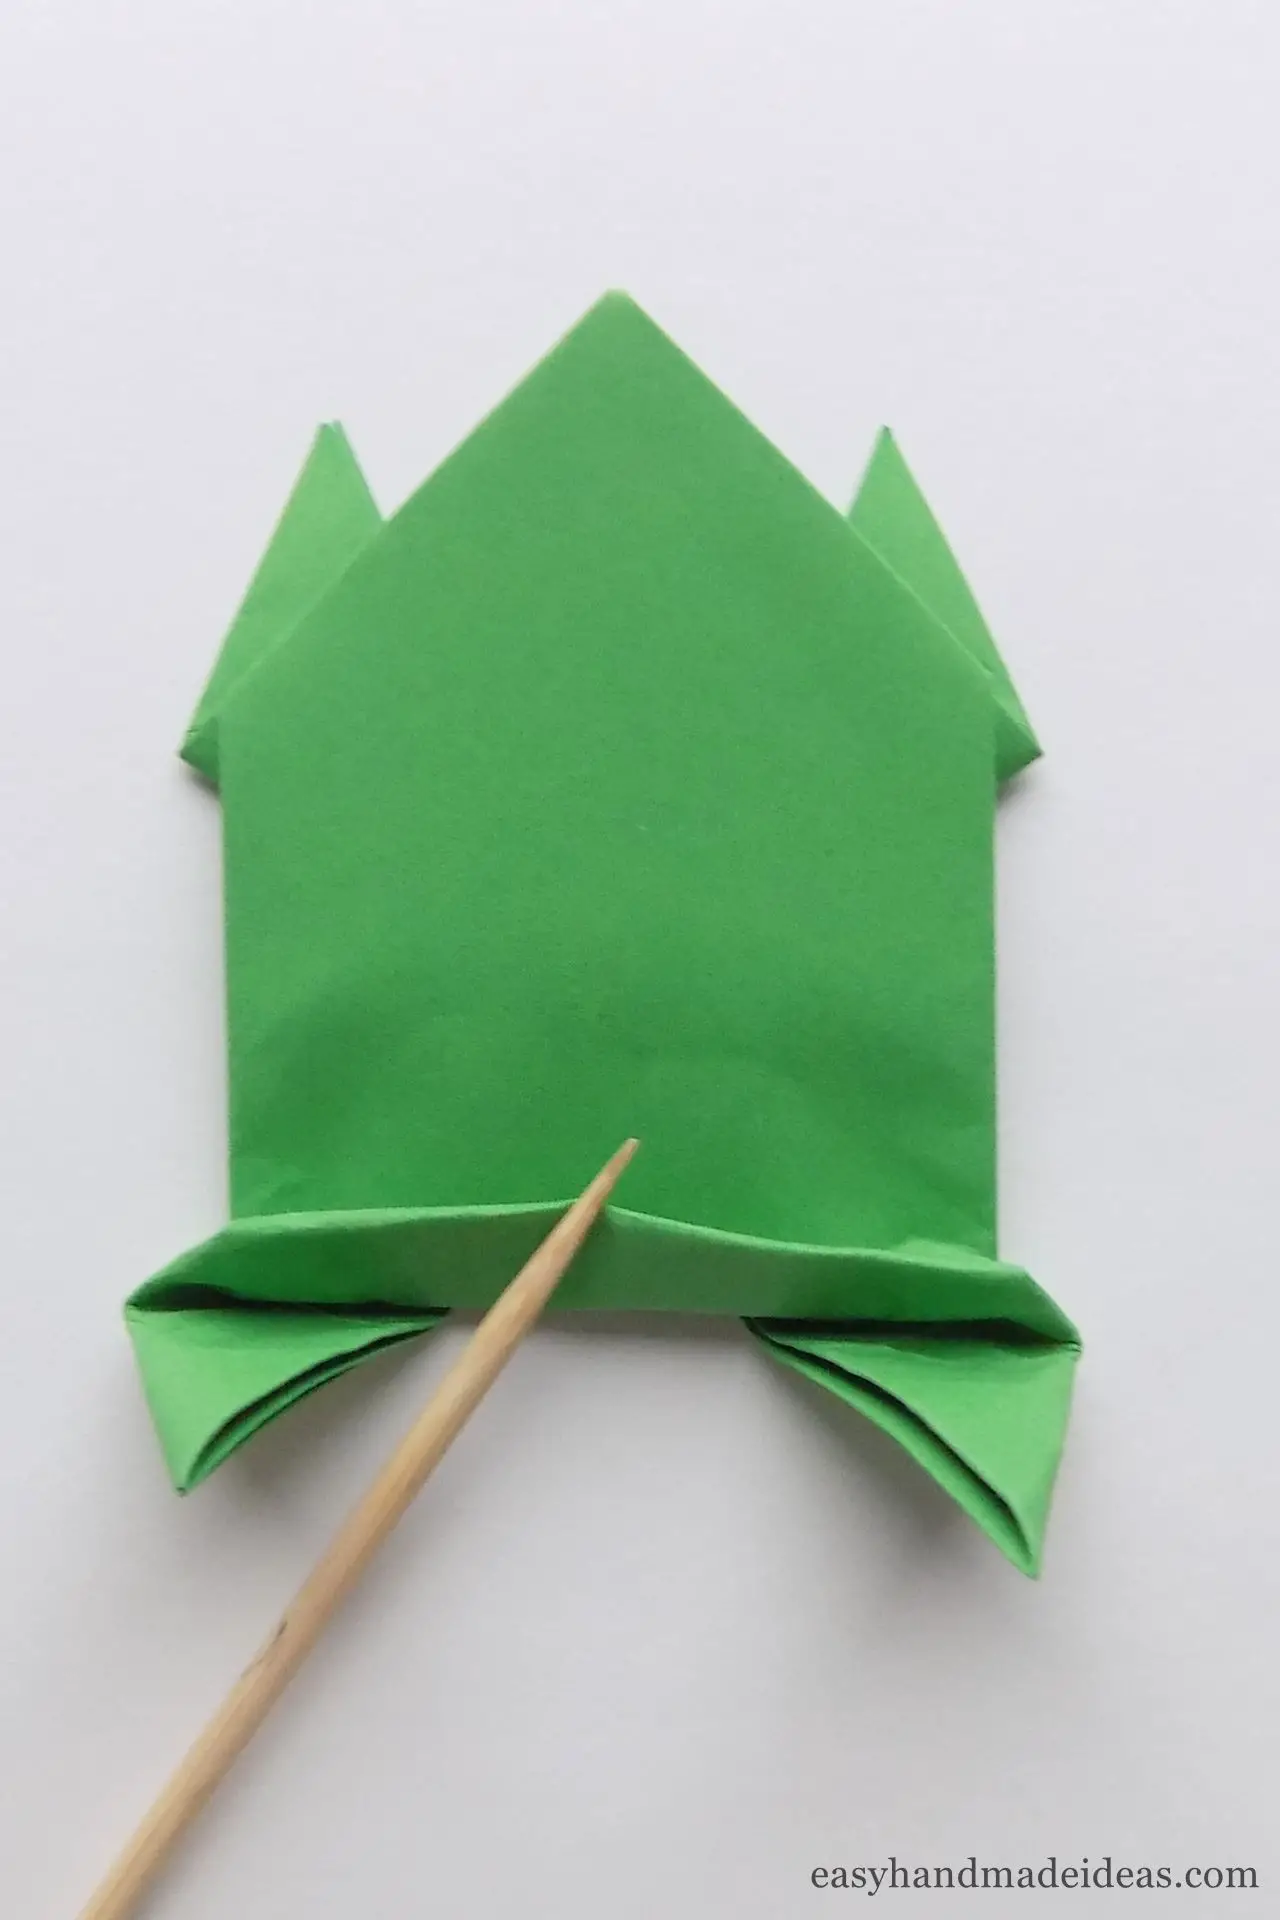
To make a jumping frog, you’ll need to make a couple more folds. After flipping the craft over, first fold the bottom up a little.
Step 17: Make the last fold
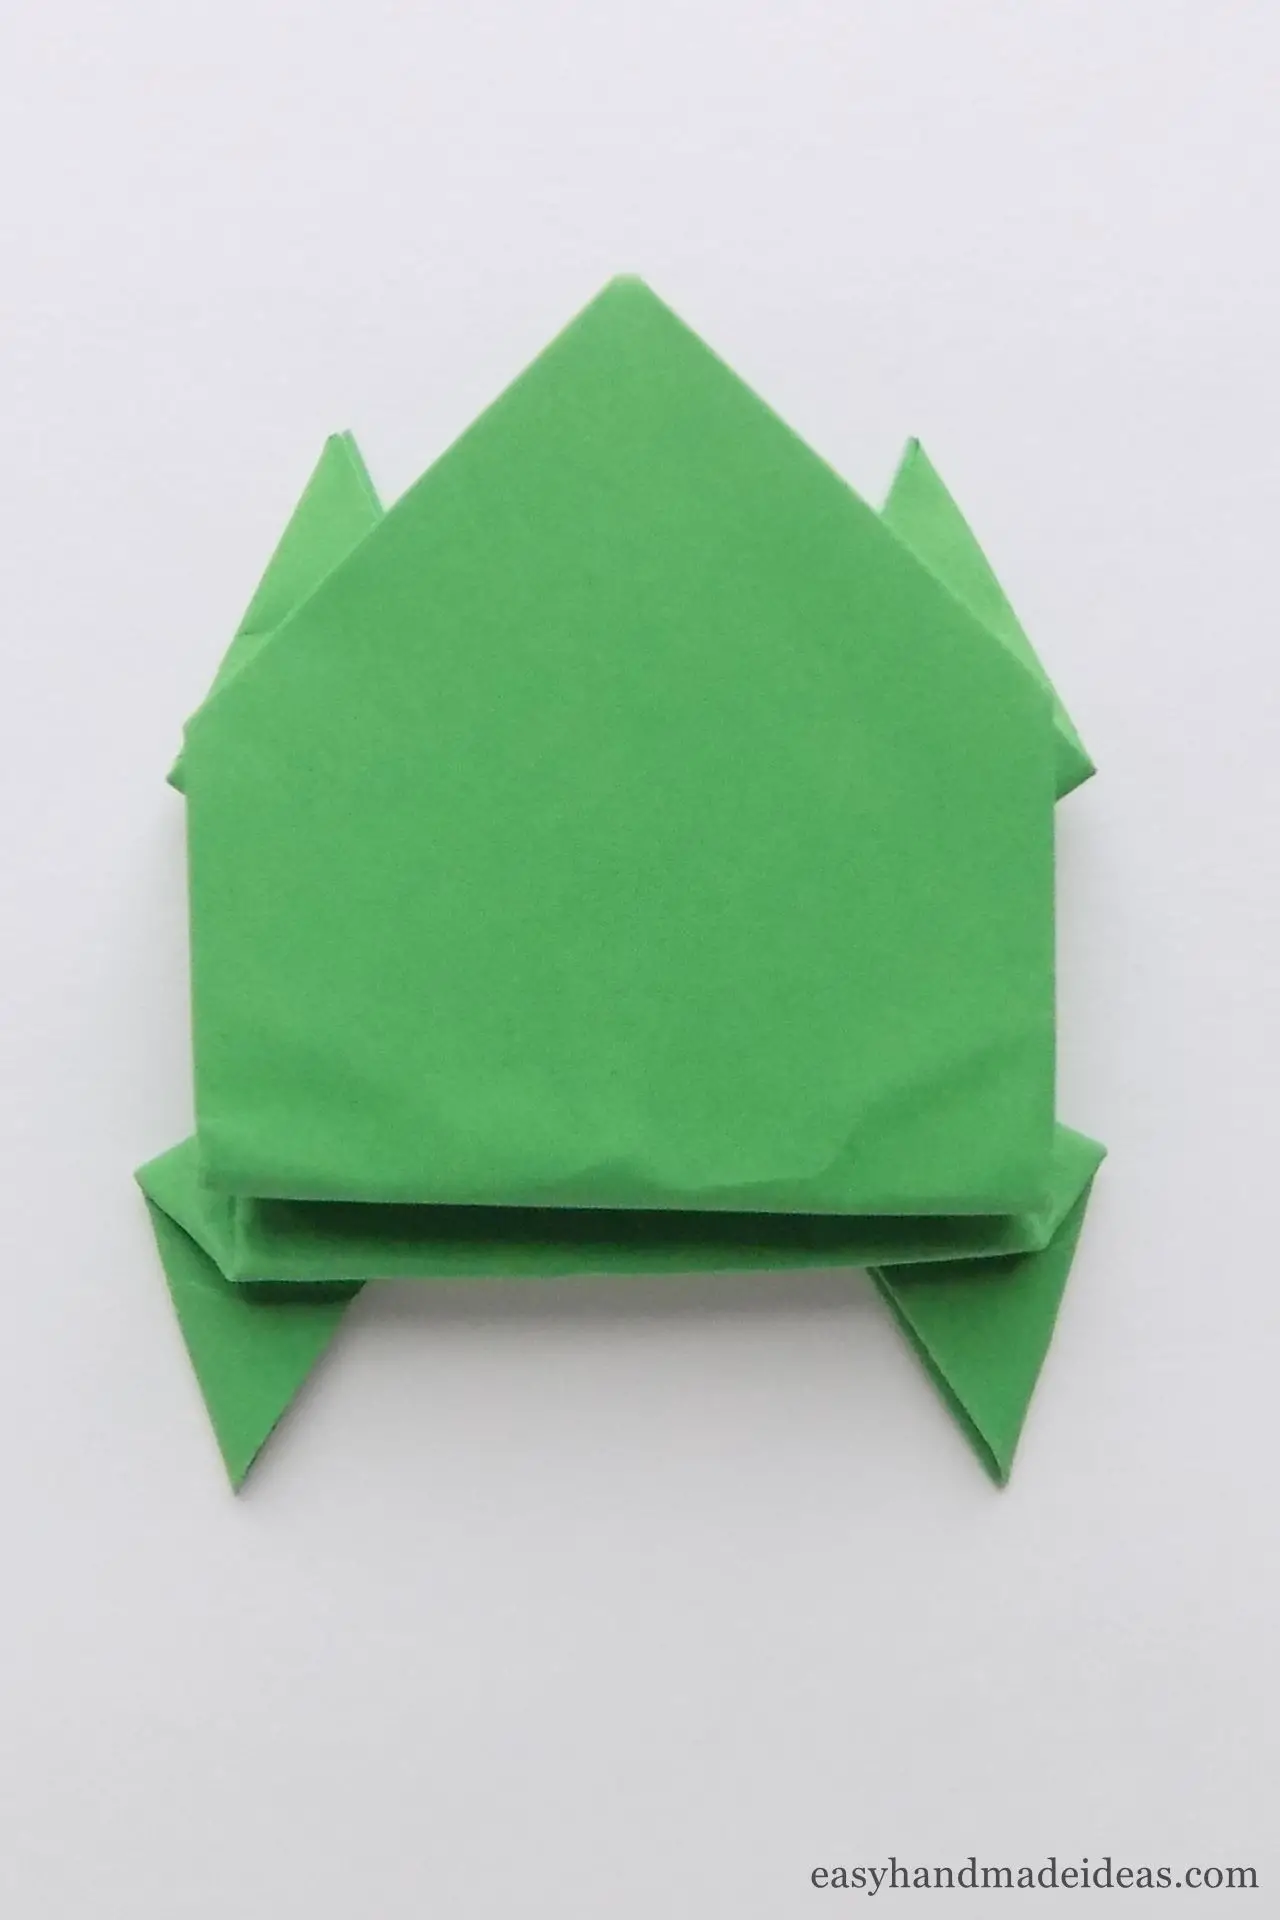
Then make another fold in the opposite direction under the craft. By pressing this fold and releasing it sharply, you’ll see how the origami frog can jump.
Step 18: Gluing the eyes
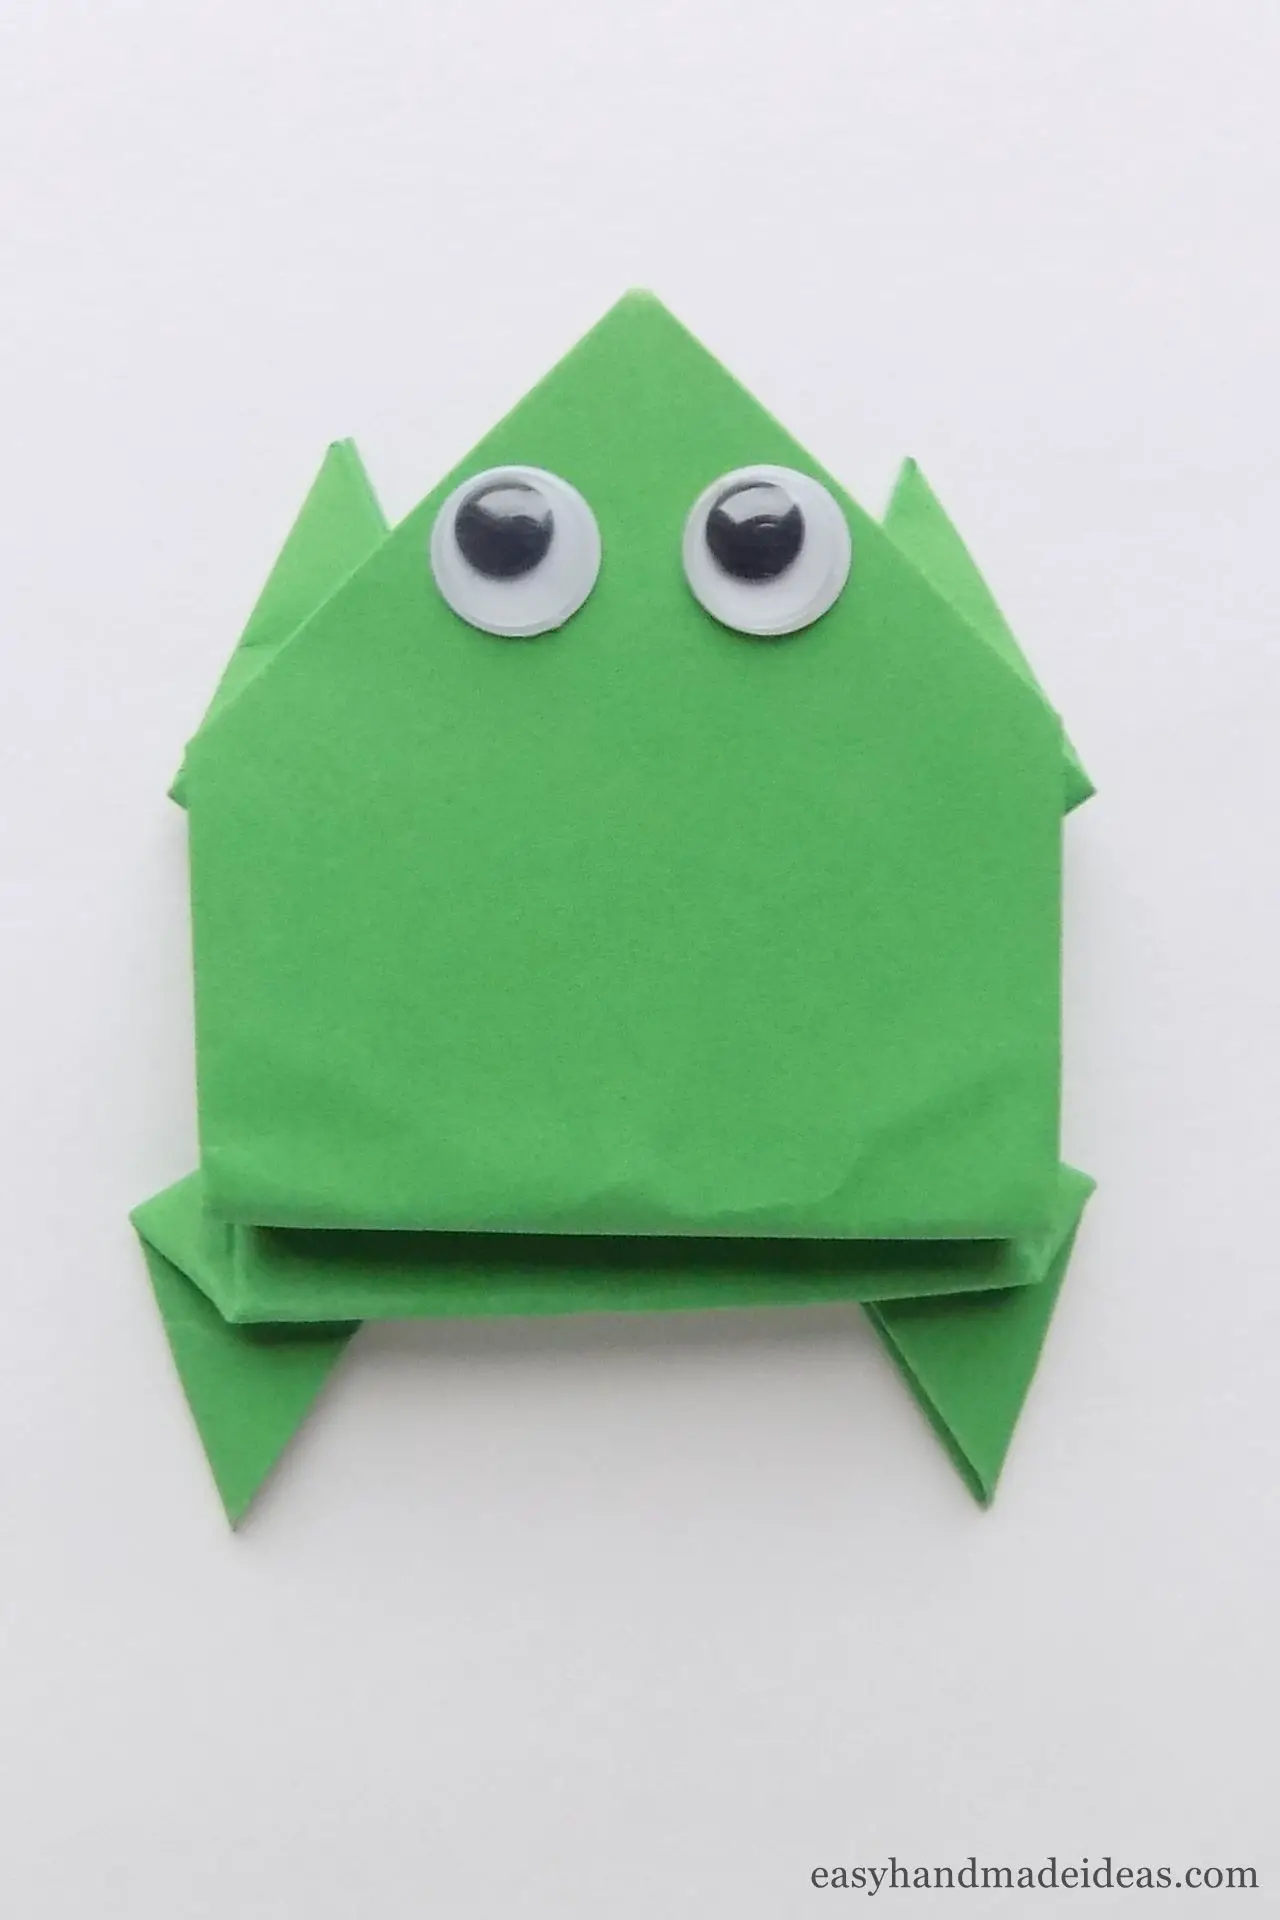
Now you have to glue the eyes on. Remove the protective layer on the decorative eyes and glue them on the frog’s head. You should get the same origami jumping frog as in the photo.
Supply:
- a square of double-sided green paper 21×21 cm (0,8268 ″ x 0,8268 ″);
- decorative eyes on a glue base.
Tools:
- hands.
Using square blanks of different sizes, you can make a whole frog family and organize a competition whose frog will jump farther.

