Today’s craft will be more interesting for boys. I suggest you to make an unusual paper airplane using origami technique and my masterclass.
Simple instructions, how to make an origami paper airplane in 16 steps.
Total Time: 20 minutes
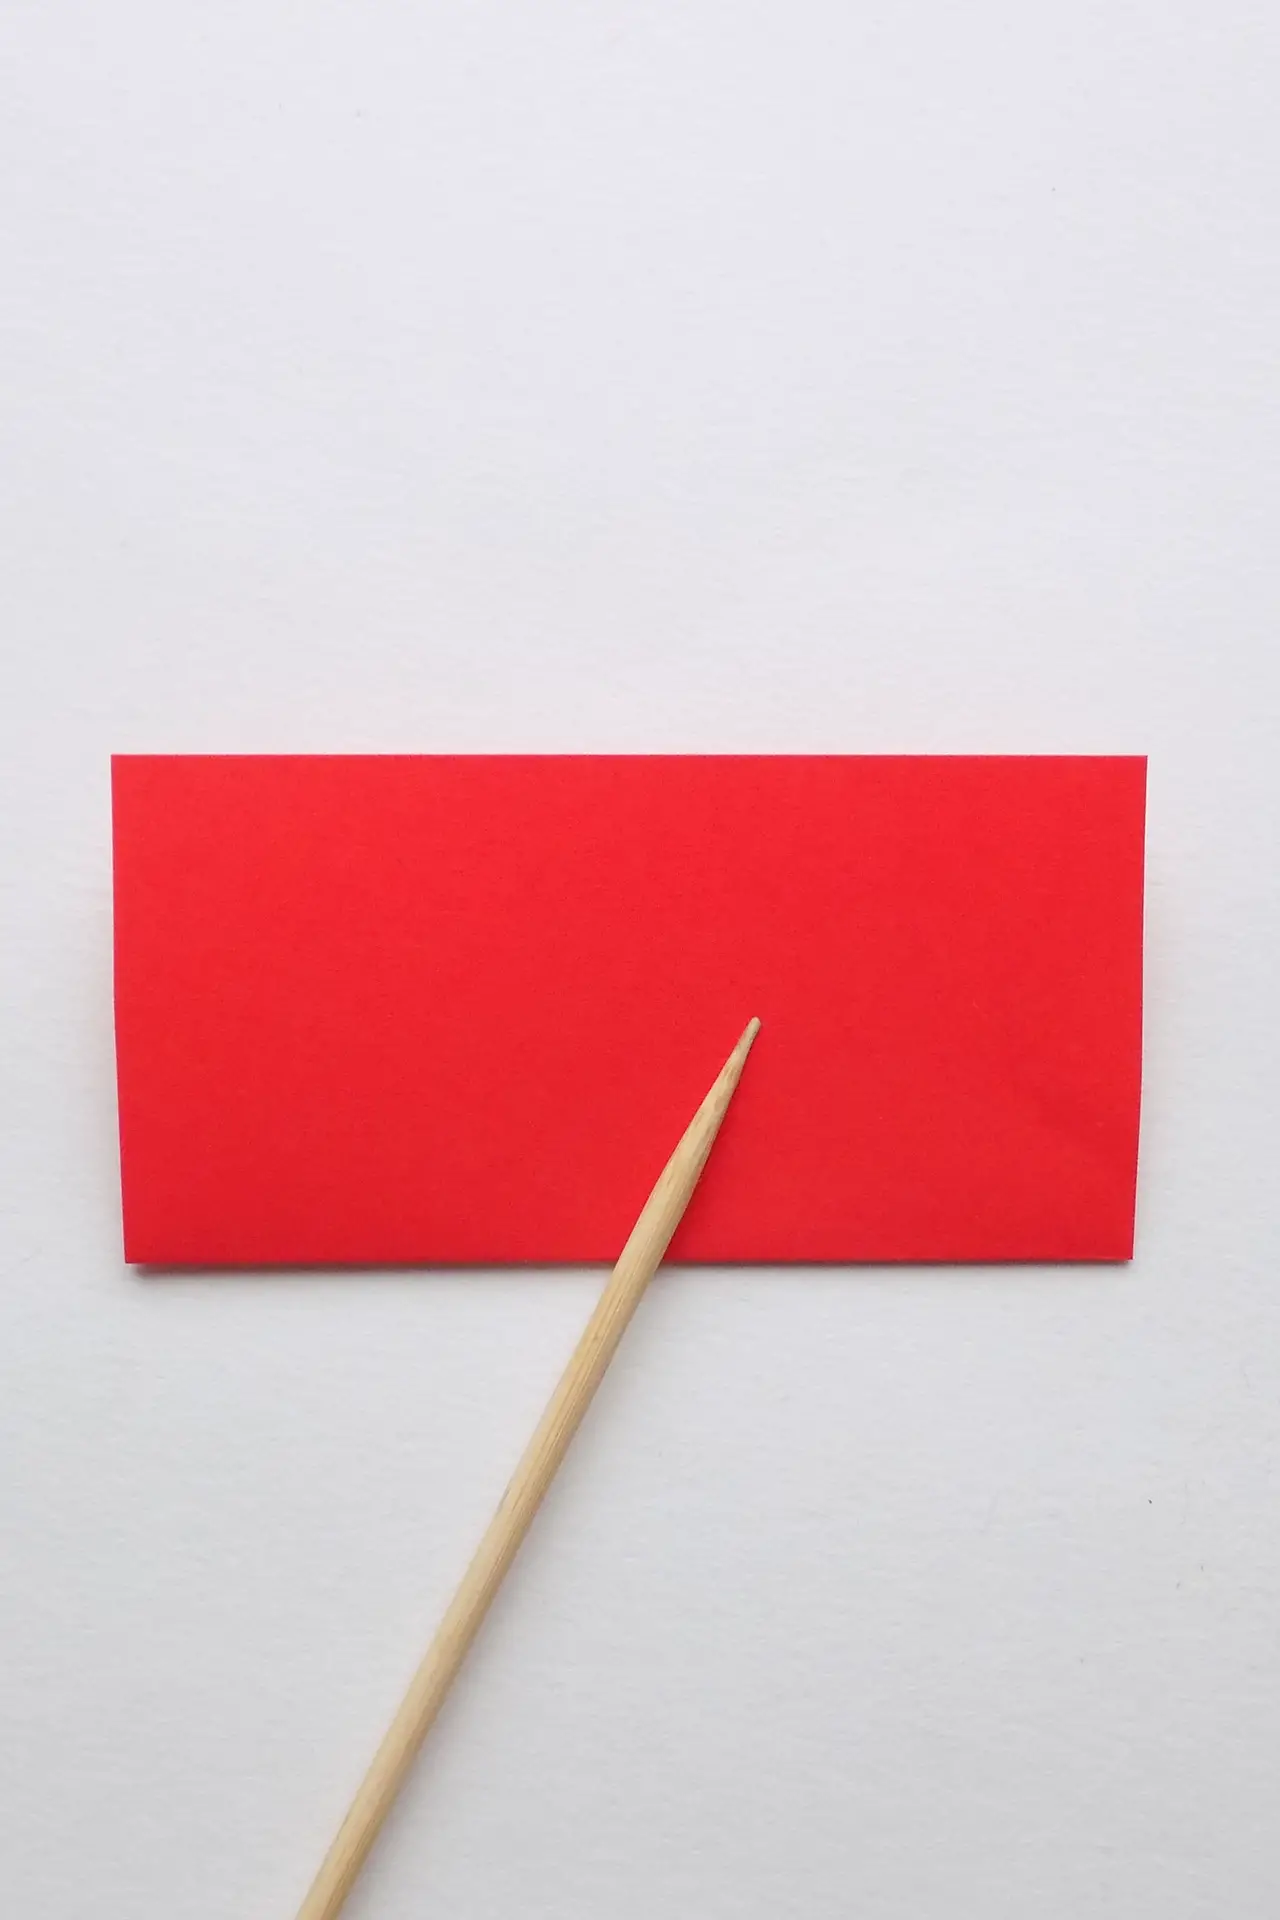
Step 1: Get the materials

Prepare the supplies you need to make an origami paper airplane.
Step 2: Make a rectangle from a square
Fold one square in half across.
Step 3: Fold and unfold the square
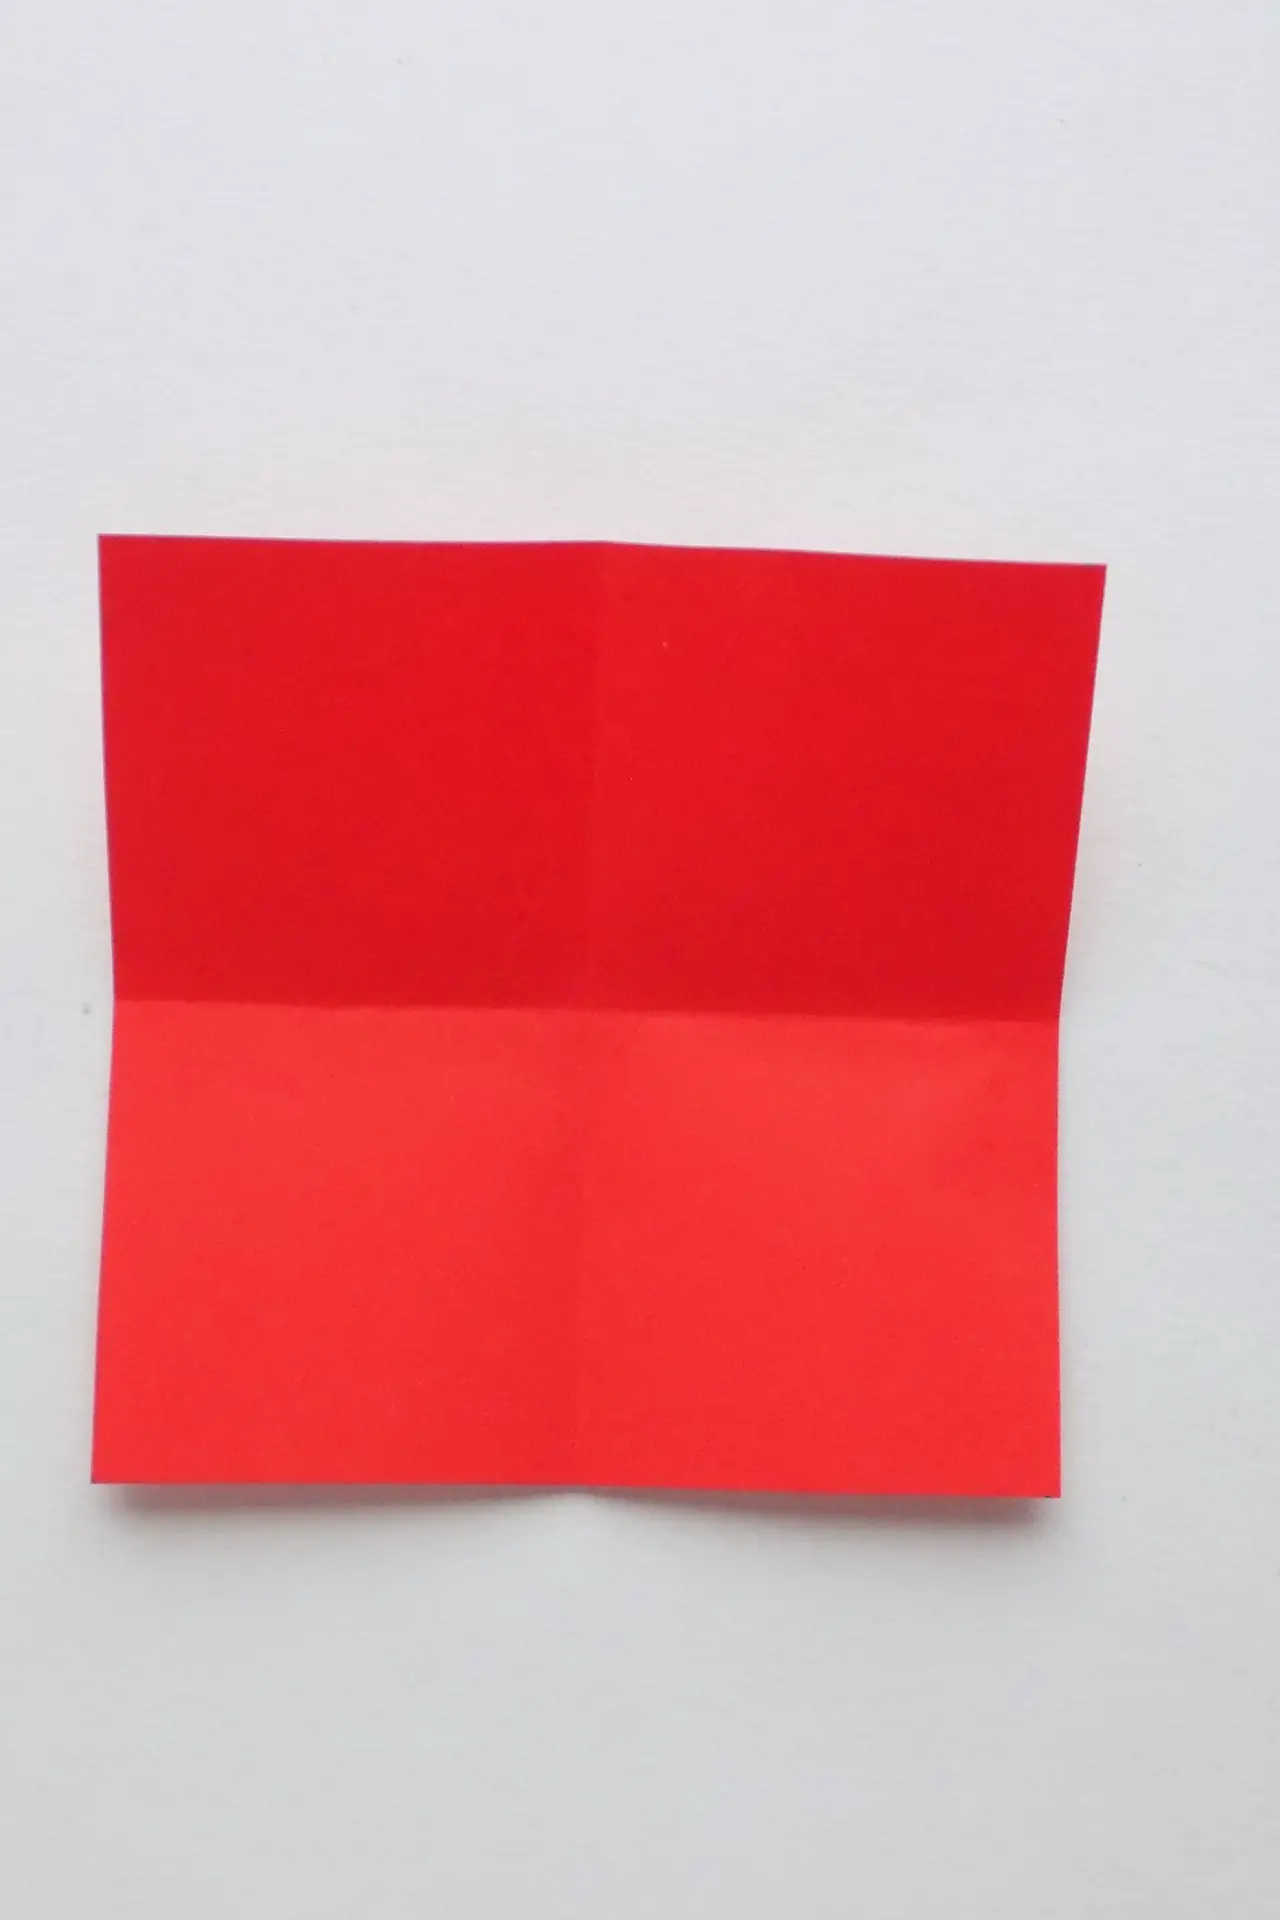
Fold the square again. Then unfold the square, so you end up with 4 small squares.
Step 4: Fold the 4 corners to the center of the square
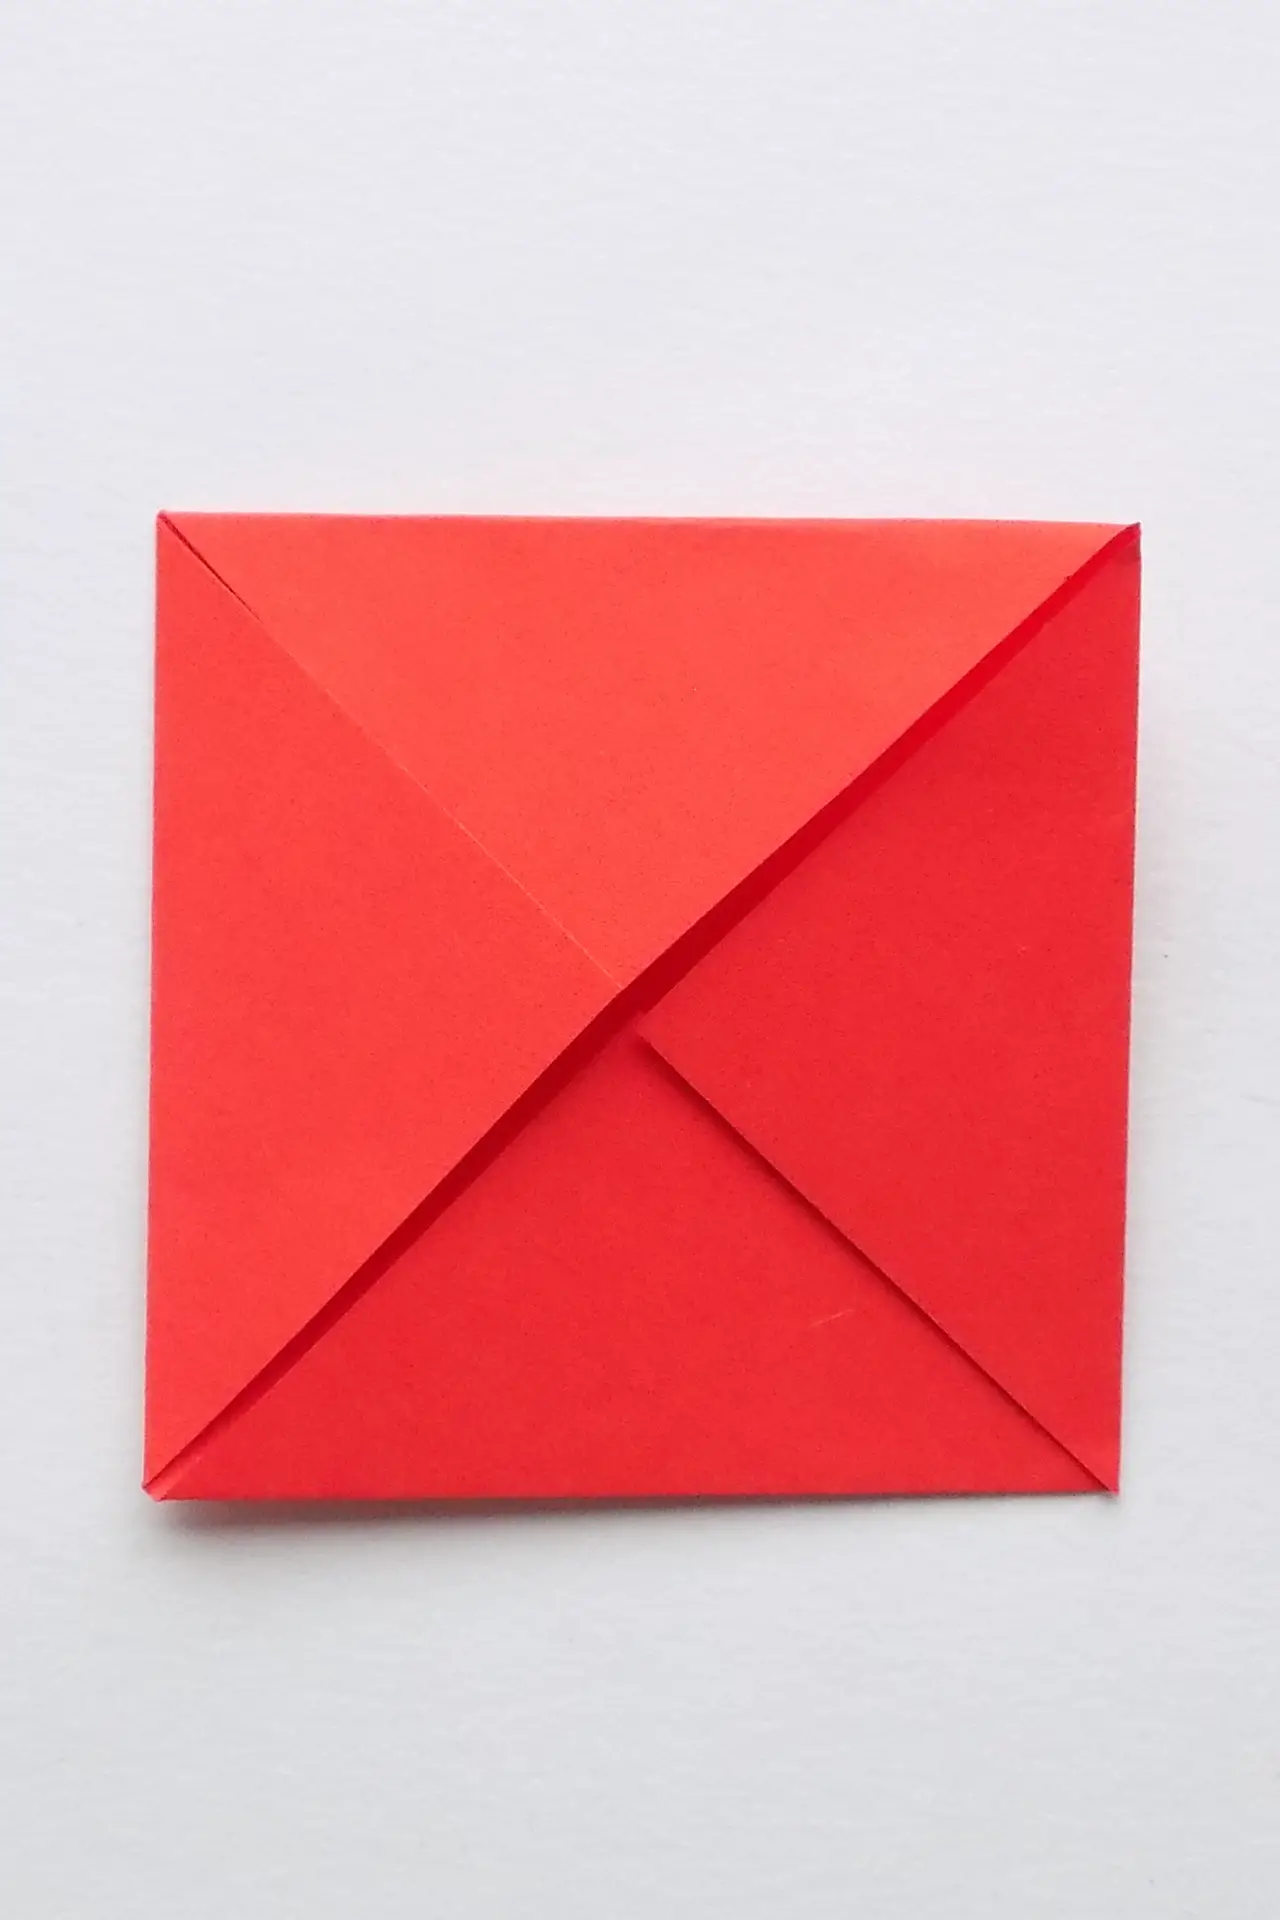
Fold all the corners of the square to the center.
Step 5: Make a rhombus from the square
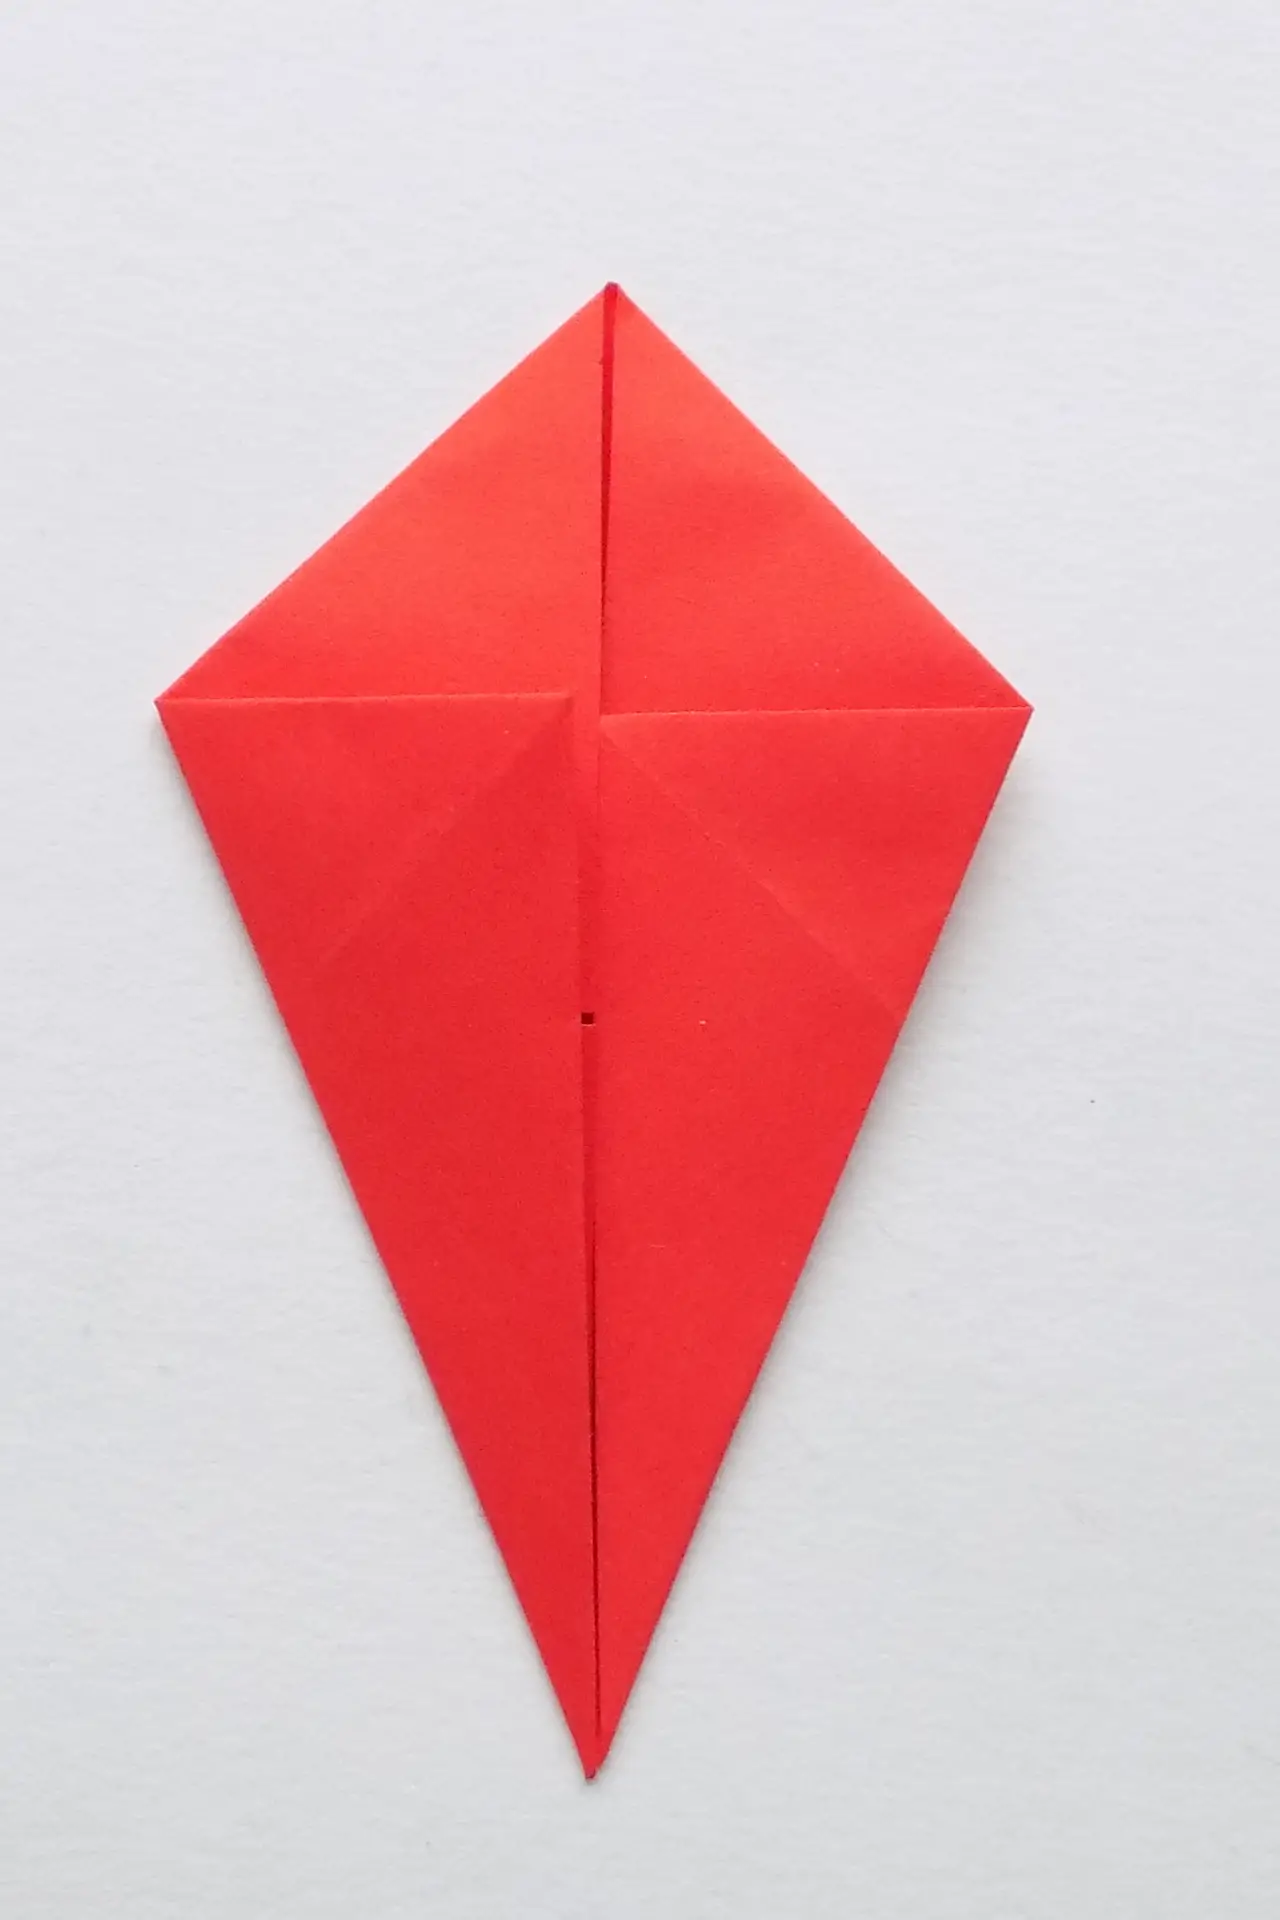
Now fold the sides to the center to make a rhombus.
Step 6: Work on the back of the piece
Flip the piece to the other side and turn it 180 degrees.
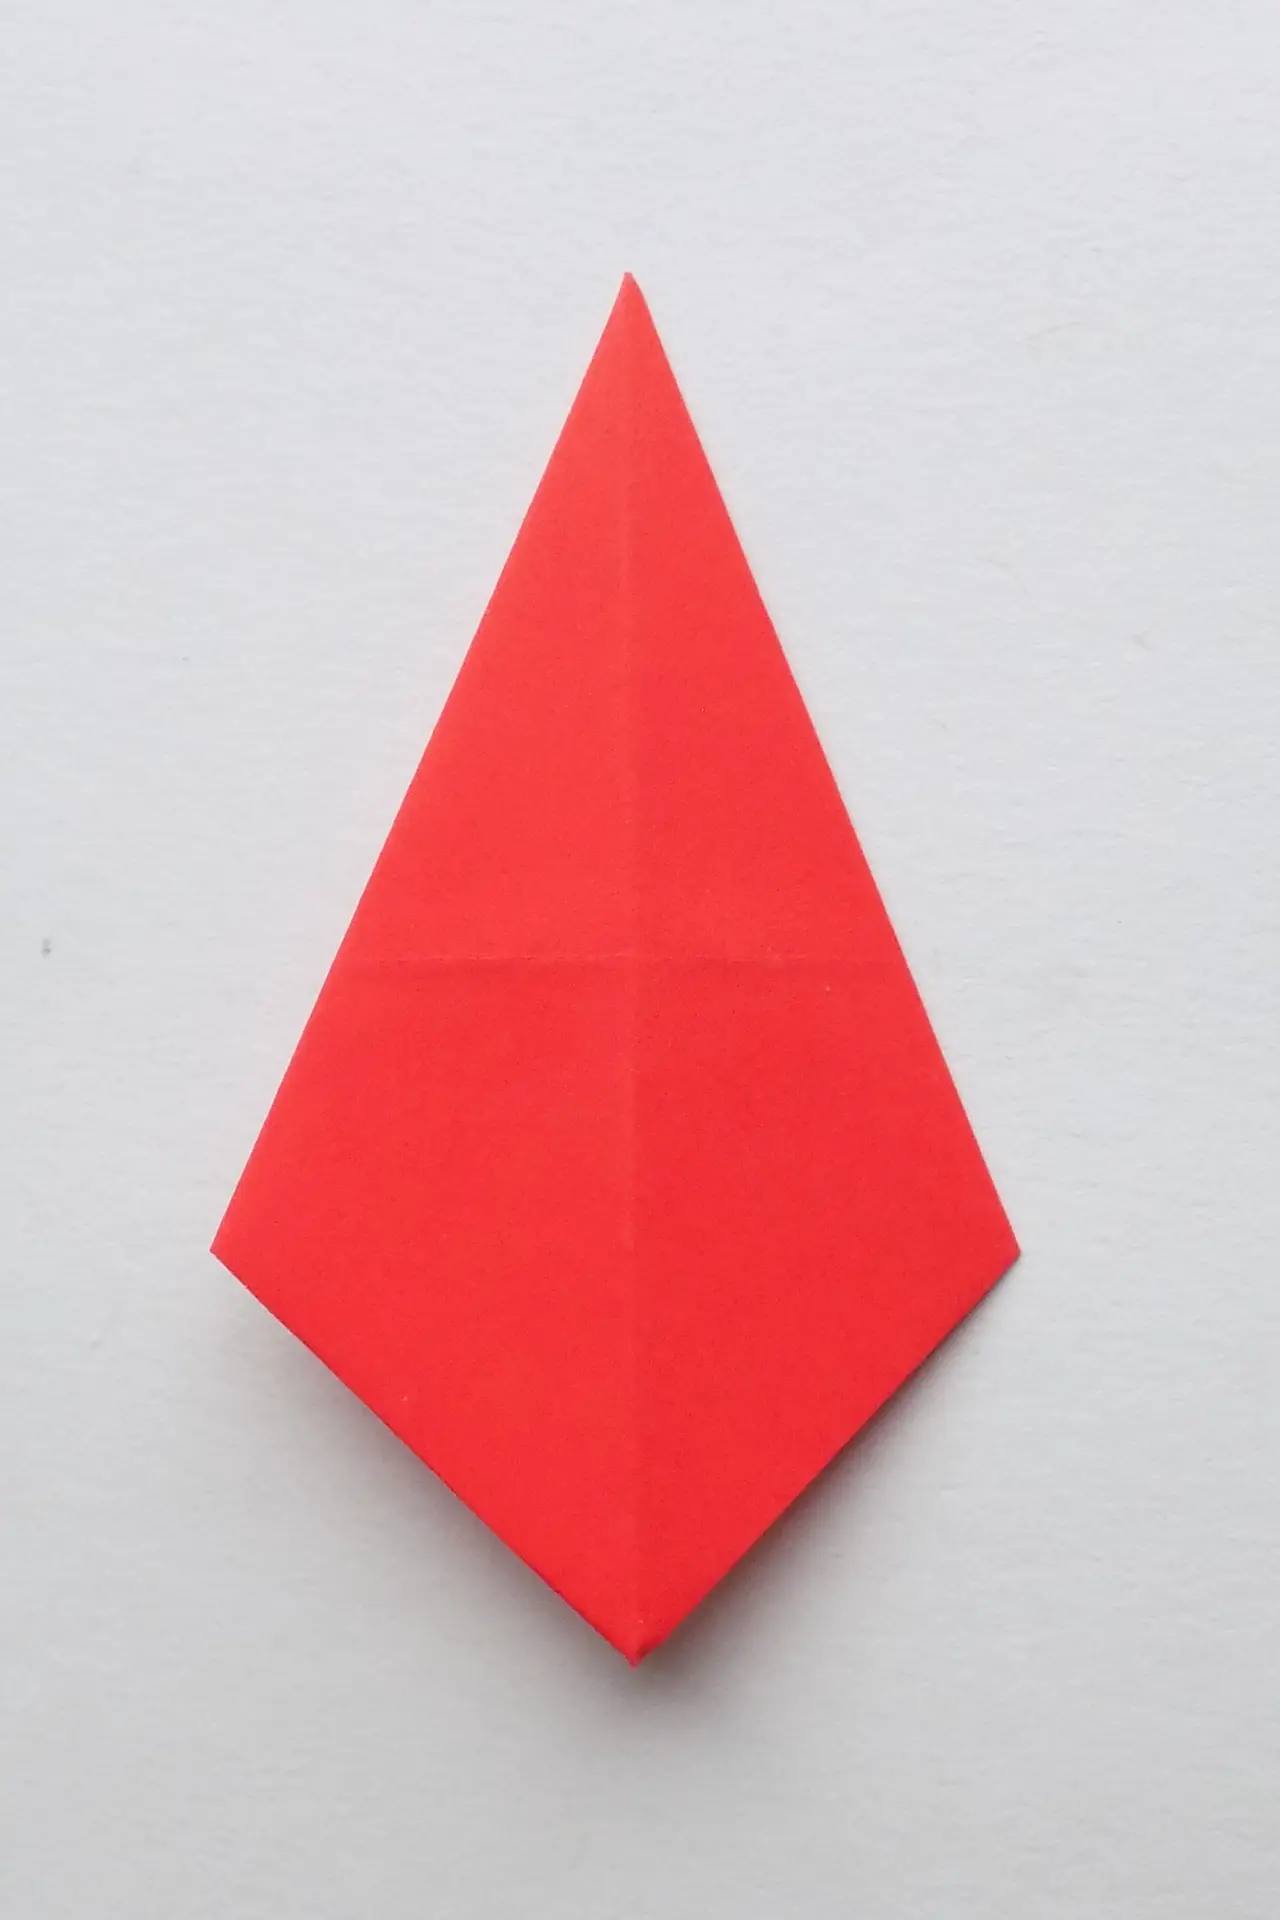
Step 7: Tuck the bottom corner upward
Fold the piece up so that the left and right corners create an even fold line. Photo 8.
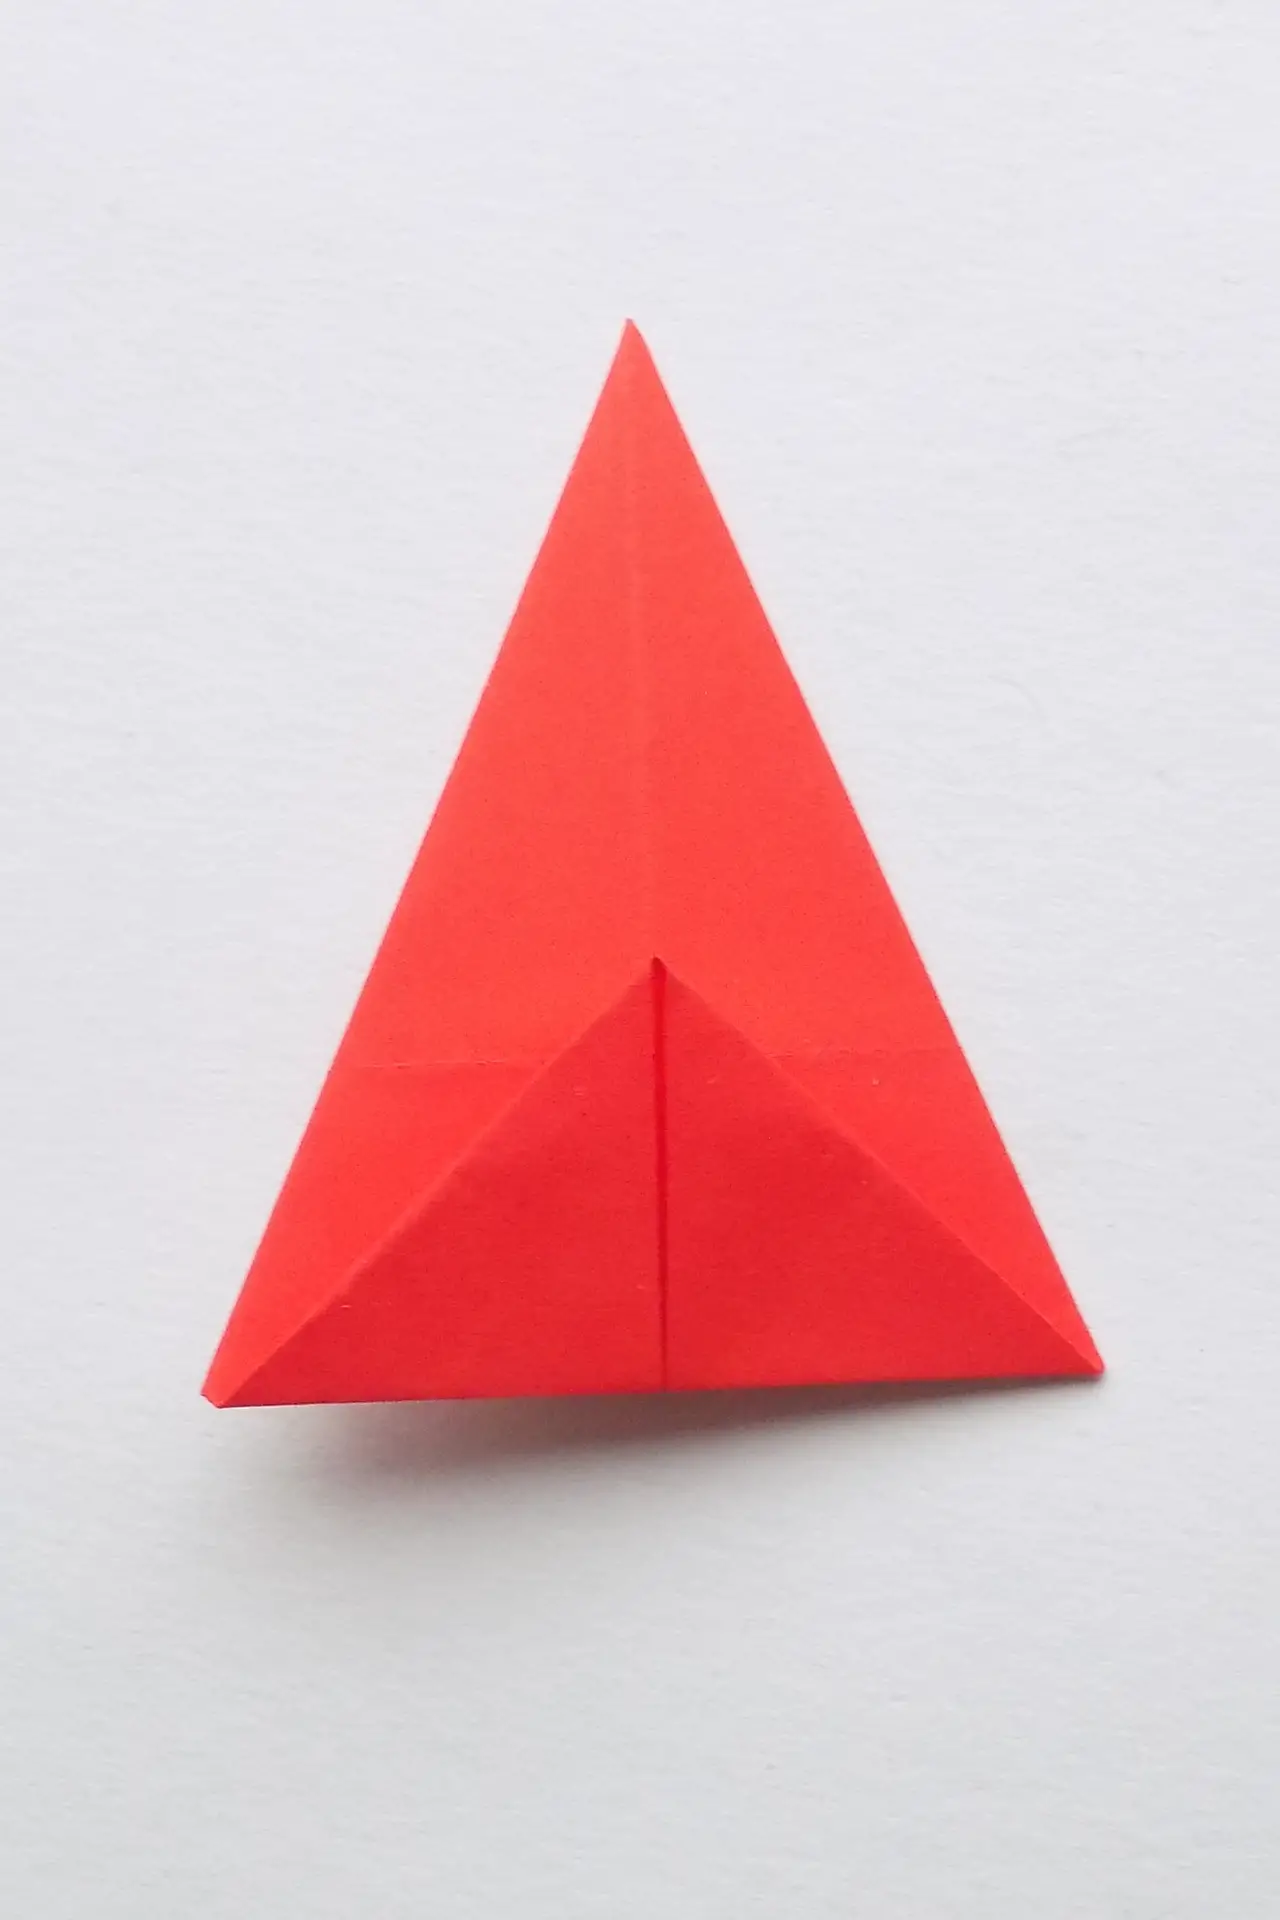
Step 8: Join the left corner to the right corner
Fold the piece in half lengthwise so that the two parallel corners meet. As a result, you’ll have the first piece of origami.
Step 9: Making details for the wings and tail section of the airplane
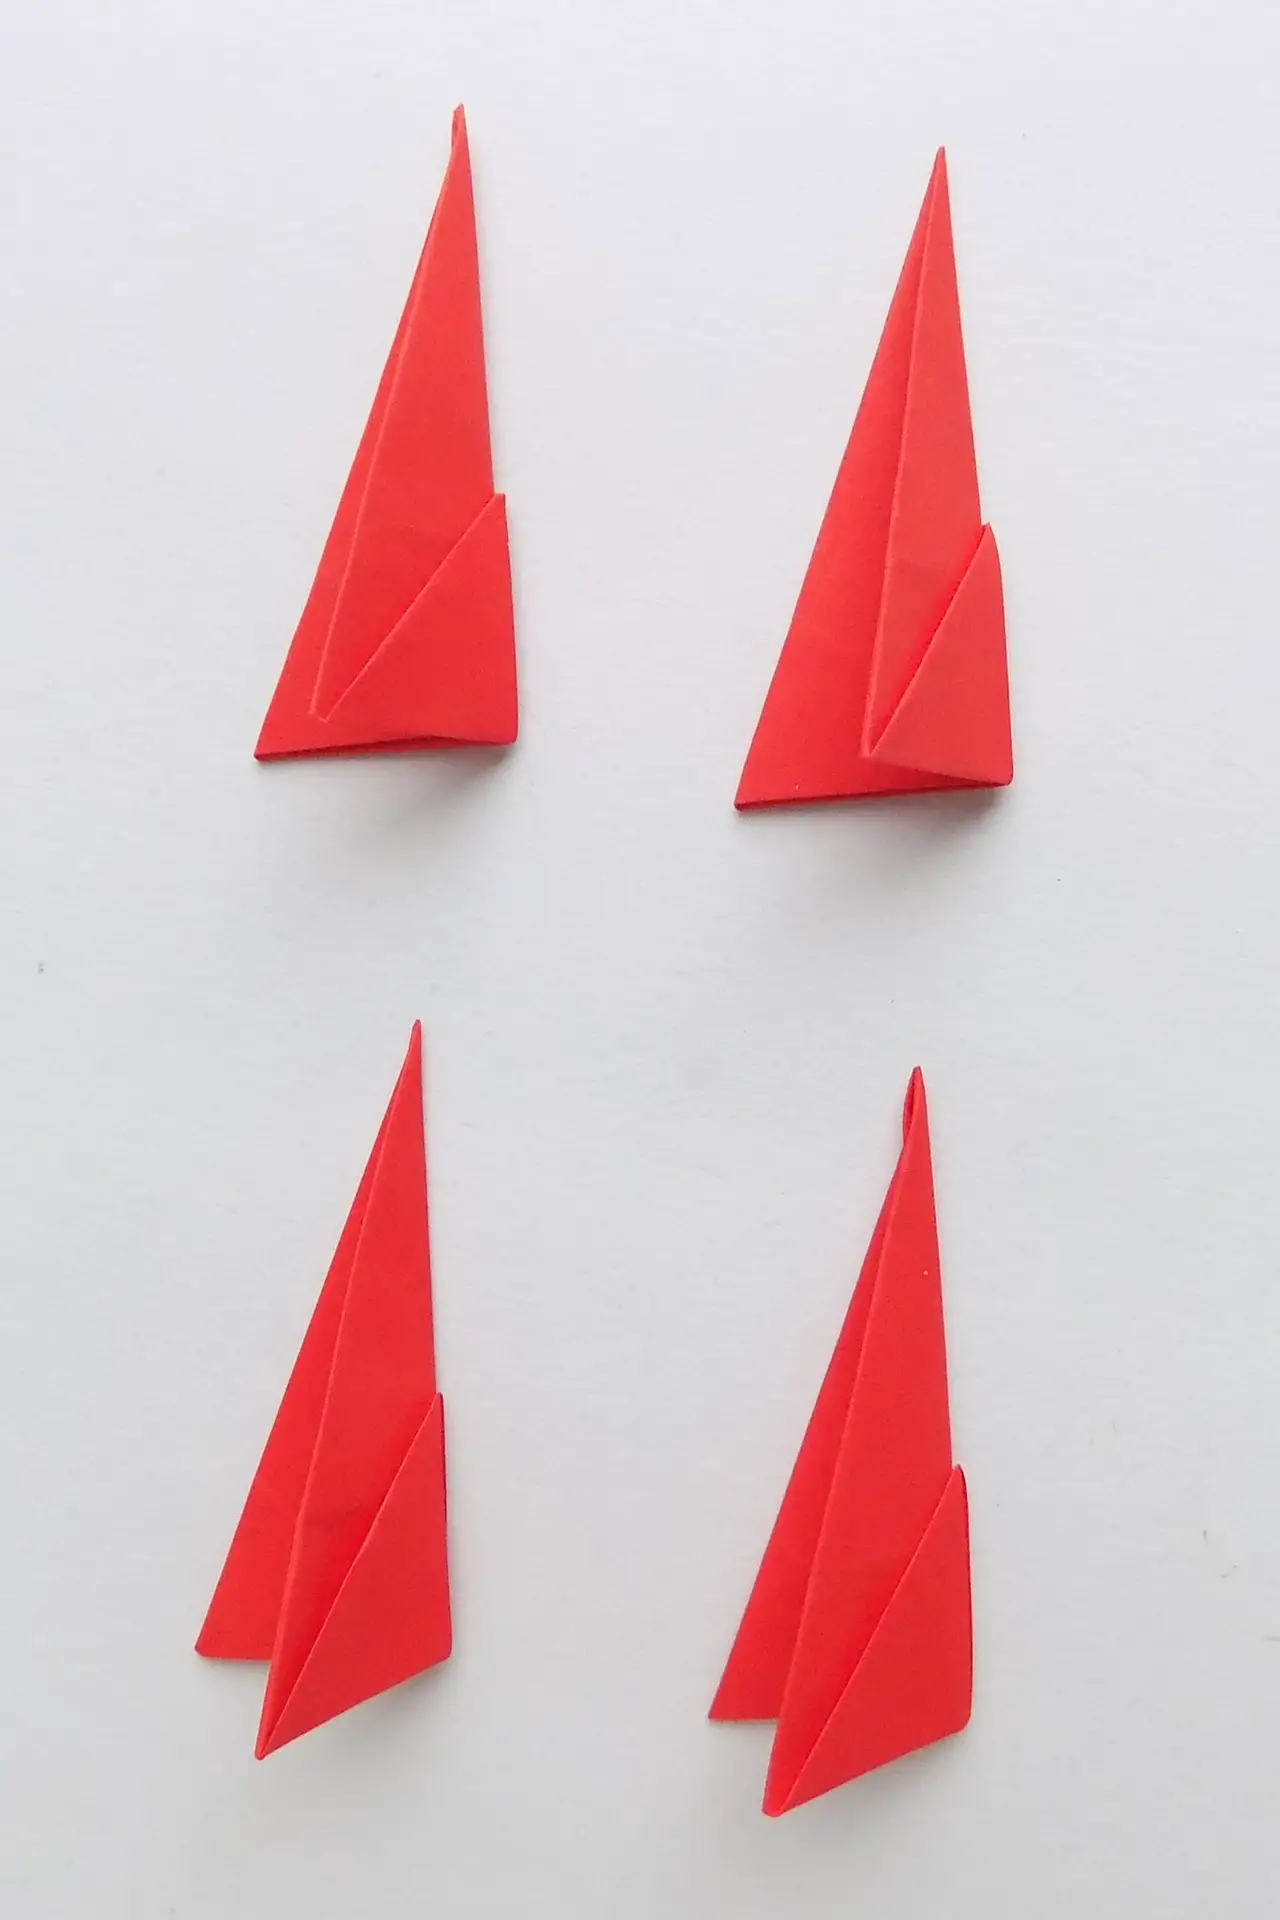
To make the other pieces, fold the other 3 squares in the same way. You will need these pieces to make the wings and tail section of the airplane.
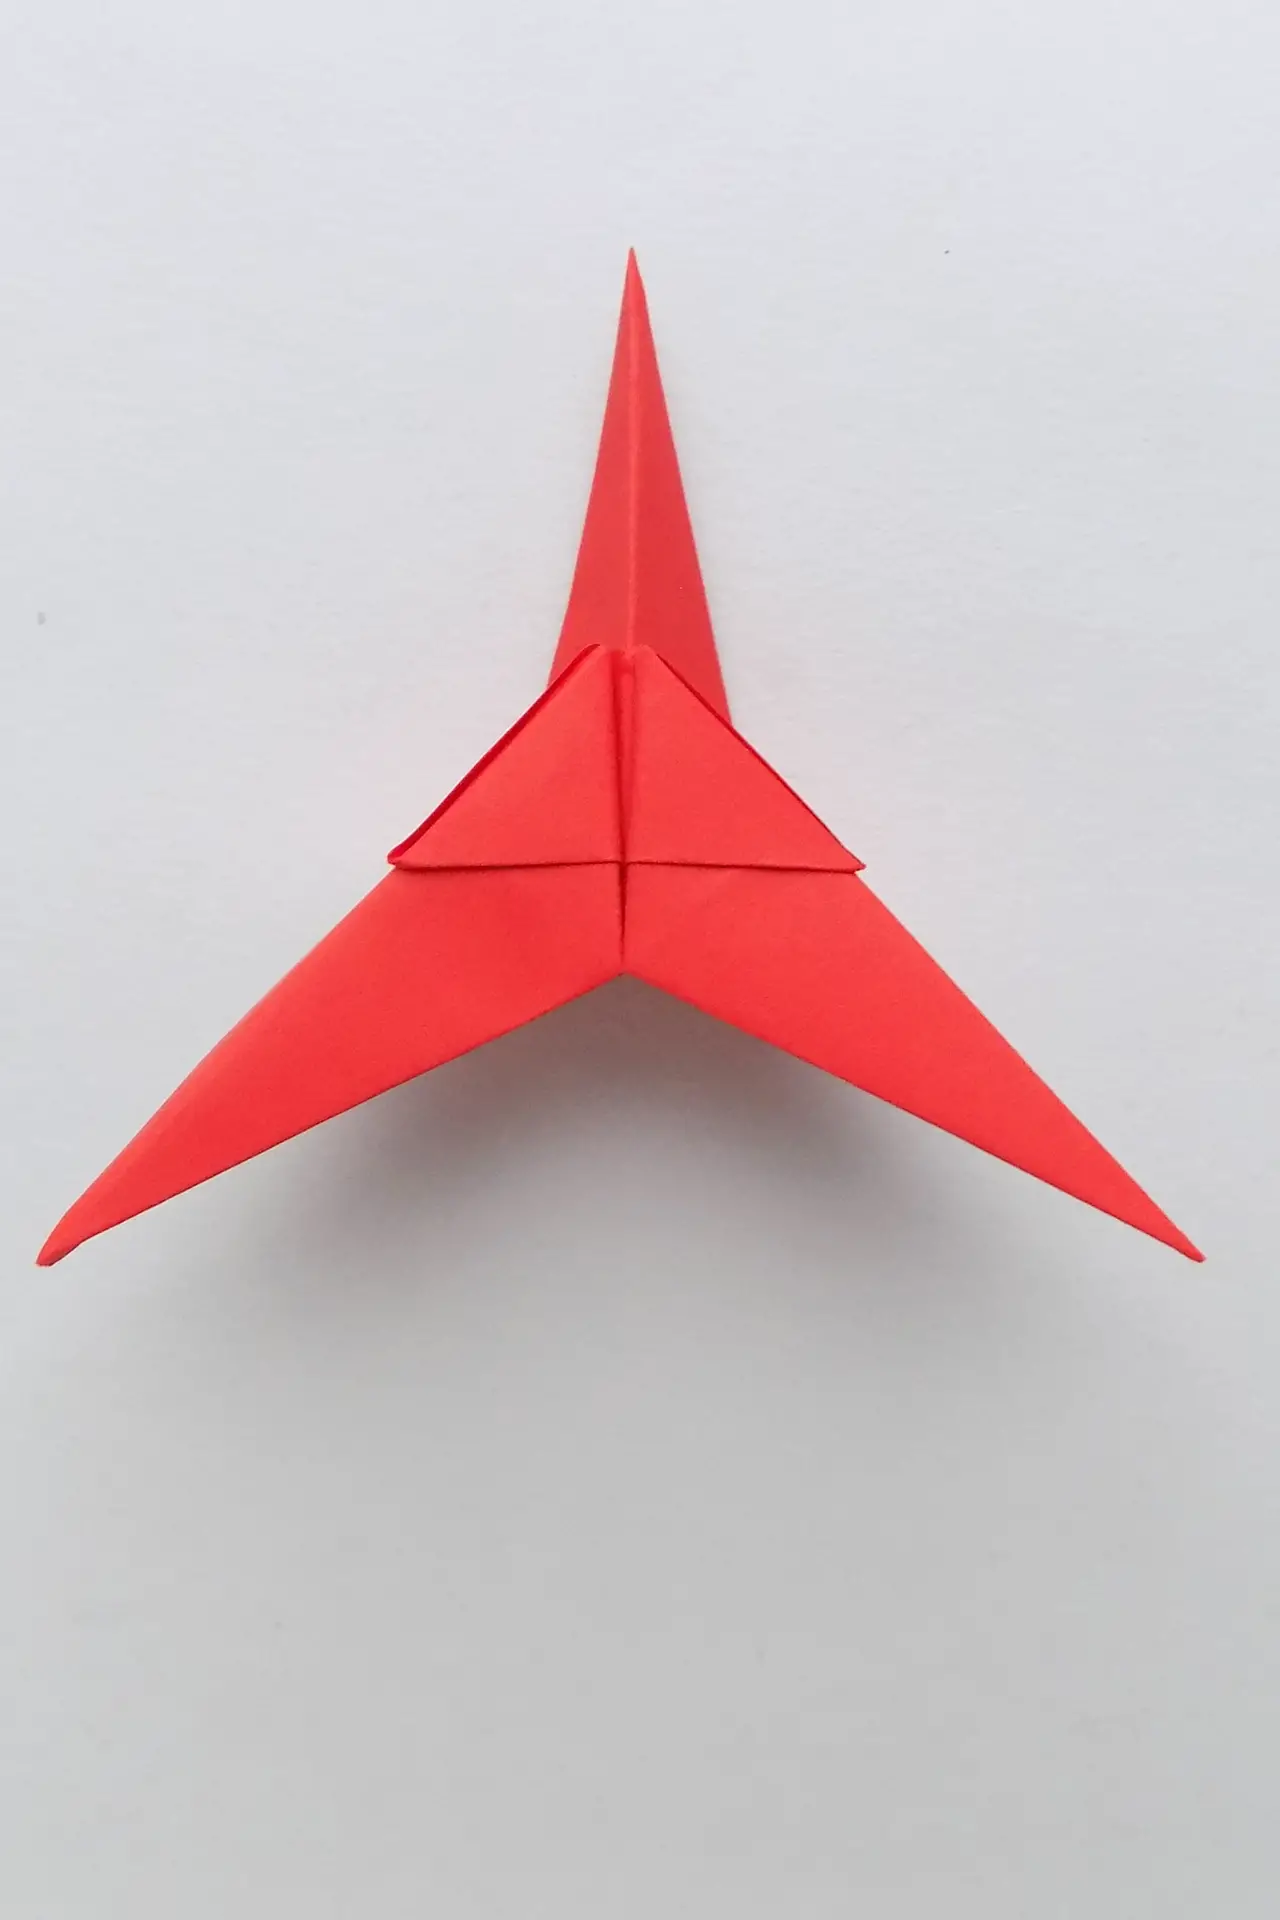
Step 10: Fold the left and right corners of the triangle inward

Take one of the ready-made pieces, unfold it to make a triangle shape, and then fold the side corners inward as shown in the photo.
Step 11: Repeat the previous step
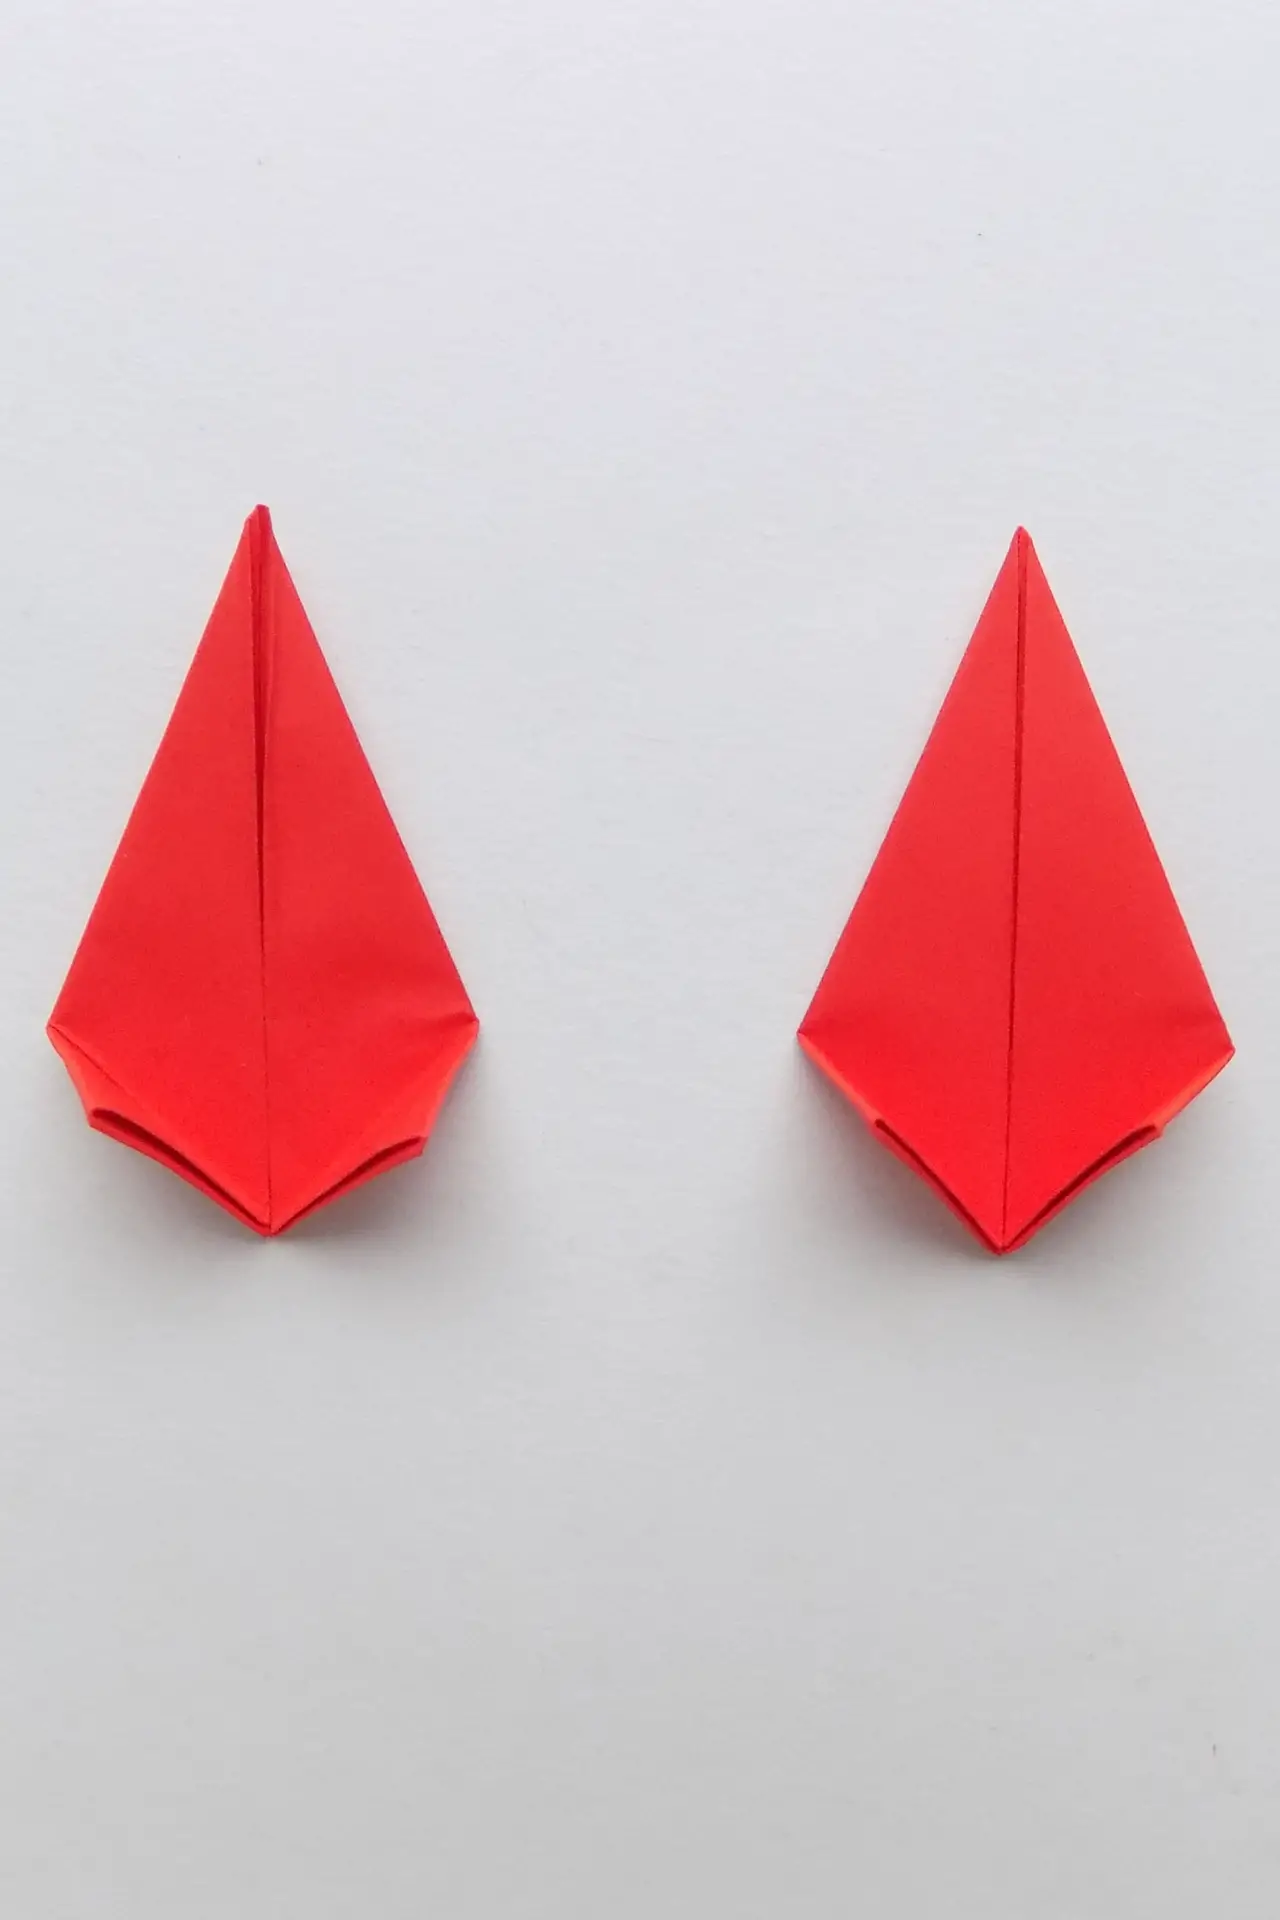
Do the same with another piece. These are the pieces for the wings as shown in the photo.
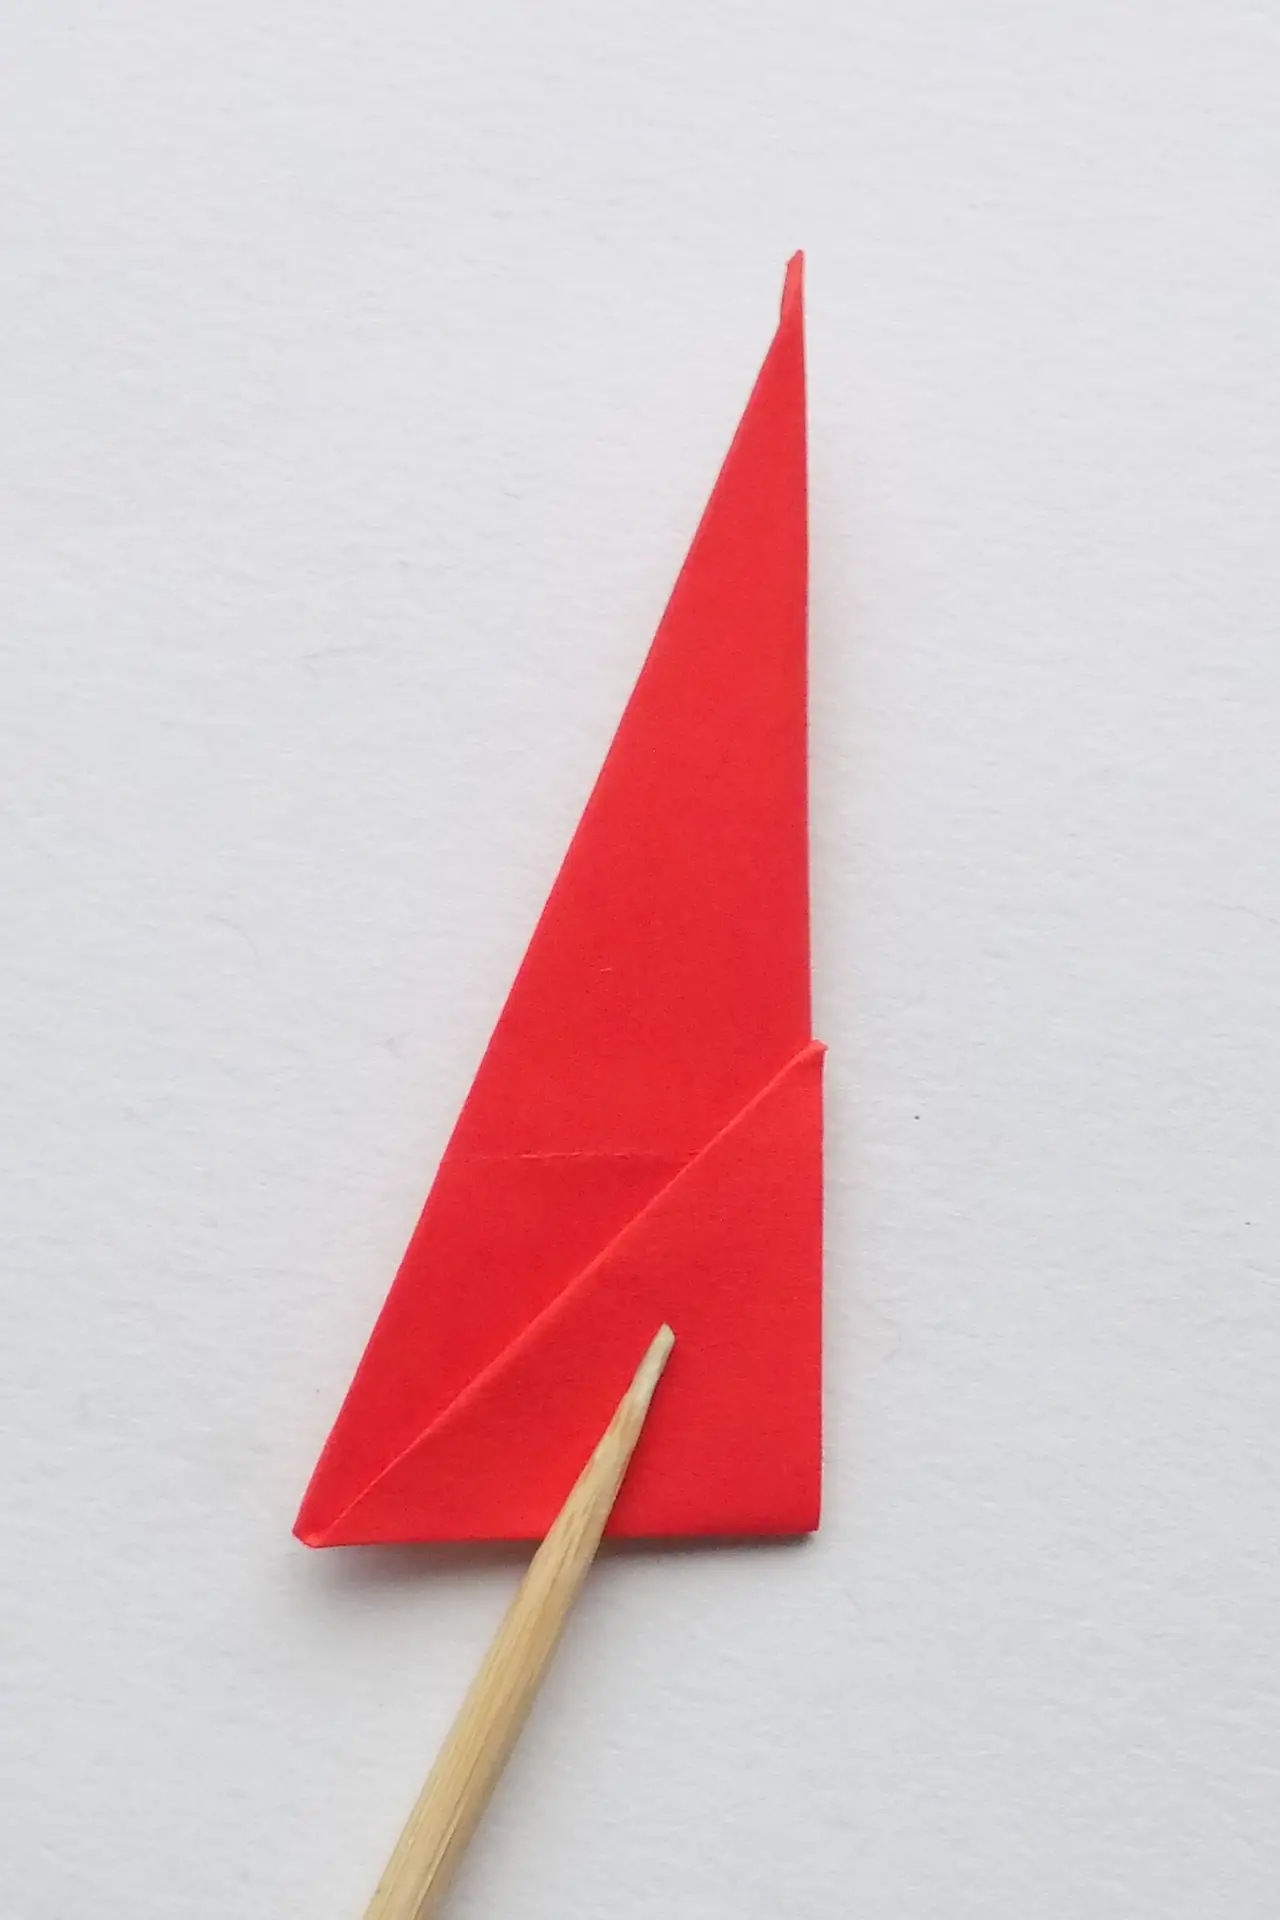
Step 12: Attaching the wings
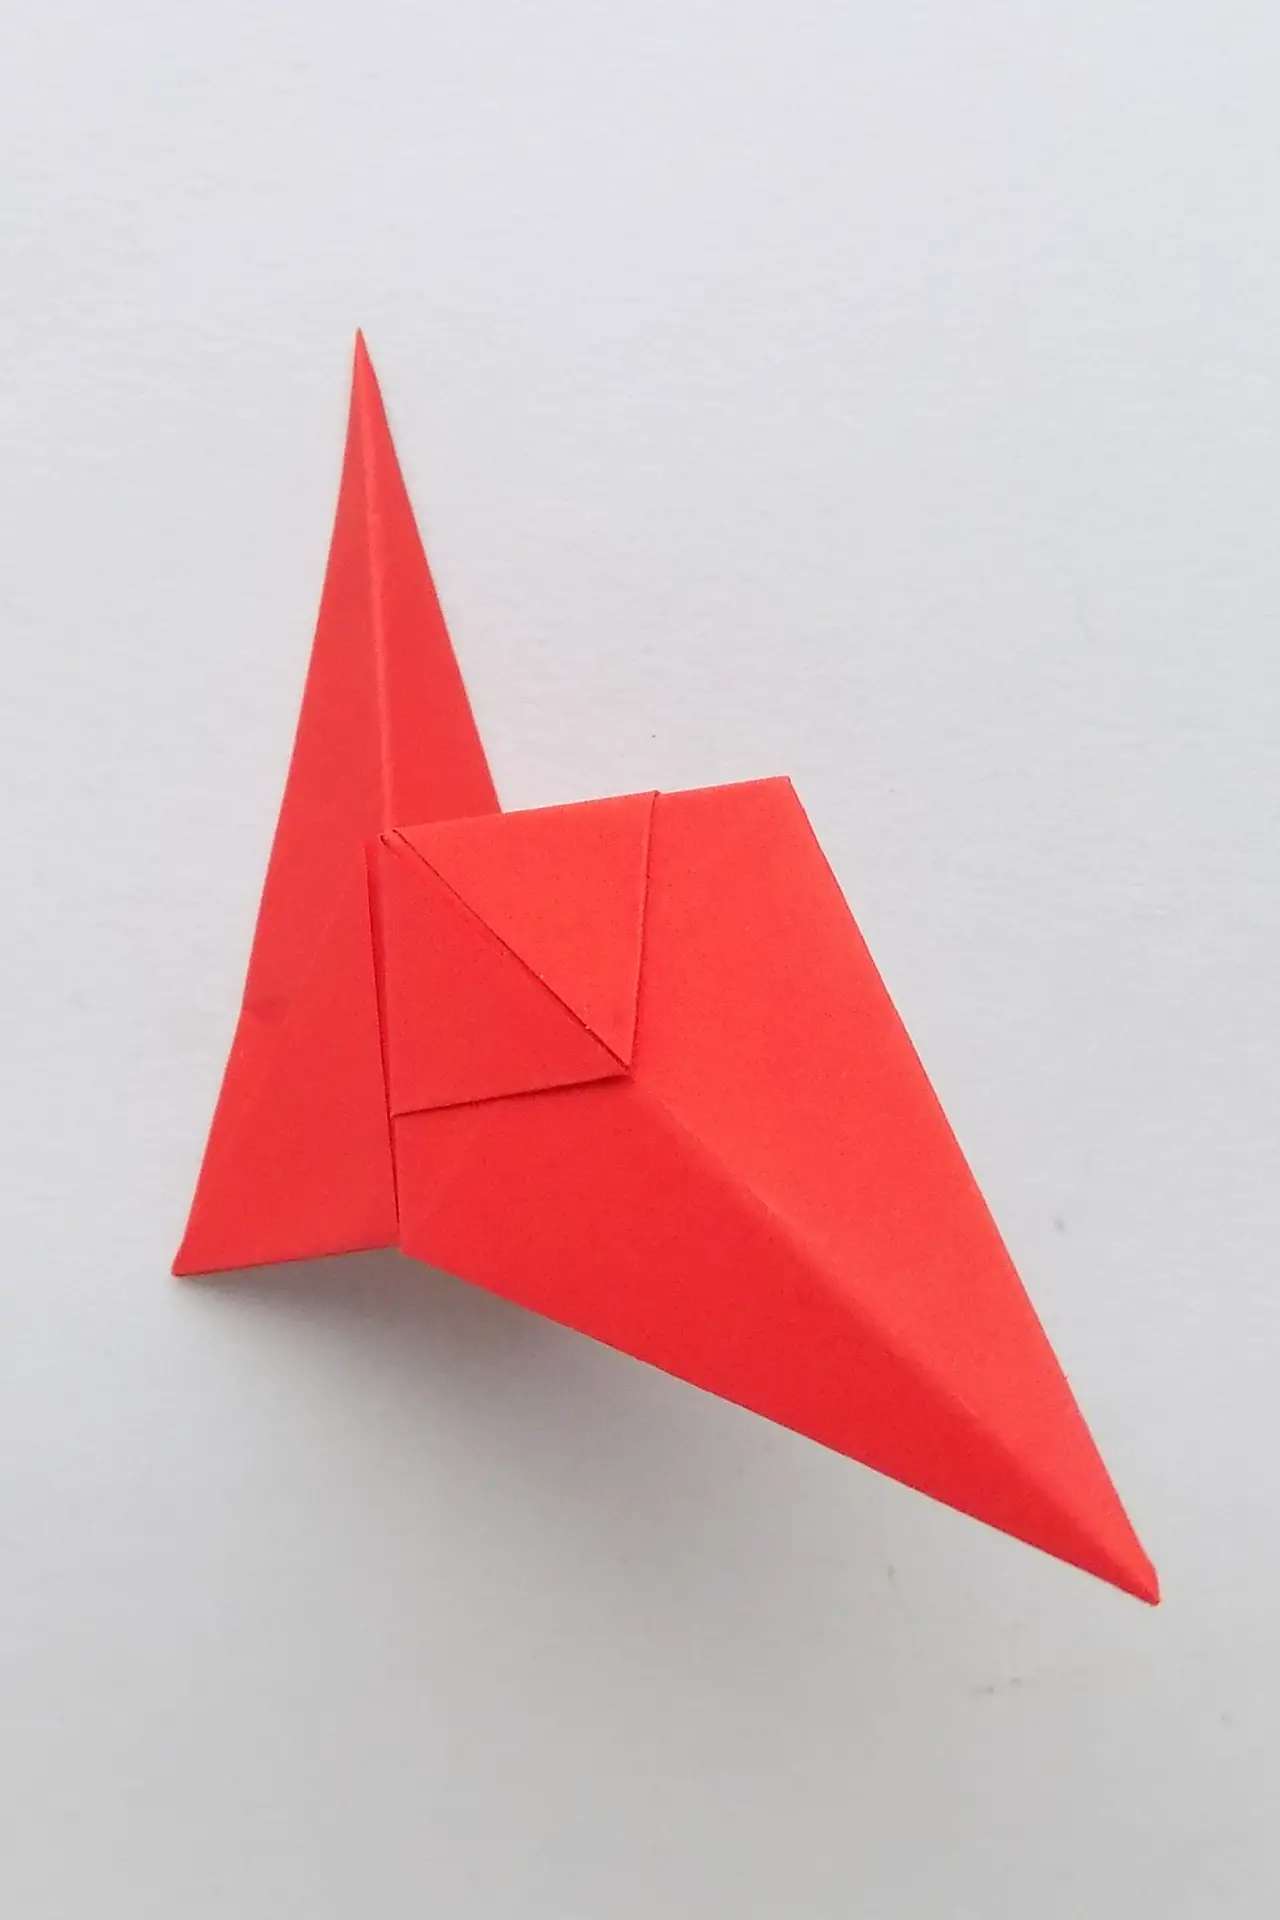
To attach the wings to the base (the first blank), insert one of the corners into the hole similar to the pocket on the first blank.
Step 13: Attach the two blanks
Tuck the second corner into the side pocket.
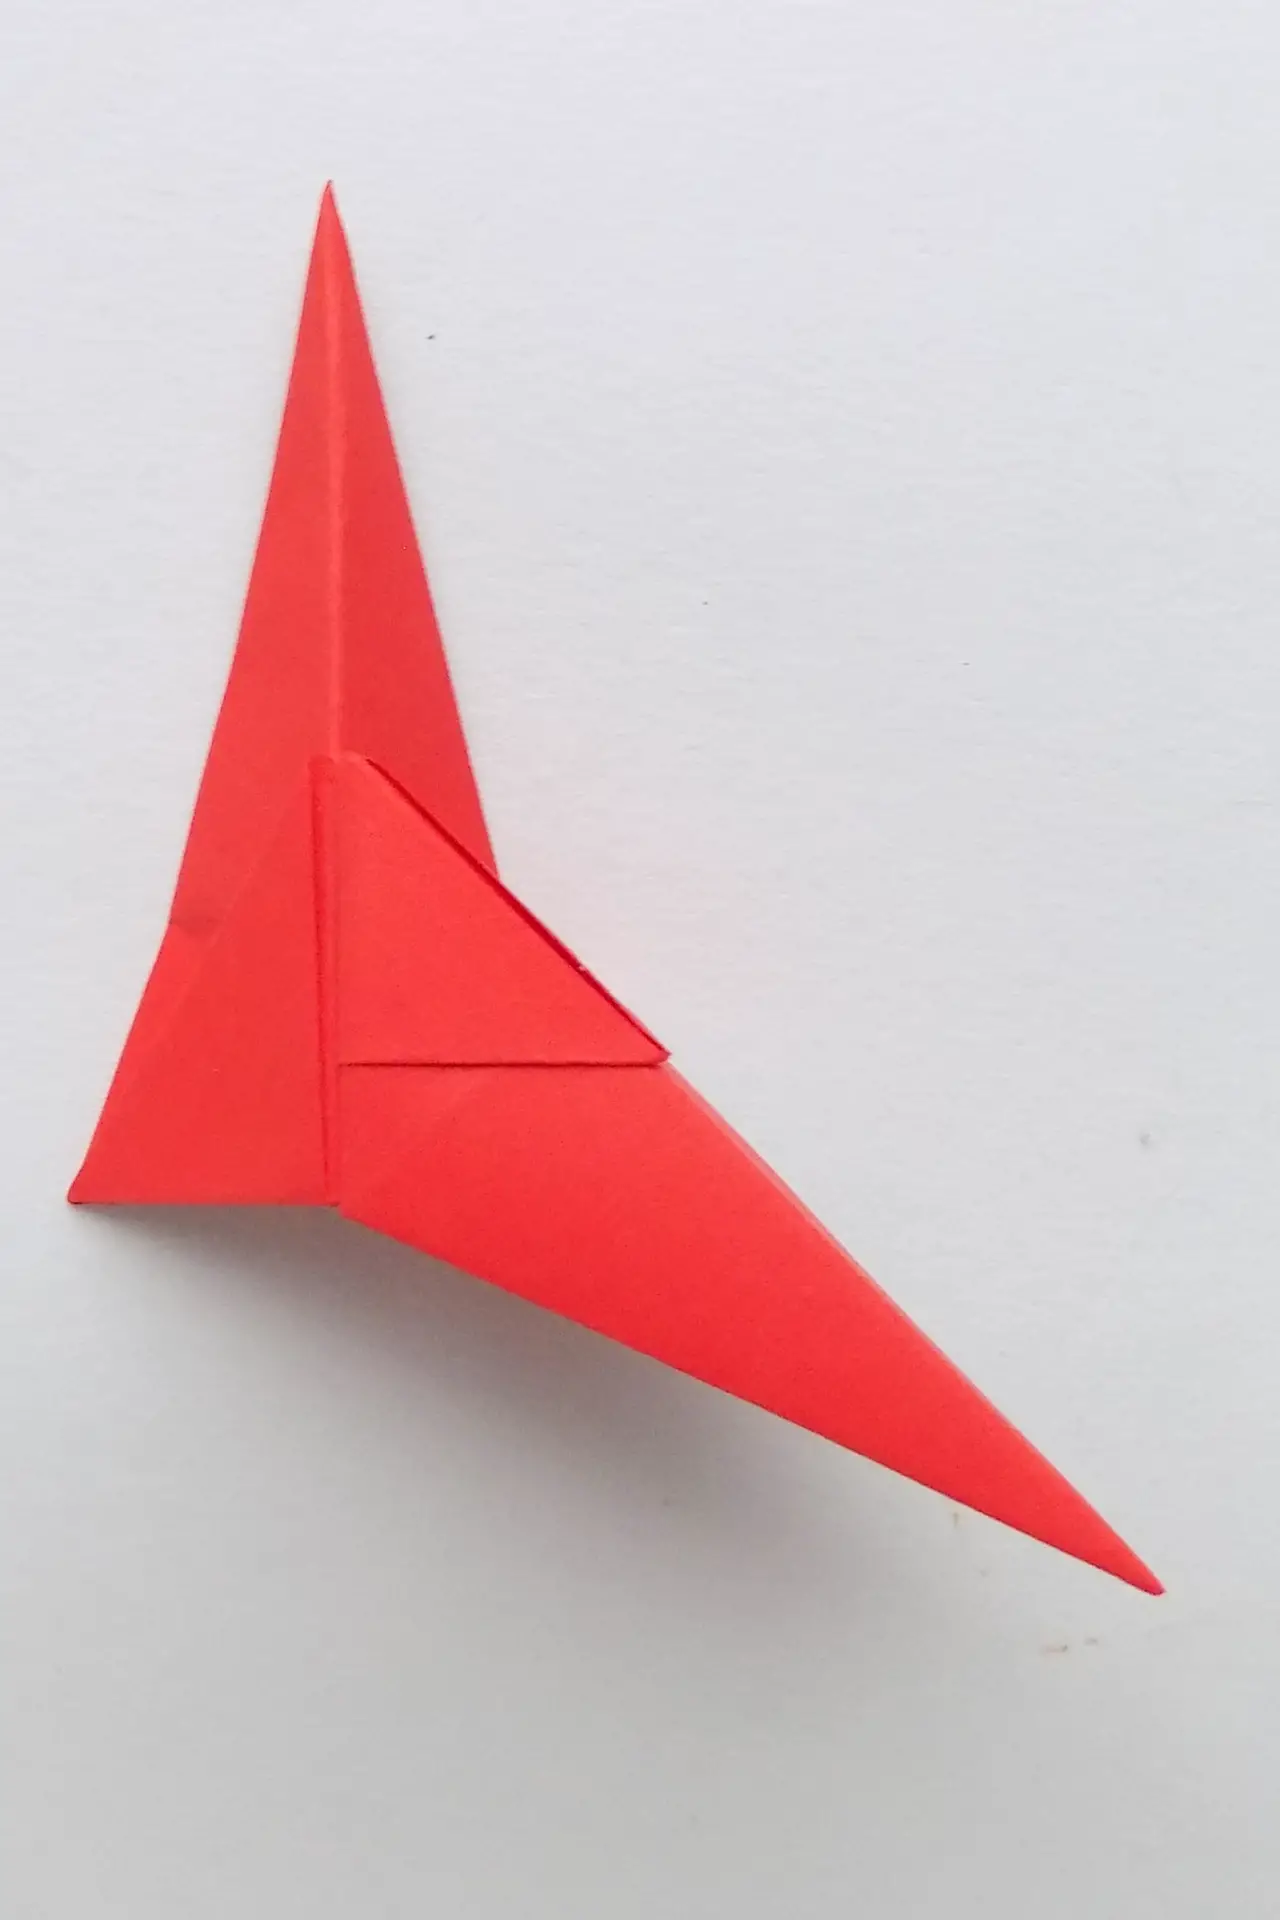
Step 14: Fix the second wing on the left side
Attach the second wing on the other side of the airplane in the same way.
Step 15: Making the tail section
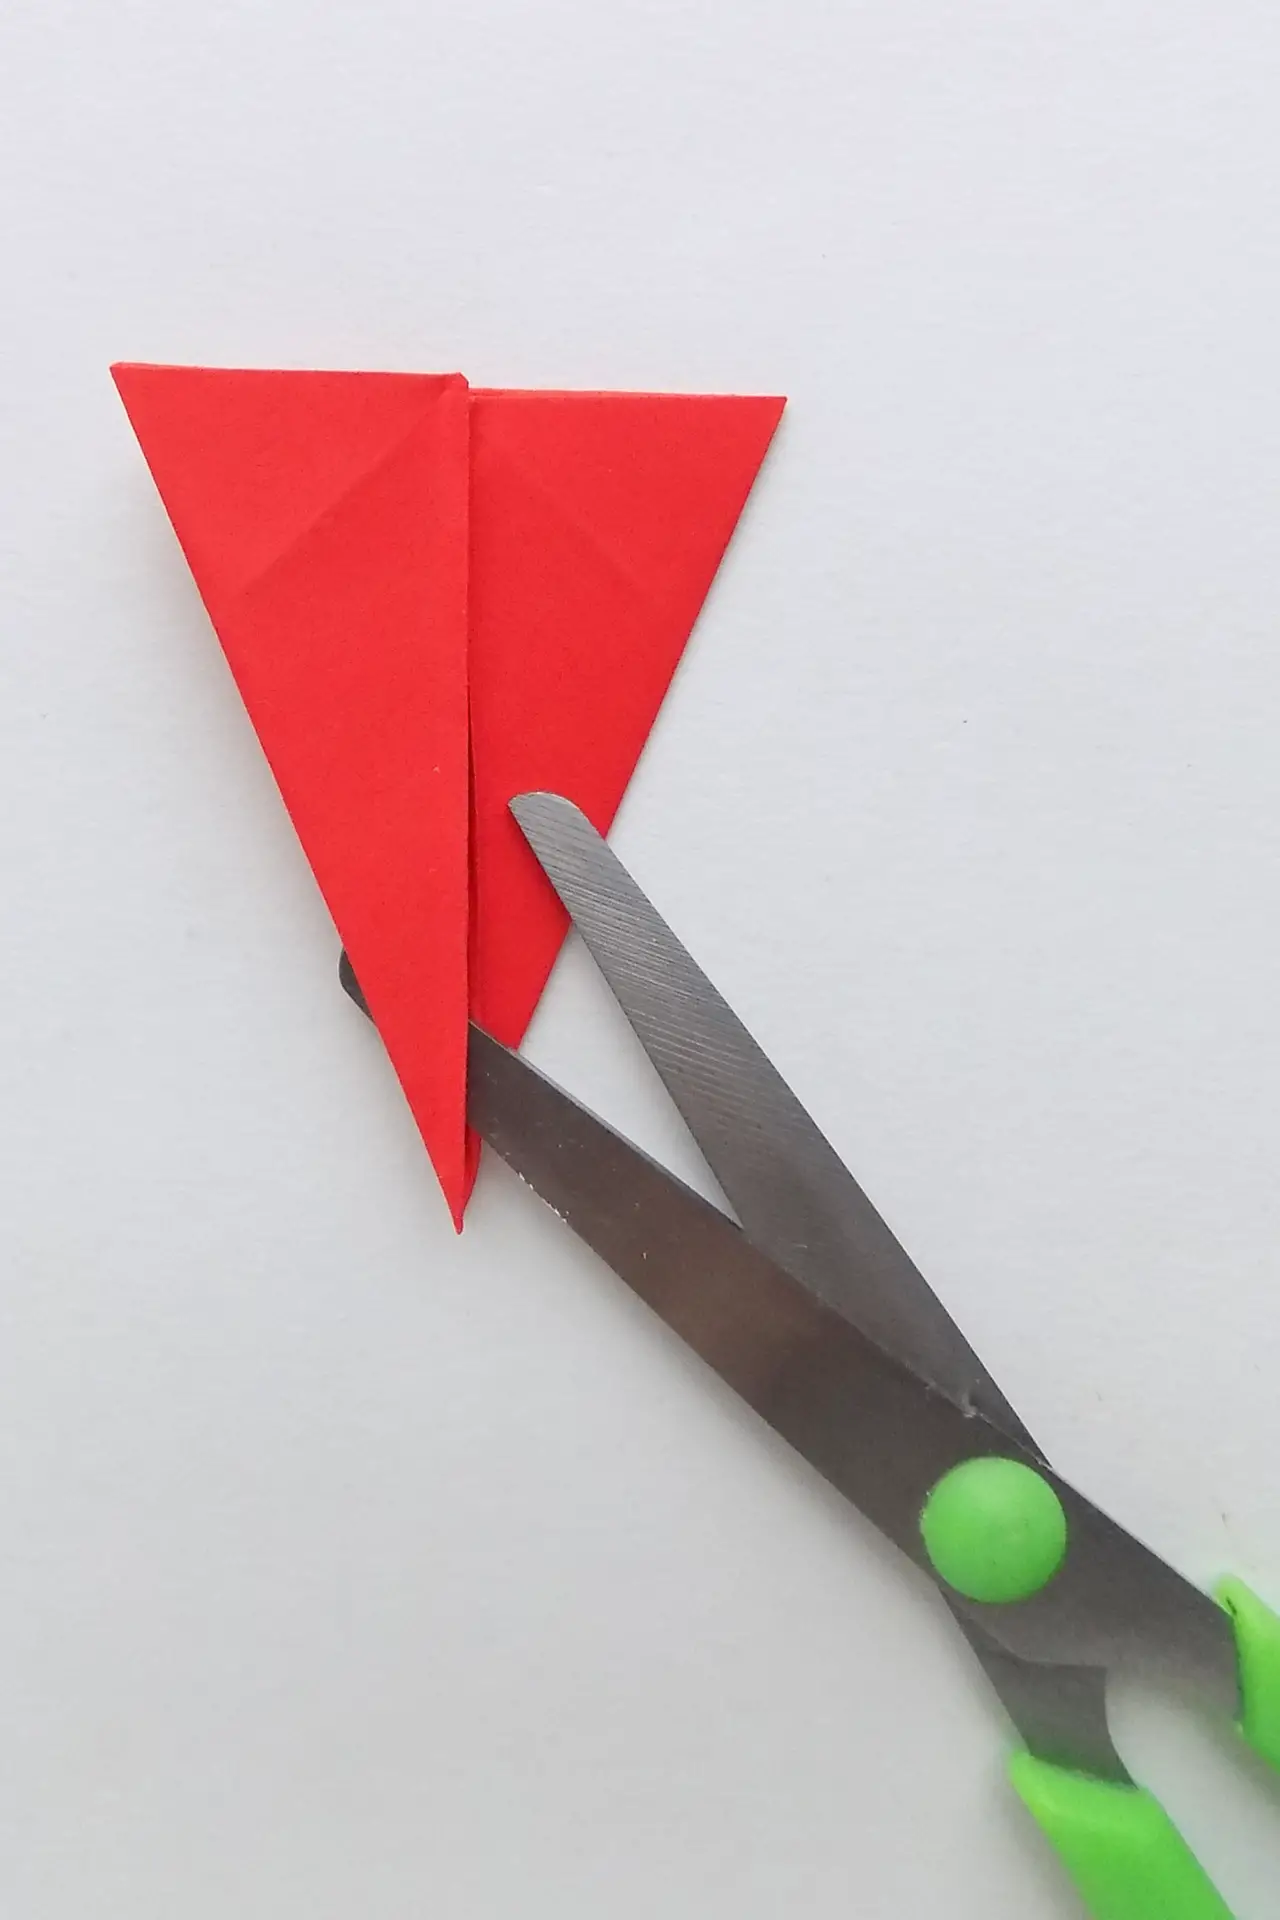
Use the last remaining fourth piece to make the tail section. Straighten it out a bit, and then make a small cut in the middle.
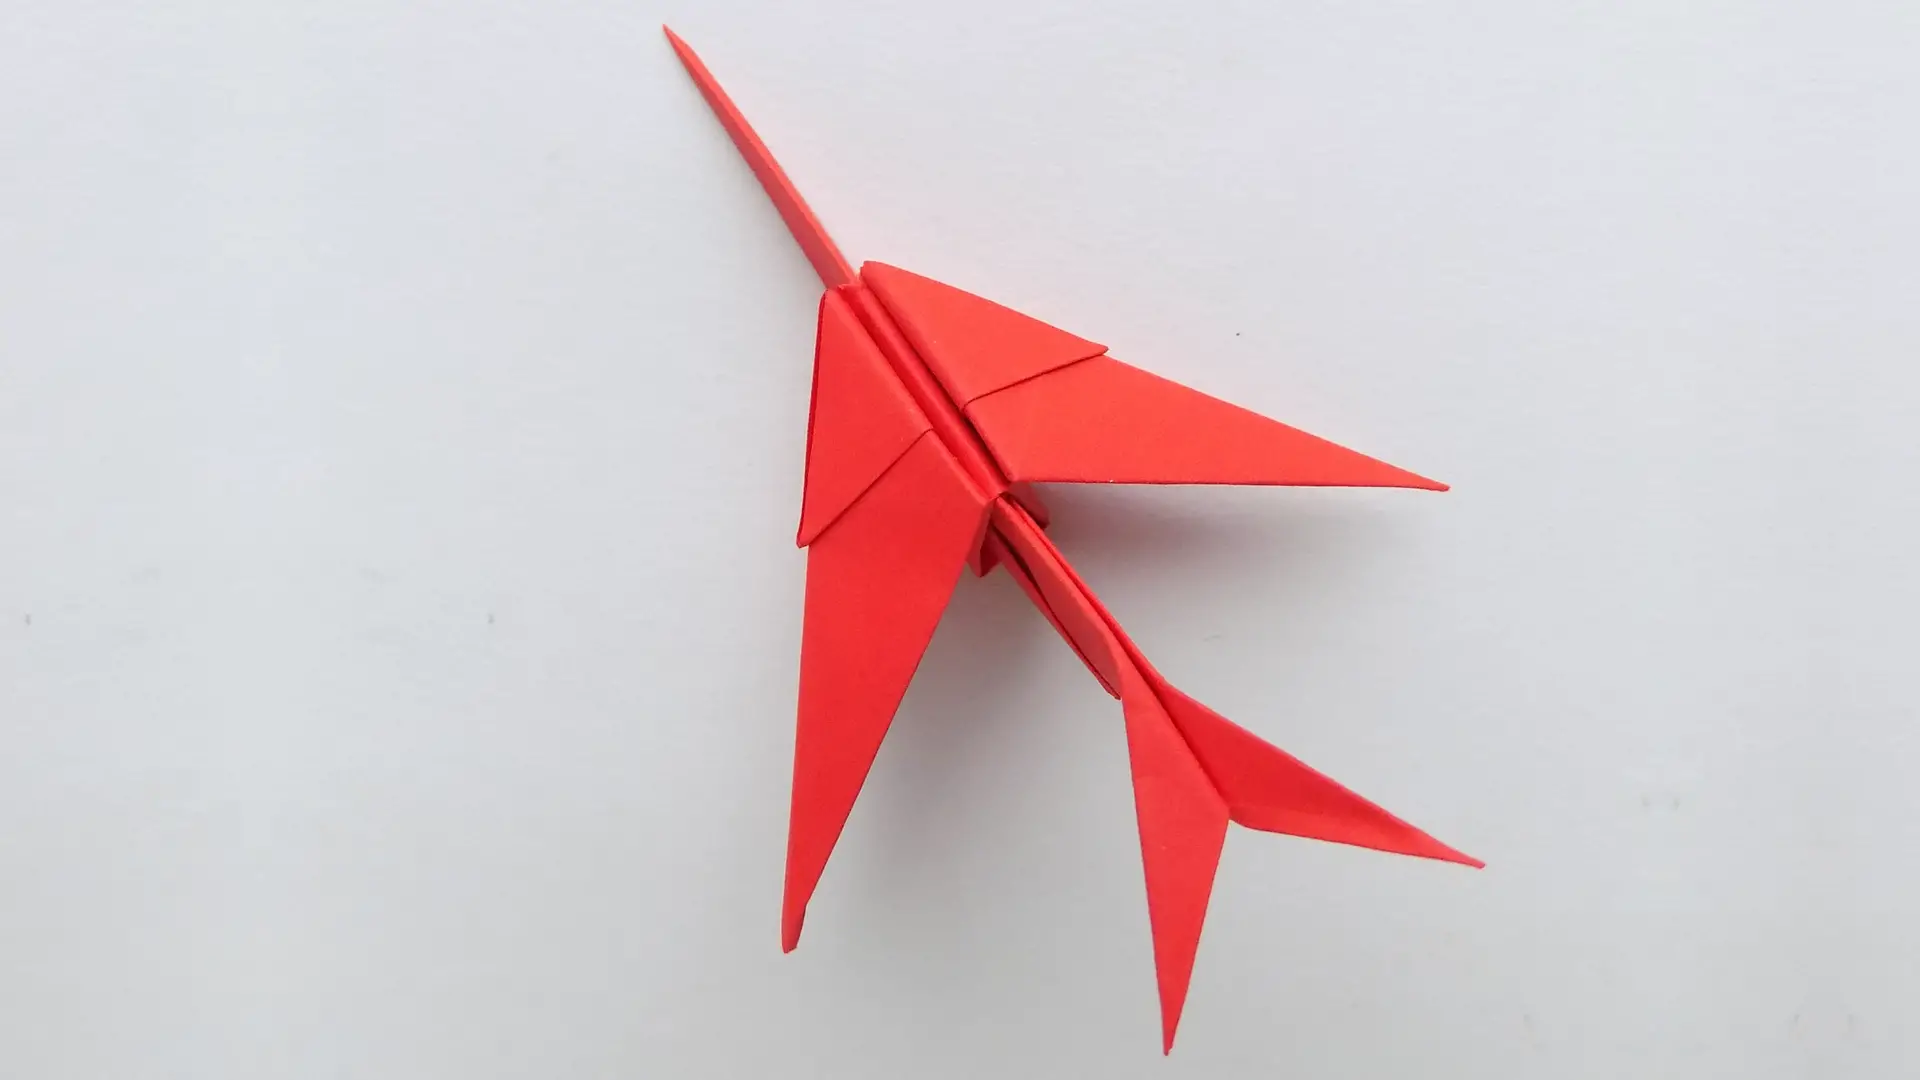
Step 16: Fixing the tail part
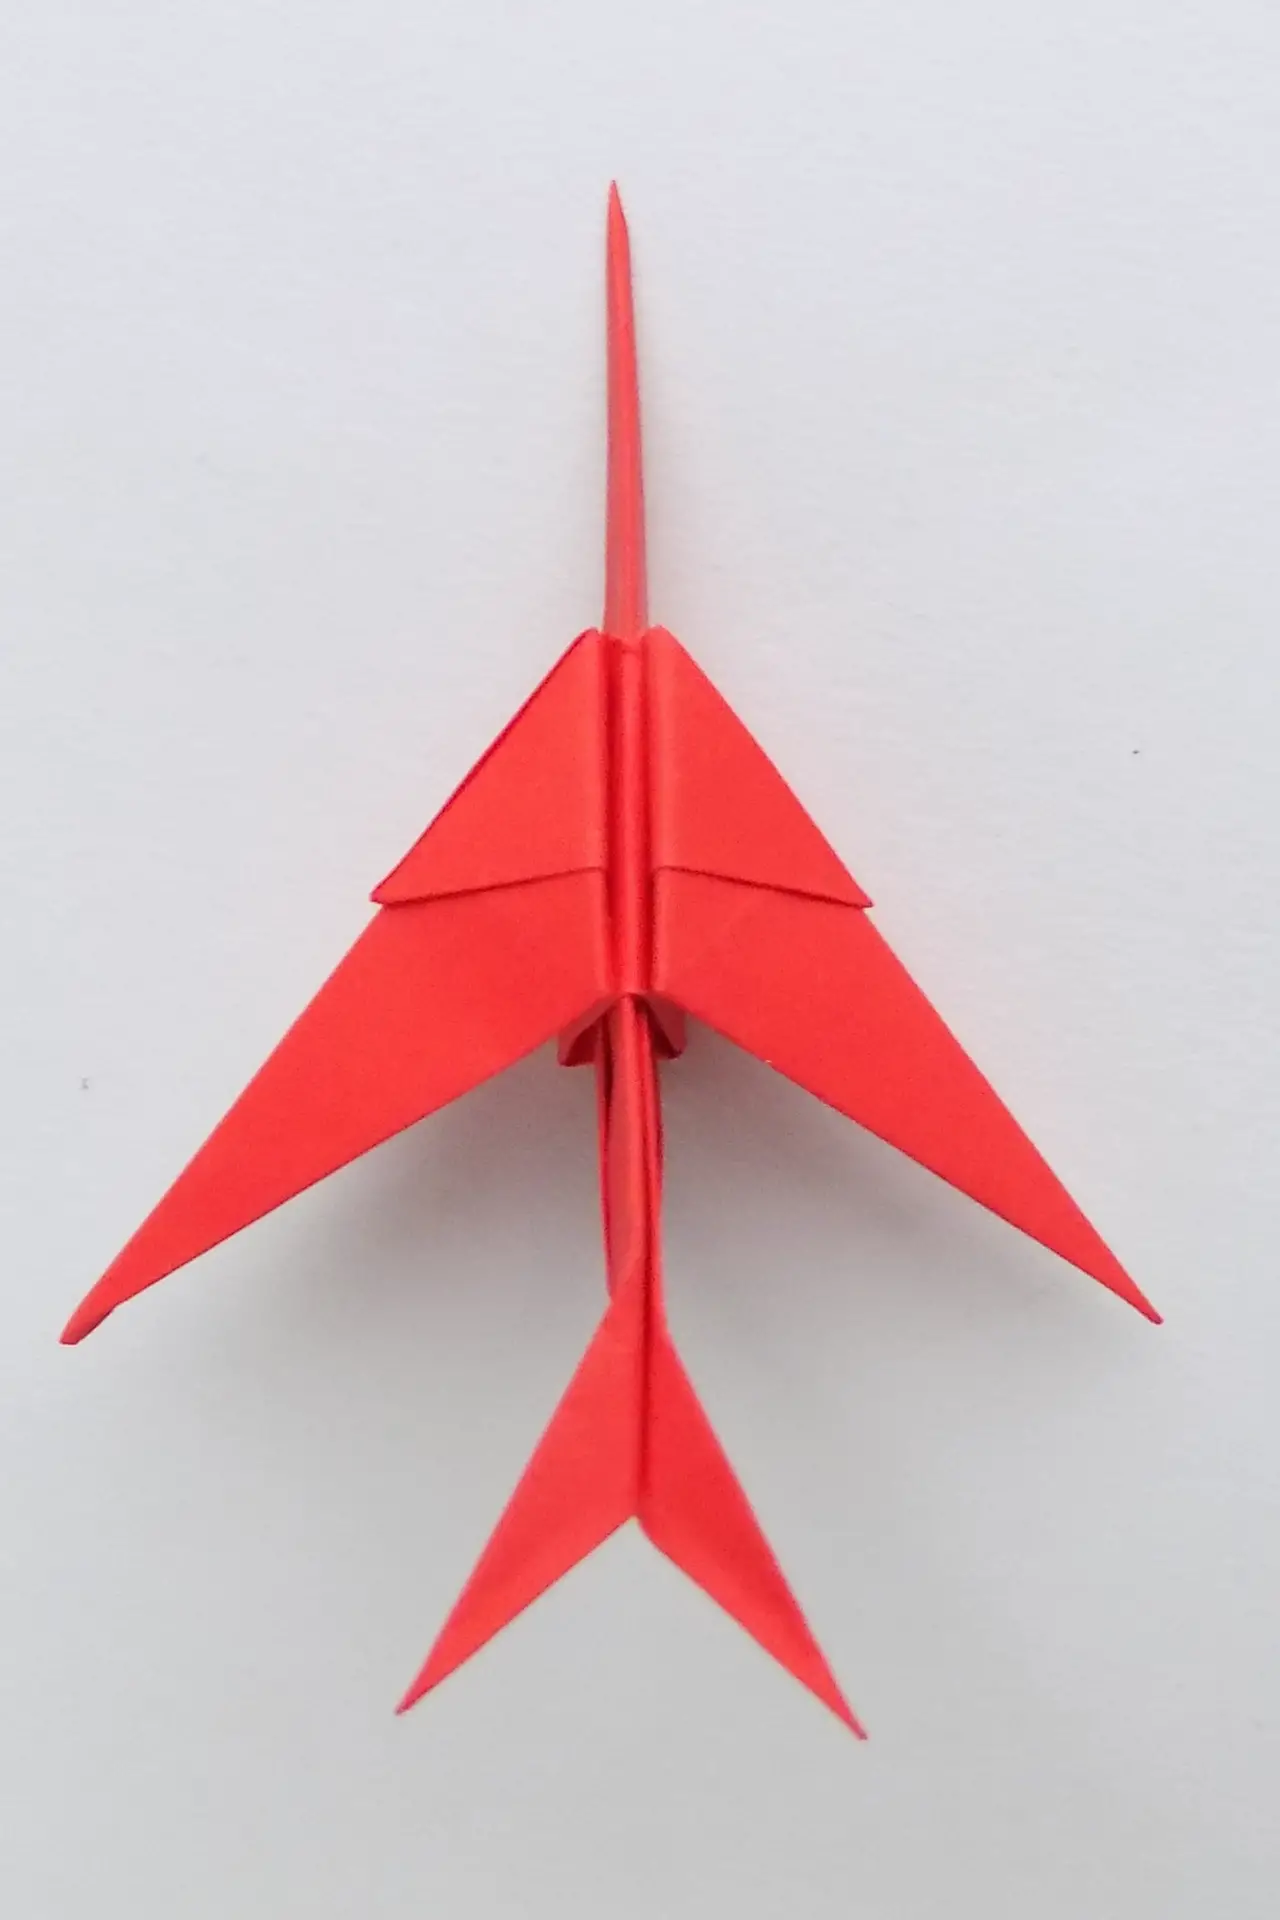
Spread the cut parts apart, and attach the tail part to the main module by inserting the corners into the pockets. You should end up with an origami airplane, as shown in the photo.
Supply:
- 4 identical squares of red paper.
Tools:
- scissors.
When you work on such a craft you can use square blanks of different colors and sizes, but all the squares should be the same. You can use glue to hold the pieces together.