Elastic headbands with lush colors are more suitable for little girls who have not yet grown long curls. It is not necessary to take care of a complicated hairstyle, tire the little girl and yourself, modeling ponytails or braids. Another thing – a great, bright and dressy hair accessory, which they will gladly decorate themselves. In the master class you will learn how to make a kanzashi fabric flower elastic headband with roses. If desired, every mom will be able to repeat it.
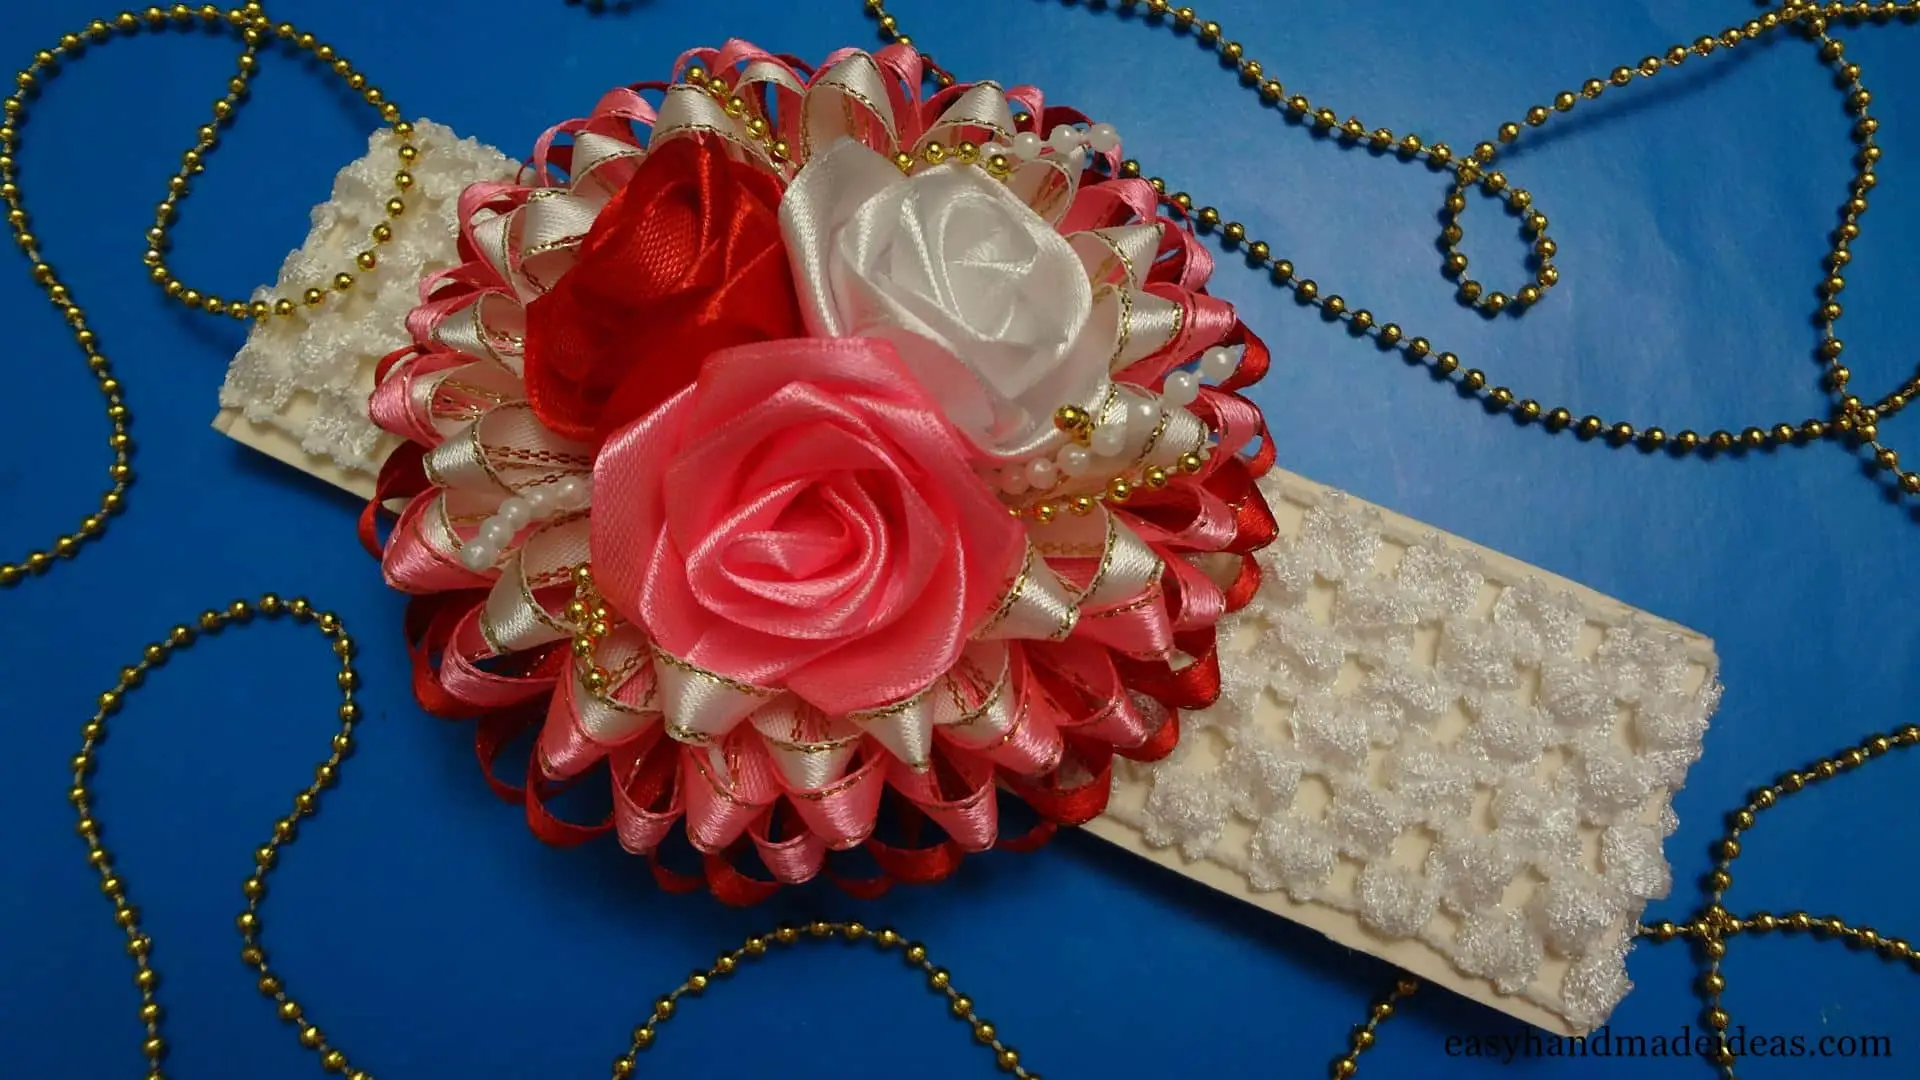
In fact, for modeling in this master class is offered quite a difficult flower, or rather, a flower composition. It consists of a triple bouquet of roses of red, pink and white colors. They are located on a beautiful lush stand, made of a large number of thin loops of ribbon in the same colors, but with lurex. Since the bandage is intended for a little girl, it is decorated with a fragment in pink colors, it is better to take a white or pink base.
Total Time: 1 hour
-
Make a loop of ribbon
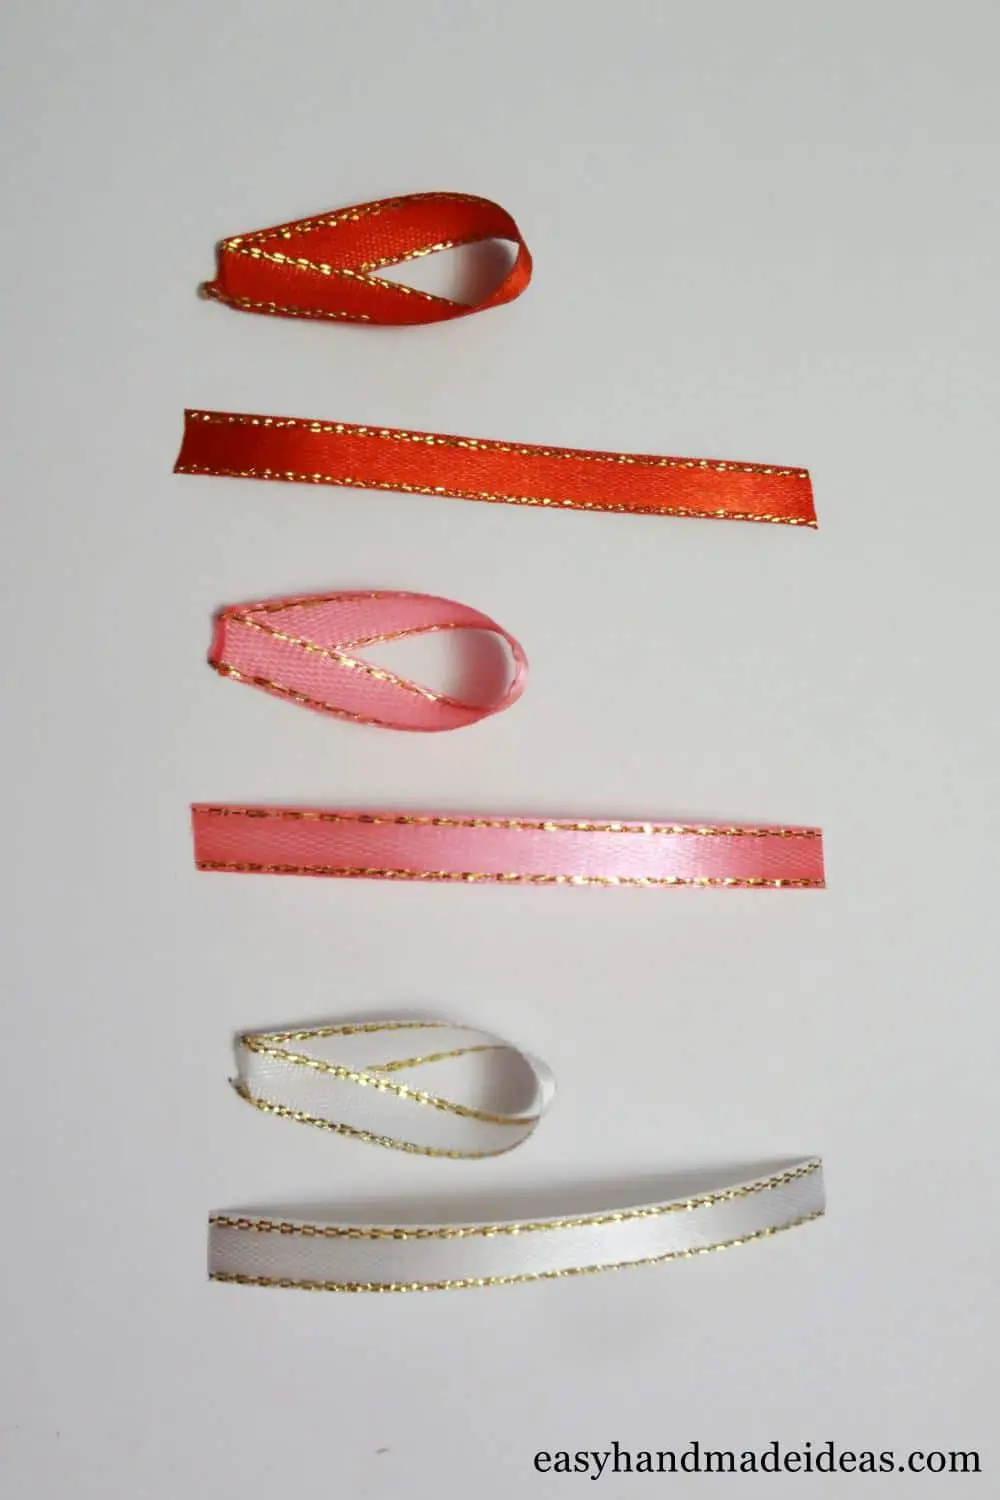
Orienting on the list of materials, you prepare quite a lot of thin satin strips with lurex. All of them are the same length, but of different colors. From them it is planned to make loops – details for a lush base flower. Just combine the opposite ends of each strip, but not squeezing with your fingers on both sides, but overlapping each other. This is demonstrated by the photo. Fix the strips in this position with a lighter, lightly touching the strip with the fire. If you can’t do this, use hot glue.
-
Make all the loops of ribbons
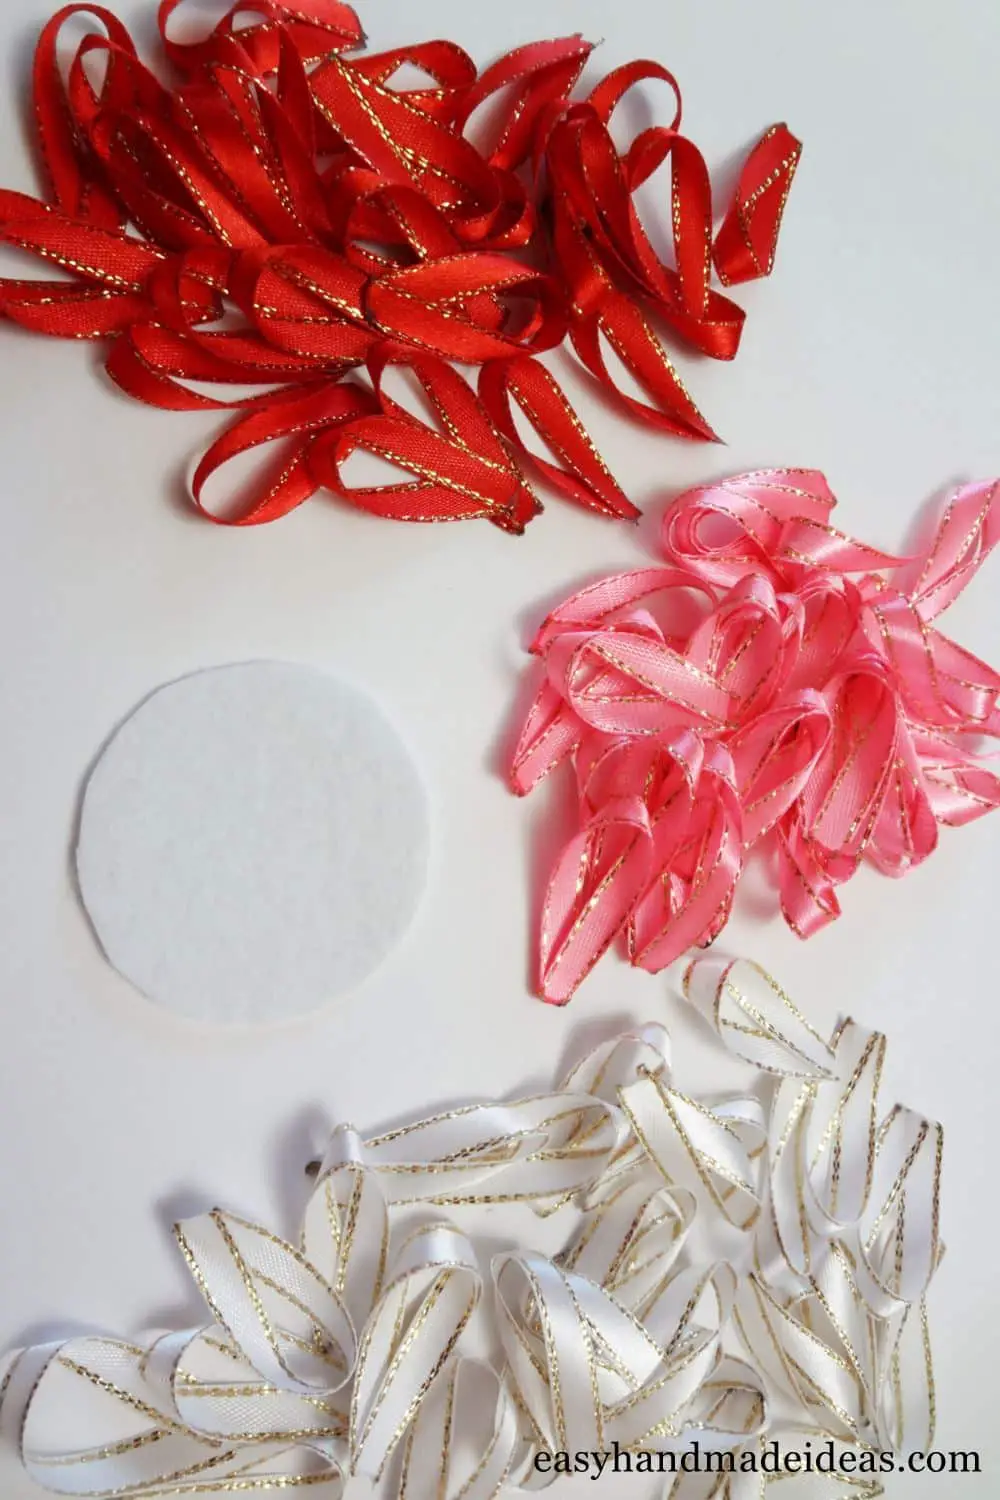
In total you need to make 32 pieces each of satin ribbon with lurex in red and pink colors, 24 pieces of ribbon of the same texture in white color. The size of the strips is 0,5*7 cm. From the whole set of parts make the same loops. Prepare a round felt base for the future dressy composition.
-
Glue the pink loops
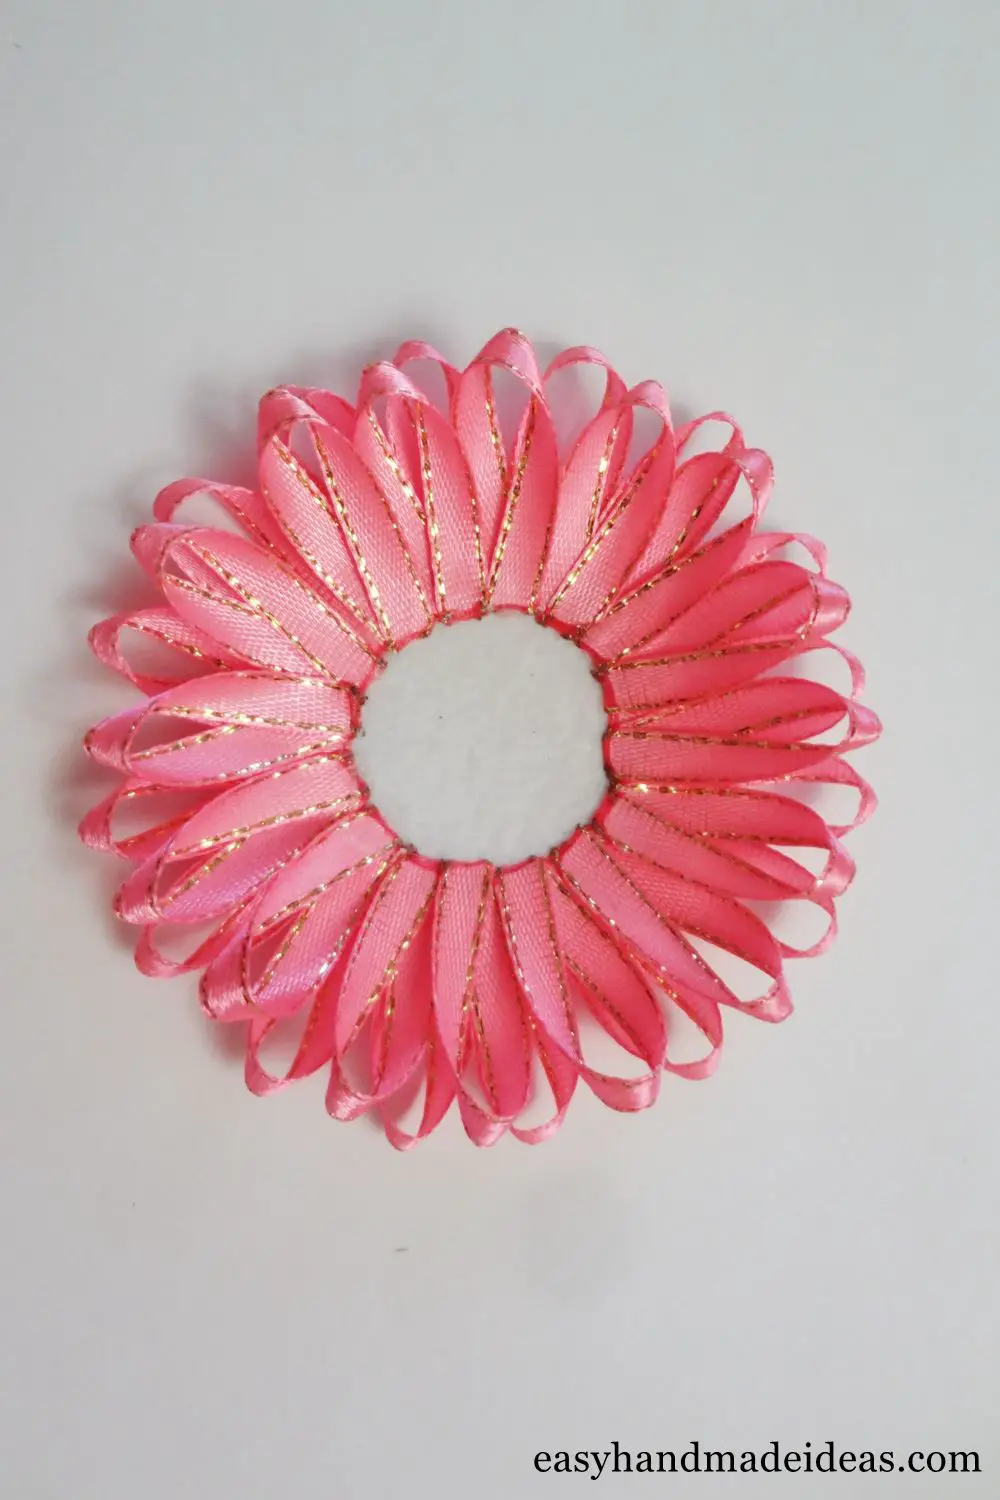
Divide the pink portion of loops into 2 parts of 16 pieces. Glue the first and the second layer on the edge of the circle. You will get the initial blank for the flower. You can see it on the third photo.
-
Glue the white loops
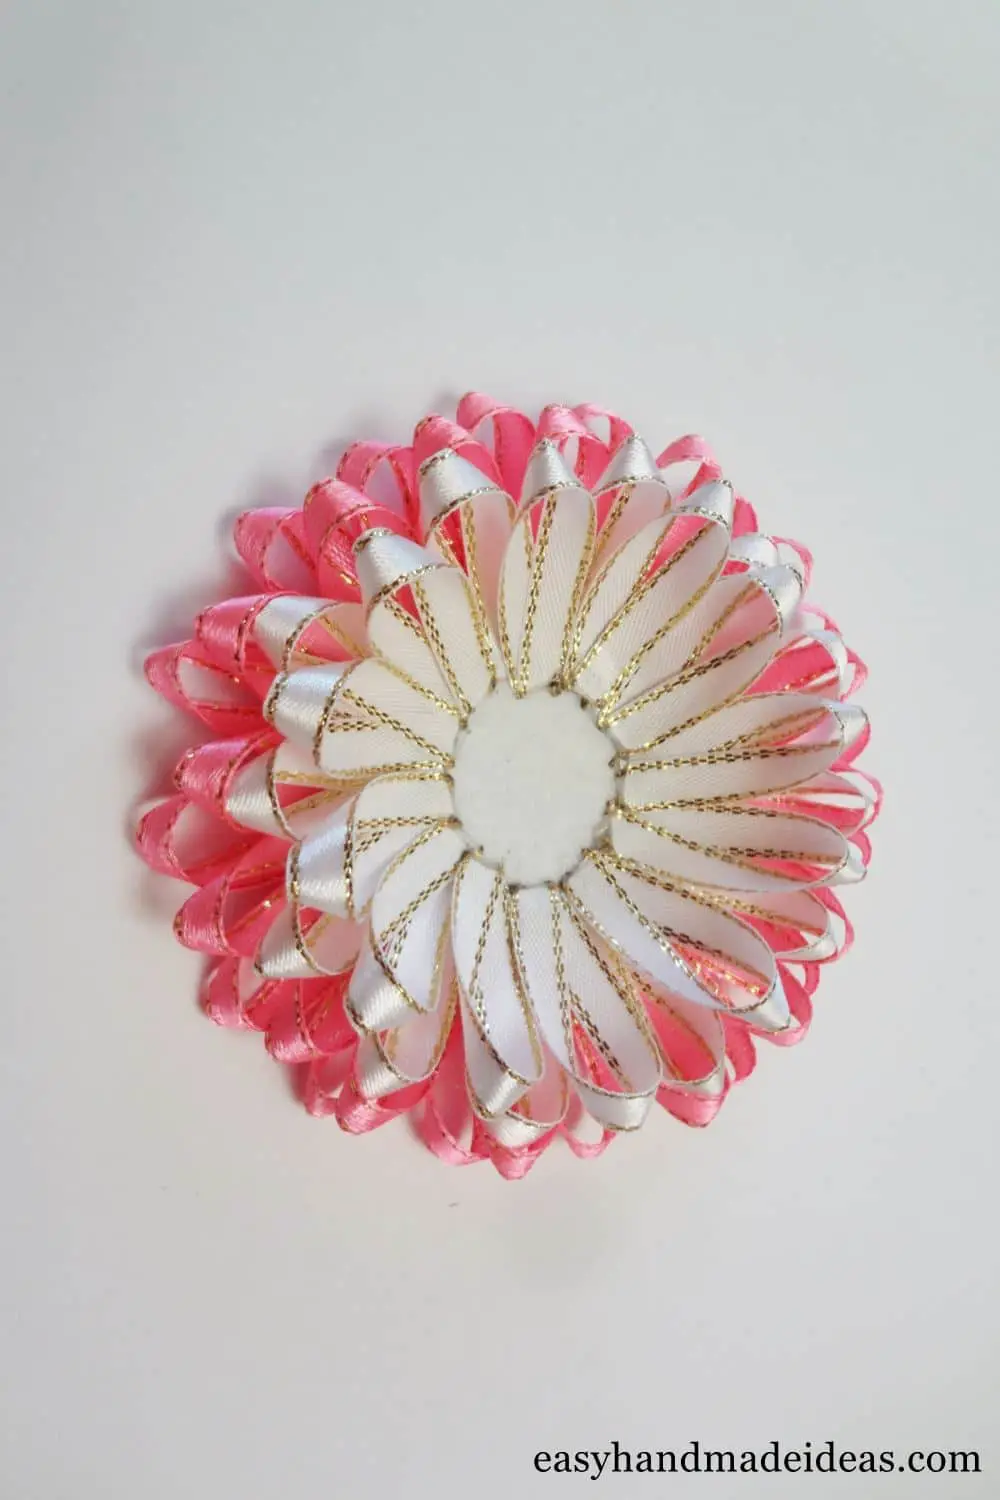
Make 24 white loops. Divide this amount in half by 12 pieces. Glue the third and fourth layer in the center, as shown in the fourth photo. In general, the white layer will be shifted to the center, so you will need fewer pieces for it.
-
Turn the round piece over
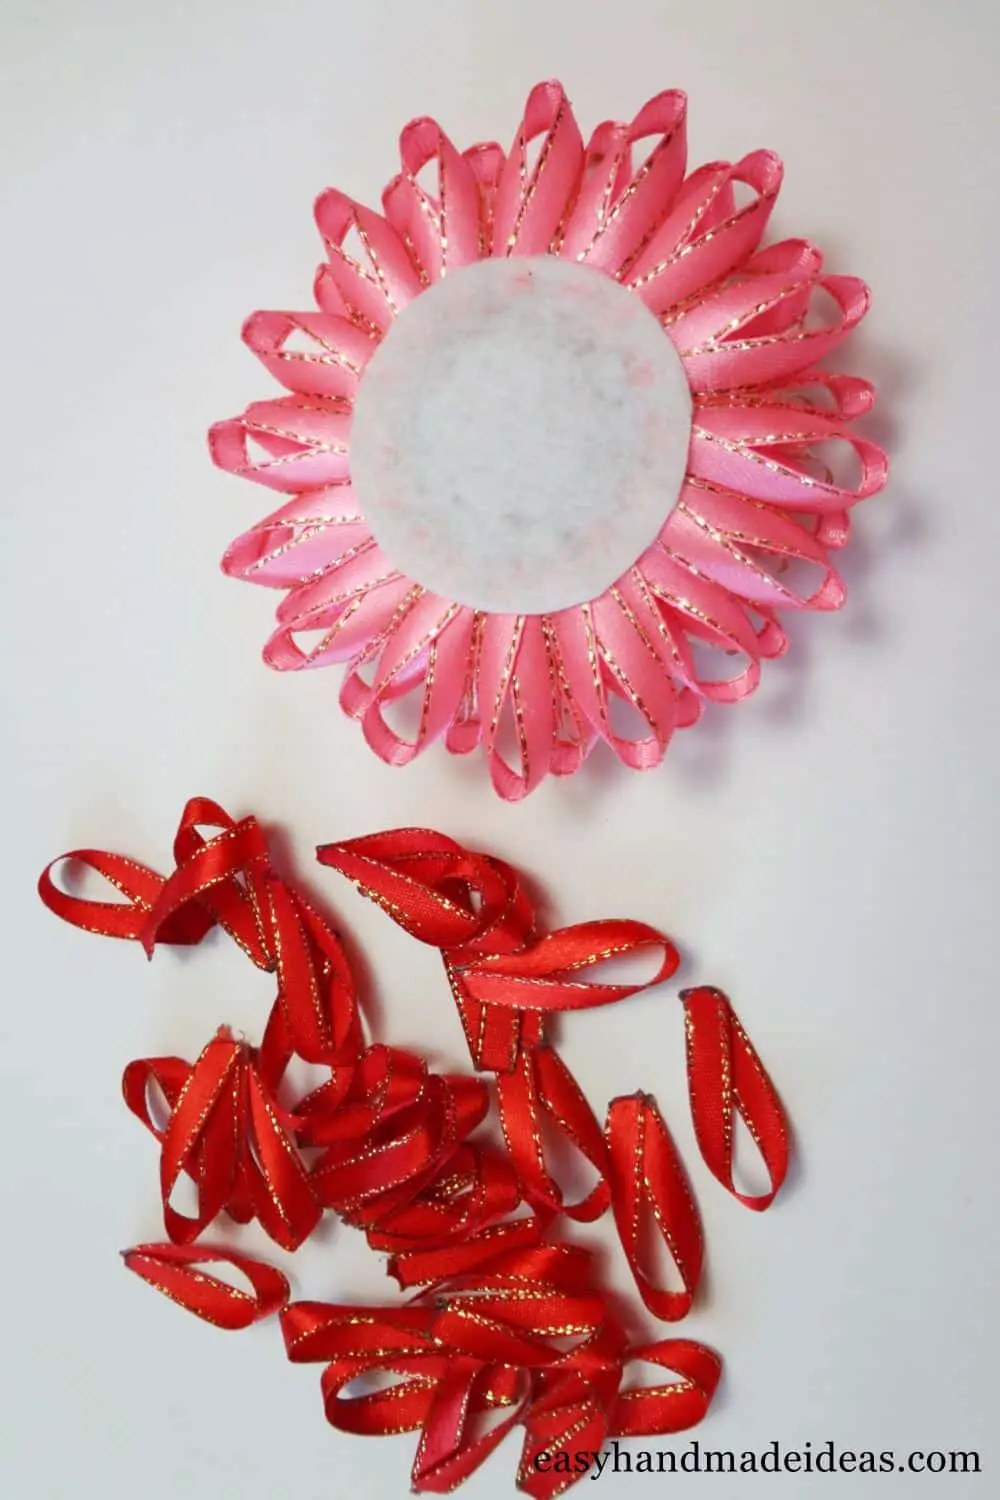
Turn over the obtained blank with the other side facing you (the one where the felt is visible). Prepare the remaining portion of details.
-
Use the red loops
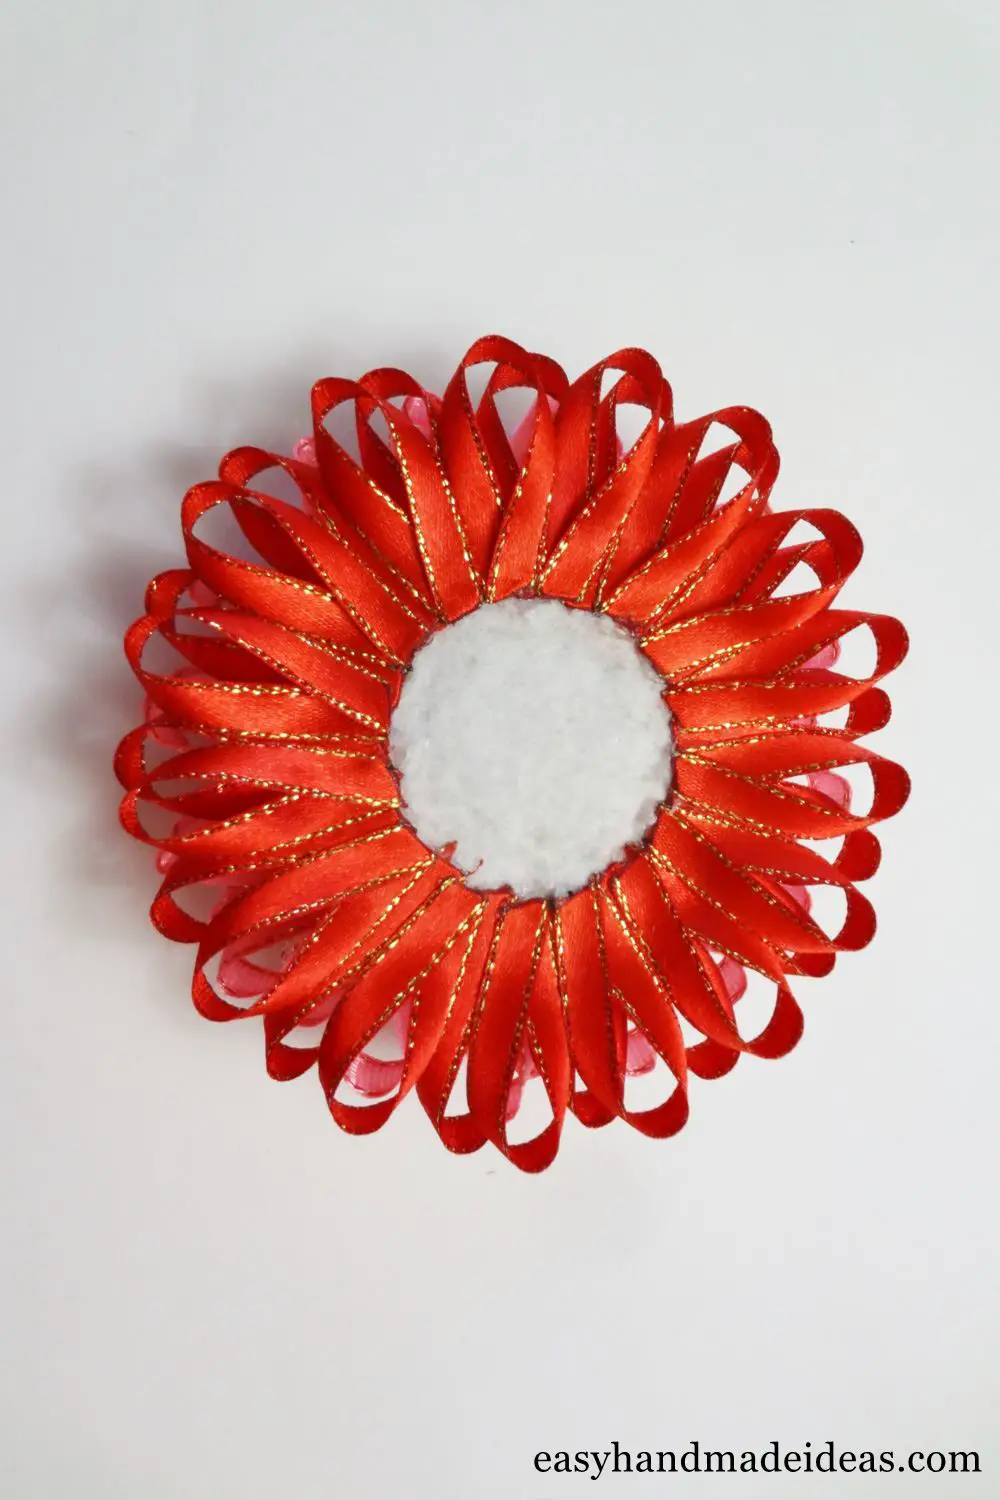
Glue the red loops in two layers of 16 pieces on the other side.
-
Make a turn of the piece
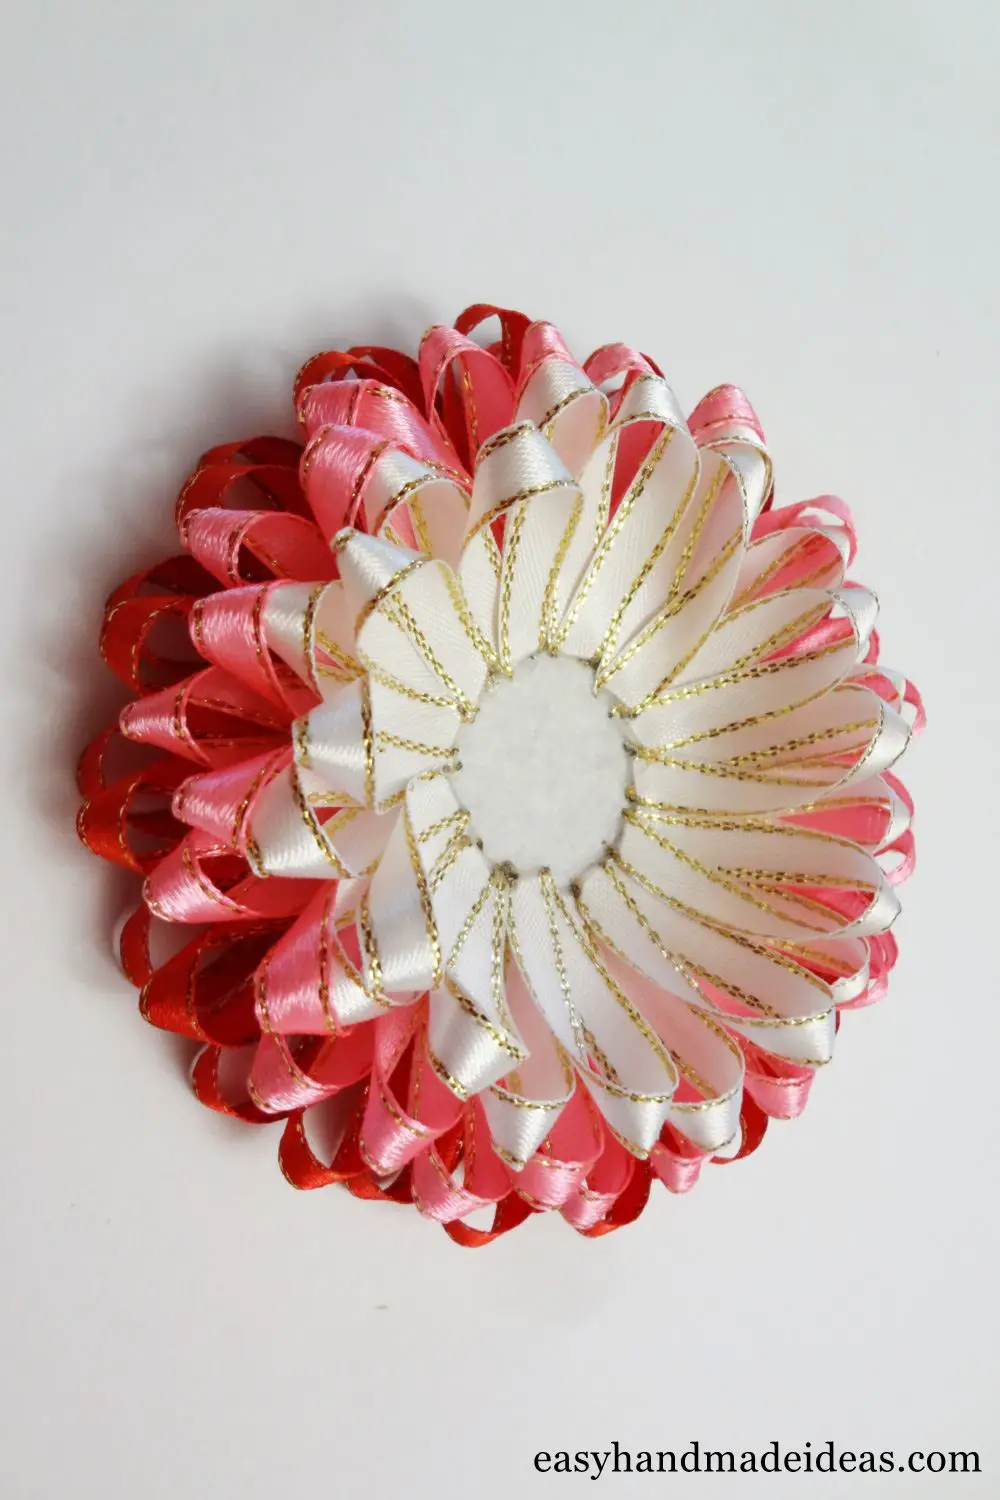
Turn the piece over again – the lush bed for the rose bouquet is ready.
-
Prepare strips for creating roses
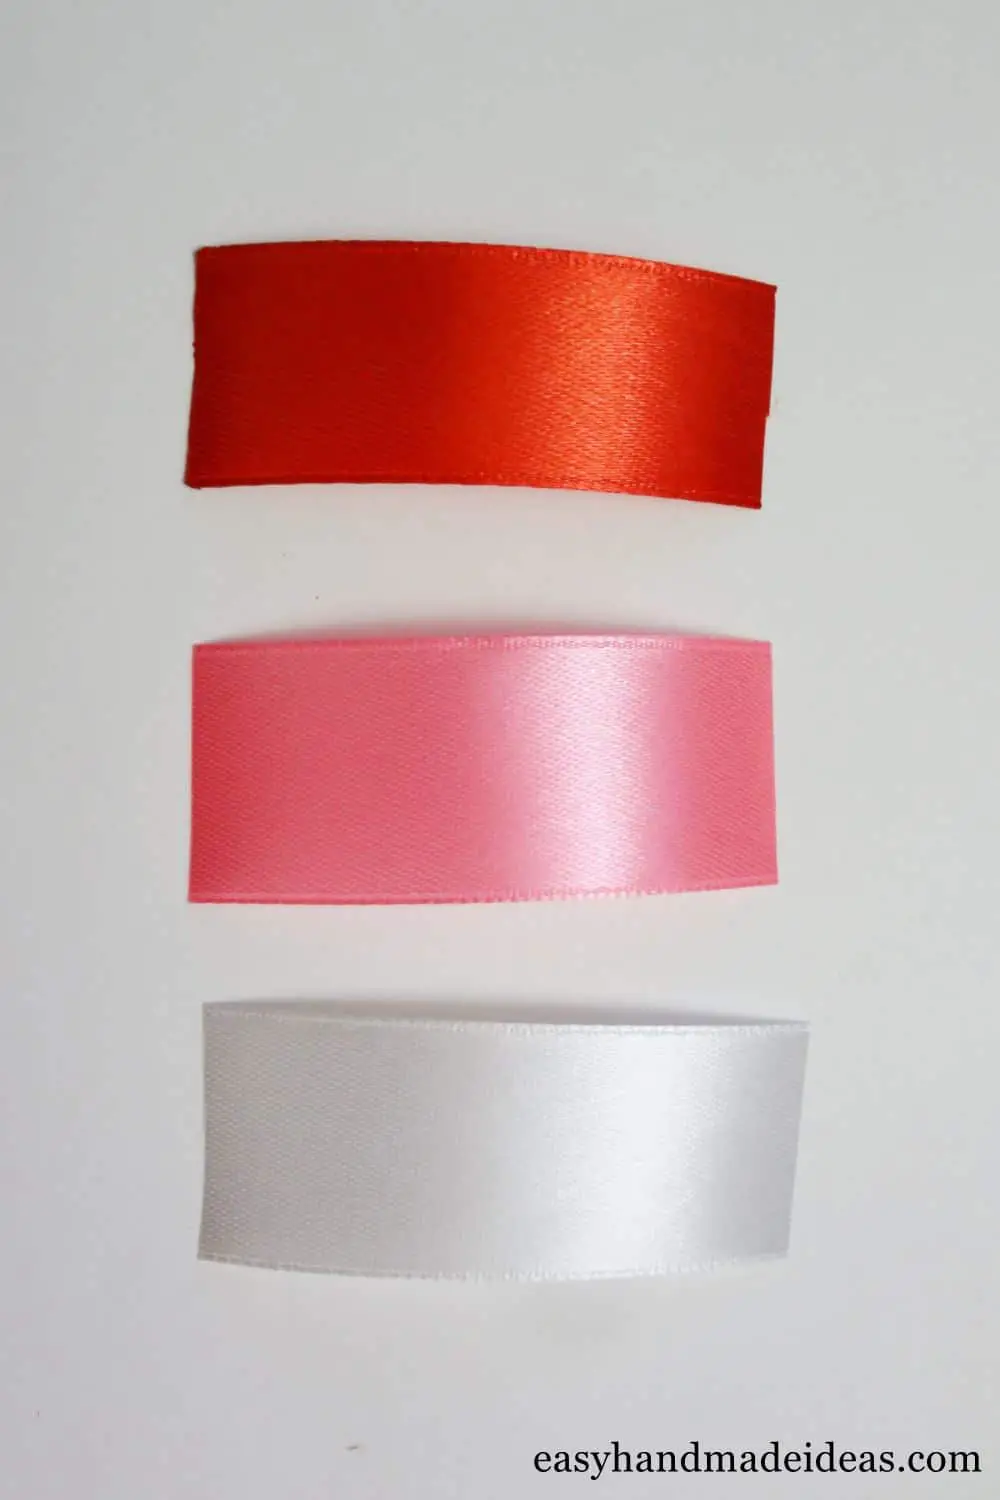
Cut the required number of 2.5 cm wide satin strips in white, pink and red colors.
-
Make a rose petal
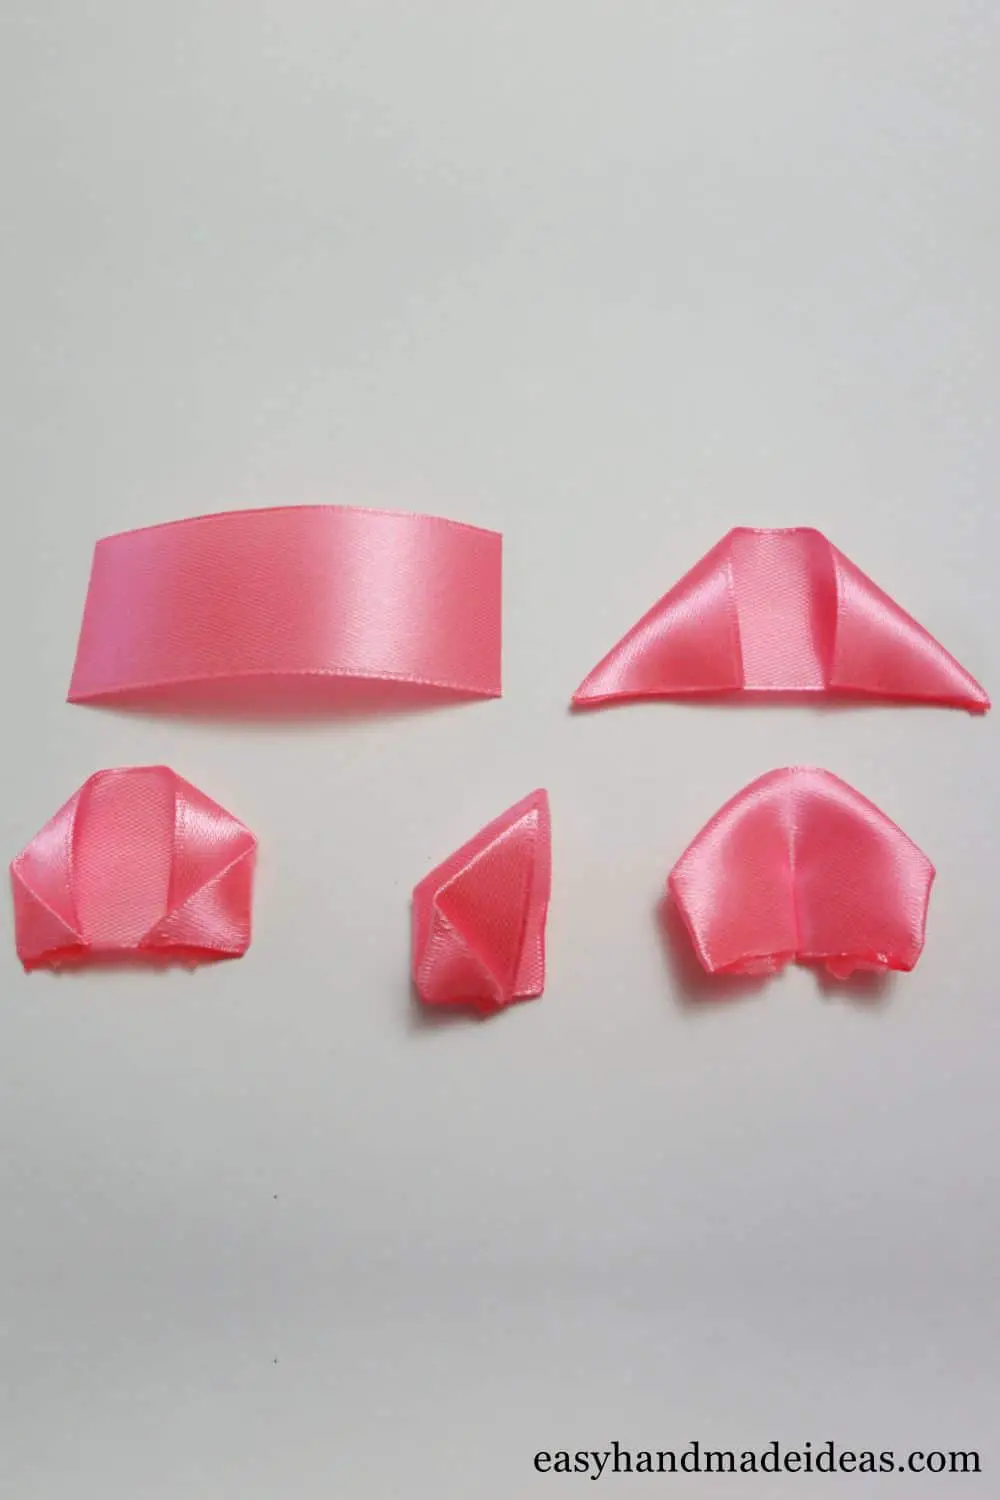
In each strip, fold 2 corners to the opposite side. In the resulting figure, which resembles a triangle but rounded at the top, fold inward the sharp corners, docking them with the ends of the former corners. The rose petal is ready, but in the center still make a fold, pressing the pads of your fingers with force. In this way, the flowers will be more lush.
-
Make a lot of rose petals
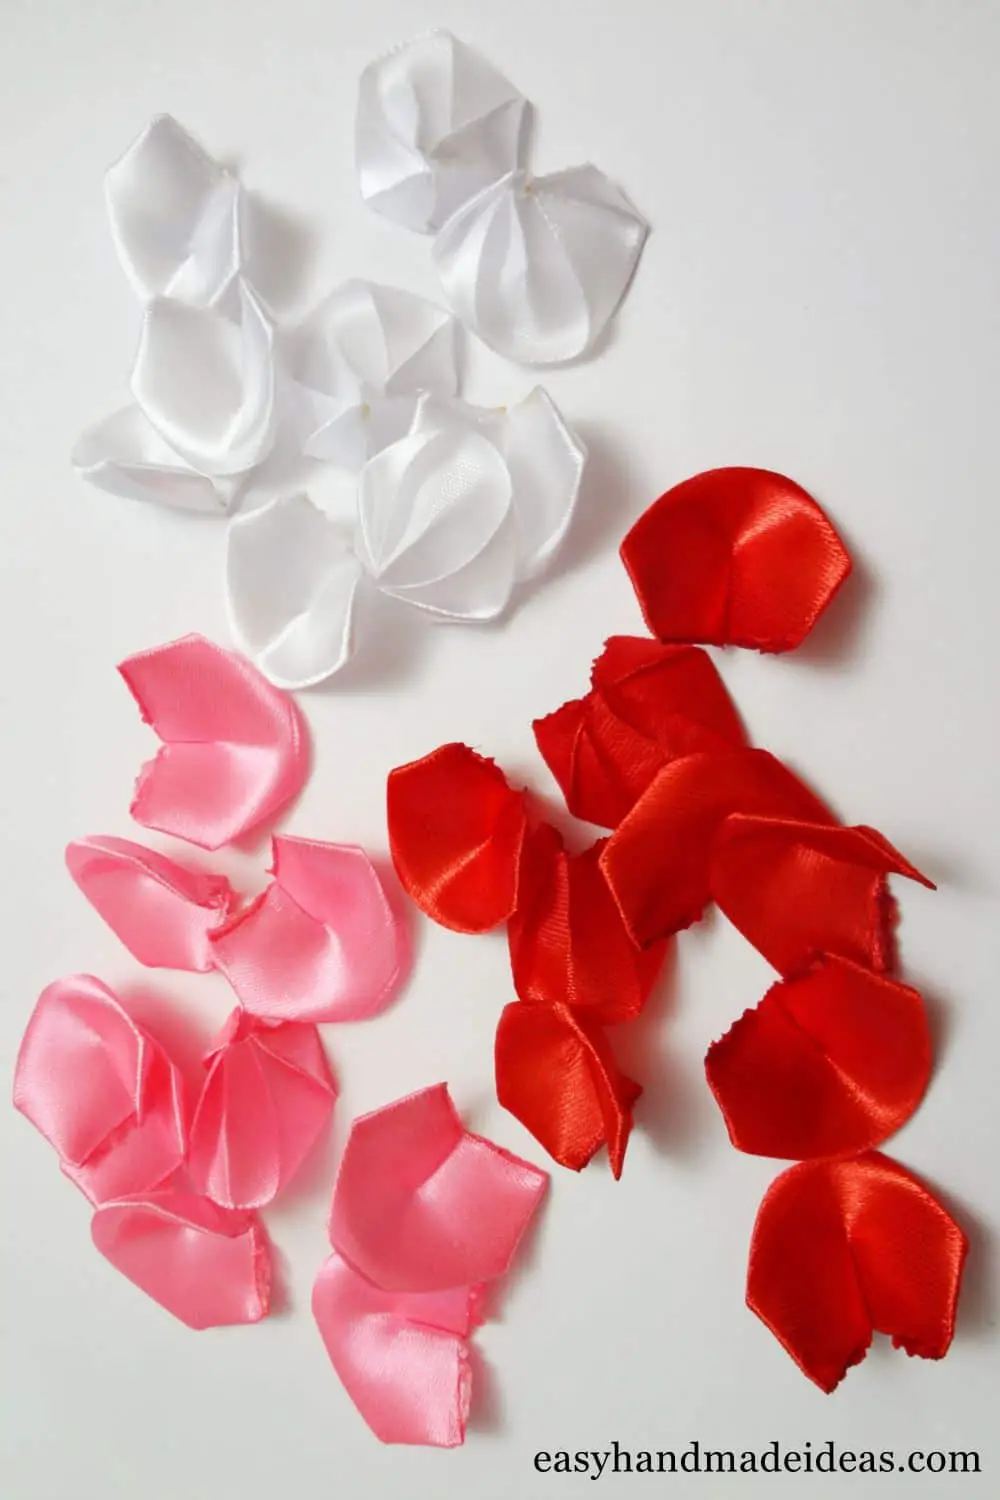
Model the same quantity of petals for red, pink and white roses.
-
Make roses out of petals
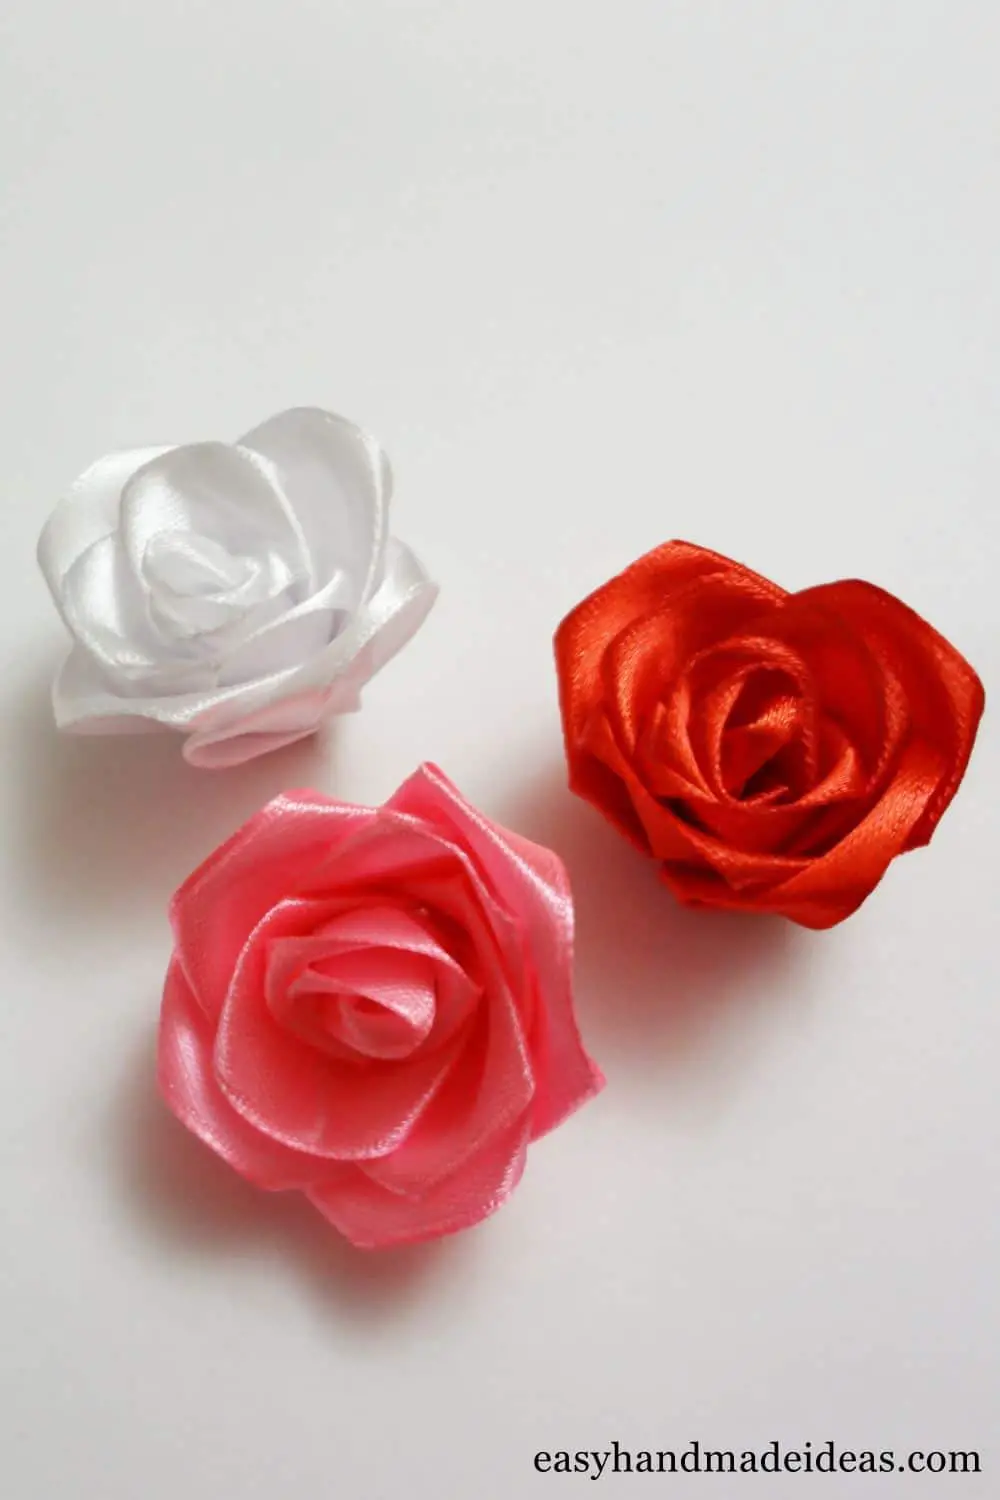
Glue all the petals together by shade, assembling small rosebuds.
-
Glue three roses together
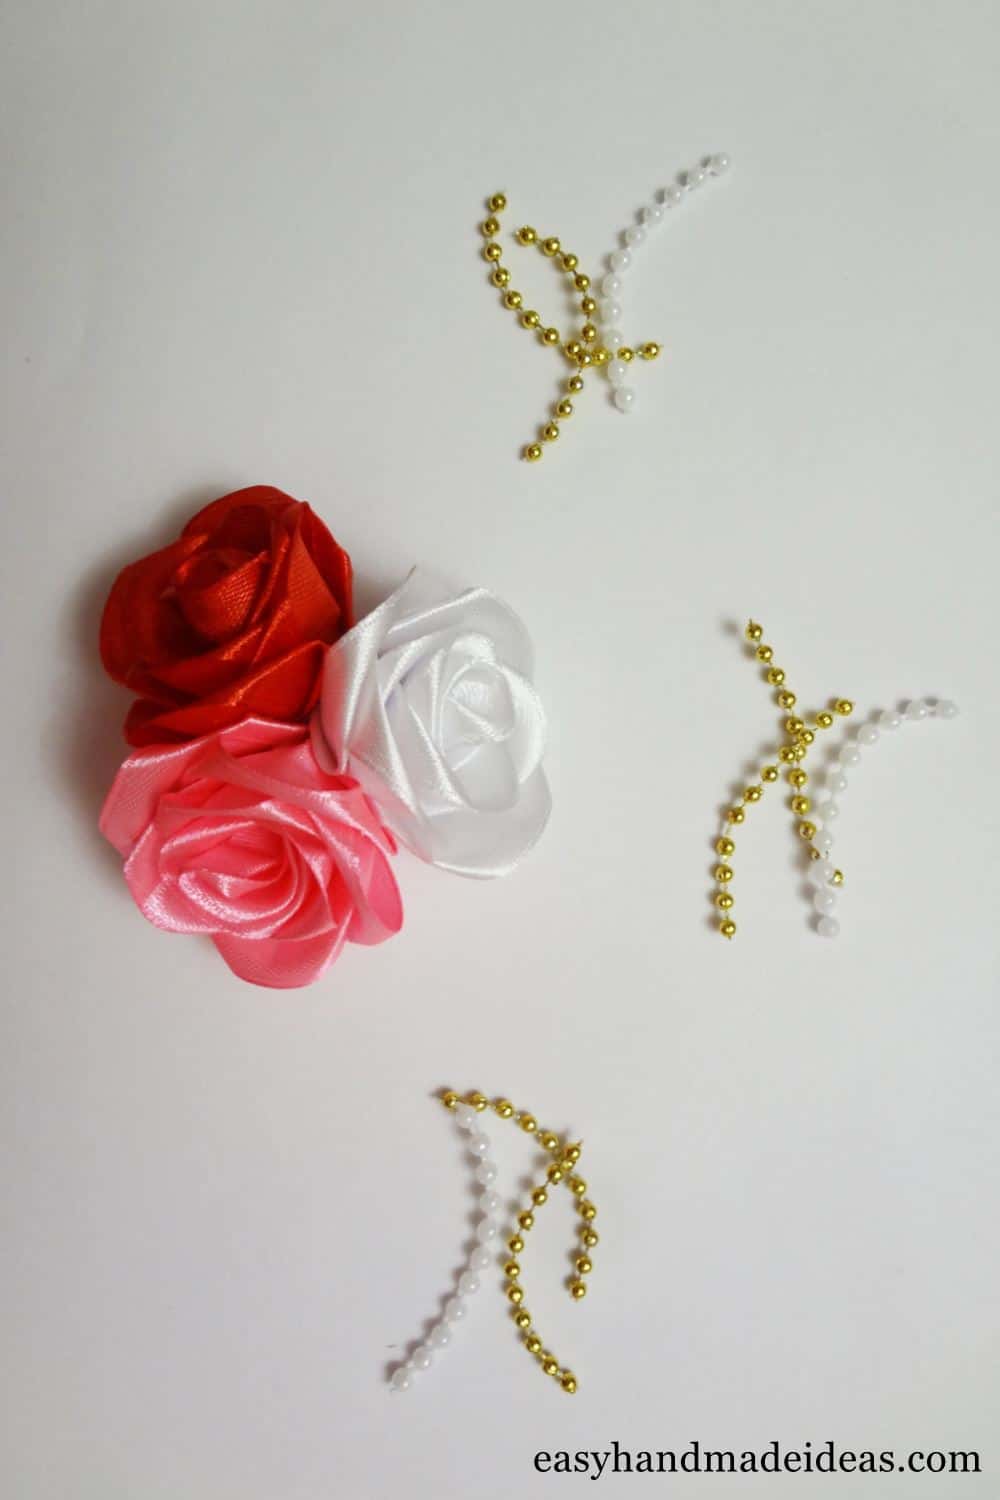
Cut 6 gold and 3 white (silver) pieces from the beads on the thread. Glue the 3 buds into a single composition.
-
Glue the string of beads
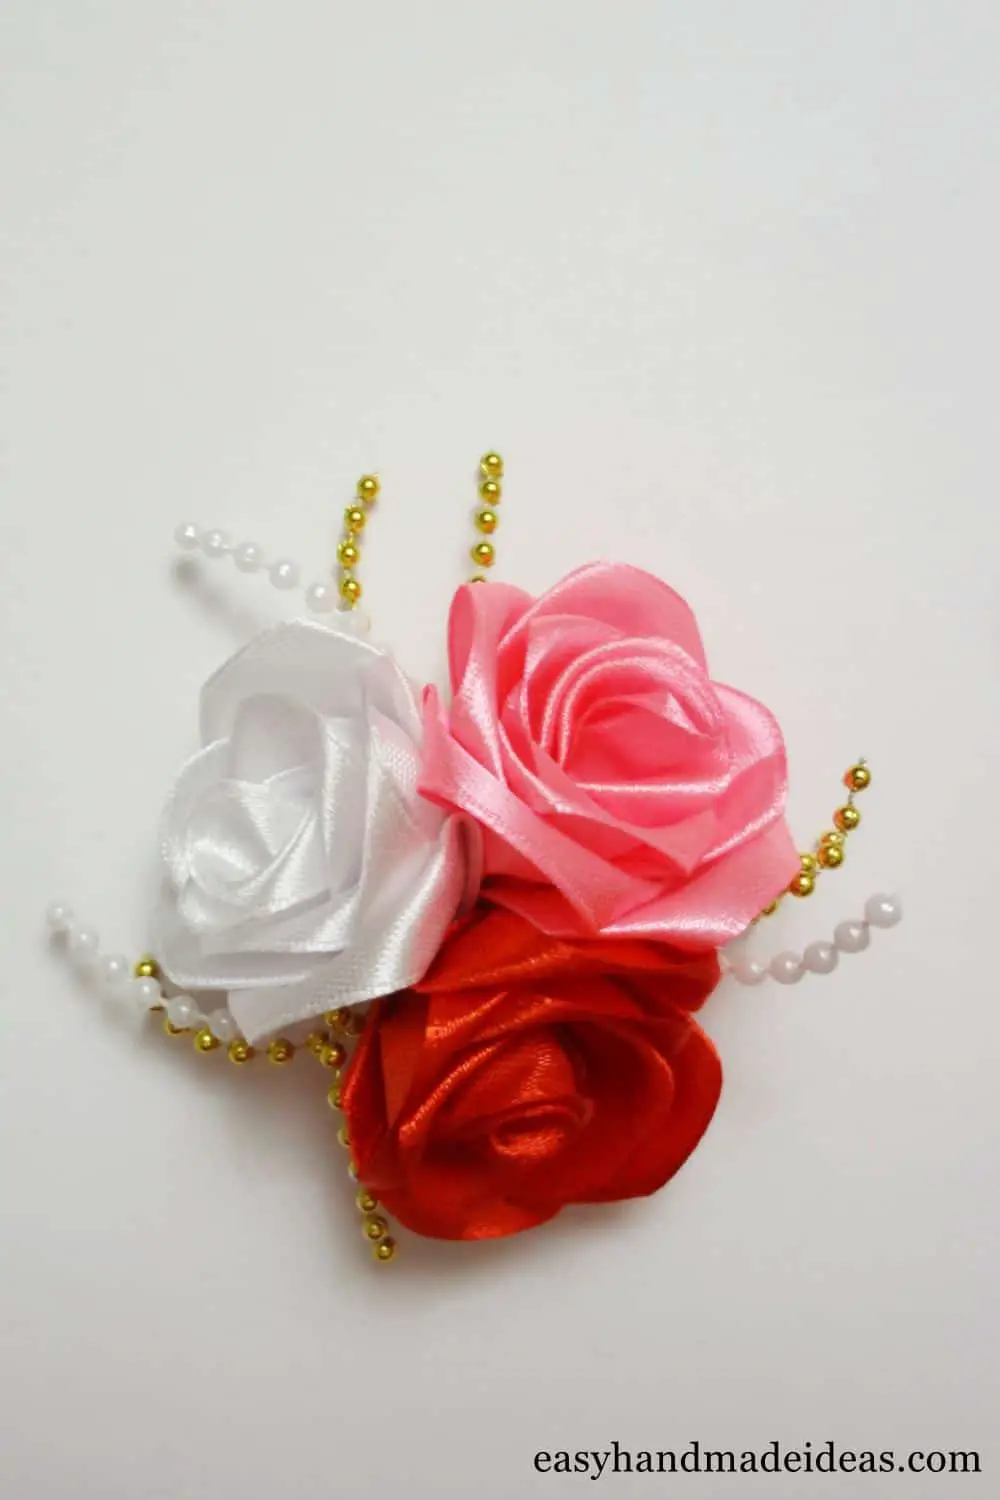
Glue the beads to the bottom of the roses.
-
Take a round blank and a bouquet of roses
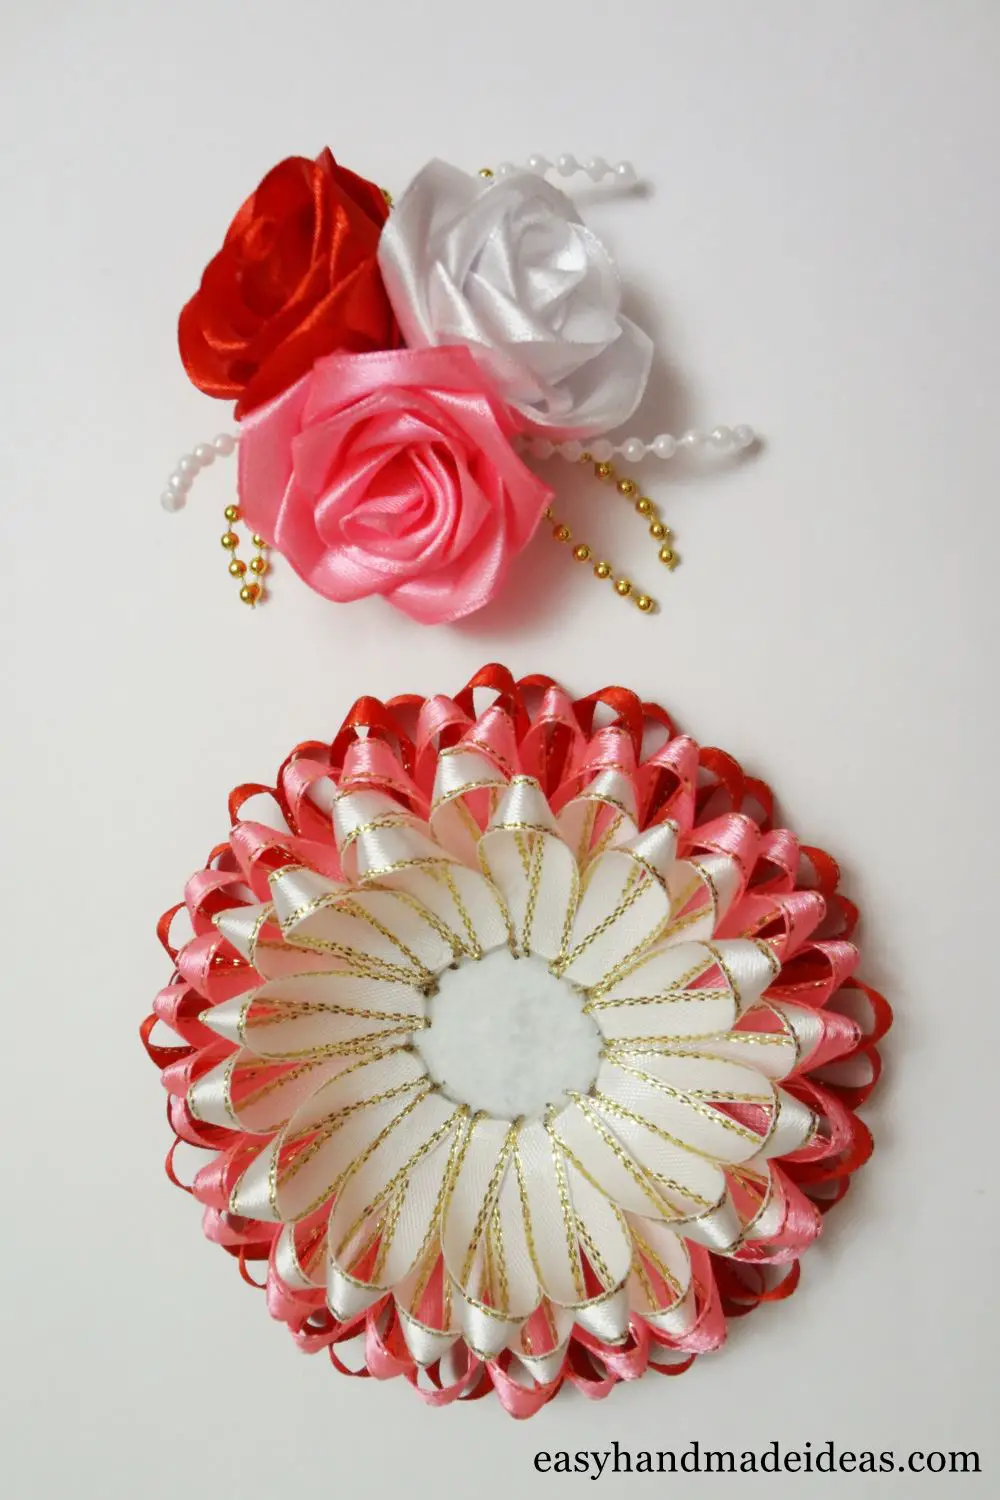
The bouquet of roses is for the lush flower modeled earlier.
-
Glue the kanzashi flower completely
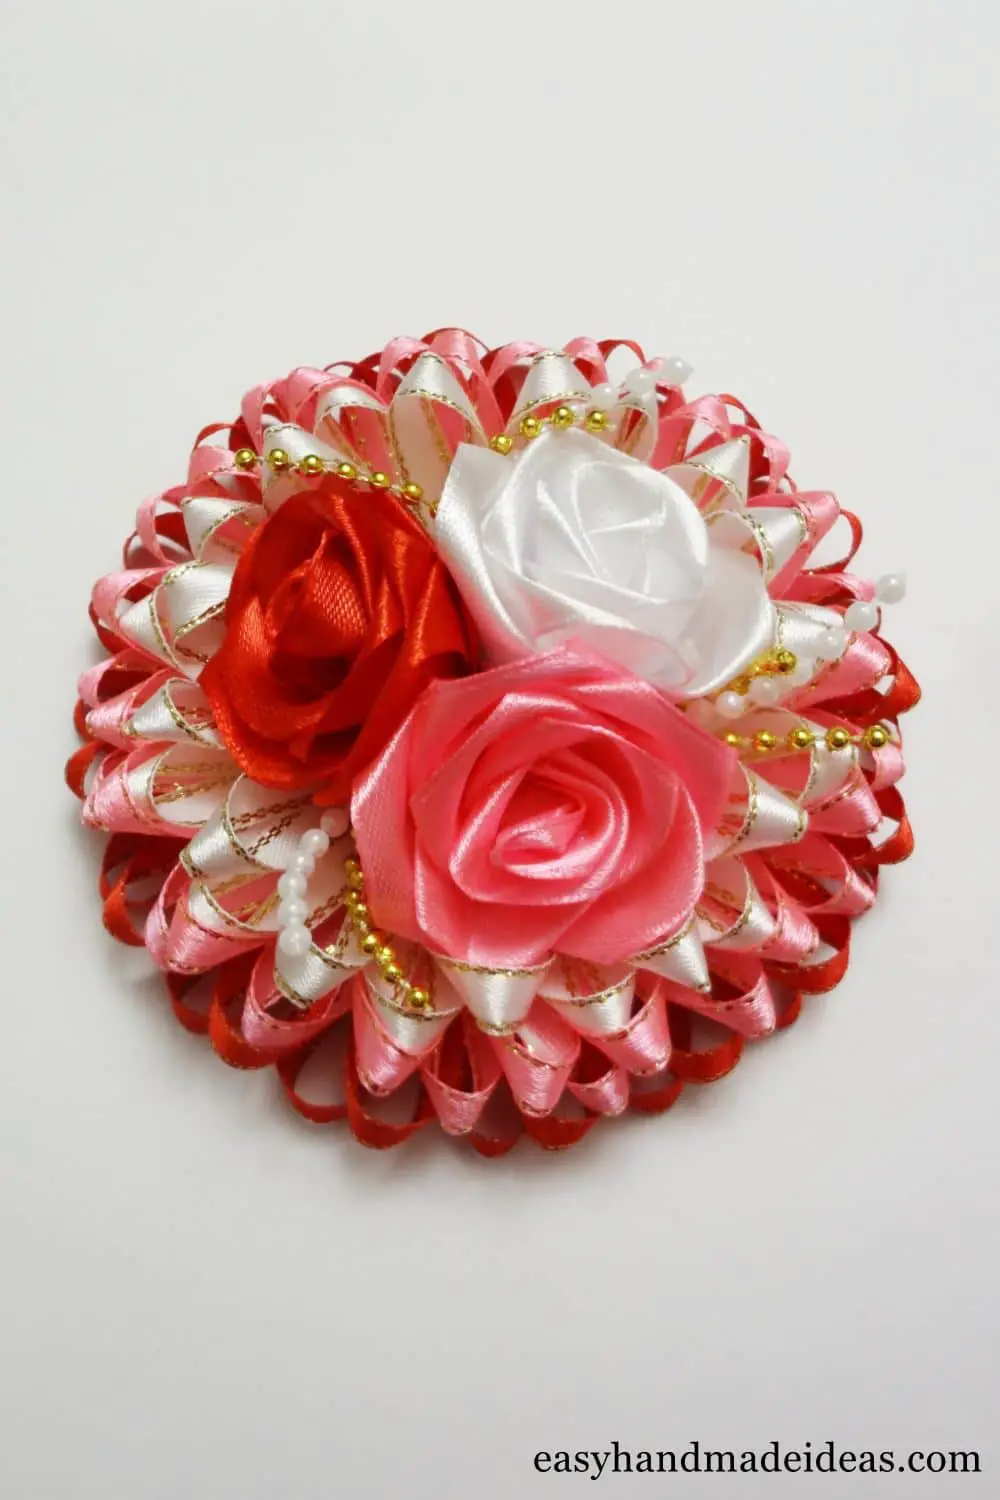
Glue the roses with beads in the center of the lurex piece. Such a composition is the basis of any hair clip or headband of your desire.
-
Finish the hairband with roses
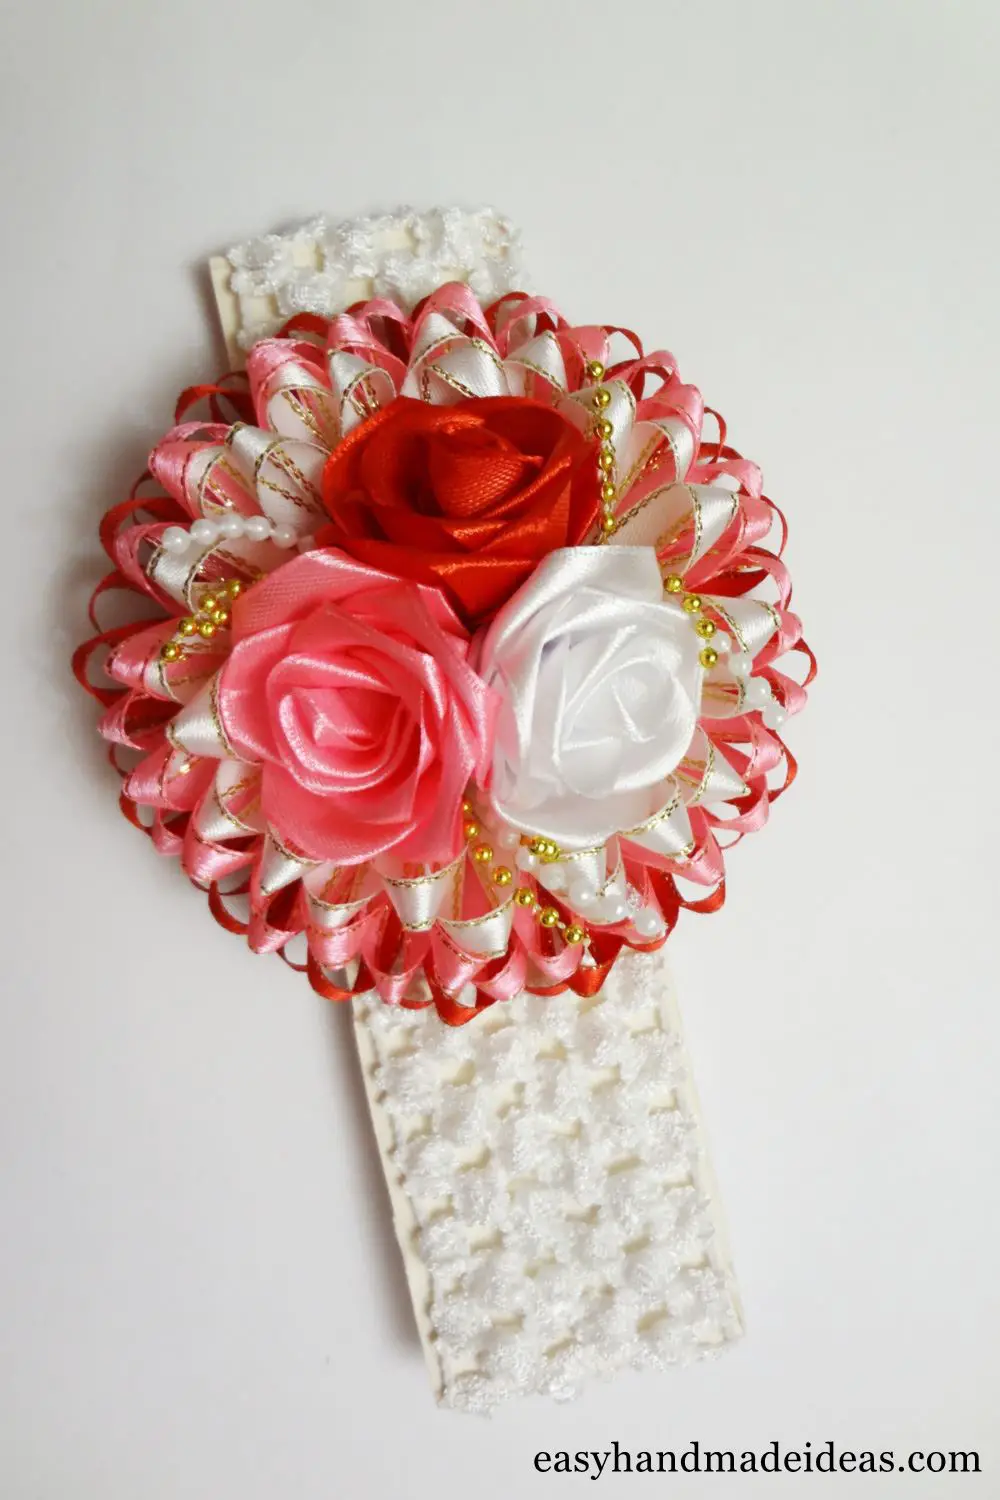
Now glue the entire flower on the headband, if you chose it as the basis of a hair accessory.
Supply:
- 32 pieces of satin ribbon with lurex of red, pink colors – 0,5*7 cm;
- 24 pieces of satin ribbon with lurex of white color – 0,5*7 cm;
- 9 pieces of ordinary monochrome satin ribbon of red, pink and white colors – 2,5*6 cm;
- beads on a thread of gold and white color – short pieces;
- felt base of white color – 5,5 cm in diameter;
- bandage of pink or white color.
Tools:
- scissors;
- matches or a lighter;
- hot glue.
The jewelry for a little girl is ready. You’re good, you made it!

