You can create from paper not just crafts, but also original toys that a child will surely like. My masterclass shows the process of how to make origami finger traps.
Step By Step Tutorial

Origami Finger Trap
Total Time: 15 minutes
Step 1: Take the materials for the craft
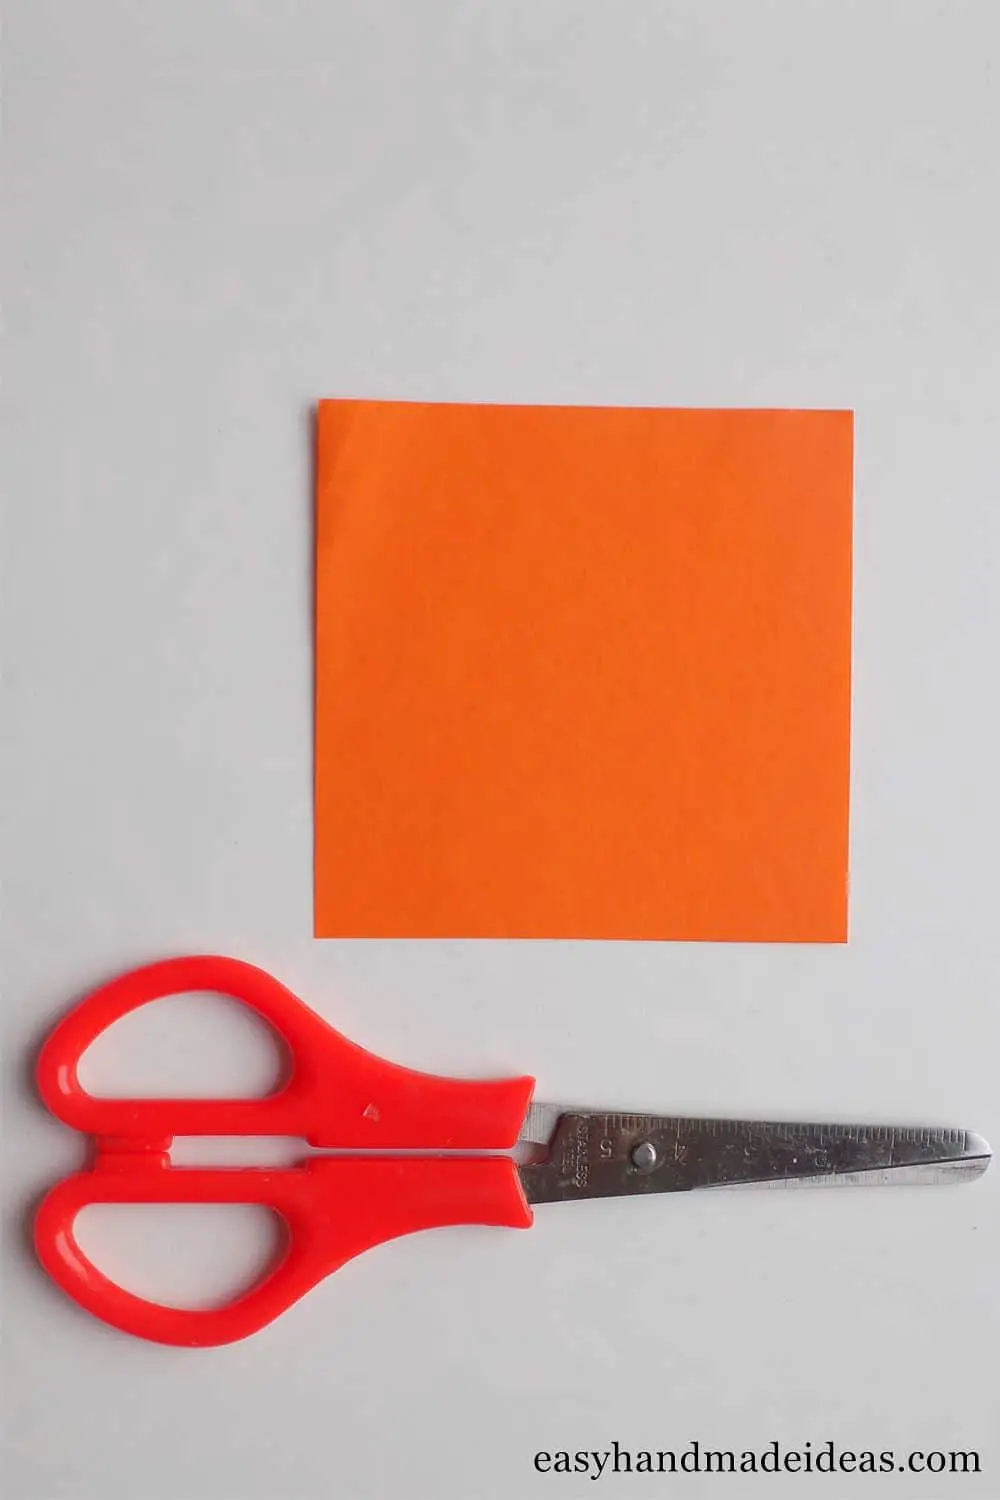
To create such a toy, prepare the necessary materials.
Step 2: Make two folds on the square
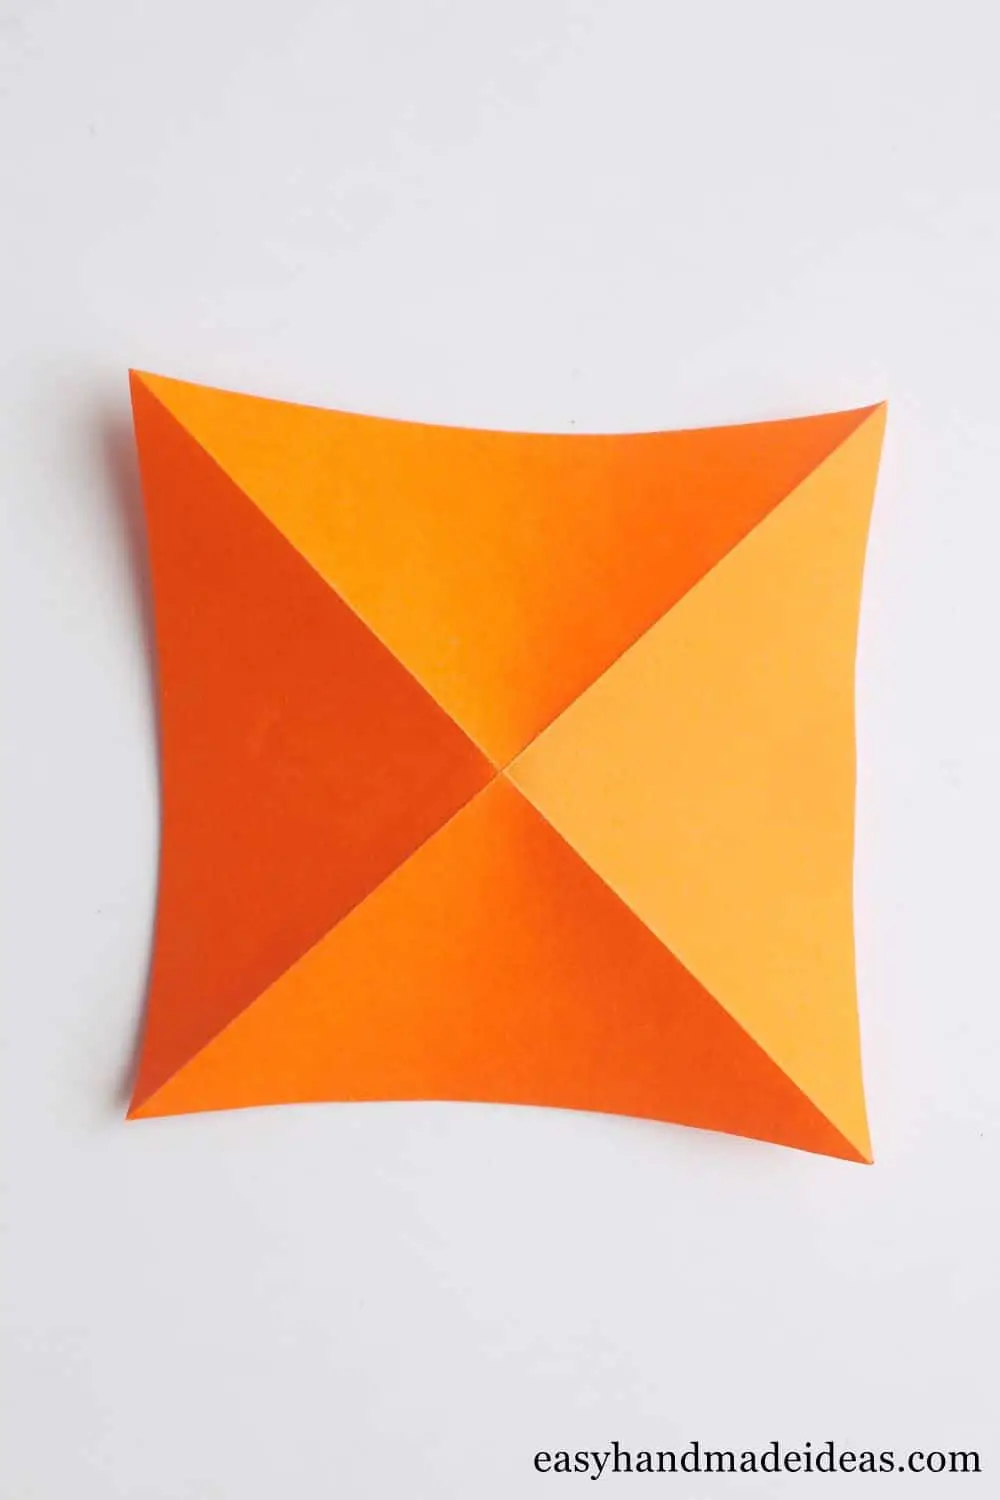
First, make diagonal folds on the square.
Step 3: Make cross folds
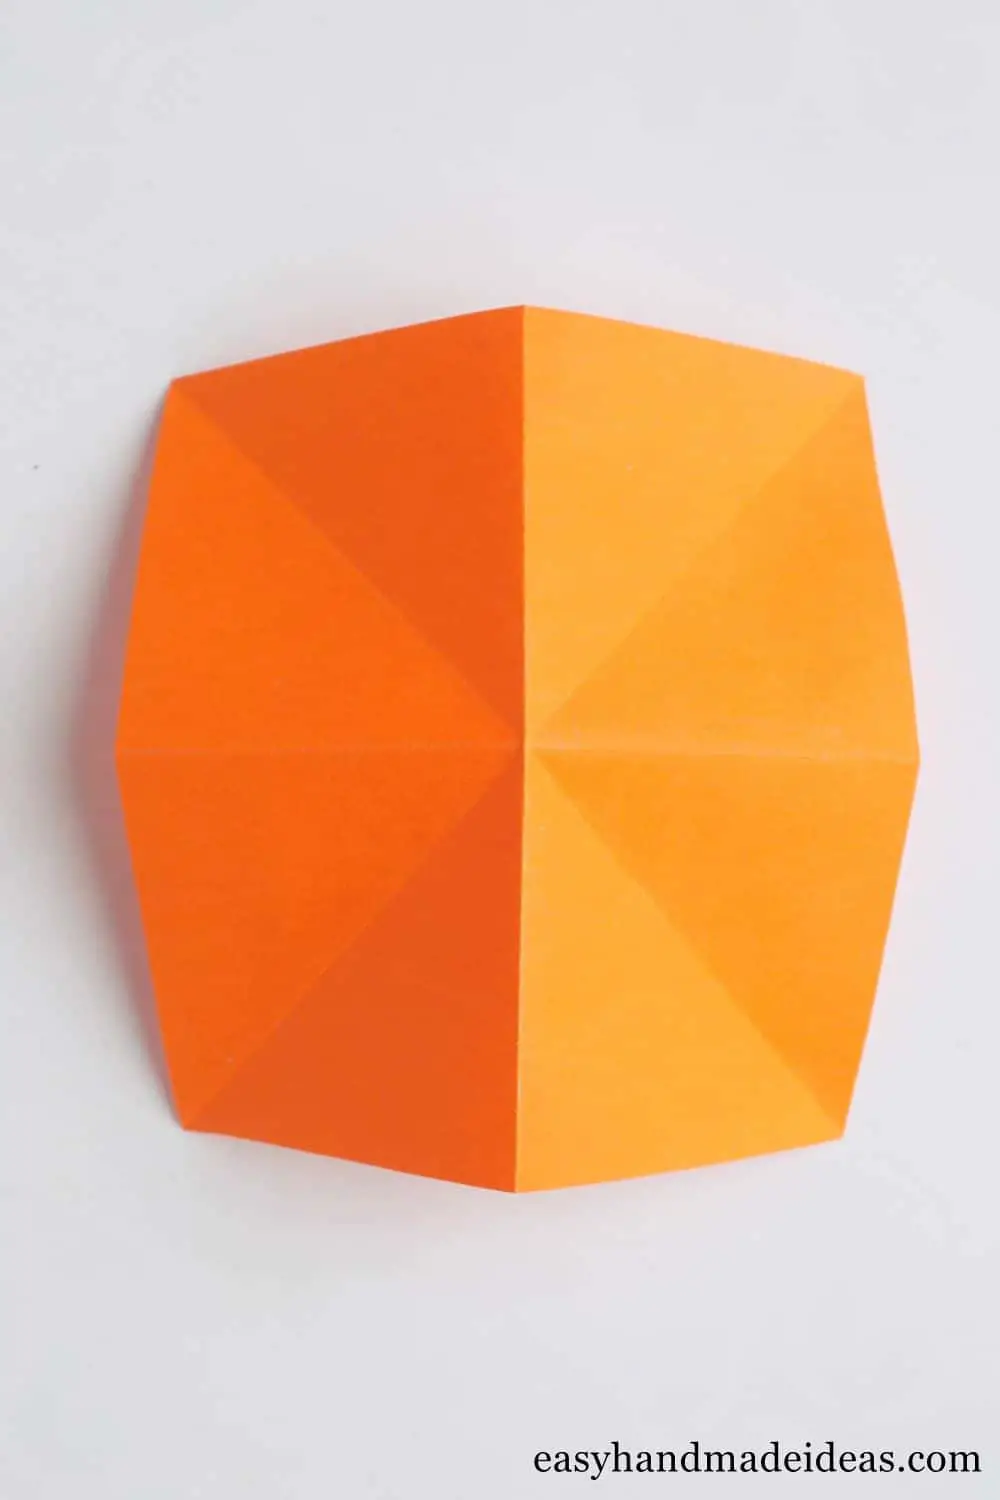
Then you need to fold the blank so that you get transverse folds, but make them in a different direction.
Step 4: Make a double square
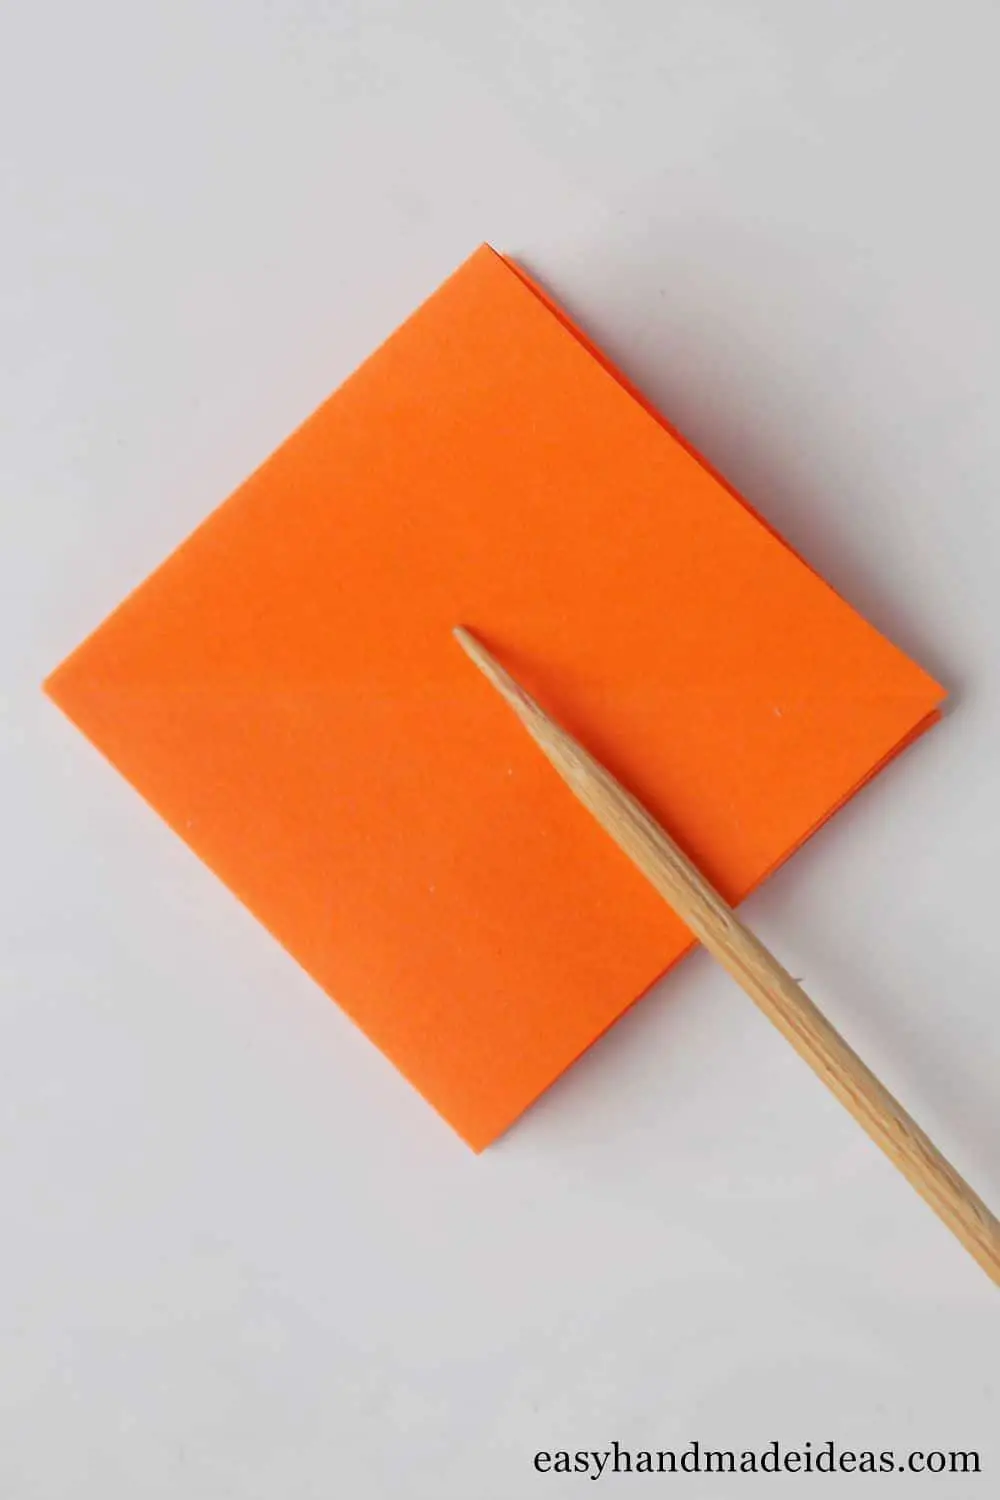
In the end, you must fold the paper blank in the form of a double square.
Step 5: Fold the side corners towards the middle
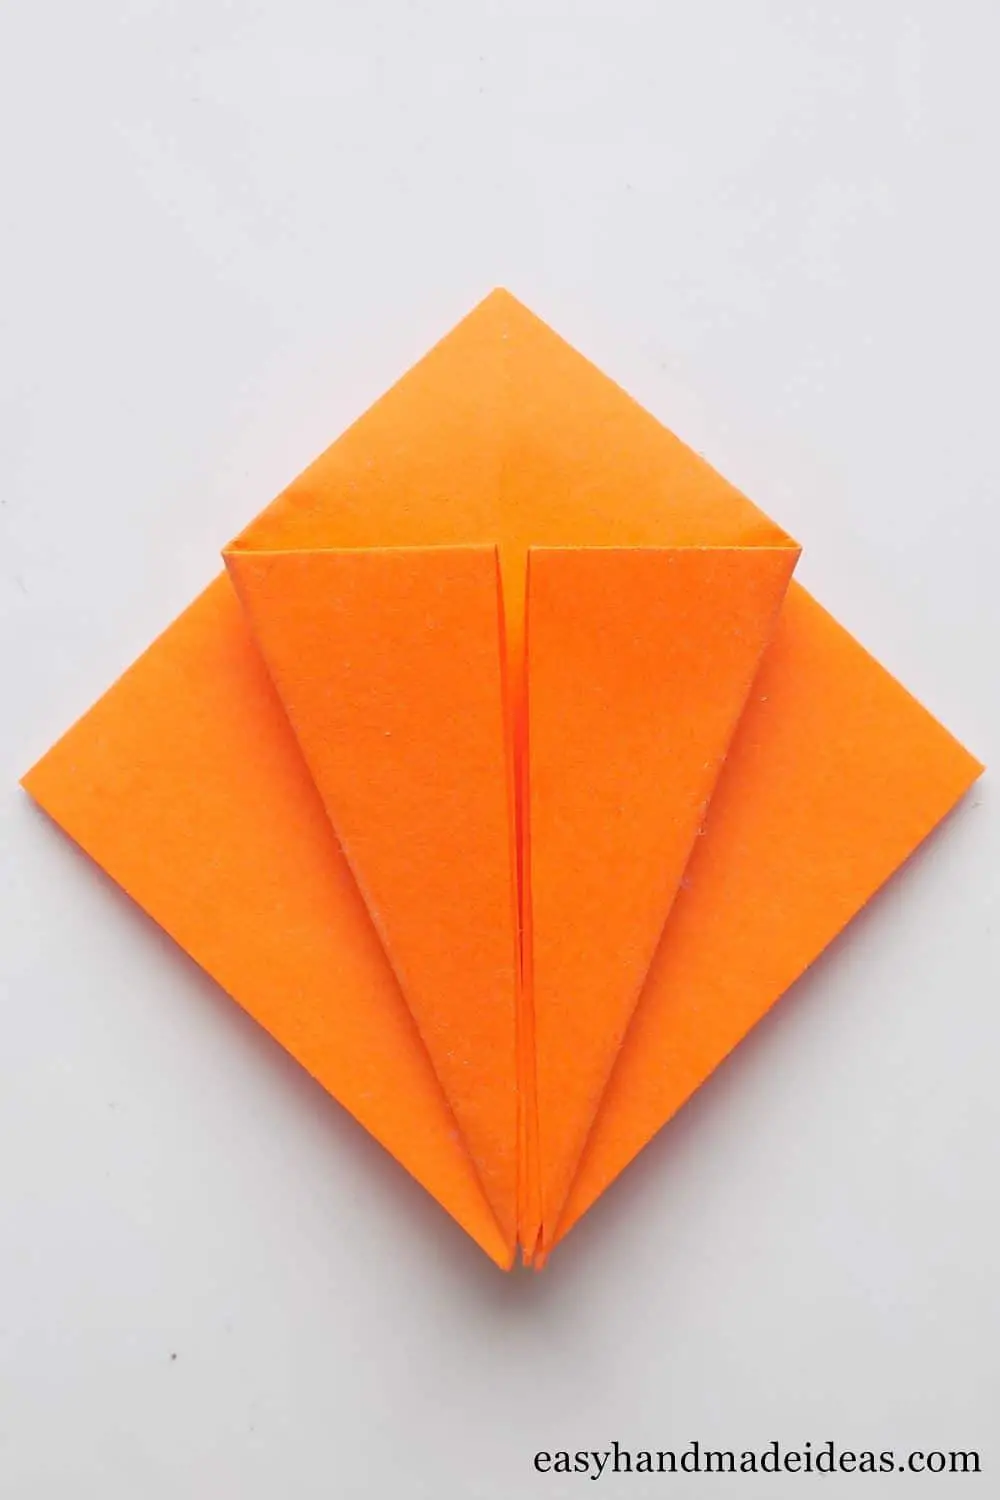
Before further work, check that the open slices of the blank are located at the bottom. Then fold the corners from the bottom to the middle line.
Step 6: Repeat the previous point on the opposite side of the blank

Similar folds are repeated on the other side of the double square.
Step 7: Unfold the whole blank
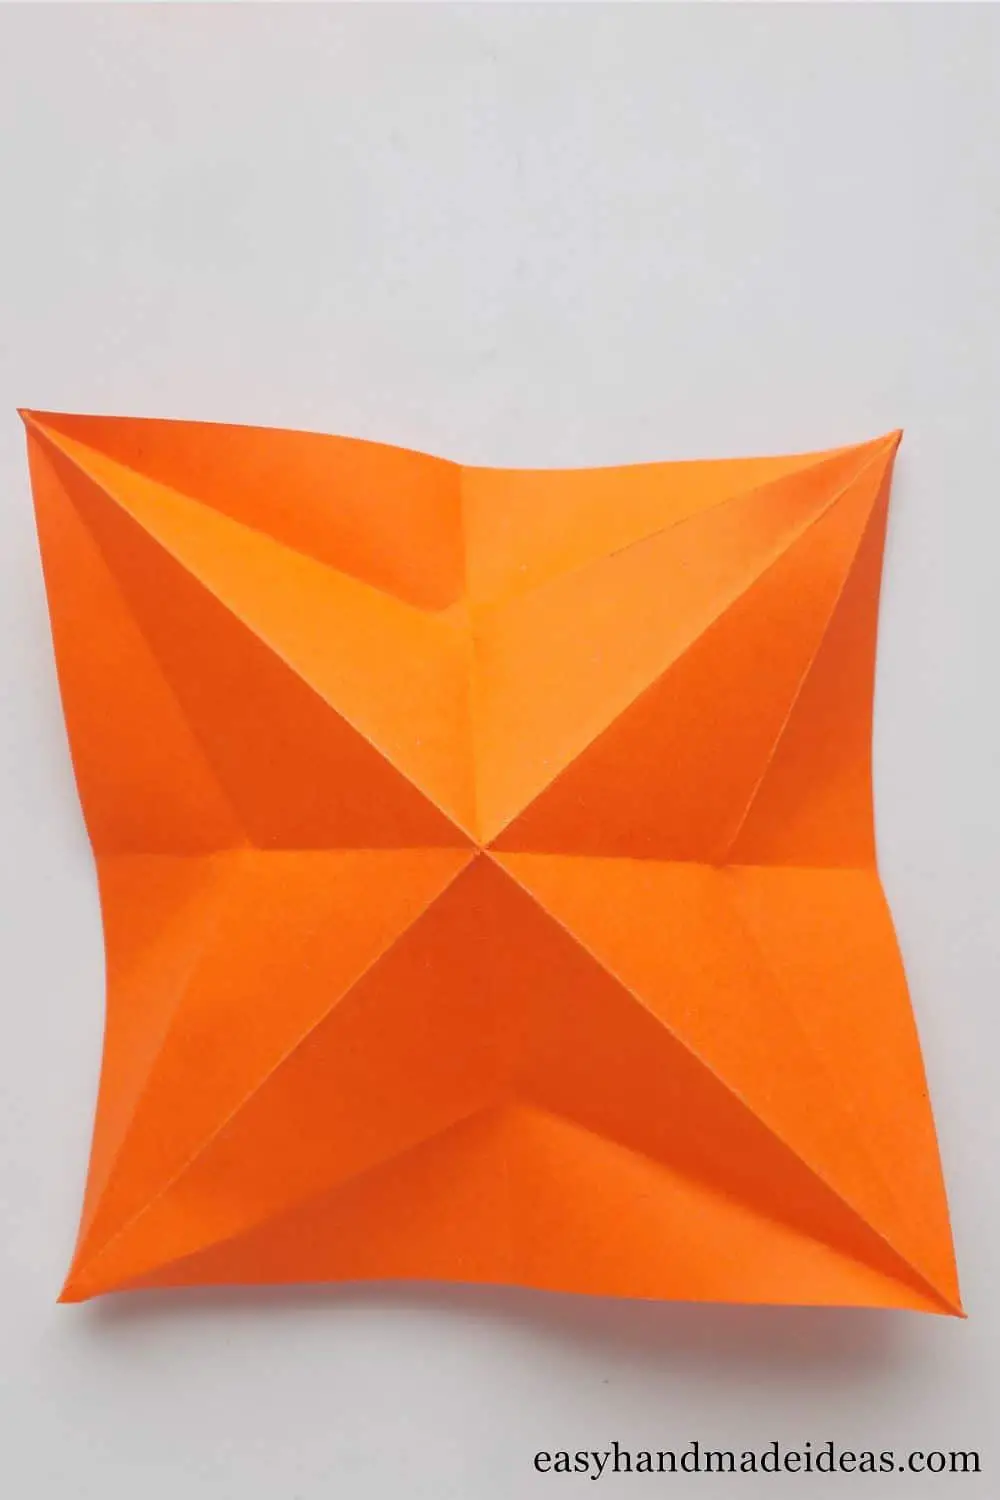
Unfold the whole paper square.
Step 8: Make small cuts on the sides
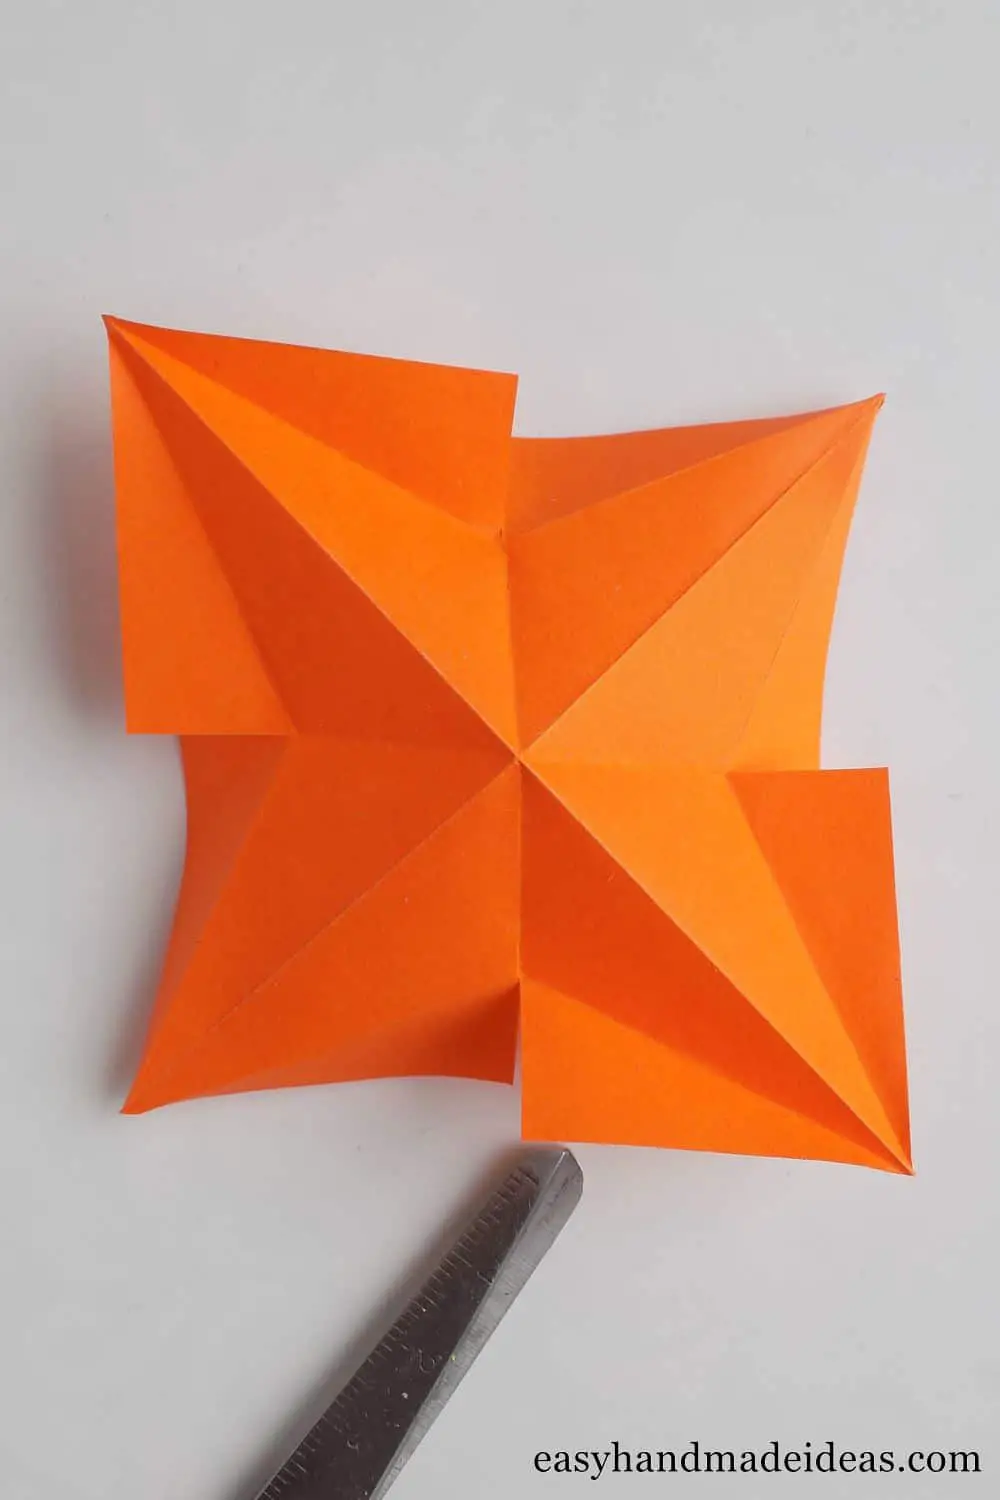
Next you need to use scissors. Make cuts where the two lines meet.
Step 9: Fold so that you get a star with four rays
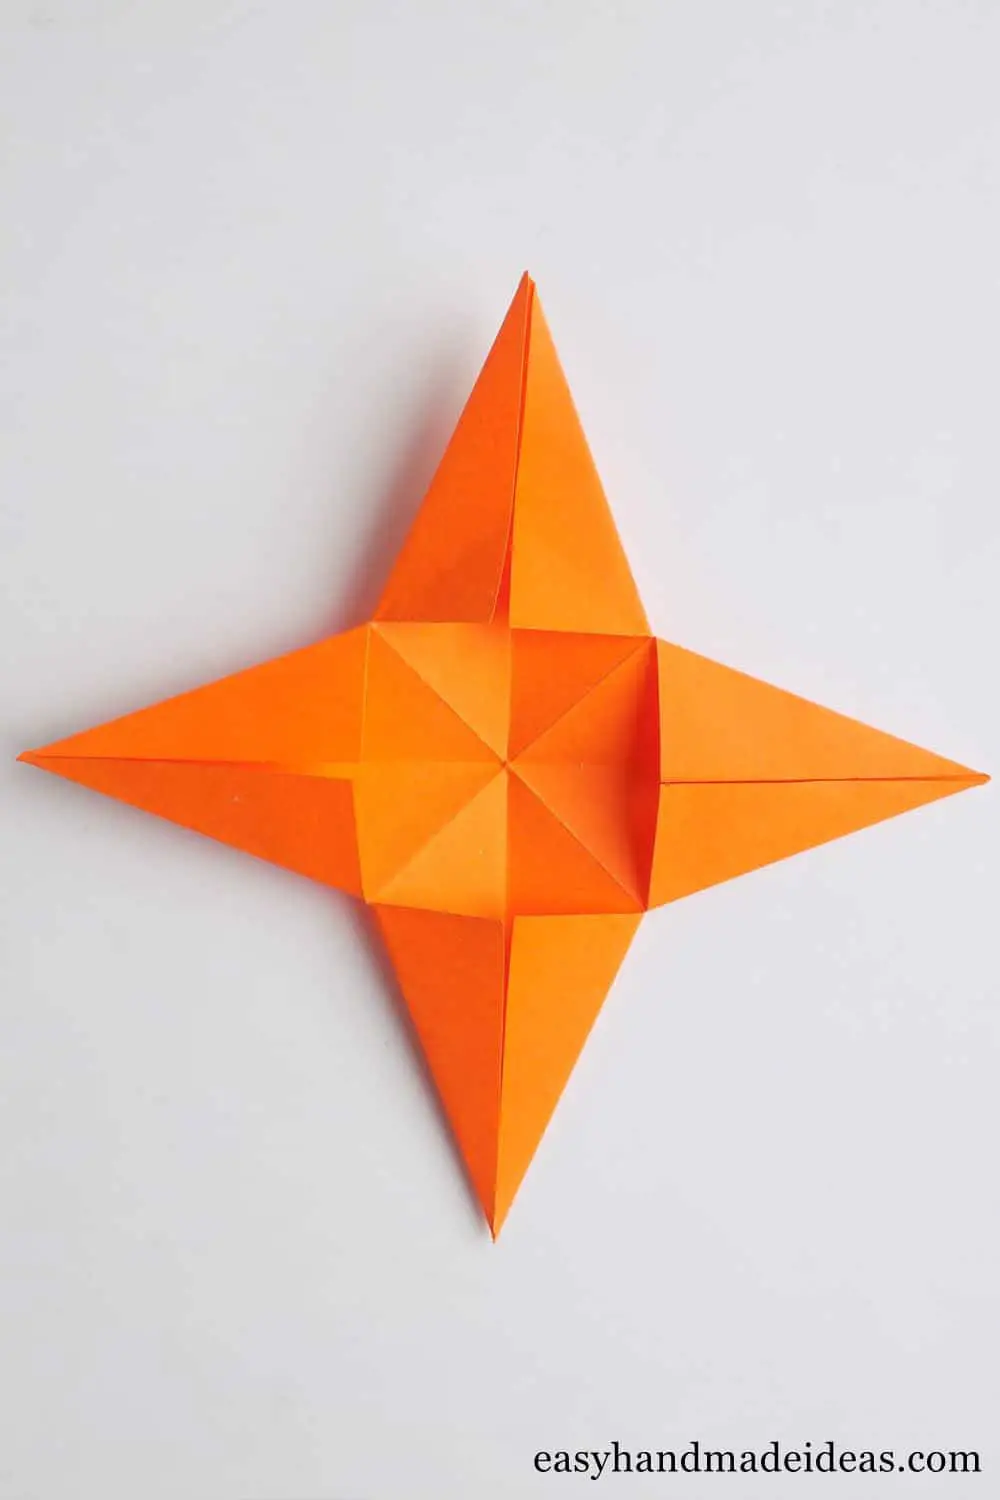
Fold blank in all the sides into the middle.
Step 10: Fold the edges into the centre
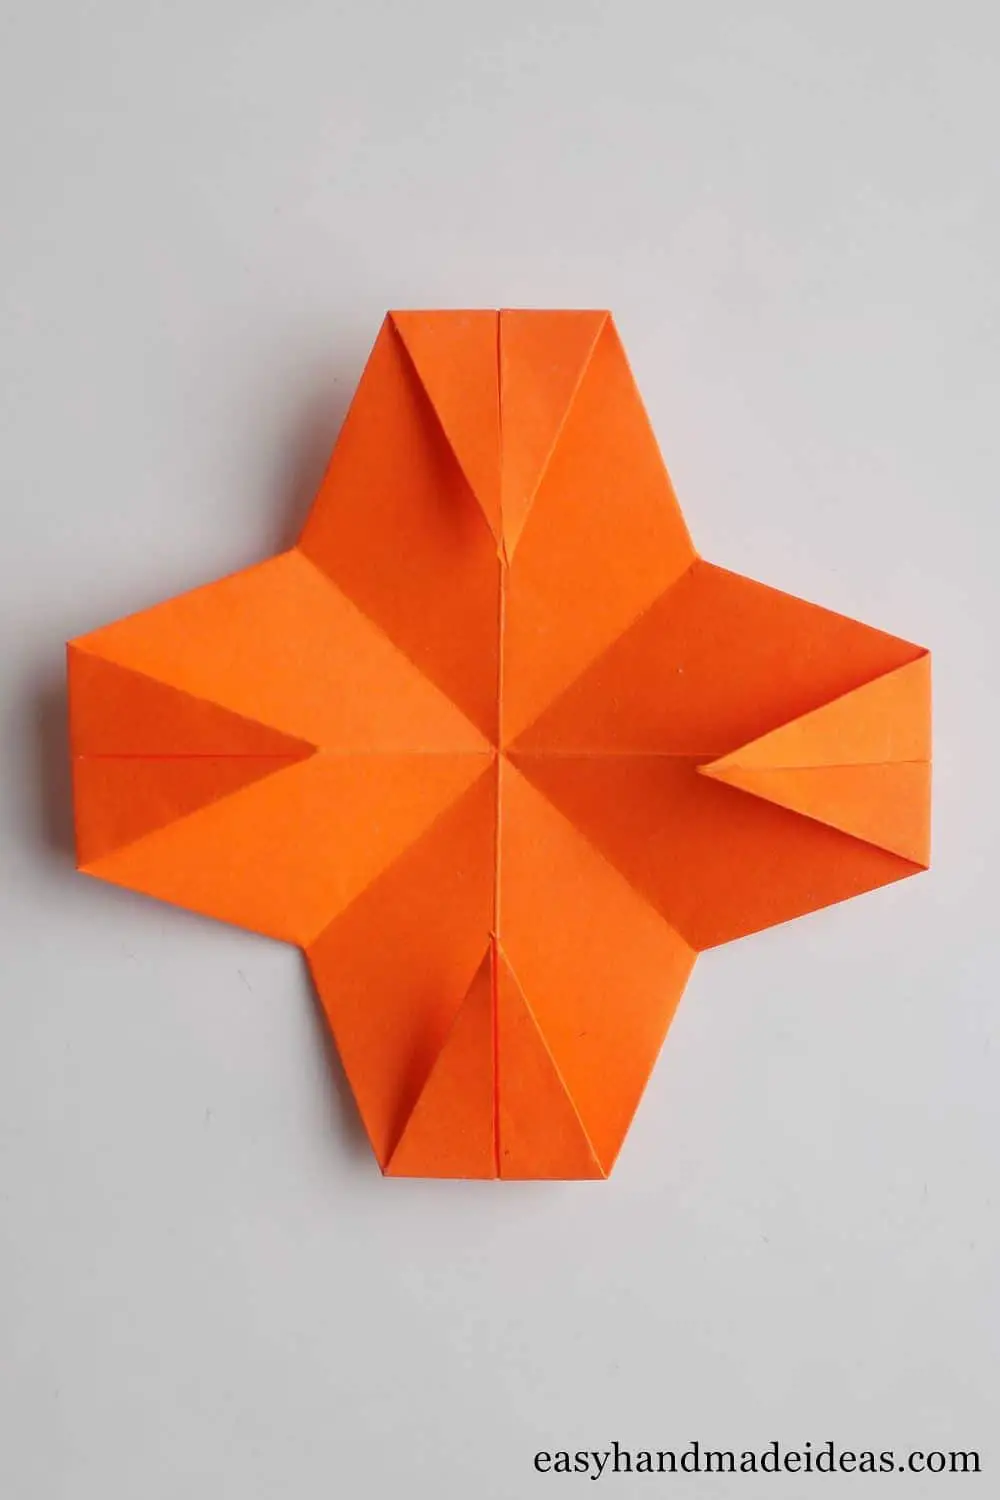
Turn the star over to the other side. Here fold its rays towards the centre by the same distance (about 2 cm).
Step 11: Make additional folds
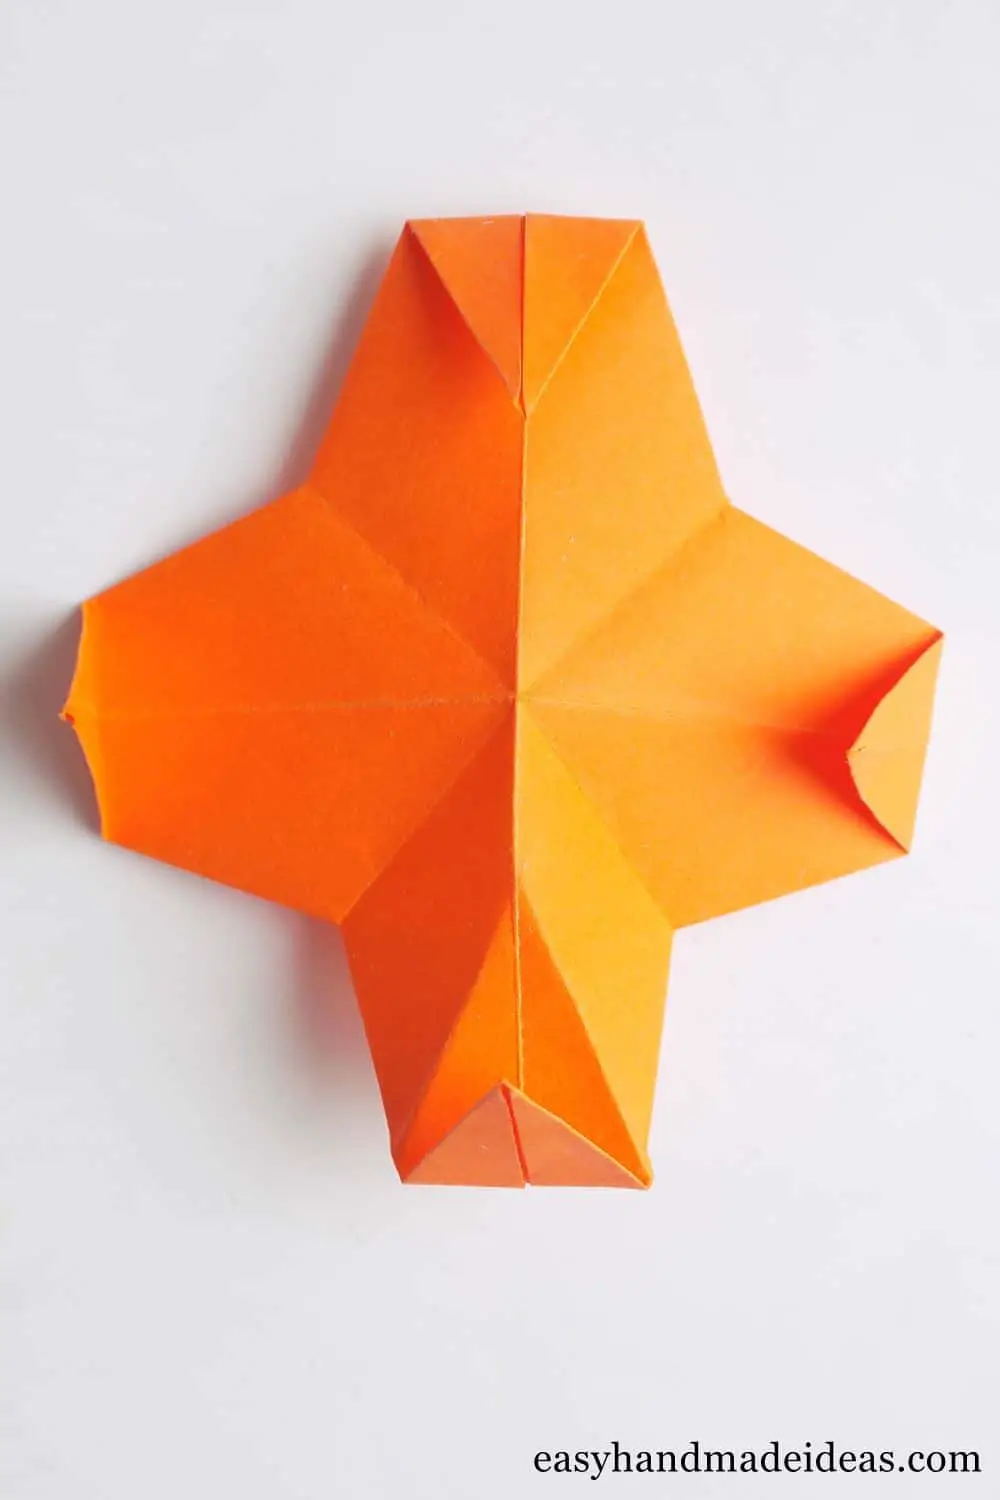
Now you need to make folds that will run along the sides of the triangles that have just been bent.
Step 12: Finish the craft
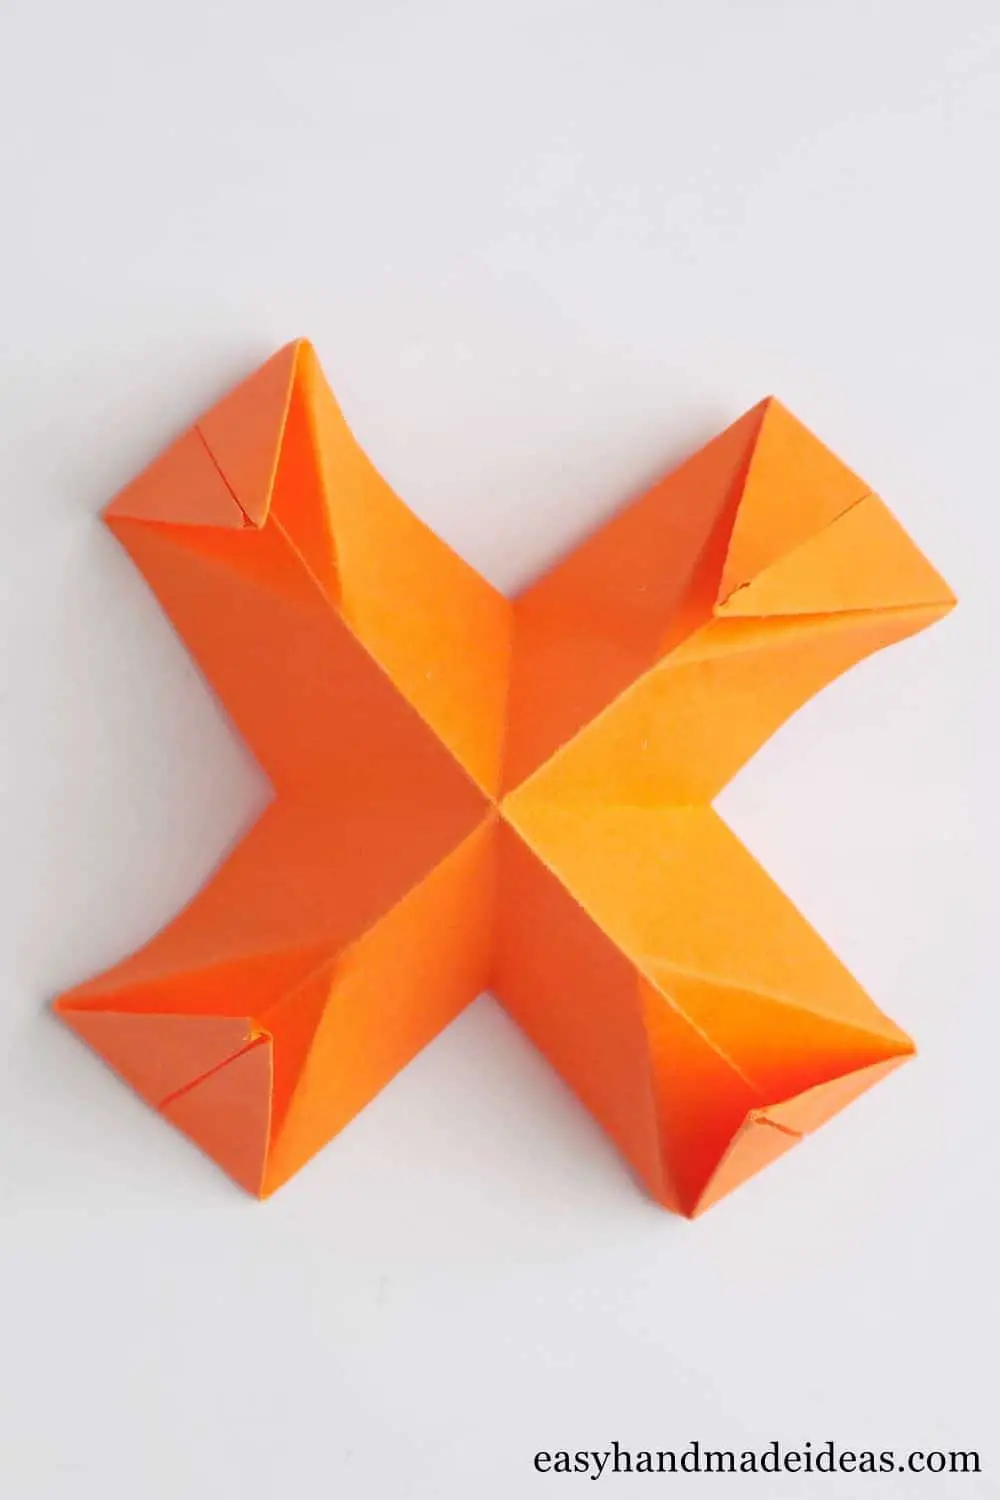
Do this to all four triangles. After that, once again we will go through the central folds. Your origami toy is ready.
Step 13: Experiment, put your finger in the trap
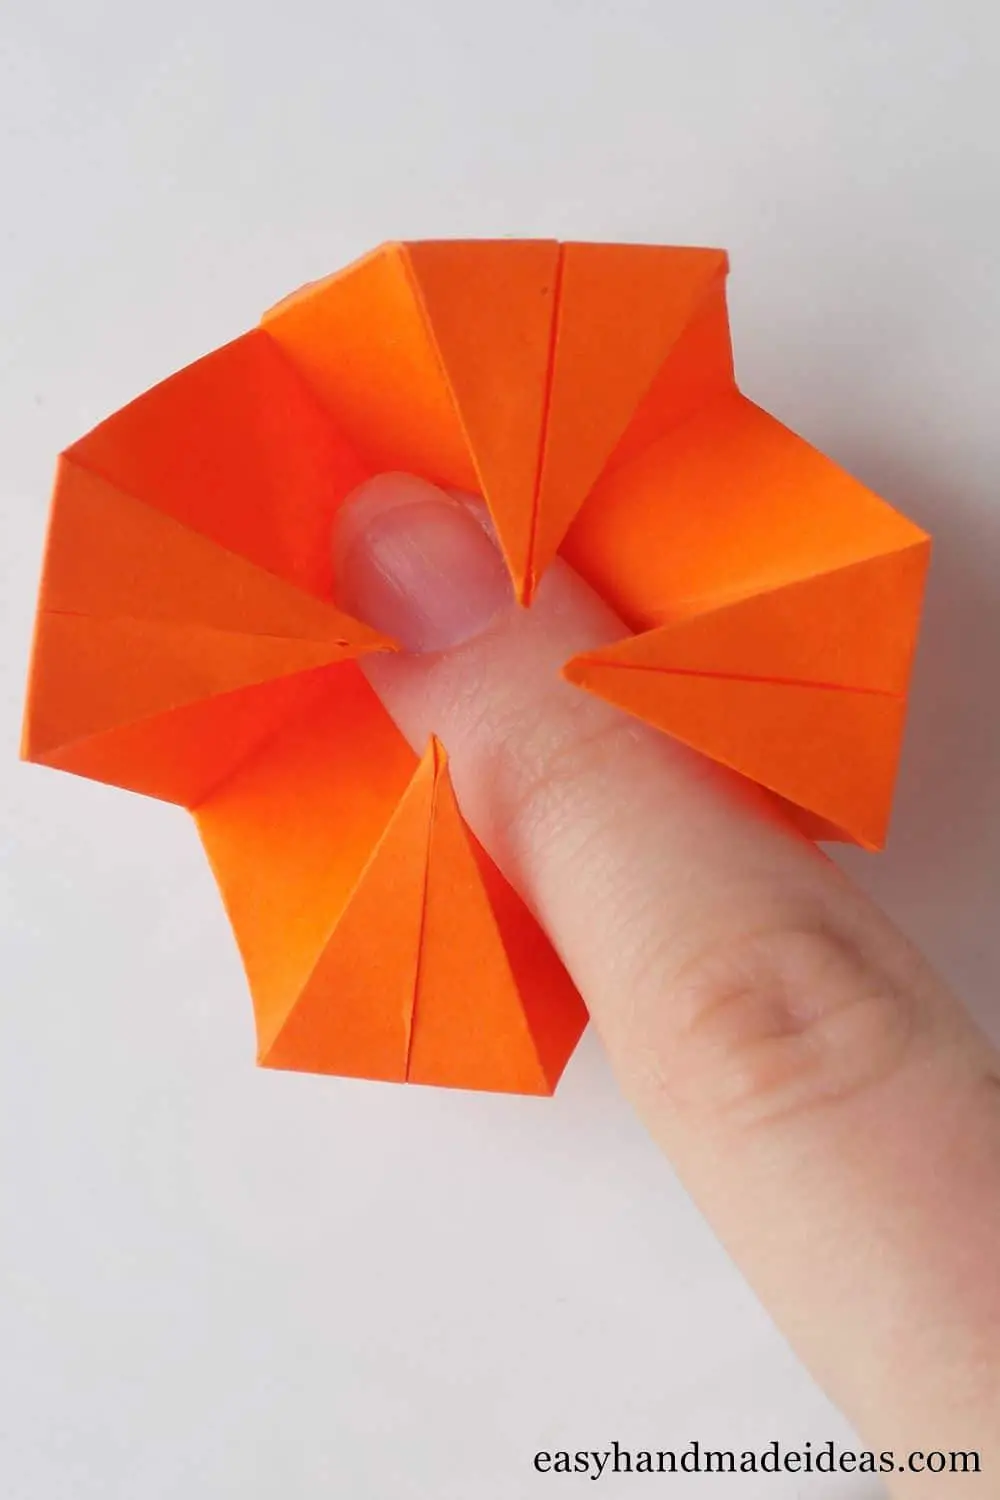
If you press on the centre of the origami trap, it will slam on your finger.
Supply:
- a square of coloured paper with a side of 7.5 cm.
Tools:
- scissors.

