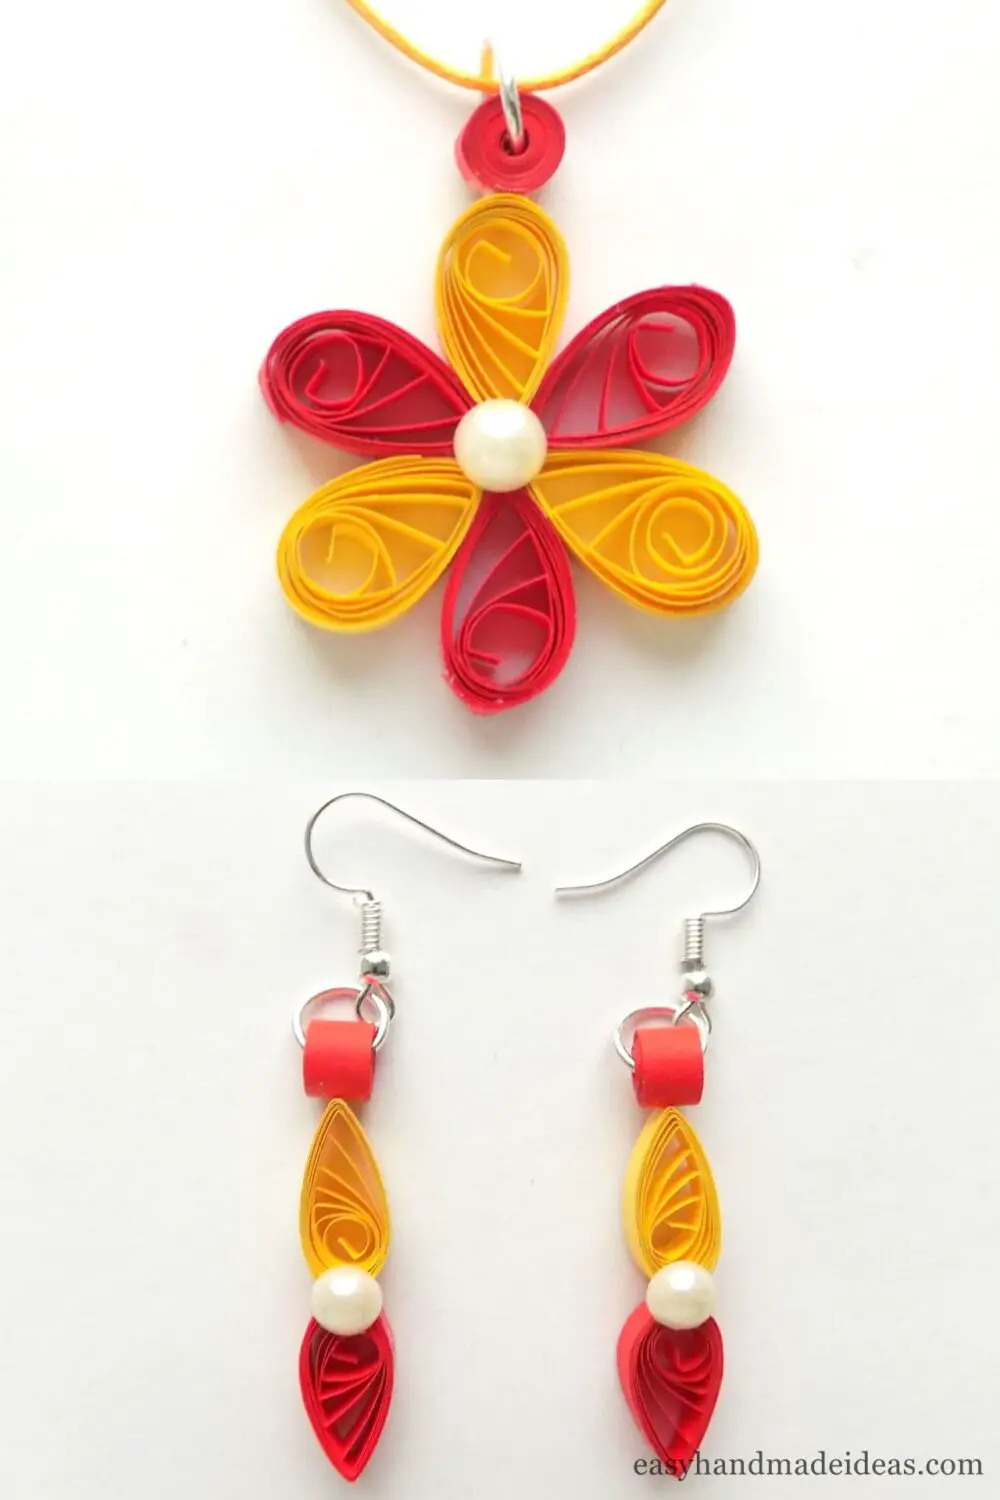
Thin paper quilling strips can be a great material for creating jewelry for little girls. In my master class you will learn how to make paper quilling pendant in a simple design.
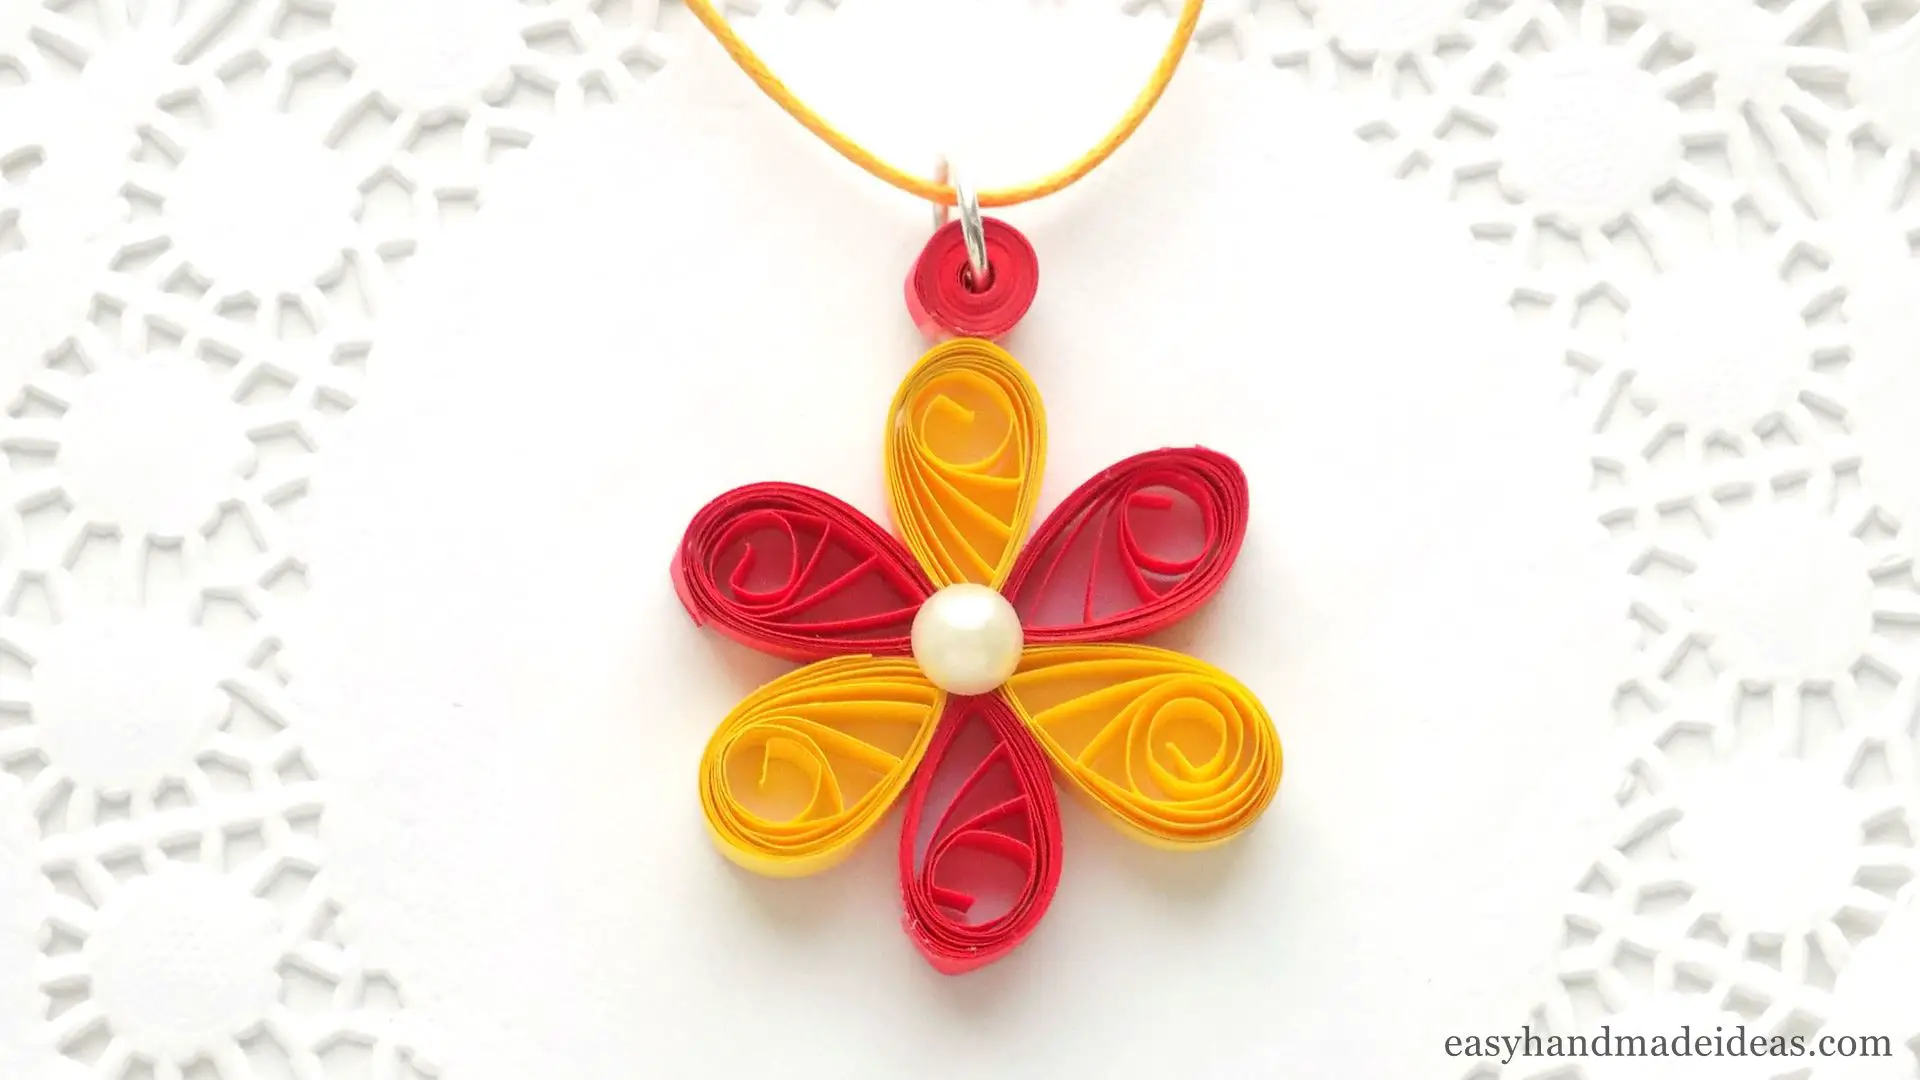
Paper quilling pendant
Total Time: 25 minutes
Step 1: Prepare materials
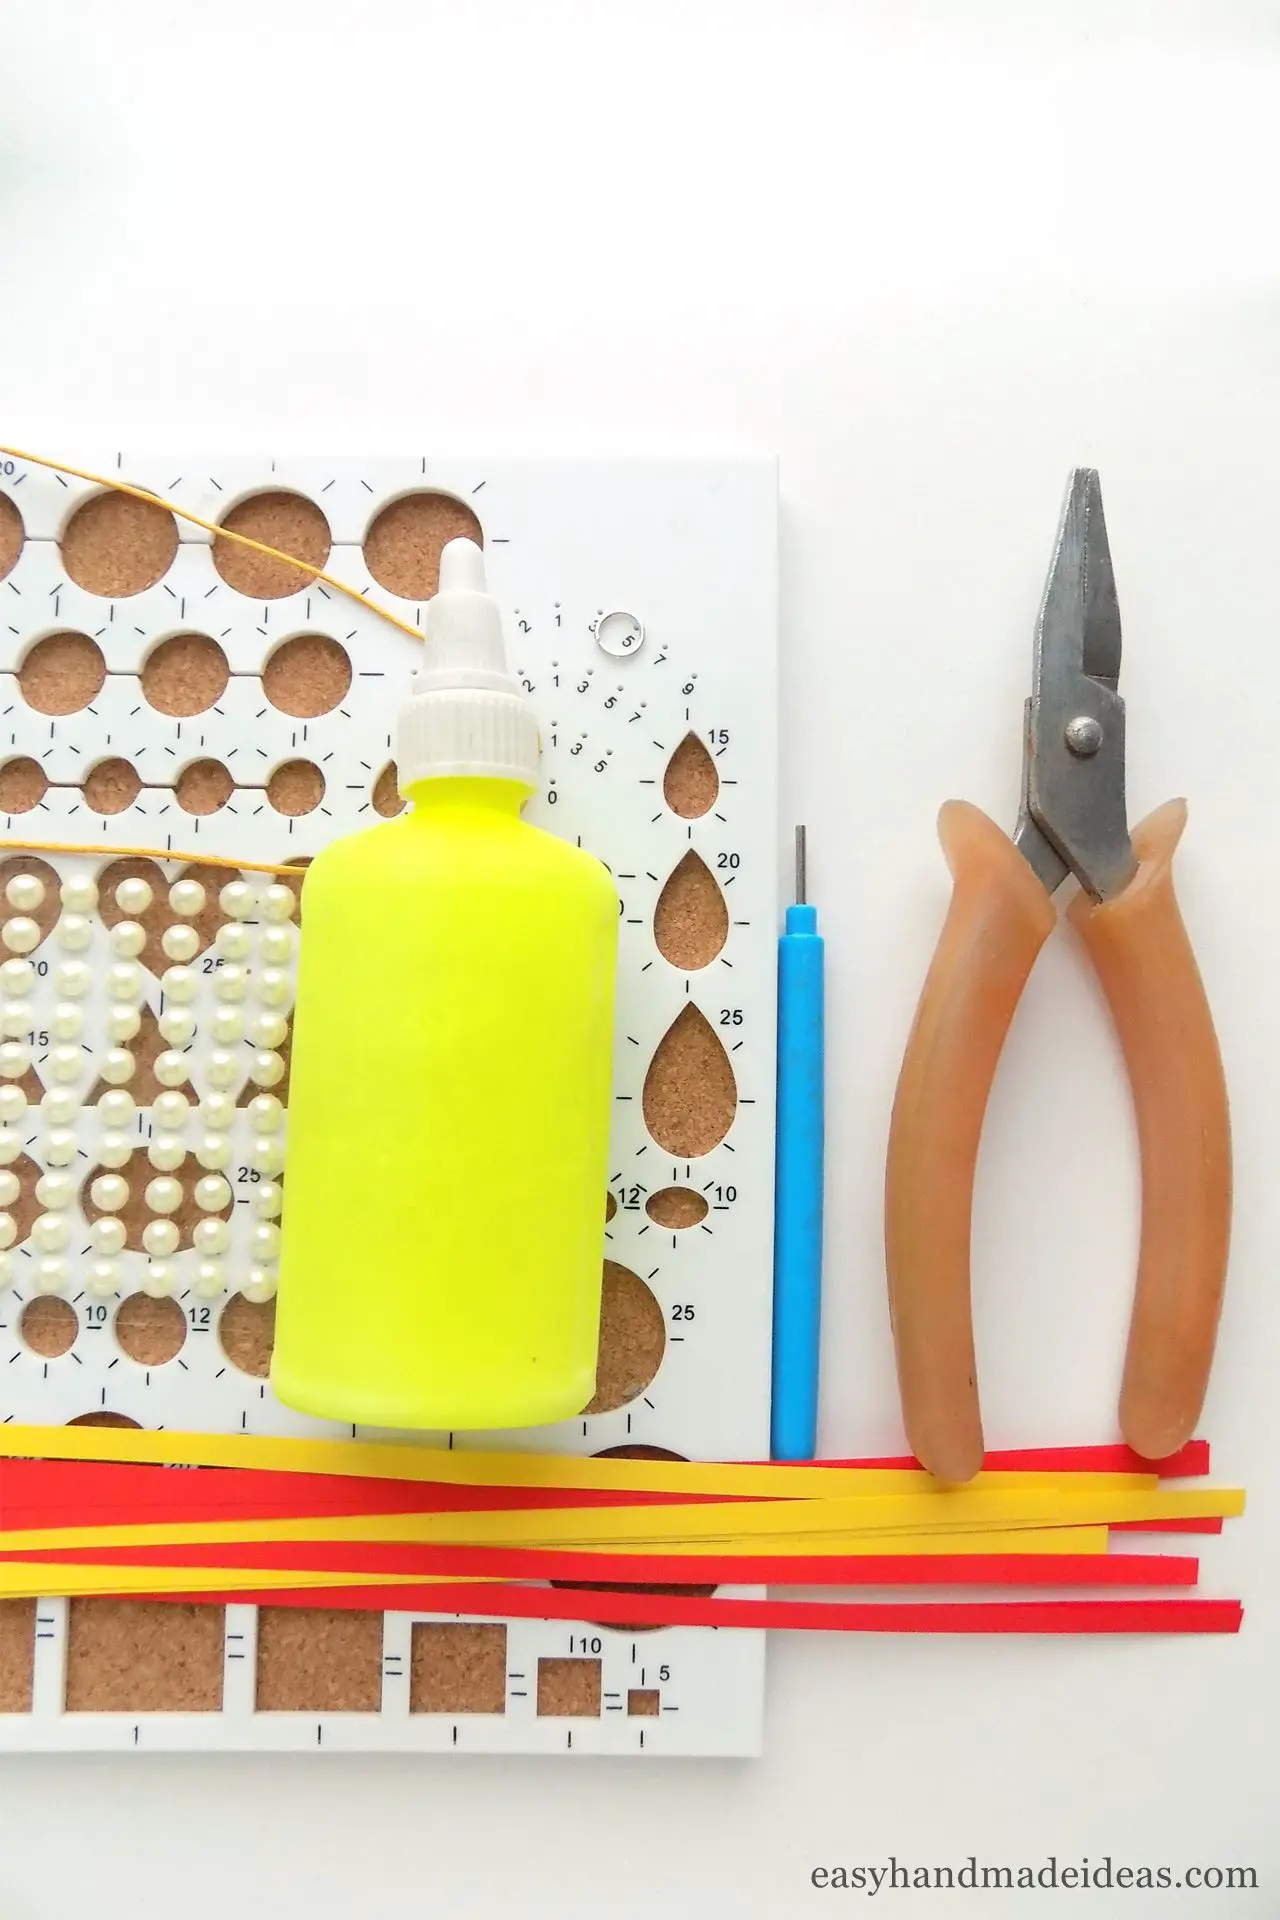
Choose paper quilling strips in the colors you need. In my case, I used red and yellow.
Step 2: Make the red loose coil
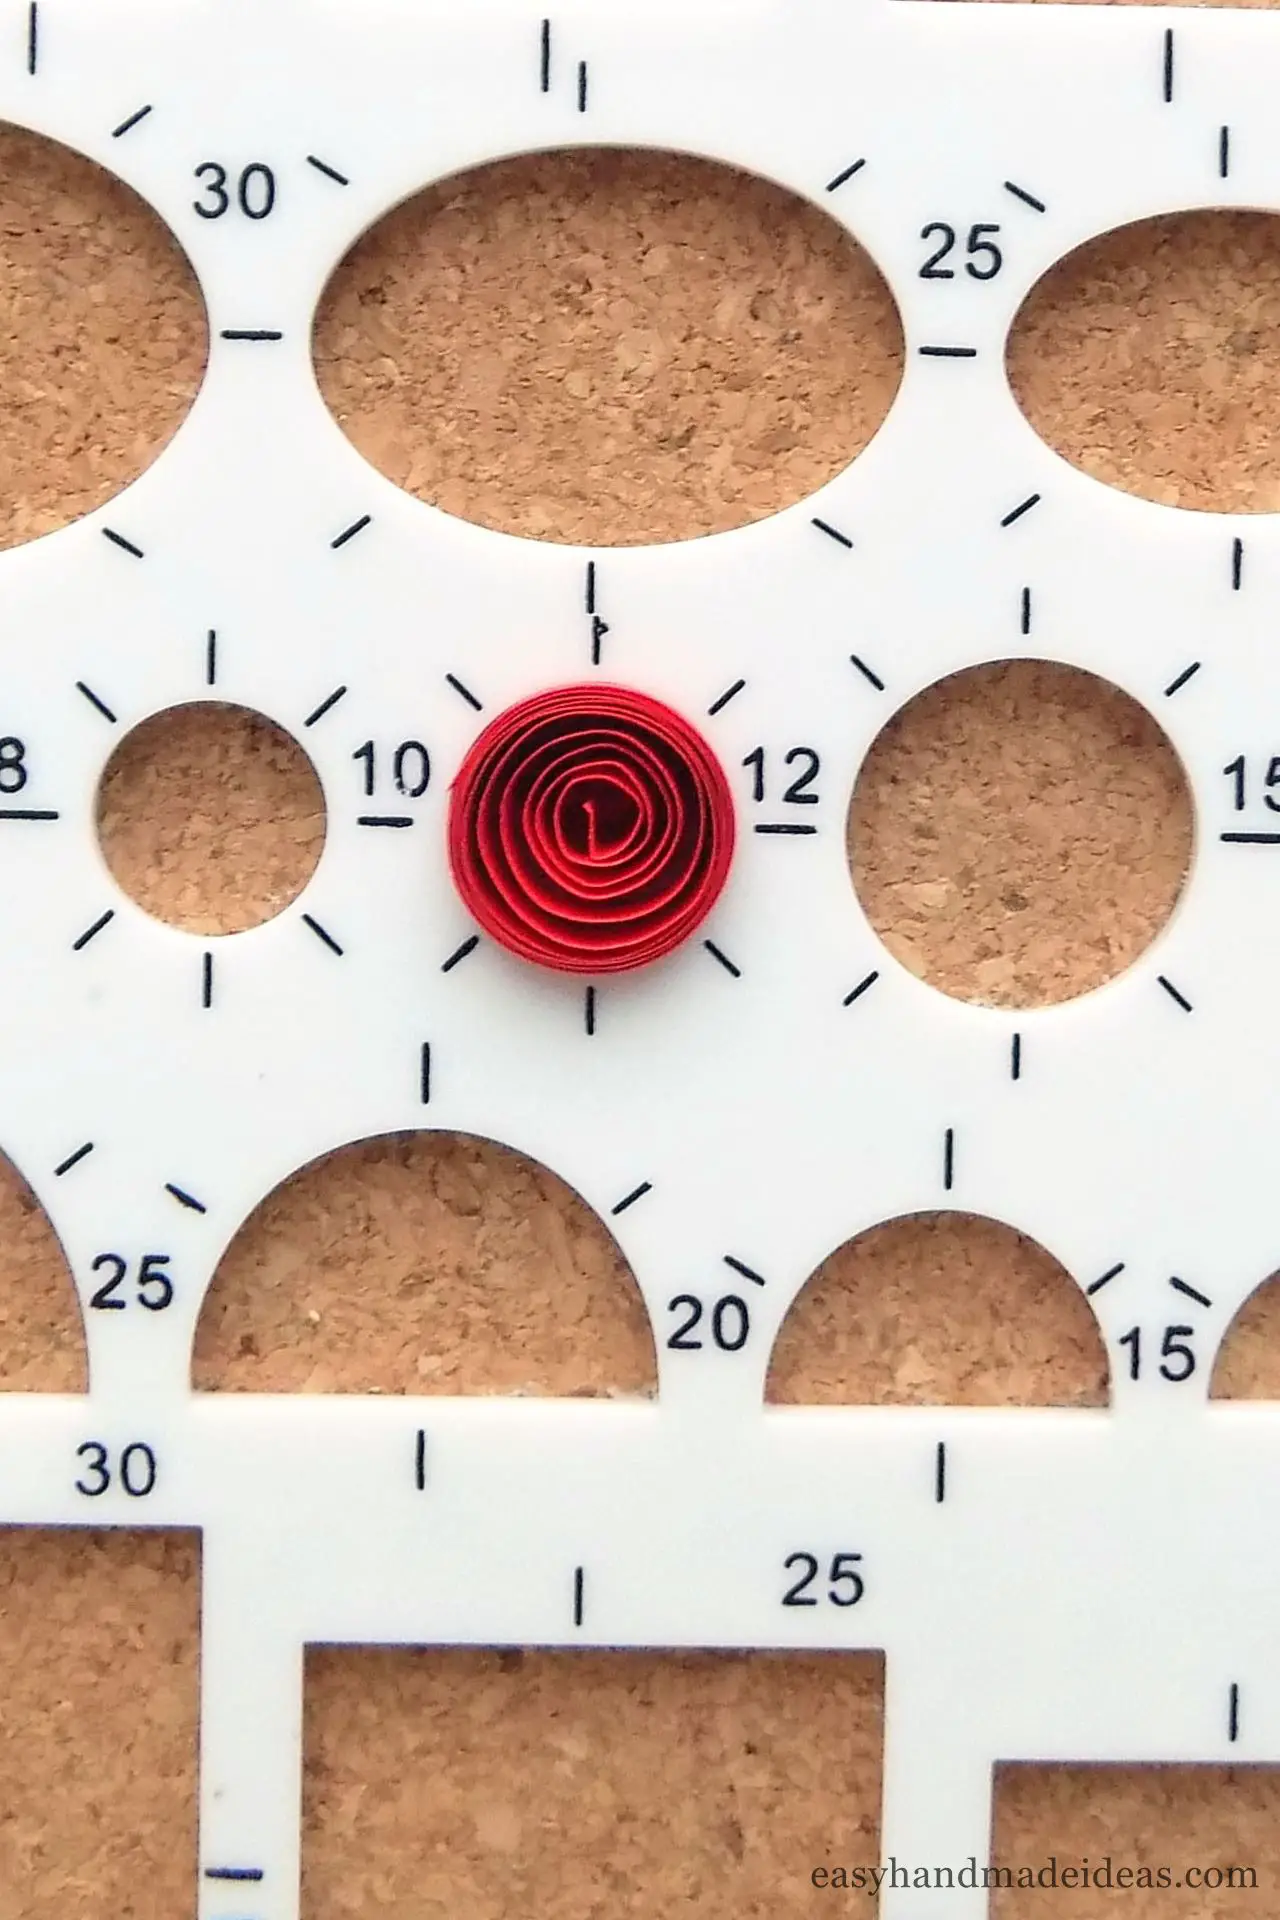
The pendant will be a flower made of paper strips. First, roll the red strip using the quilling tool and place it in the 12mm diameter section of the quilling board.
Step 3: Fix the tip of the loose coil
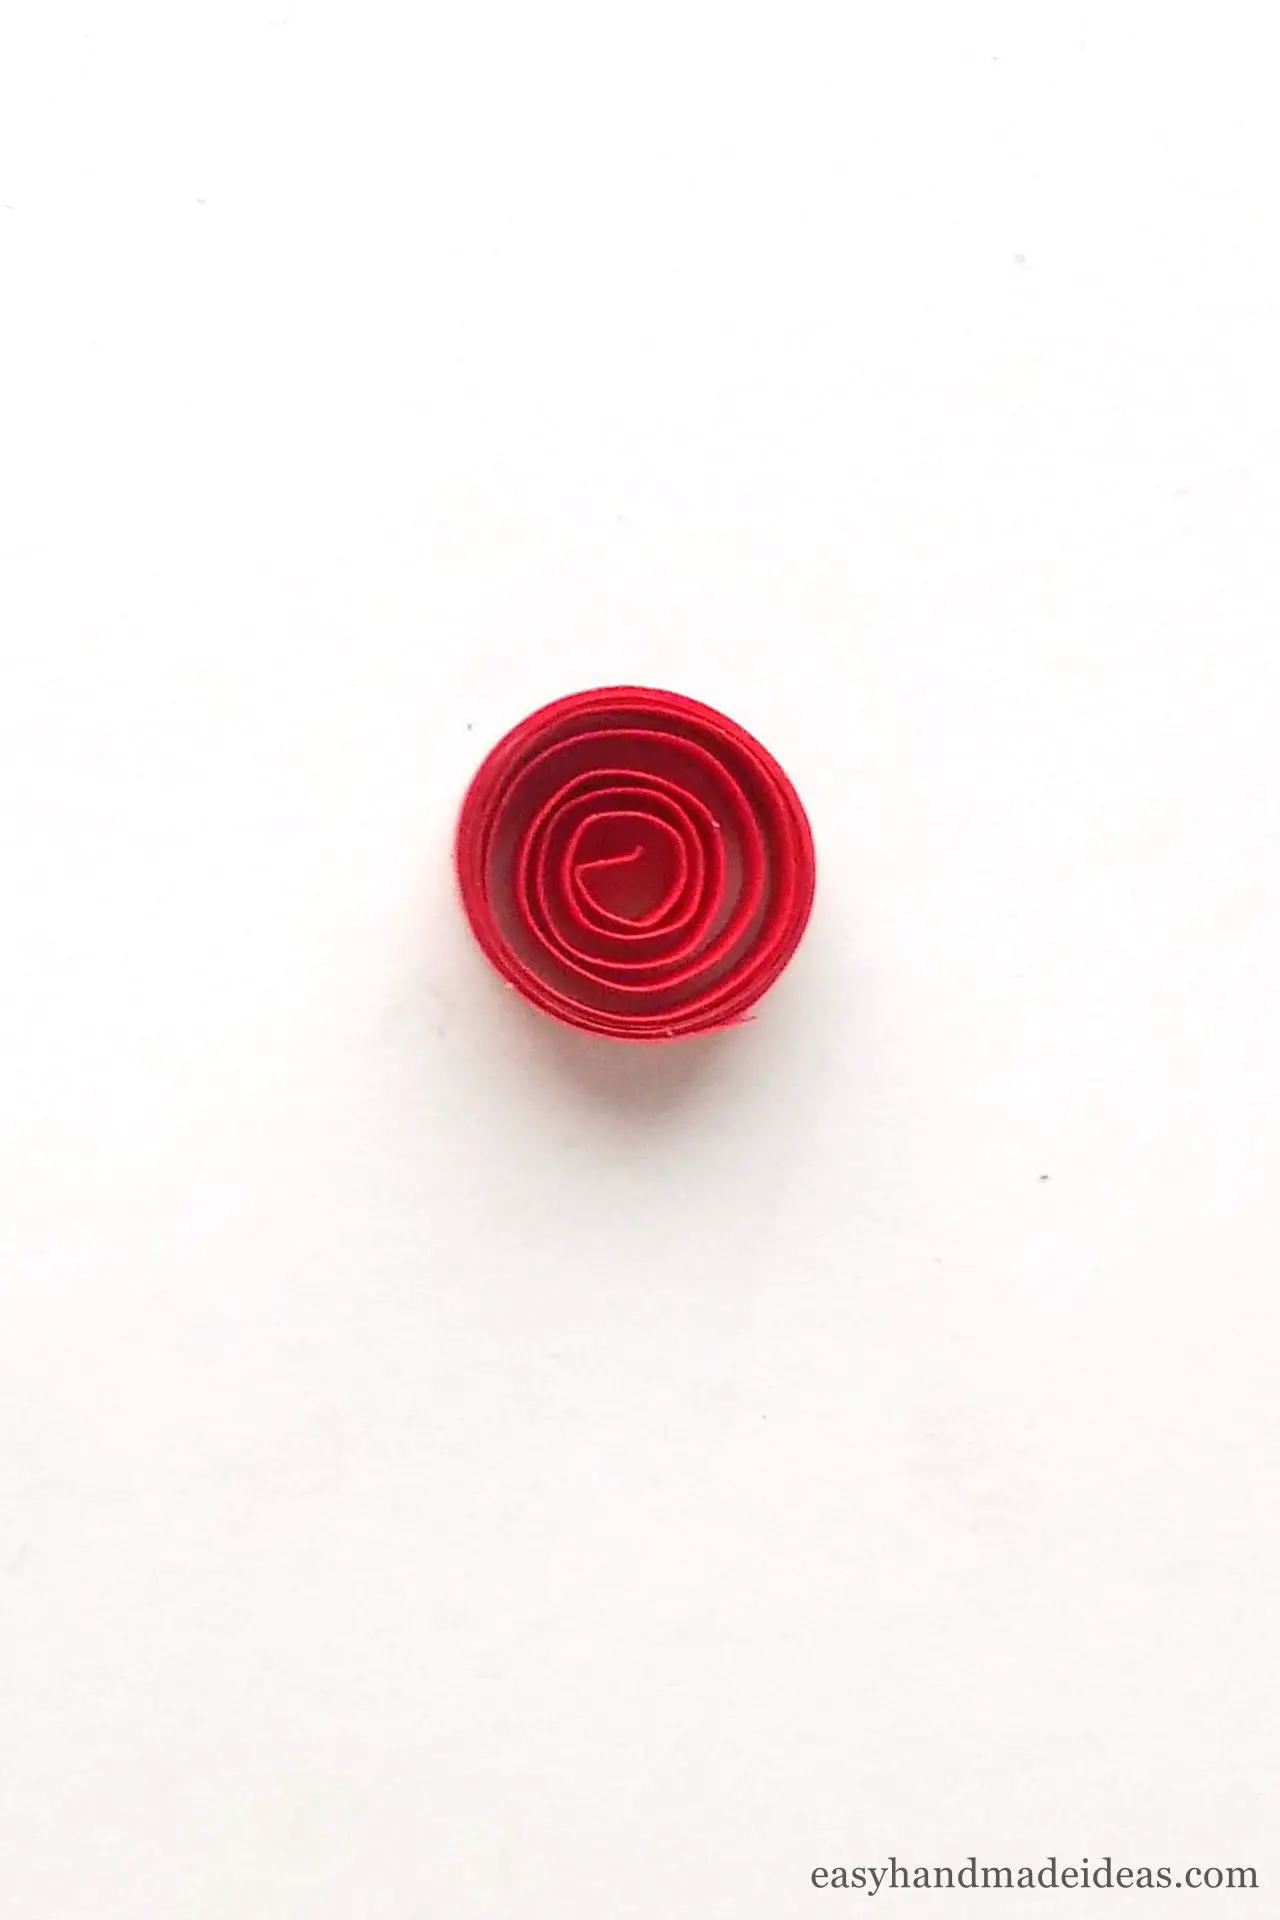
Carefully pull out the coil and then fix the tip of the loose coil with a drop of PVA glue.
Step 4: Make a teardrop coil
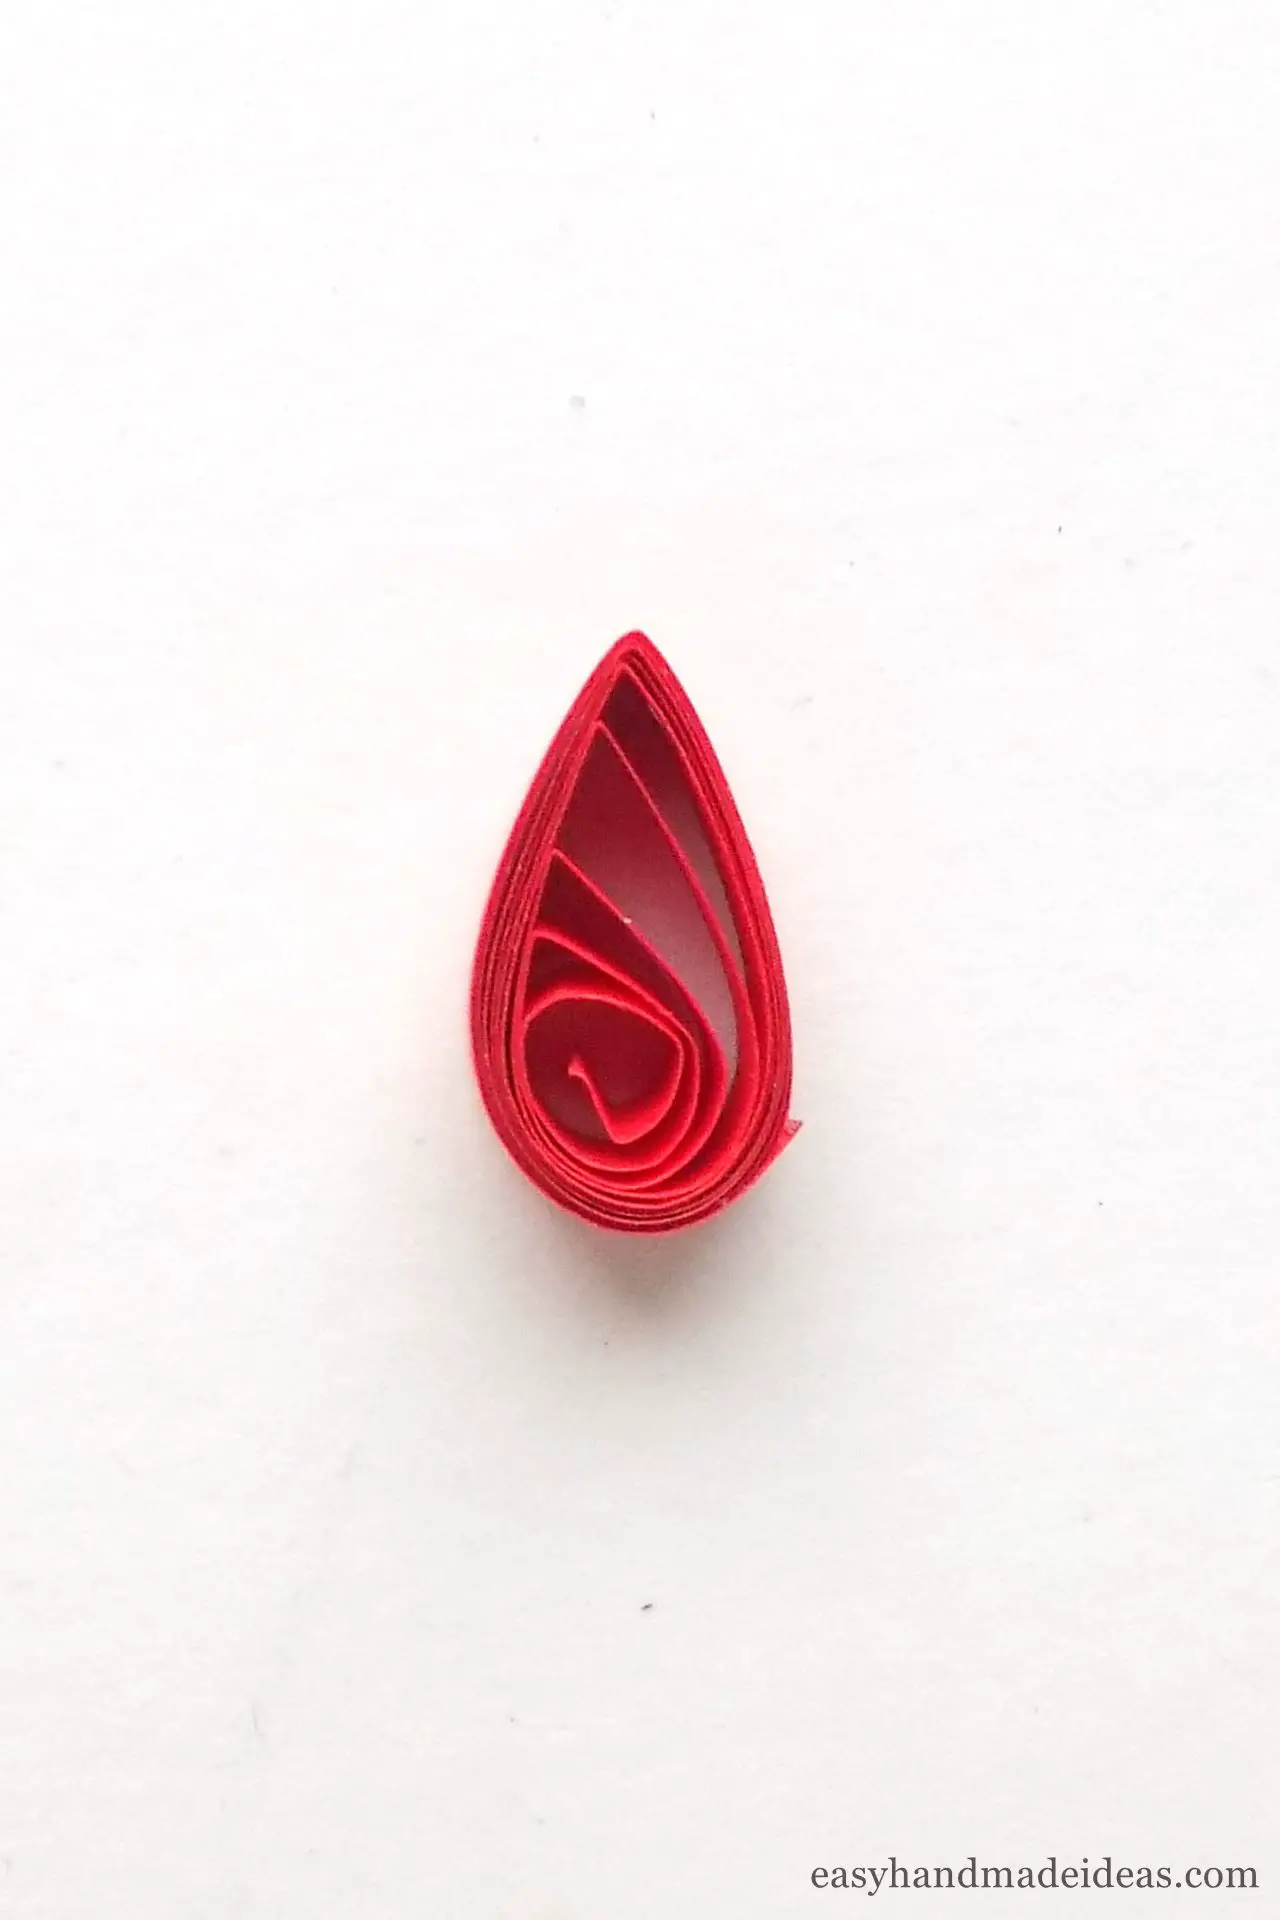
To shape this round piece into a petal, pinch the loose coil with your fingers on one side only. This is the first petal for the future flower.
Step 5: Make 6 teardrop coils
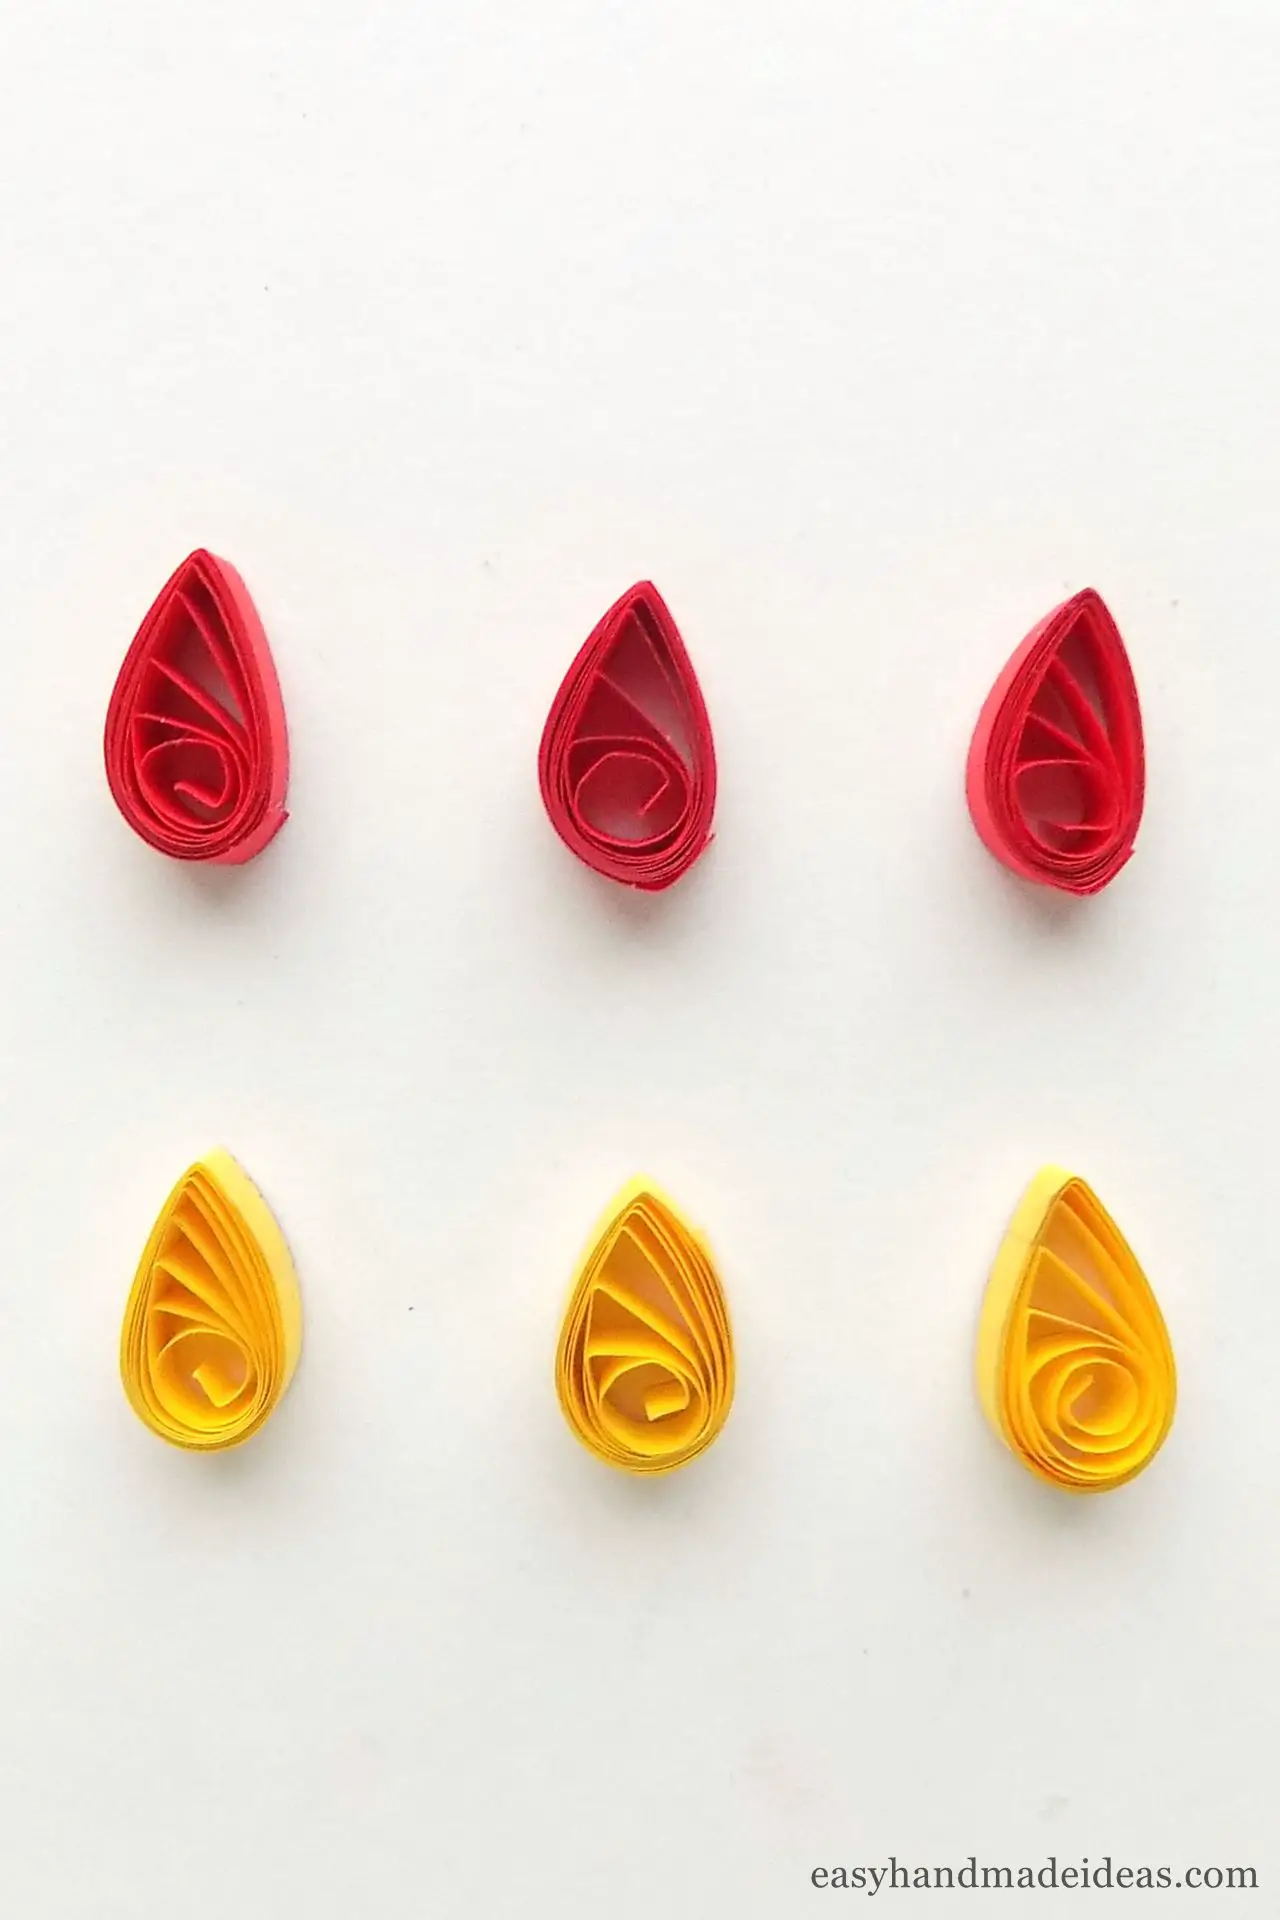
Based on the previous steps, make another 2 red and 3 yellow teardrop coils to give you a total of 6 teardrop coils.
Step 6: Make a tight roll
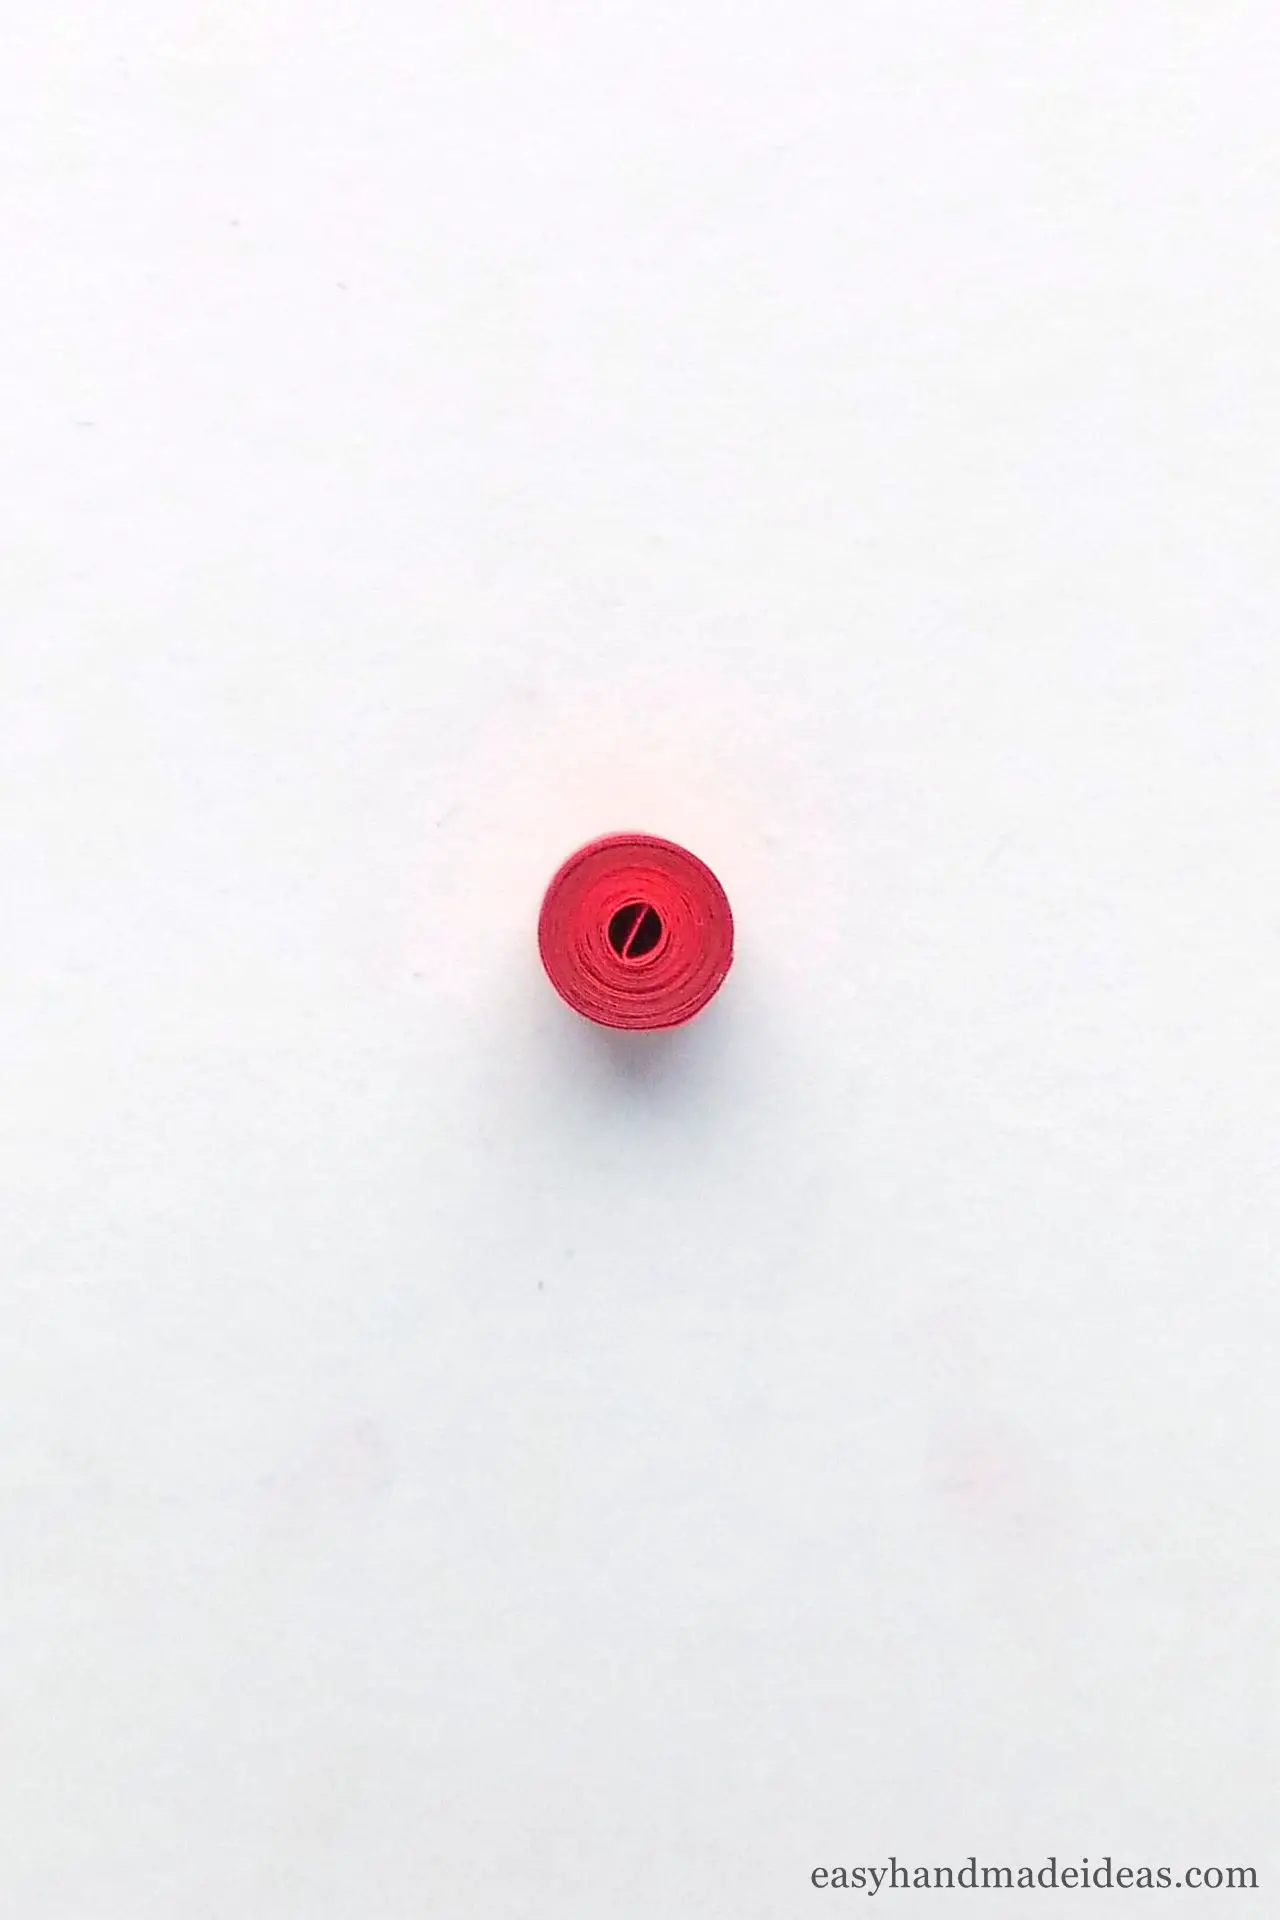
Make a connecting element for the pendant. To do this, tightly roll the red paper strip and glue its tip.
Step 7: Glue two teardrop coils together
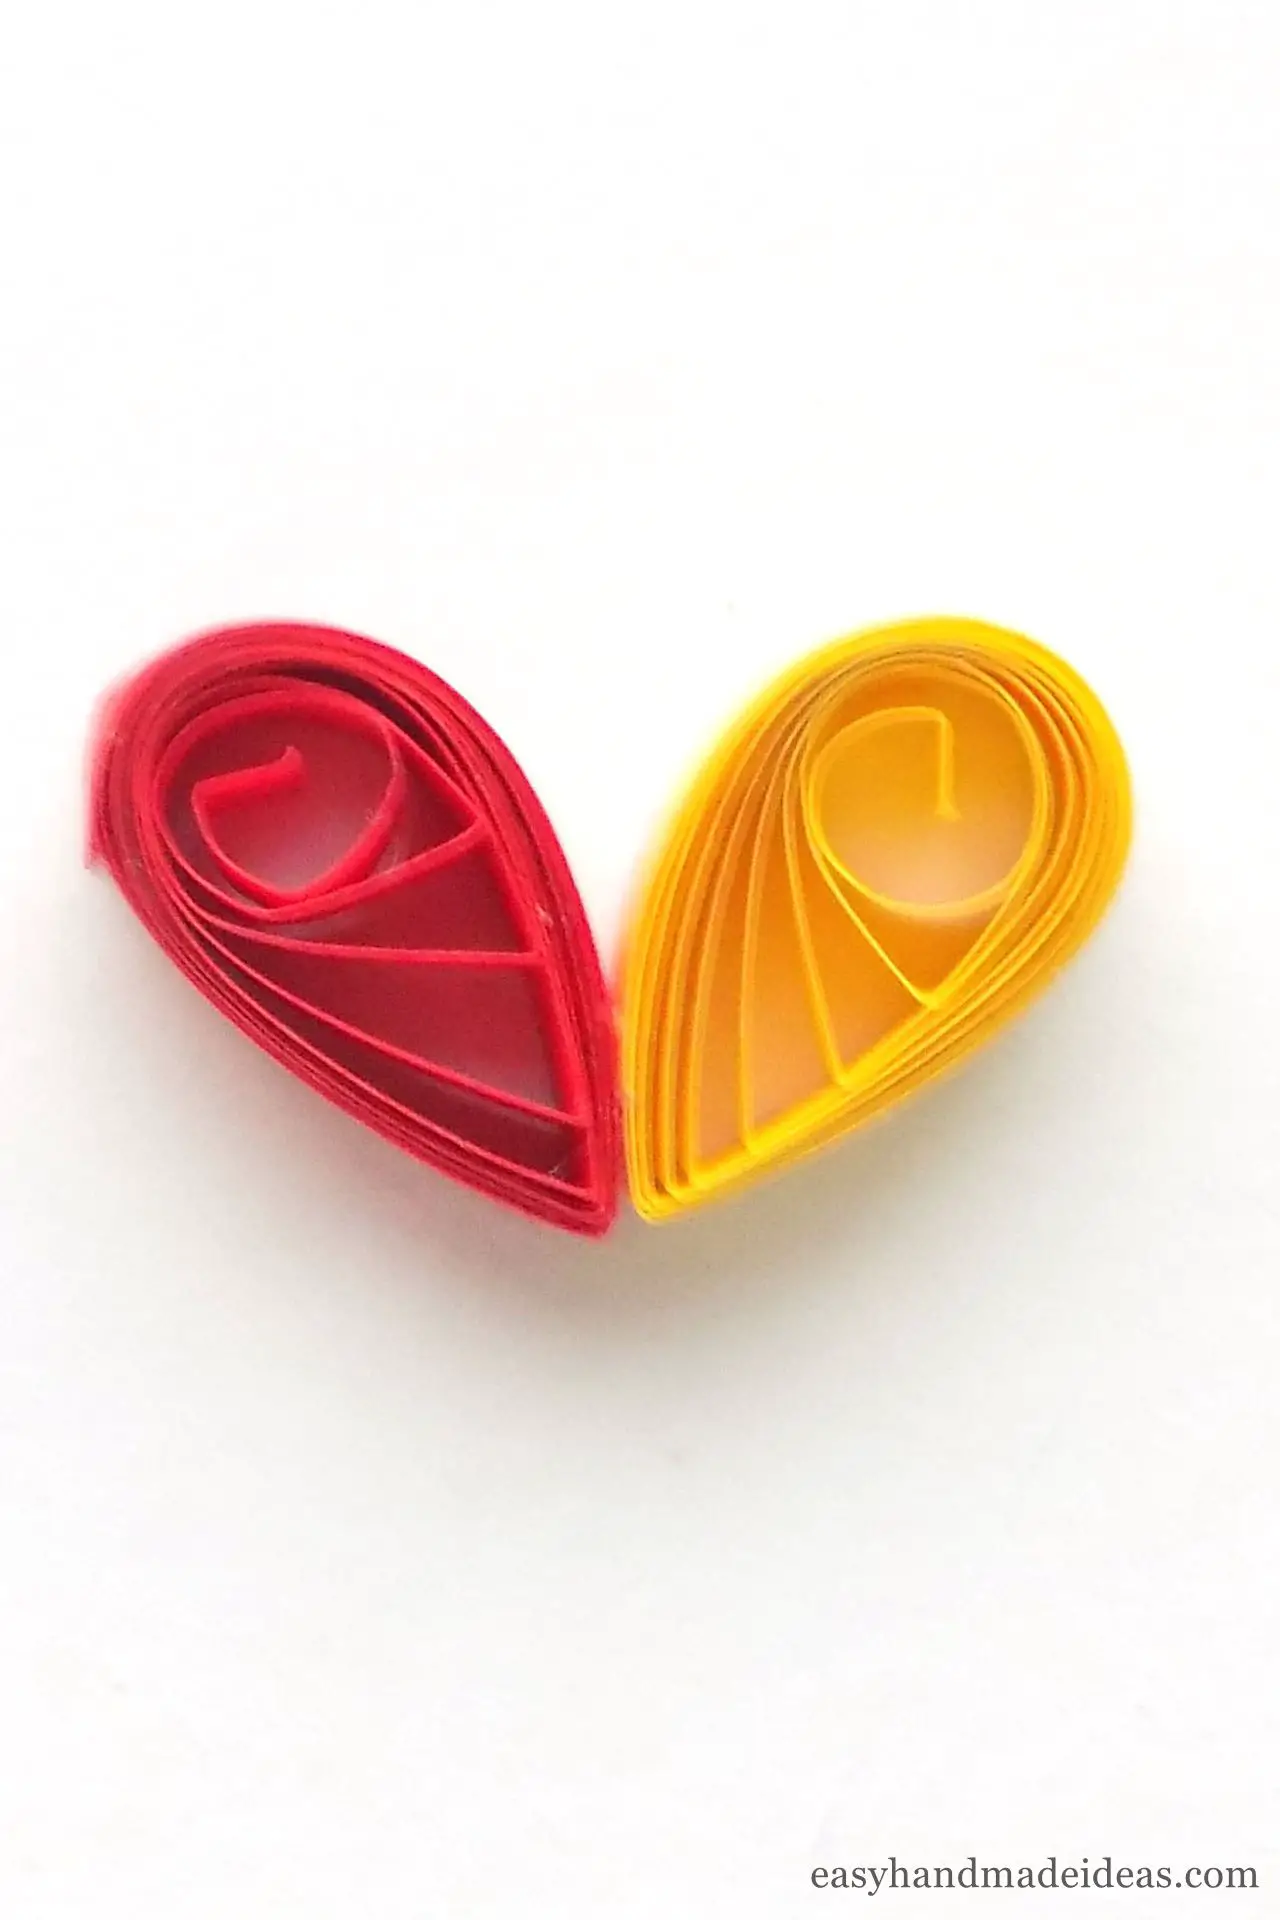
Start to form a flower from the previously made elements. To do this, apply some PVA glue to one of the teardrop coils and then glue it to the other. It will look better if you rotate the colors of the coils.
Step 8: Glue all the coils together
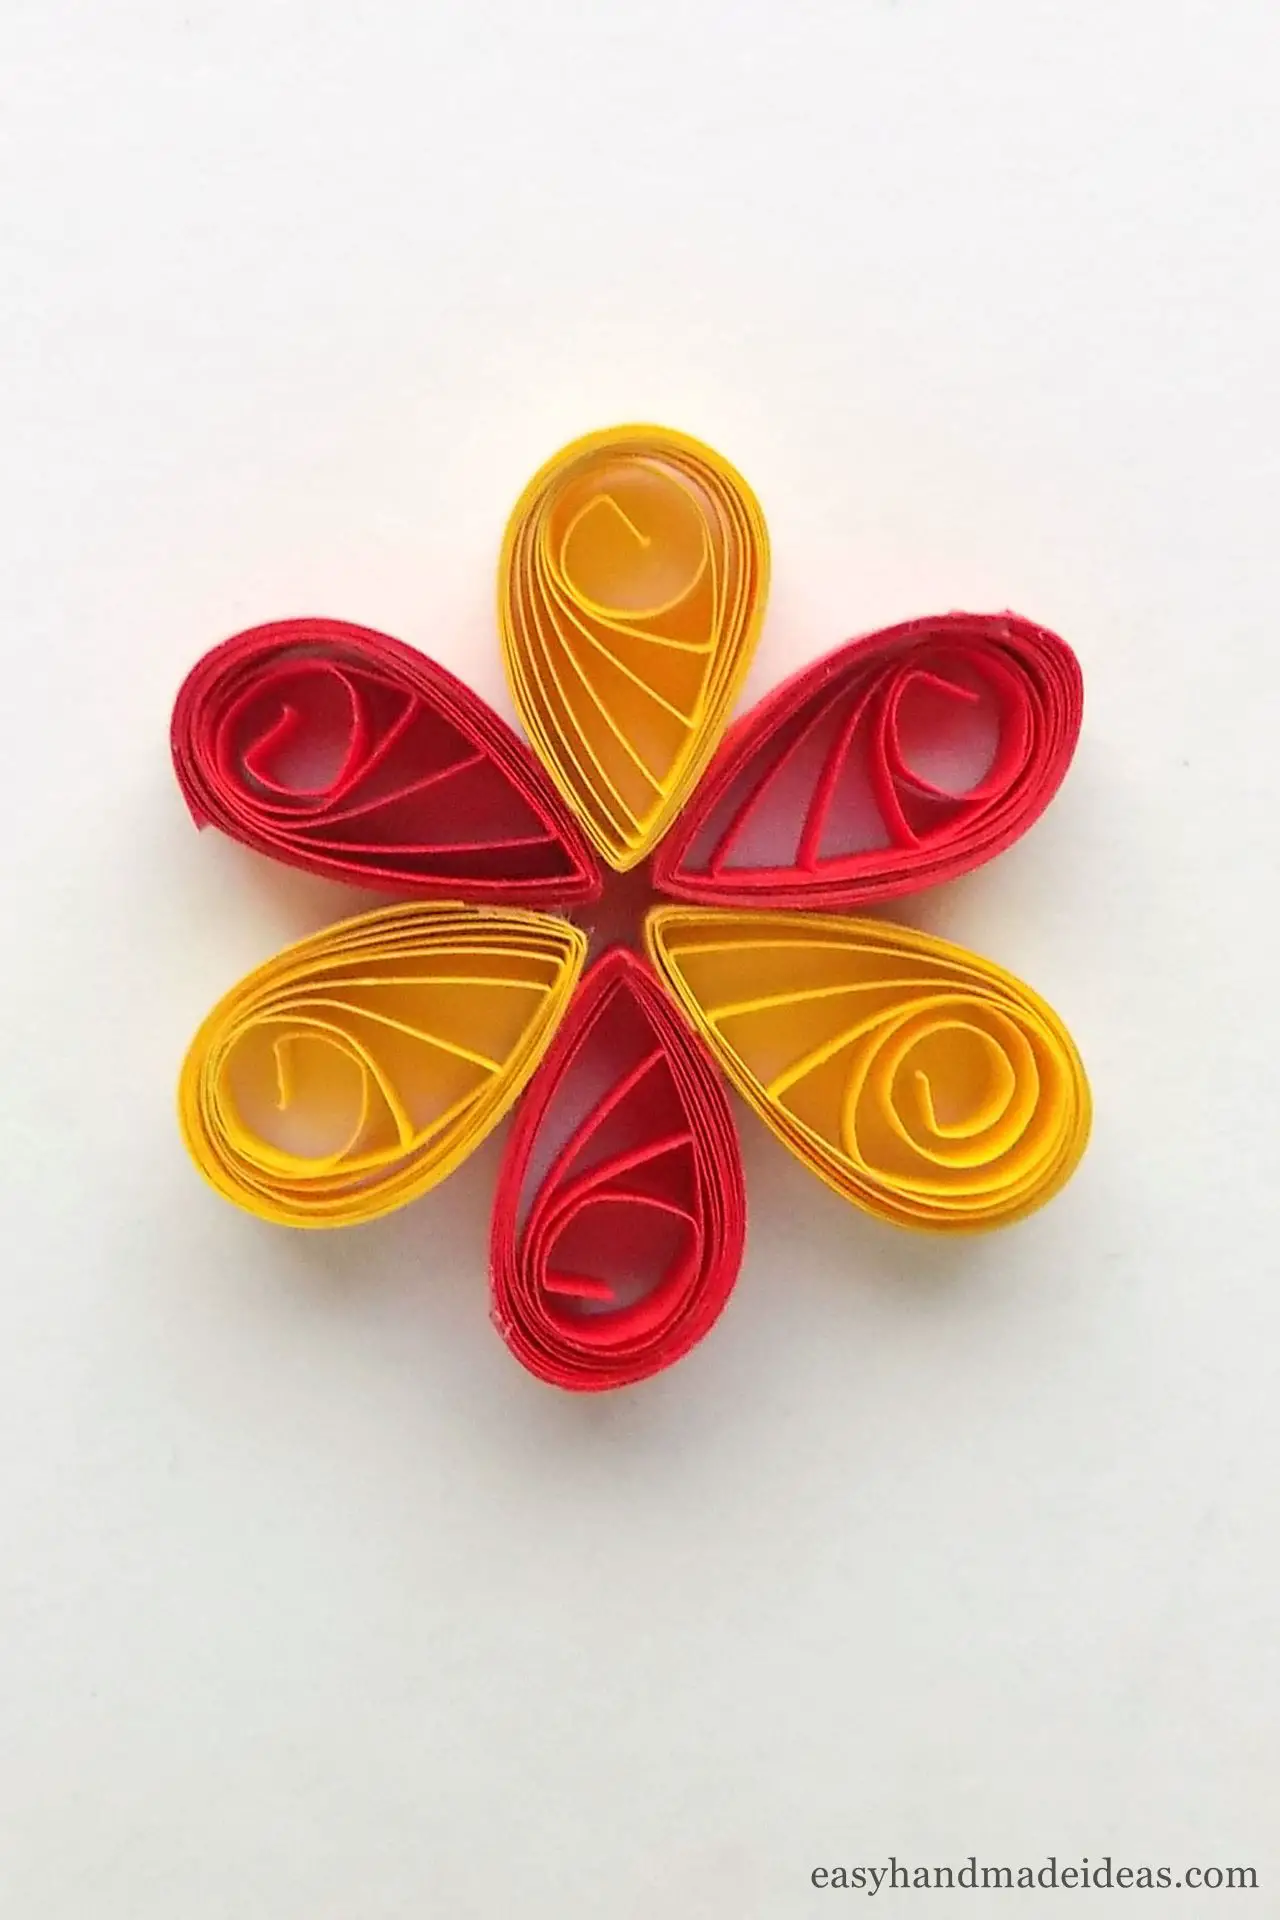
Glue all teardrop coils together to make a 6-petal flower.
Step 9: Use a jump ring
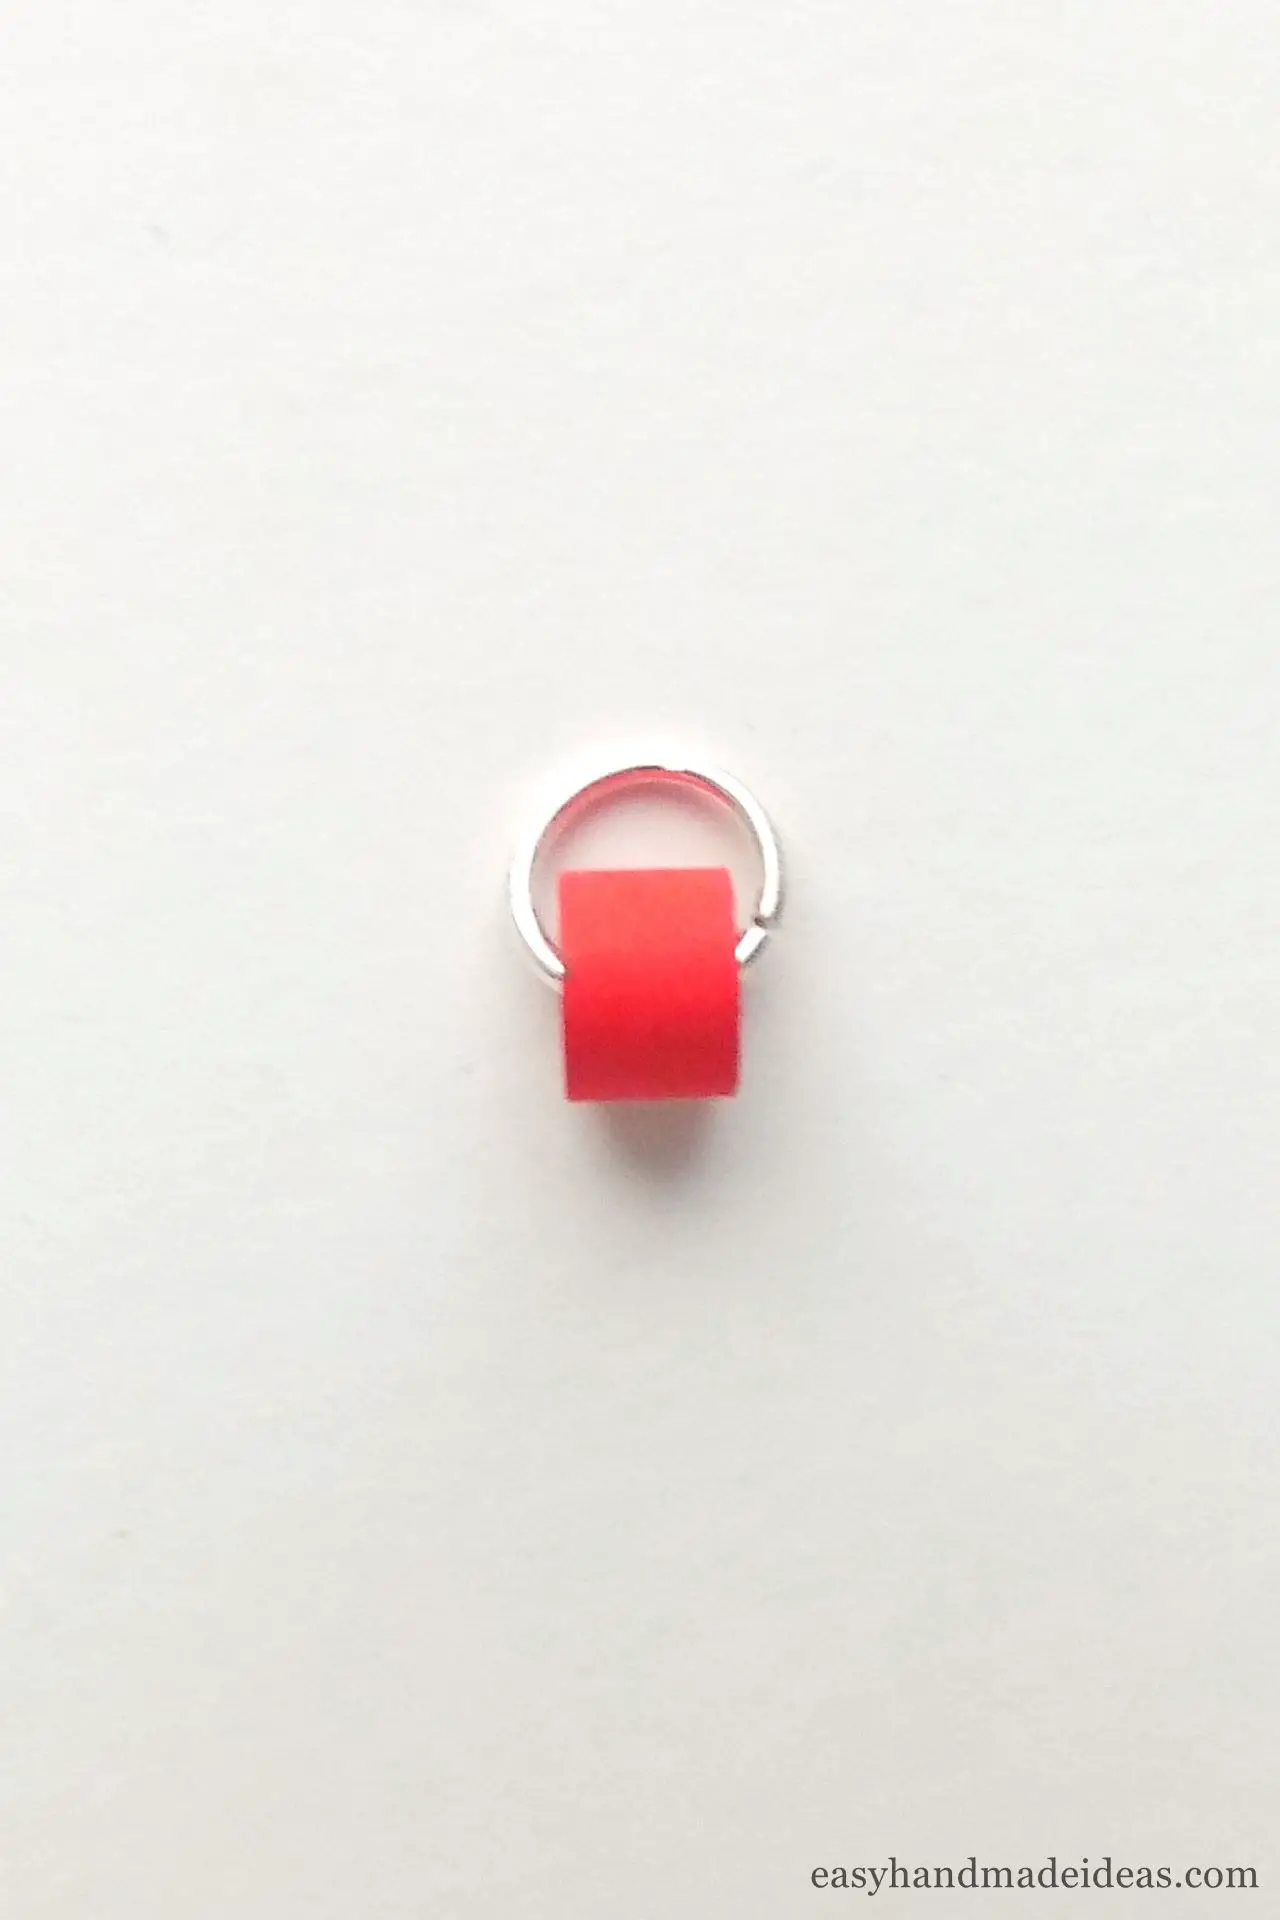
Insert the jump rings into the tight roll using pliers.
Step 10: Connecting the pieces
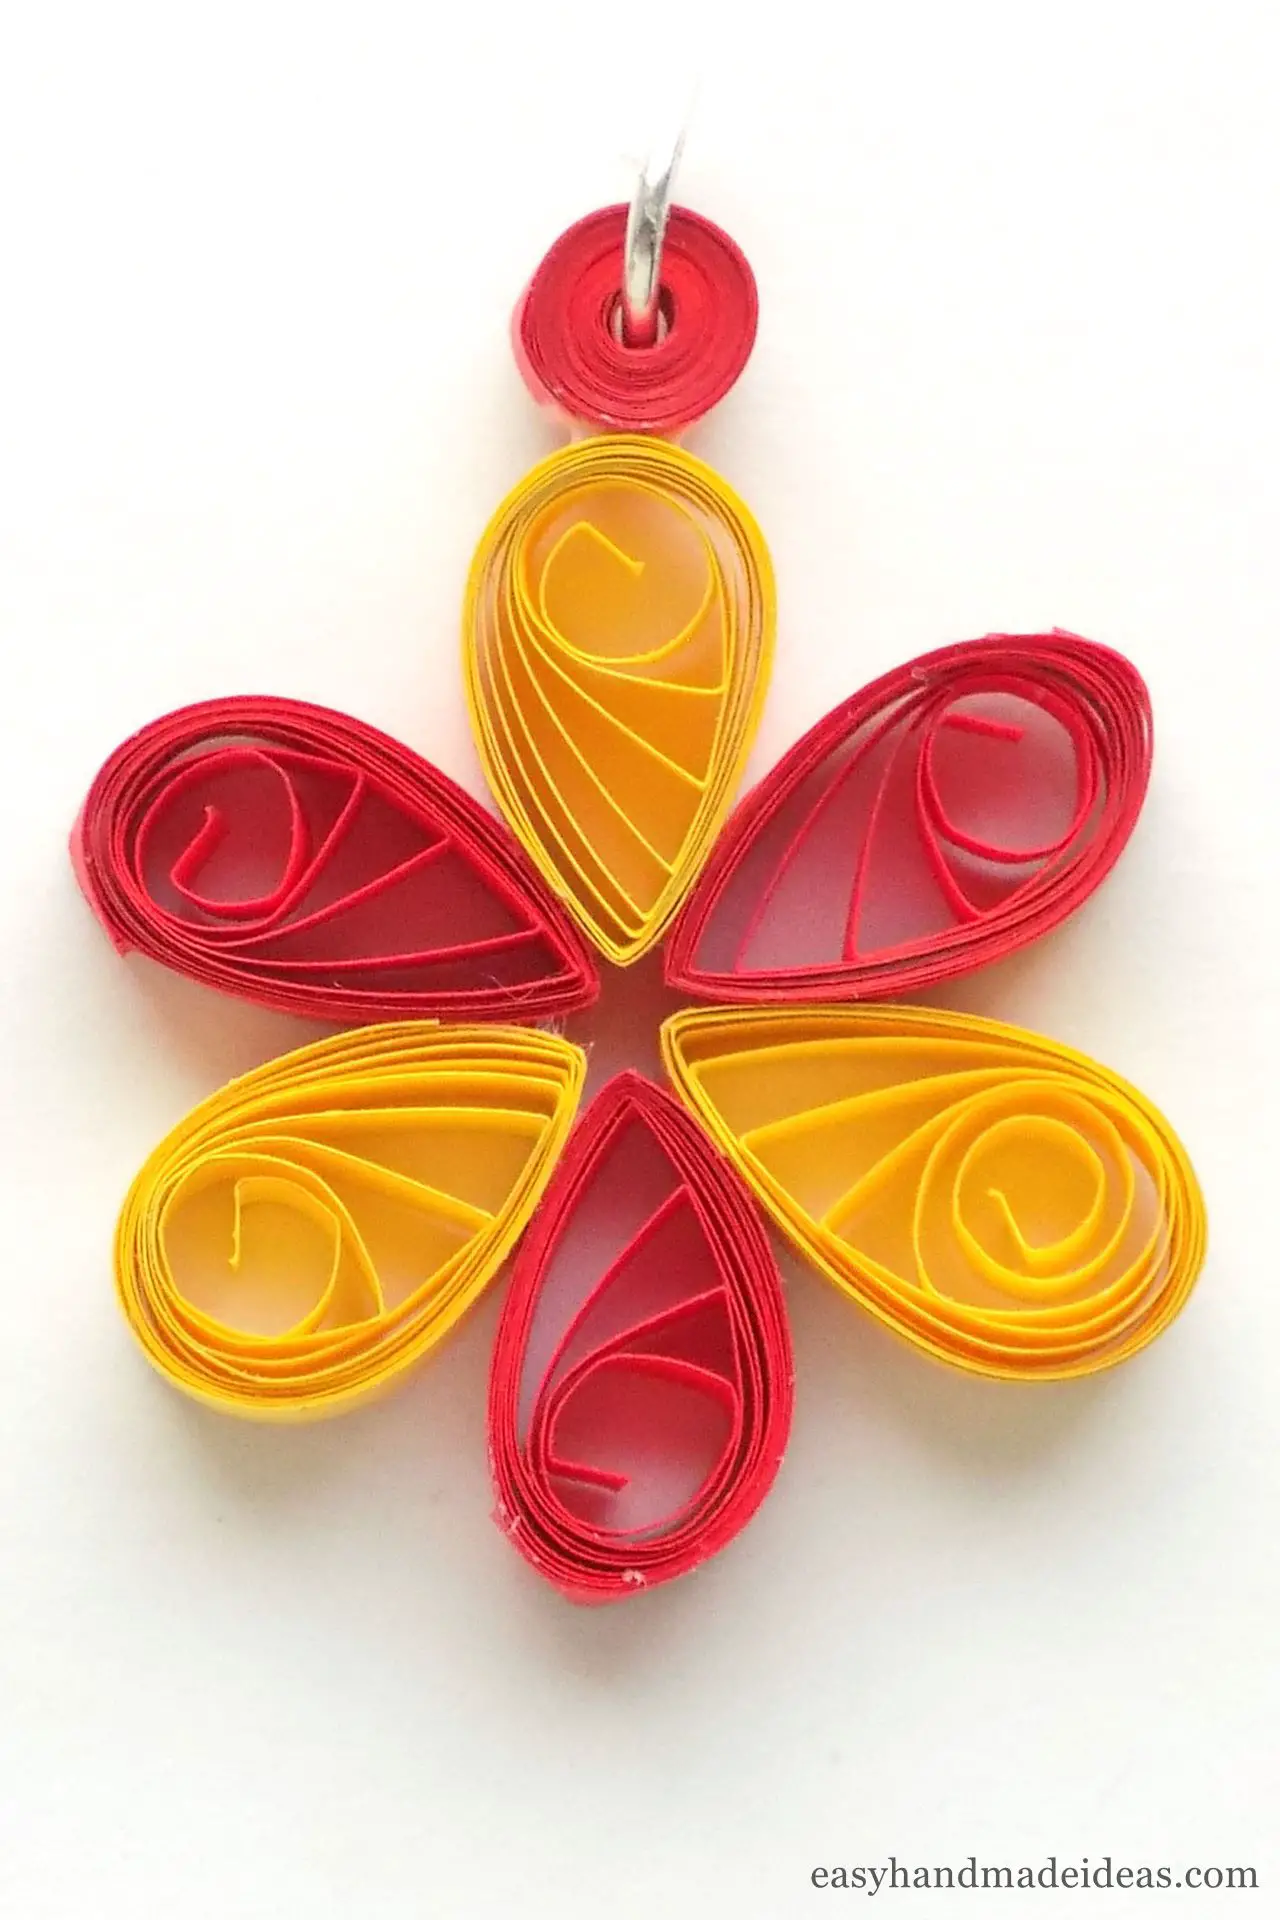
Now with a drop of PVA glue, fix this element on the flower.
Step 11: Decorate the jewelry
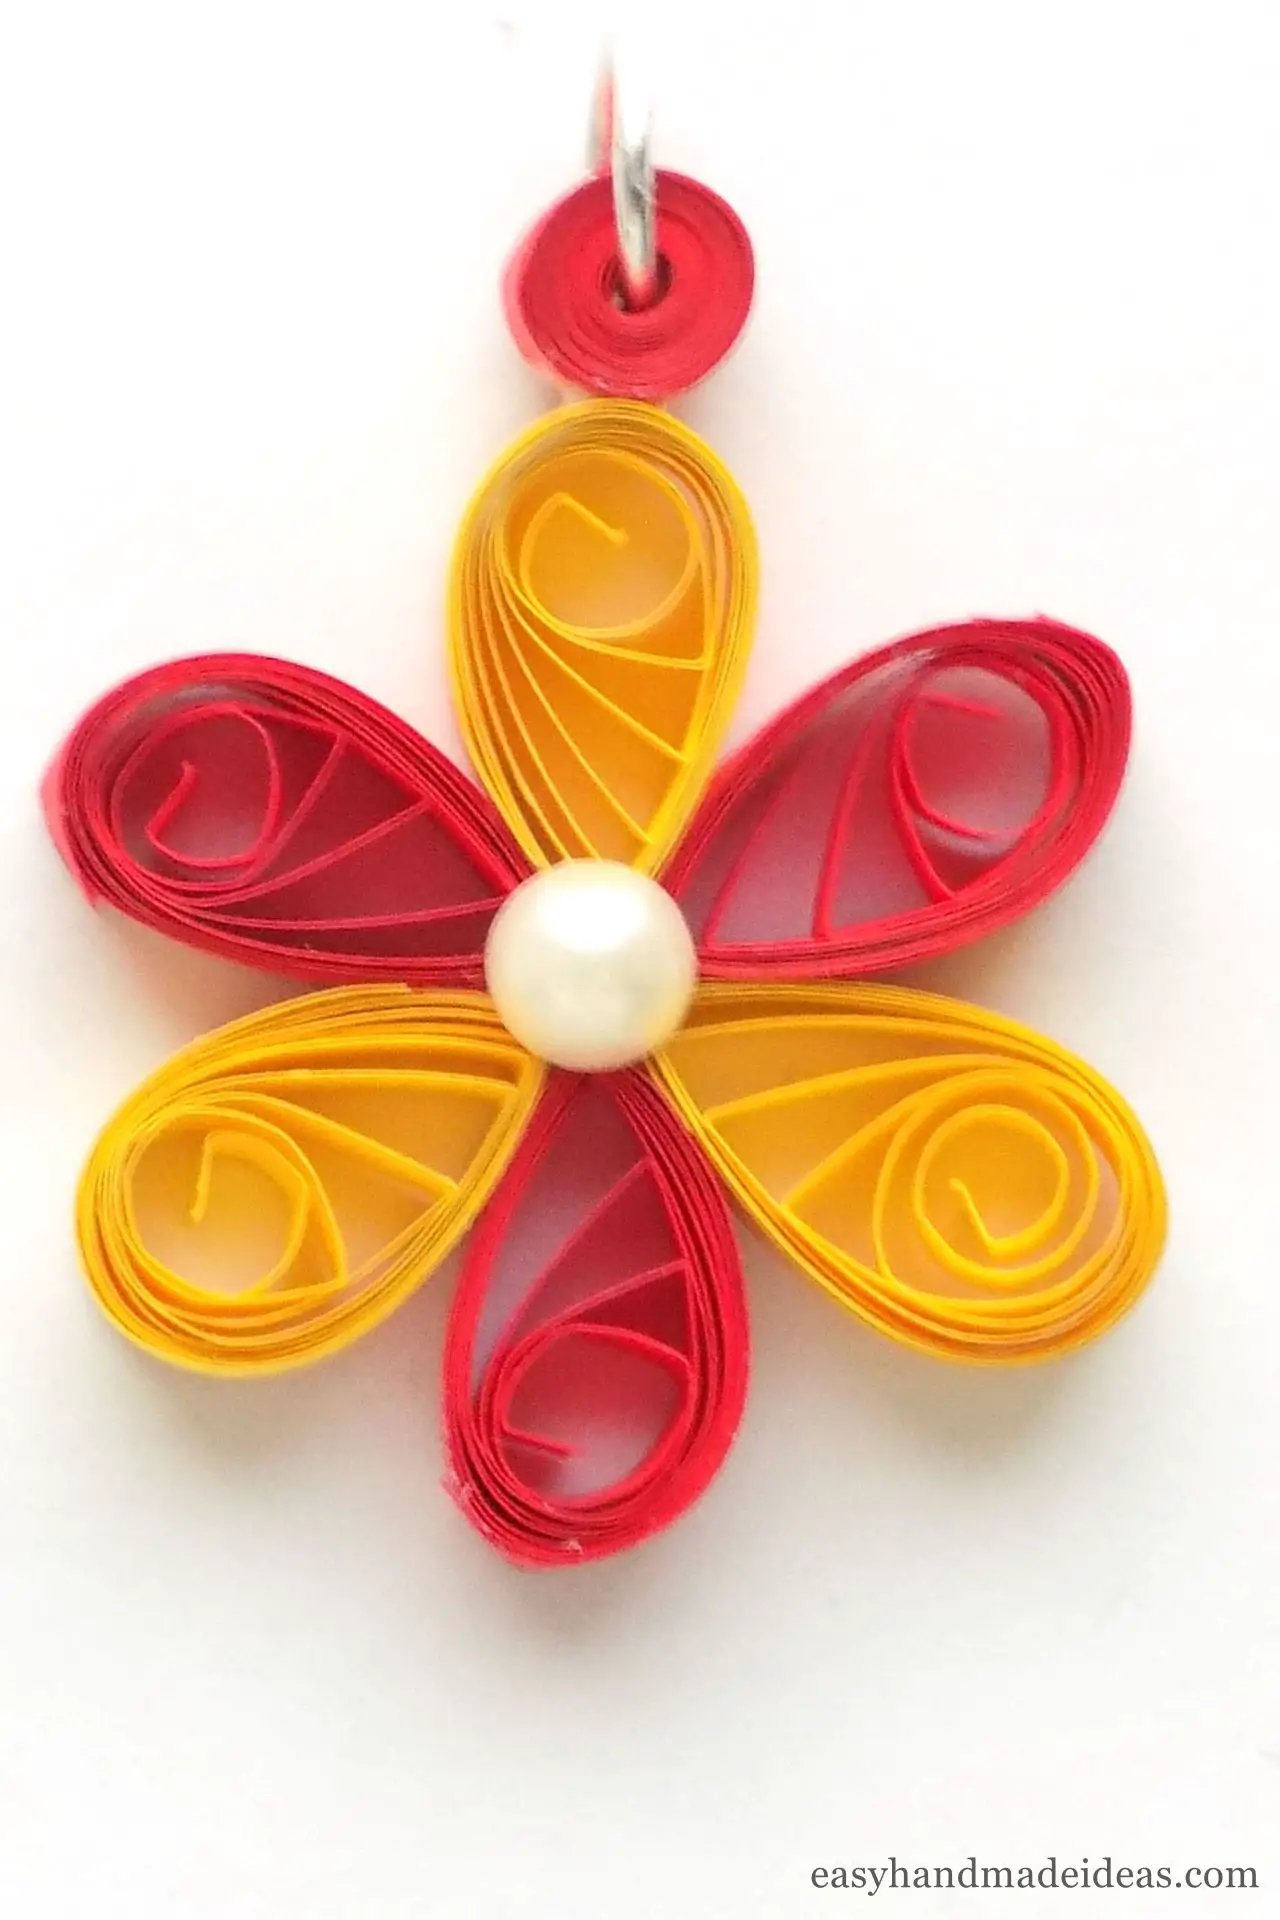
Decorate the center of the flower with a decorative.
Step 12: Finish making your jewelry
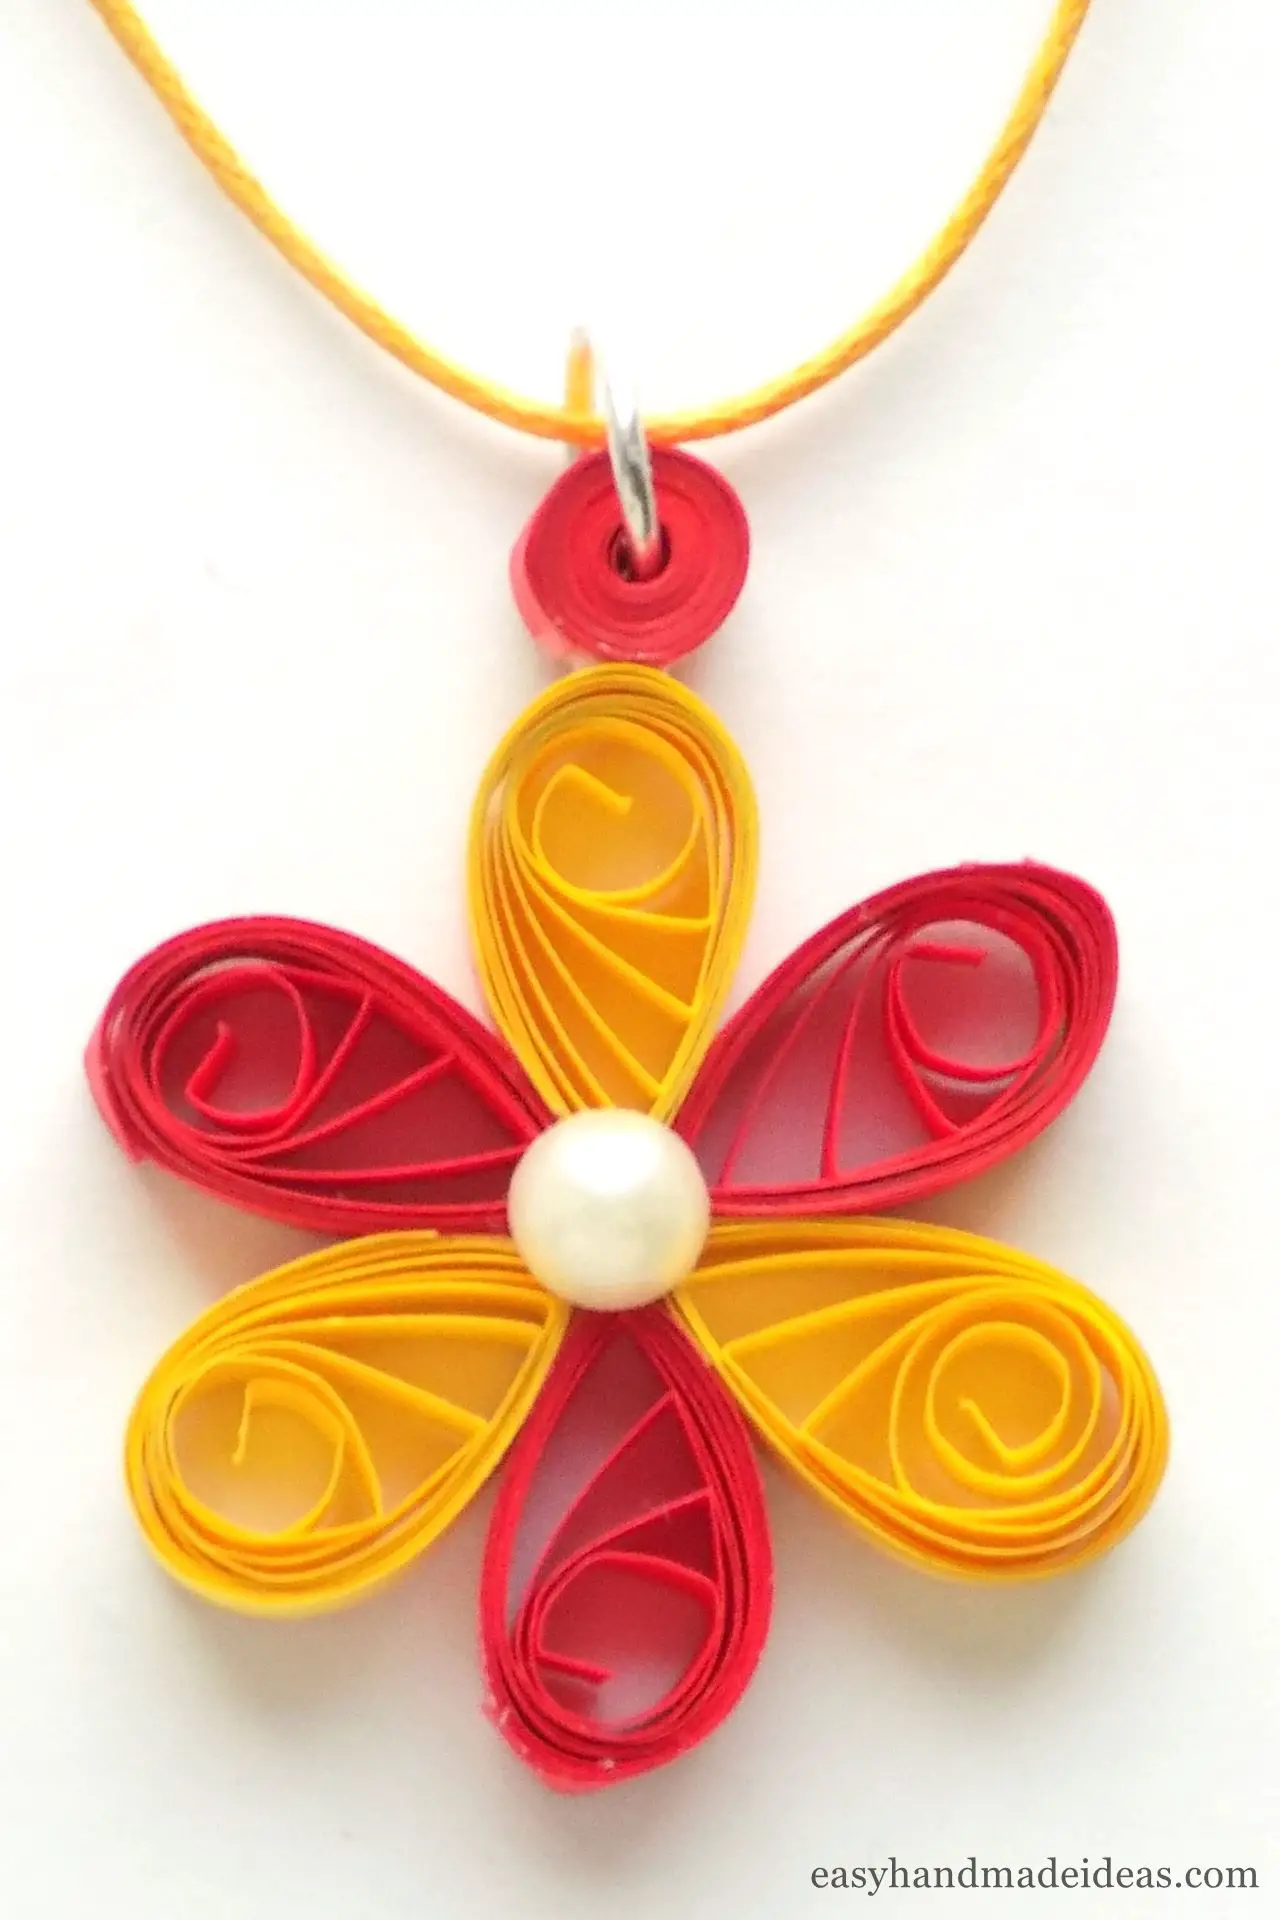
You need to insert the waxed thread into the jump ring. You have a quilling pendant made from paper strips.
Supply:
- paper quilling strips in red and yellow colors;
- 1 jump rings;
- waxed cord;
- decorative rhinestones.
Tools:
- quilling tool;
- PVA glue;
- quilling board;
- pliers.
Such jewelry can be made to any outfit, choosing paper strips of the right color. You can also make quilling earrings to complete the pendant.