If you want to surprise with a greeting card that will look unique and expensive, but you don’t know how to make complicated crafts, then my detailed instructions will help you. In my master class you will learn how to make quilling bird with simple tips that even beginners can do.
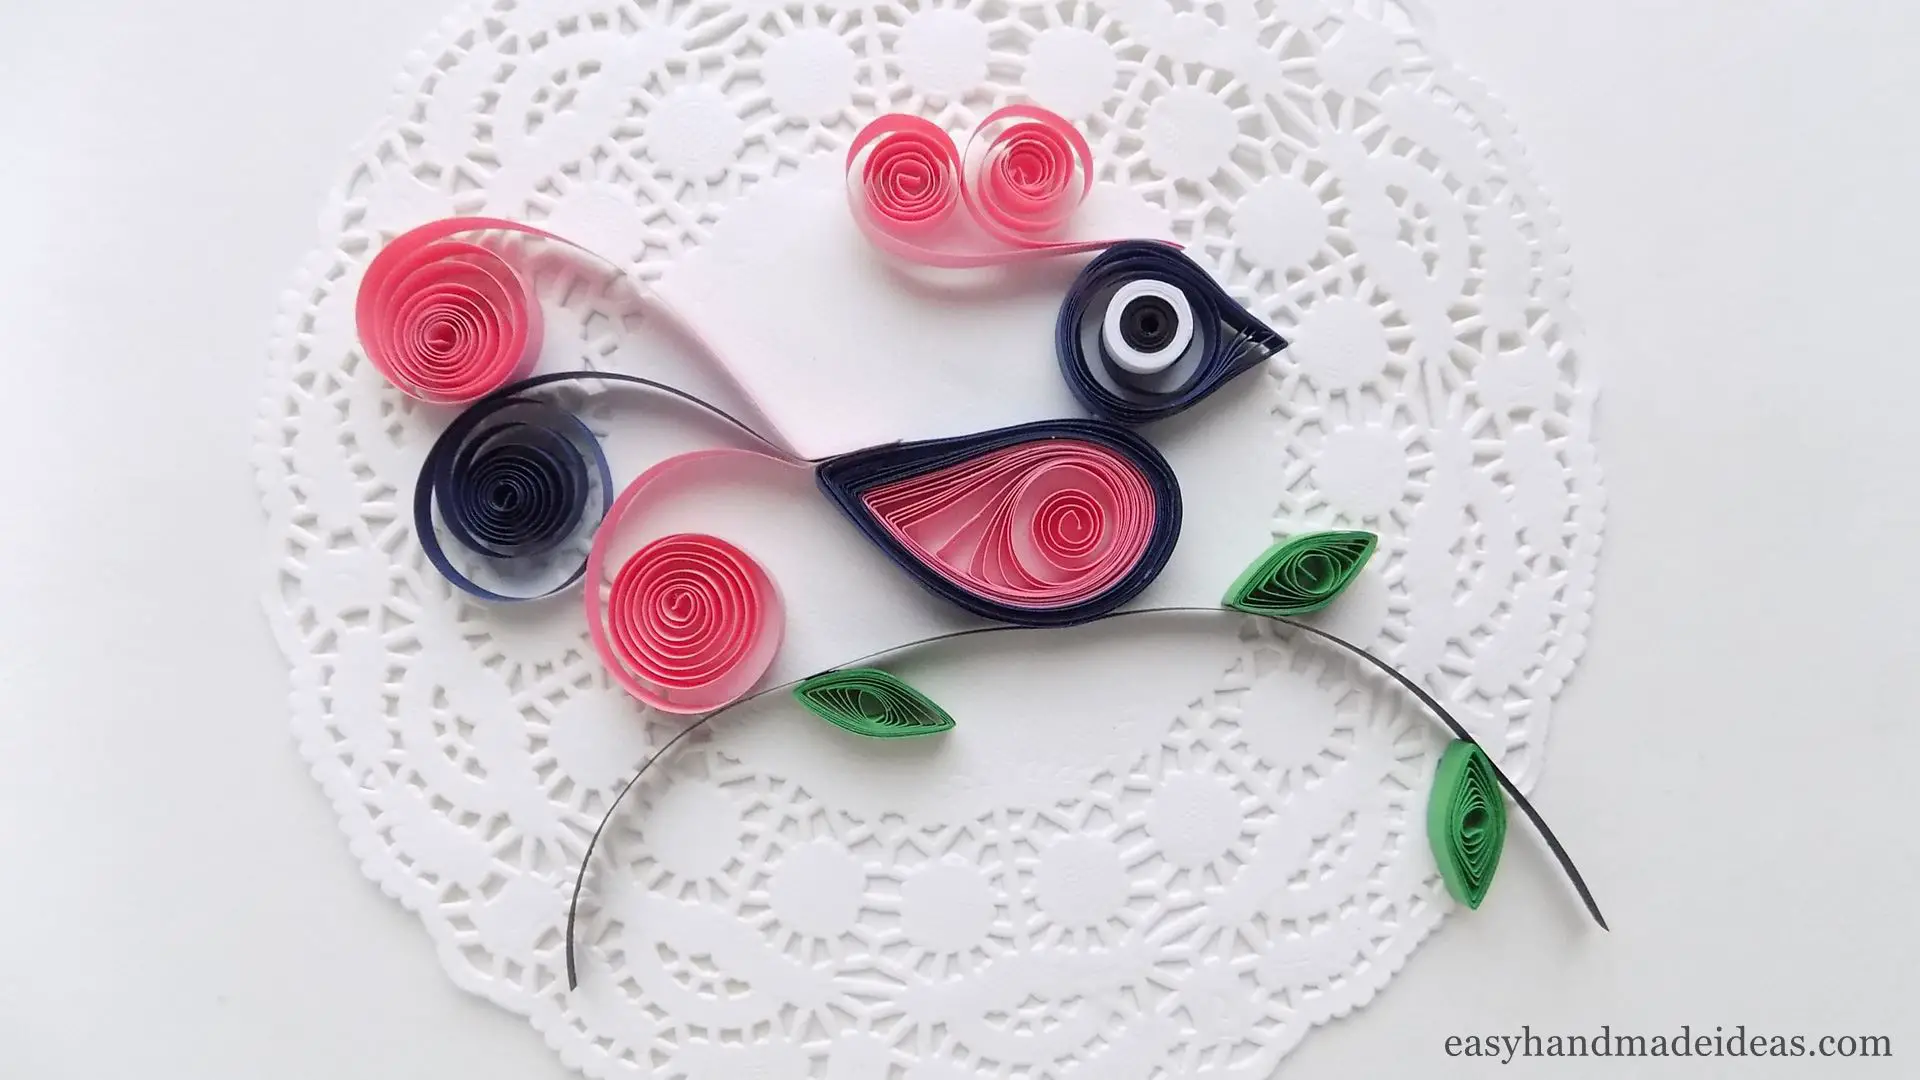
Quilling bird
Total Time: 25 minutes
Step 1: Prepare the materials
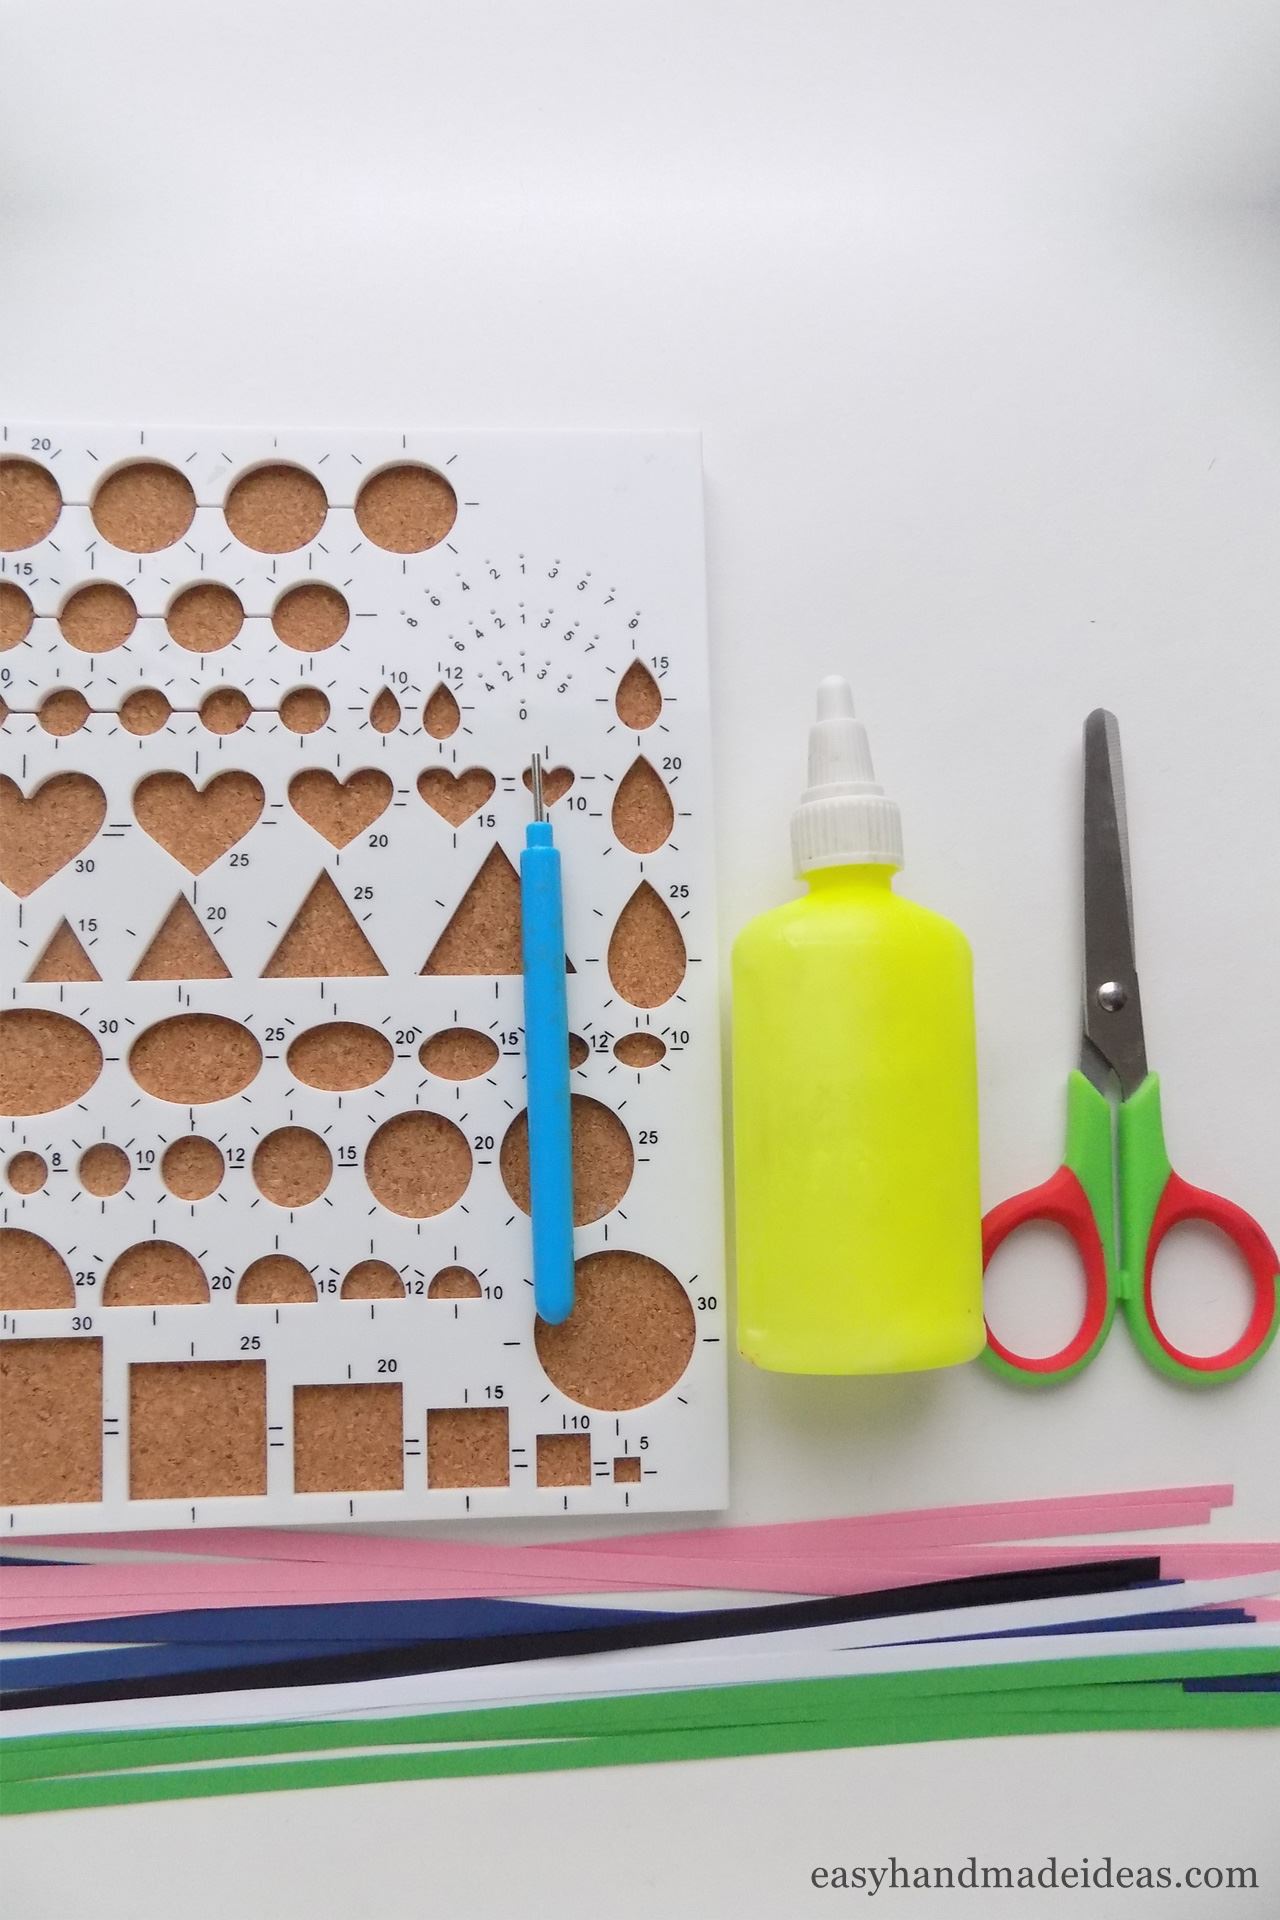
I use a quilling tool, it makes work easier, but if you don’t have one, use a toothpick. To do this, twist the paper quilling strips onto the toothpick.
Step 2: Glue the 7 strips together
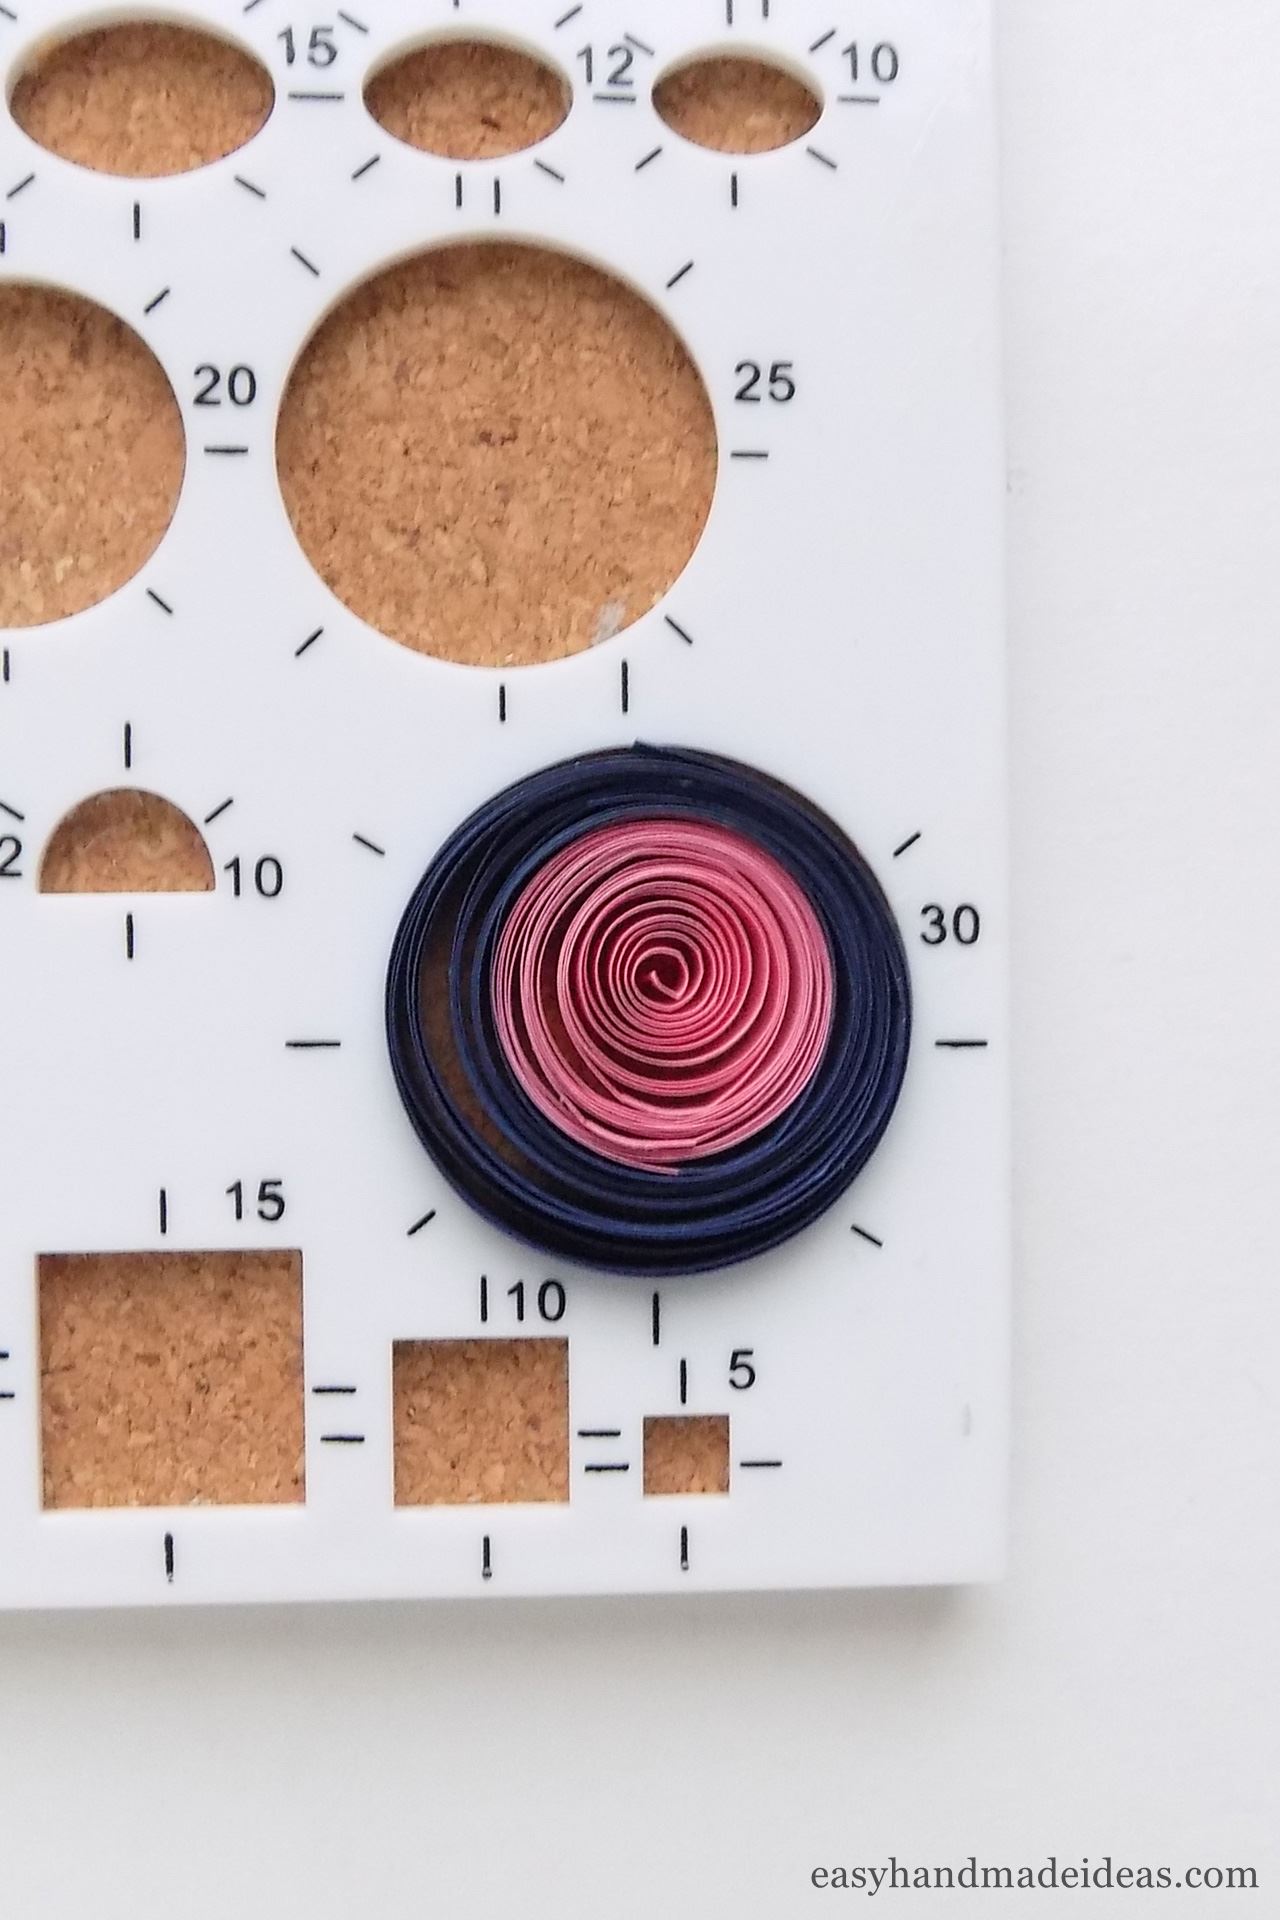
Glue 3 pink strips and 4 dark blue strips together one after the other. Then roll them with the quilling tool, starting with the pink ones, then place them in a section of the quilling board with a diameter of 30mm.
Step 3: Make a large loose coil

Gently pull out the resulting circle, called a loose coil in quilling, and secure the tip with a drop of glue.
Step 4: Make a teardrop coil
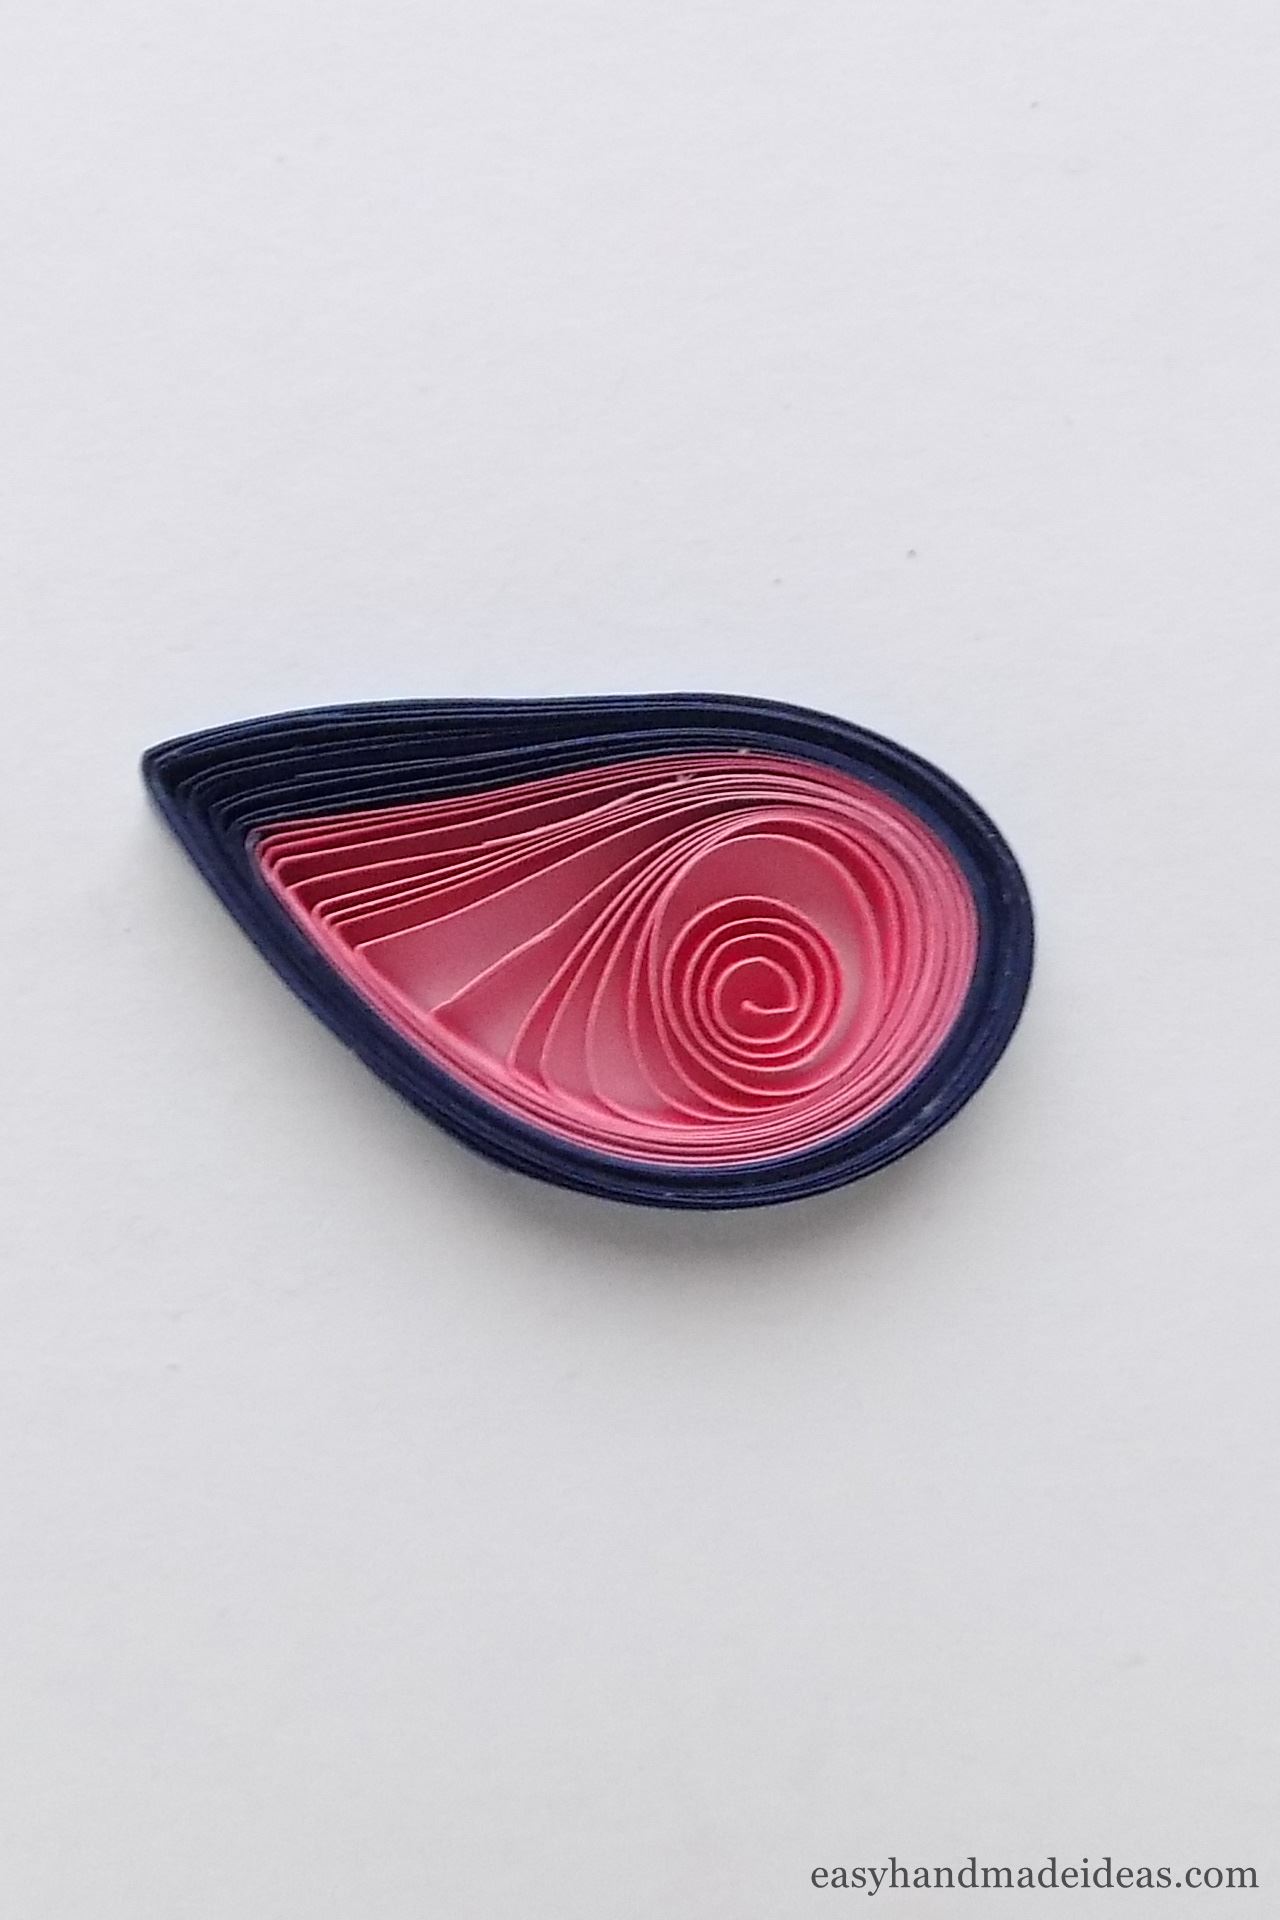
Use your fingers to pinch the loose coil on one side. The torso for the bird is ready.
Step 5: Make a dark blue loose coil

Glue 2 strips of dark blue color one after another, and then form a circle in a 20 mm cell on the quilling board, which is also called loose coil.
Step 6: Fix the tip of the strip

Glue the tip of the loose coil.
Step 7: Make the bird’s beak

To form the beak, gently press the loose coil to one side with your fingers. Notice that this new shape is very similar to the teardrop coil, but less elongated.
Step 8: Make a tight roll

To create the bird’s eye, first glue the black and white stripes together one after the other, then roll them into a tight roll.
Step 9: Make a double scroll

Fold the pink strip in half, then use the quilling tool to roll each tip to form a double scroll shape.
Step 10: Glue all parts of the head together

Glue the eye and bird’s tuft to the bird’s head.
Step 11: Make 3 loose scrolls

To make the bird’s tail, take 3 strips and loosely roll each strip using the quilling tool. But don’t roll one tip and don’t use glue, you will get a quilling shape called loose scroll or open coil.
Step 12: Shape the tail

Now glue the 3 tips of the loose scroll together to make a tail.
Step 13: Glue the tail and body together
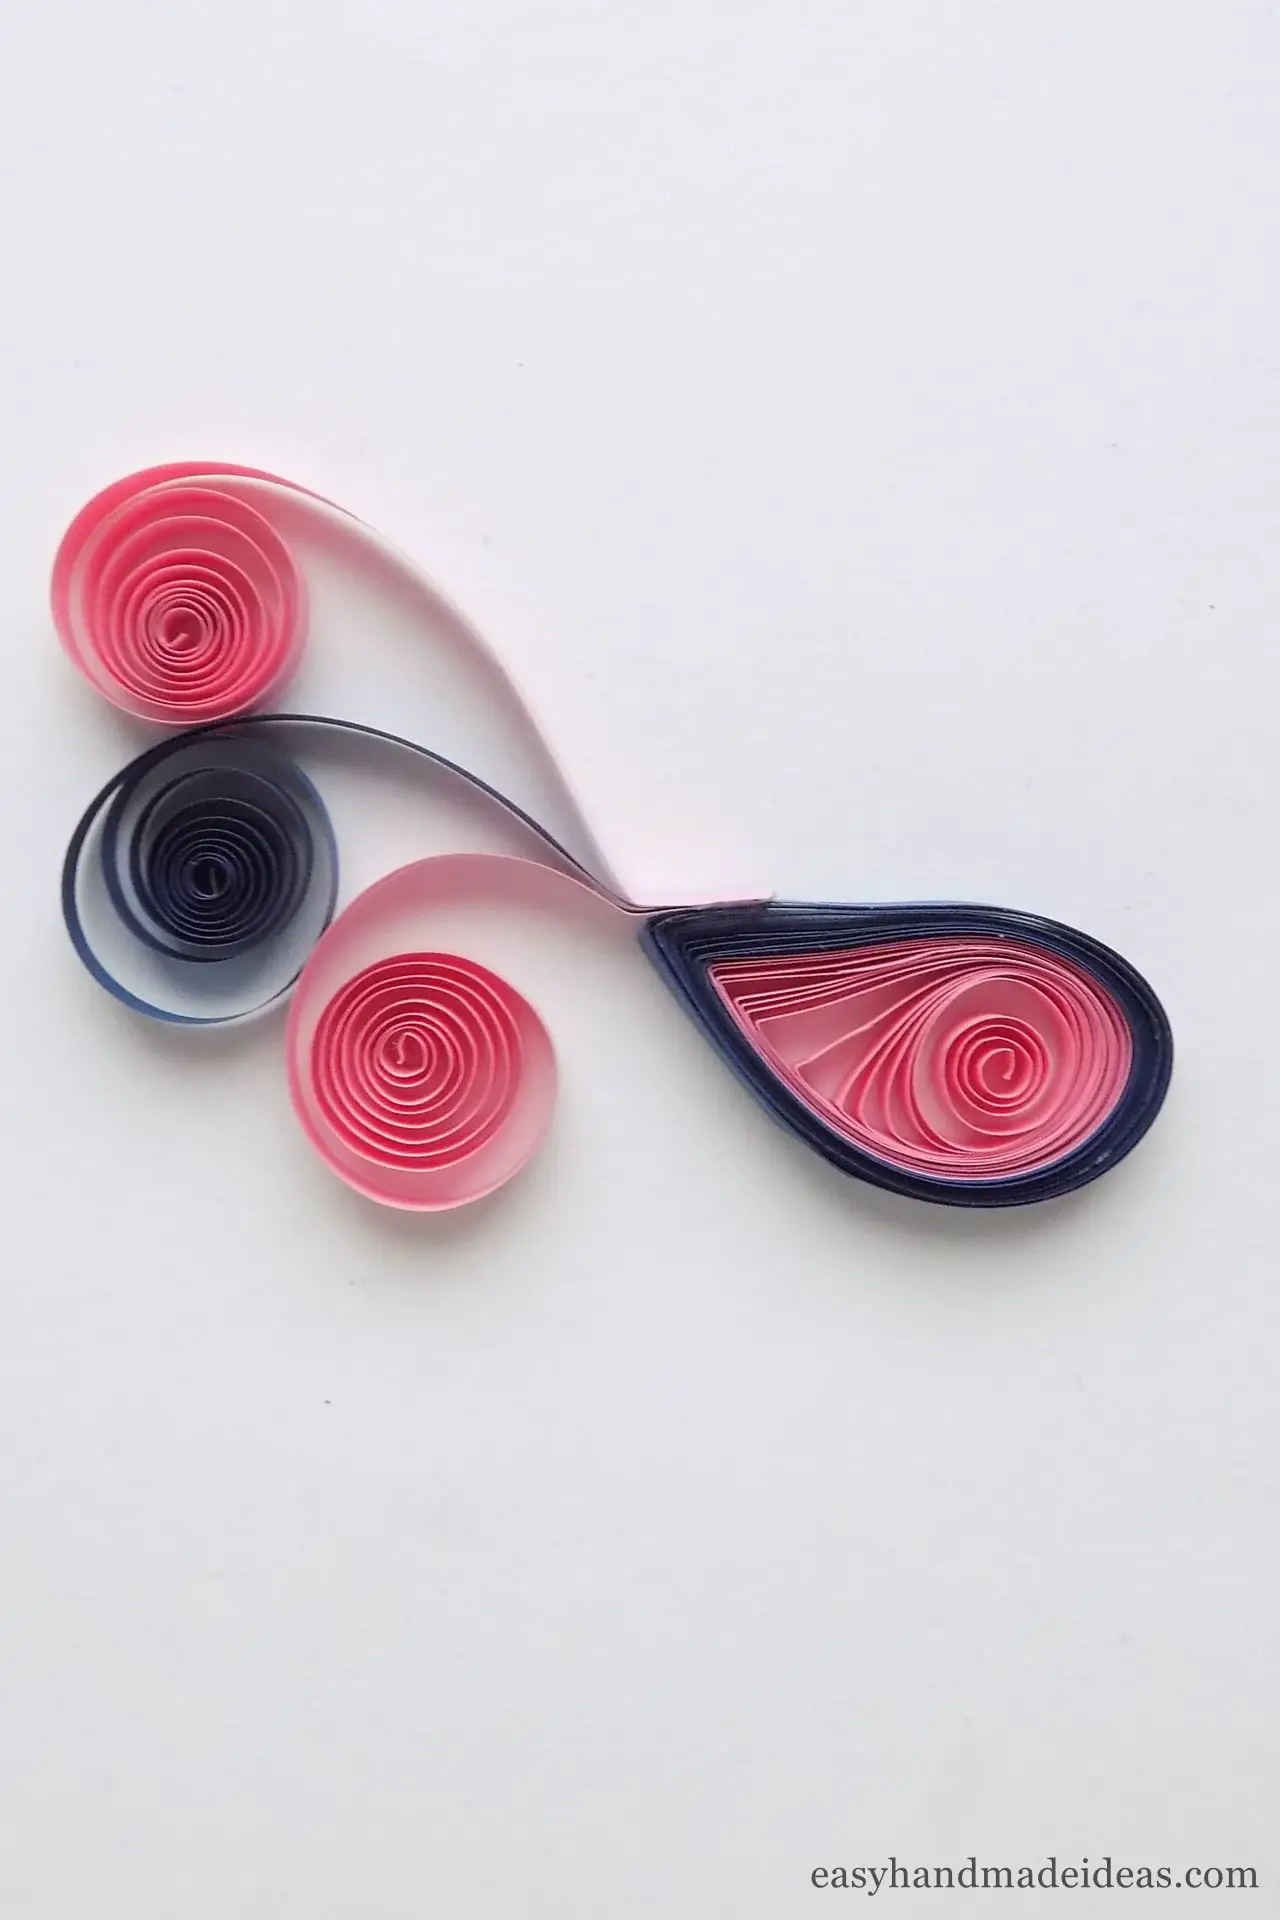
Glue the tail onto the bird’s body.
Step 14: Glue the head to the bird’s body
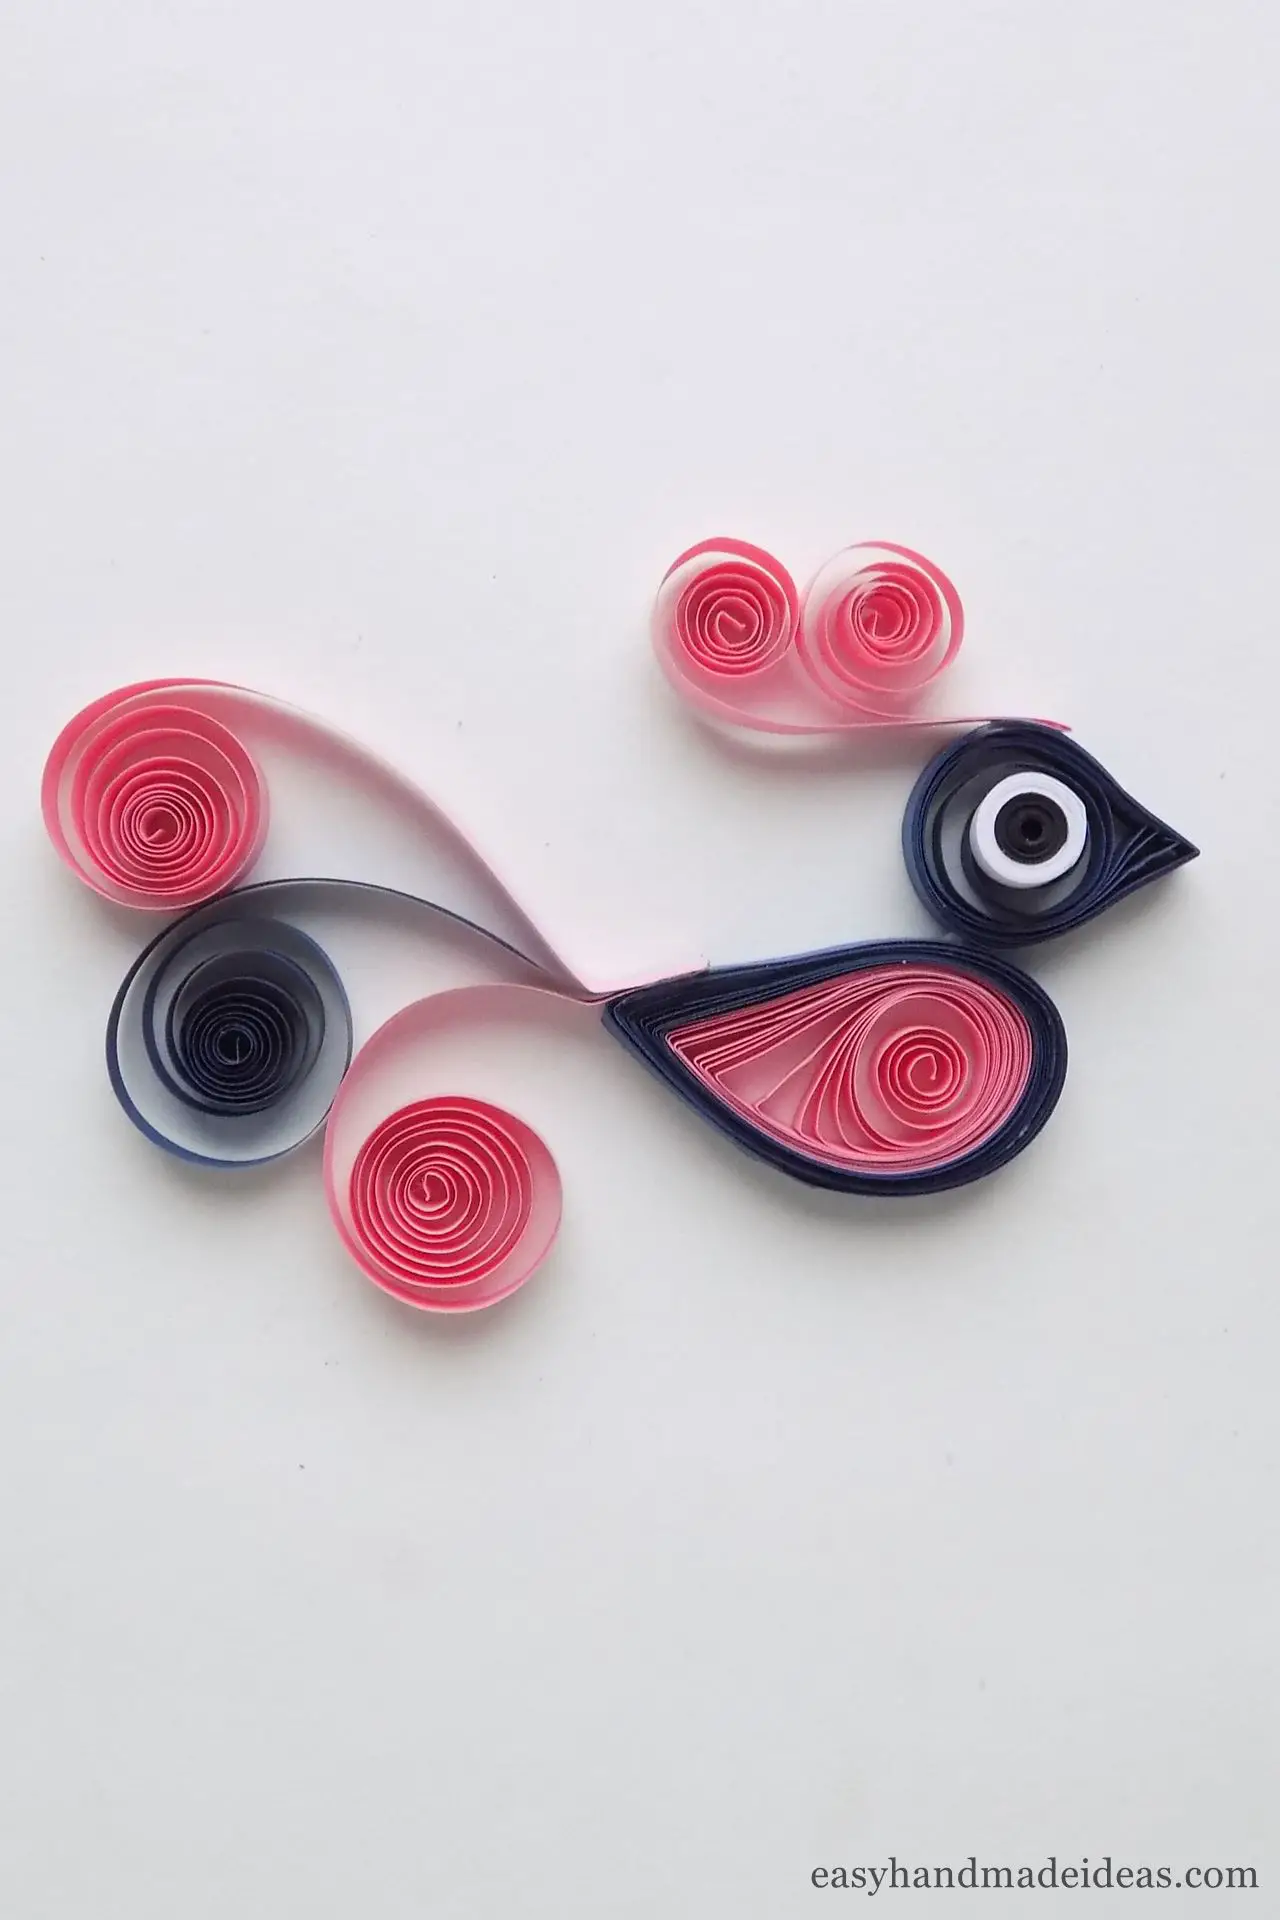
After that glue the head. You already have a bird.
Step 15: Make a green loose coil
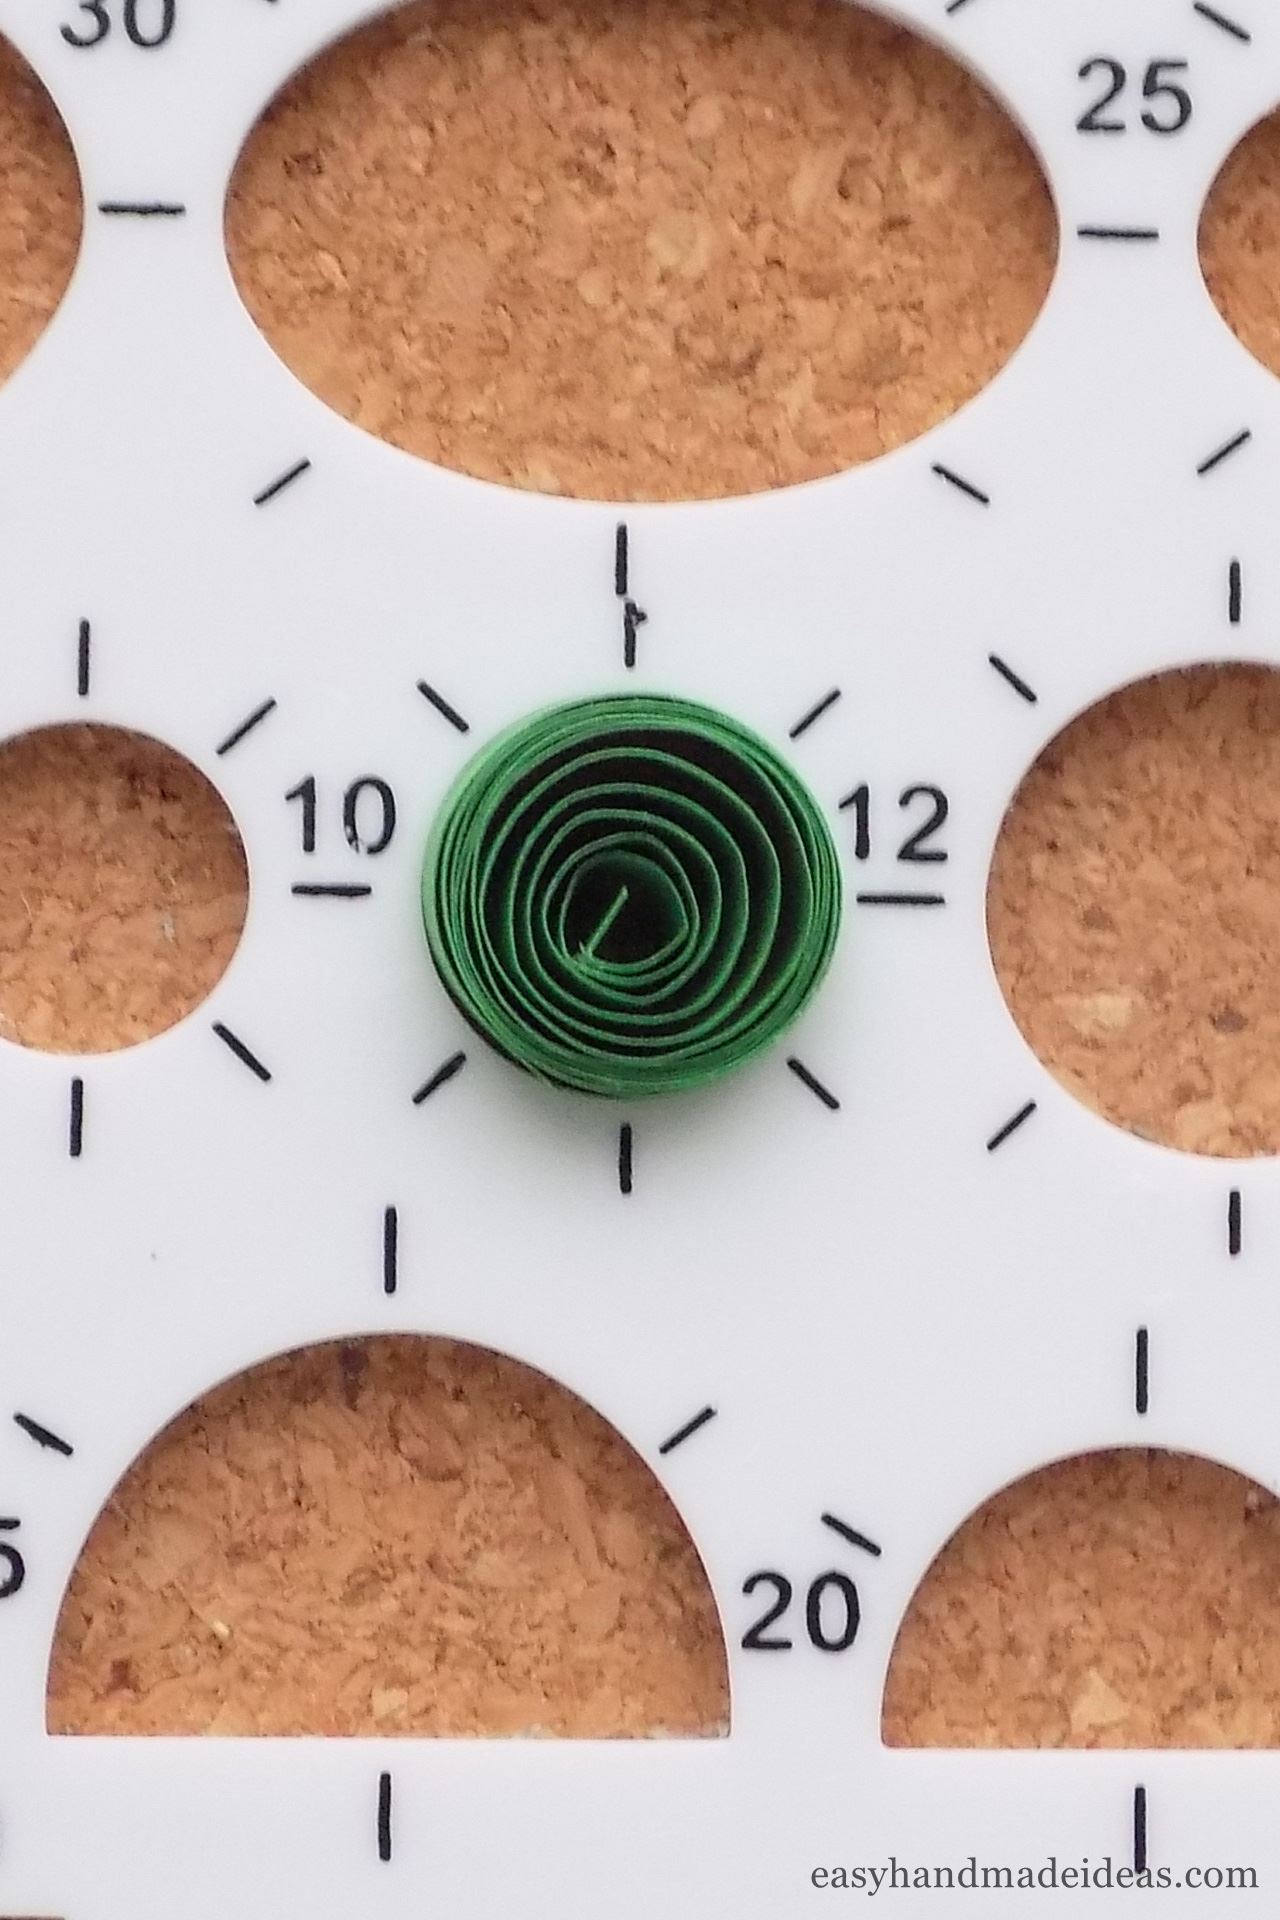
All you need to do is make the twig on which the bird will sit. To form the leaves, use a green strip that you roll and place in a section of the quilling board with a diameter of 12 mm.
Step 16: Fix the tip of the green coil
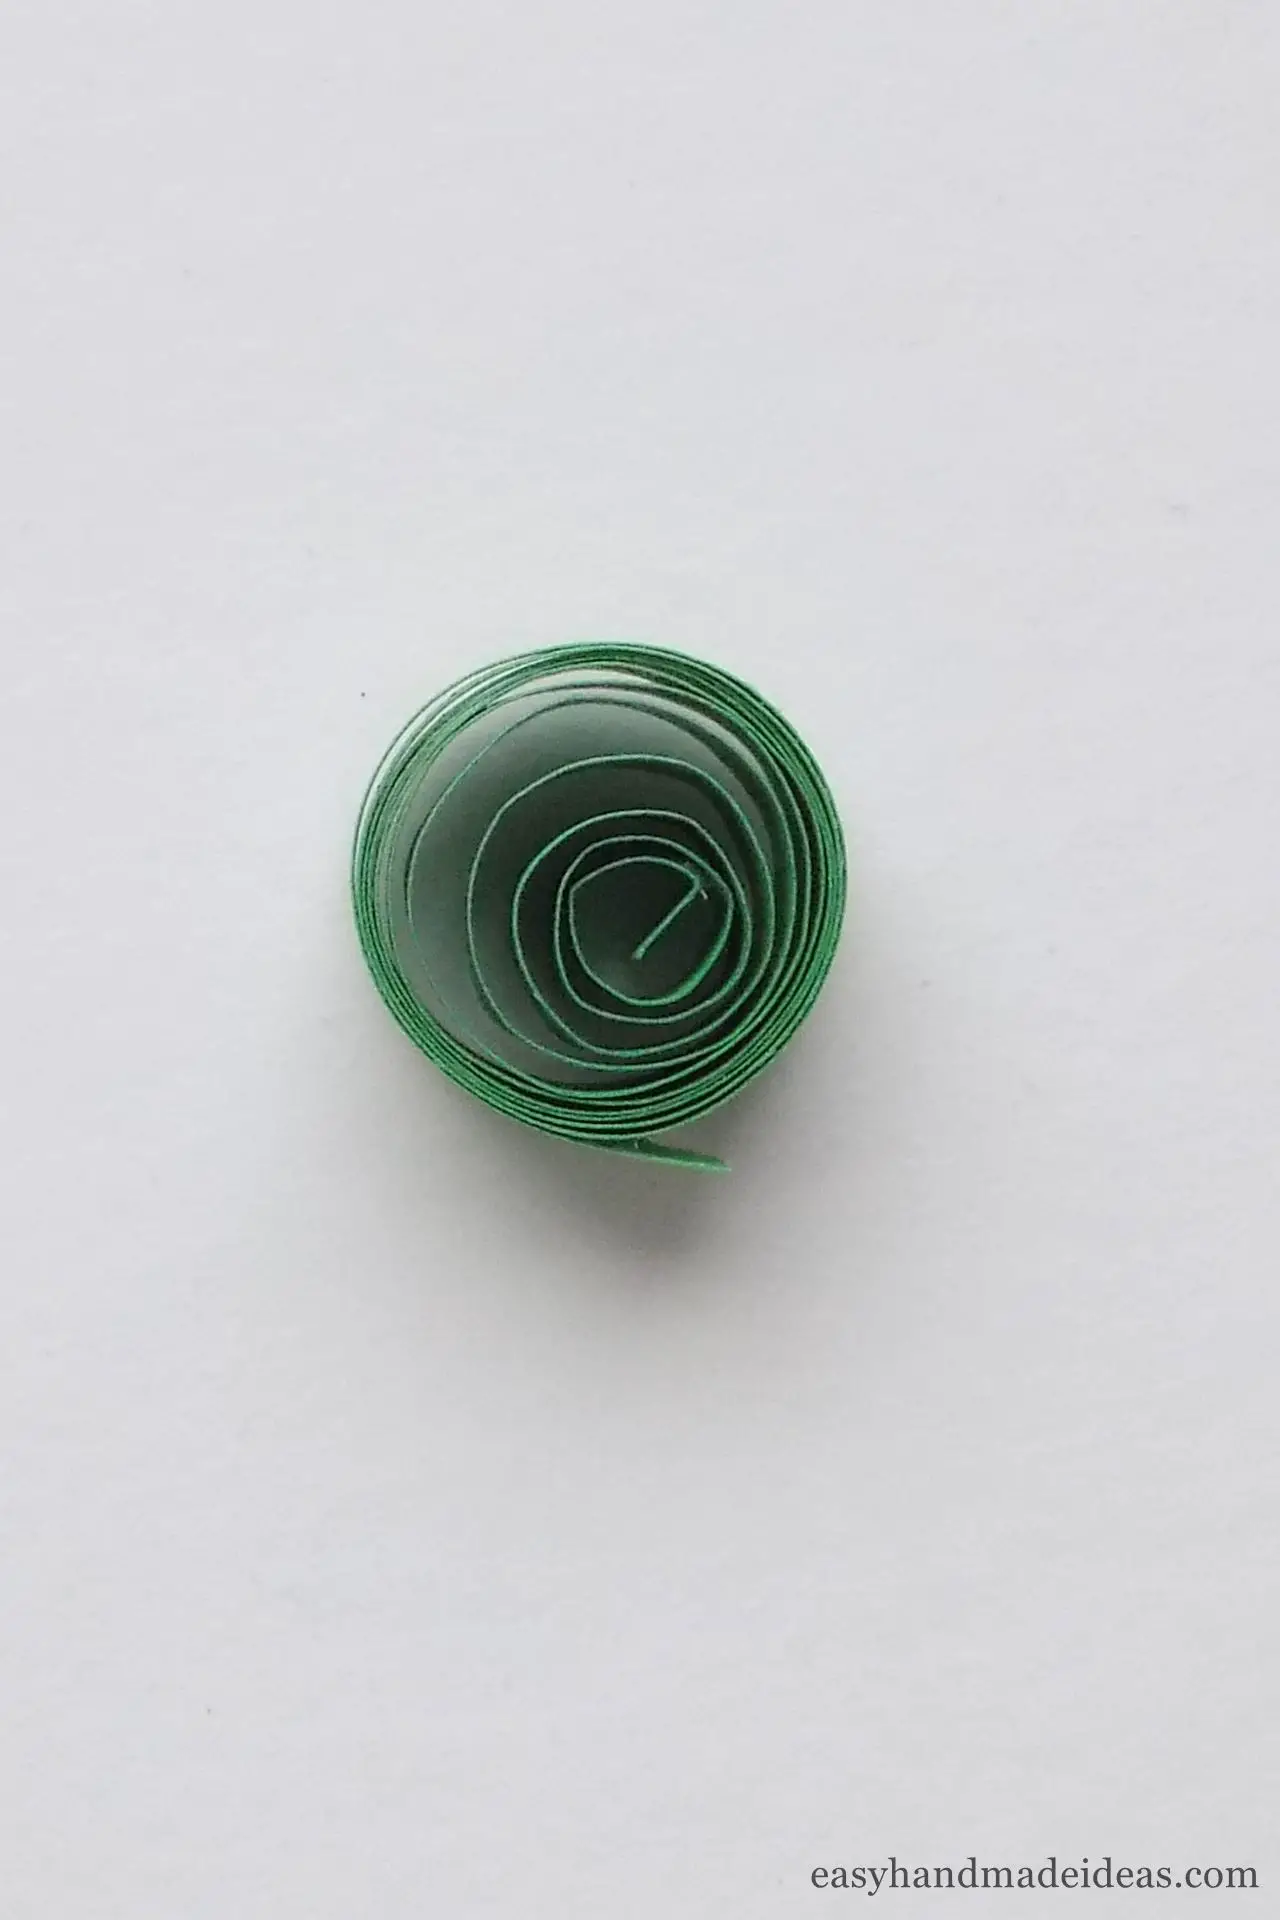
Take the loose coil out of the quilling board, and fix the tip with glue.
Step 17: Make a marquise shape
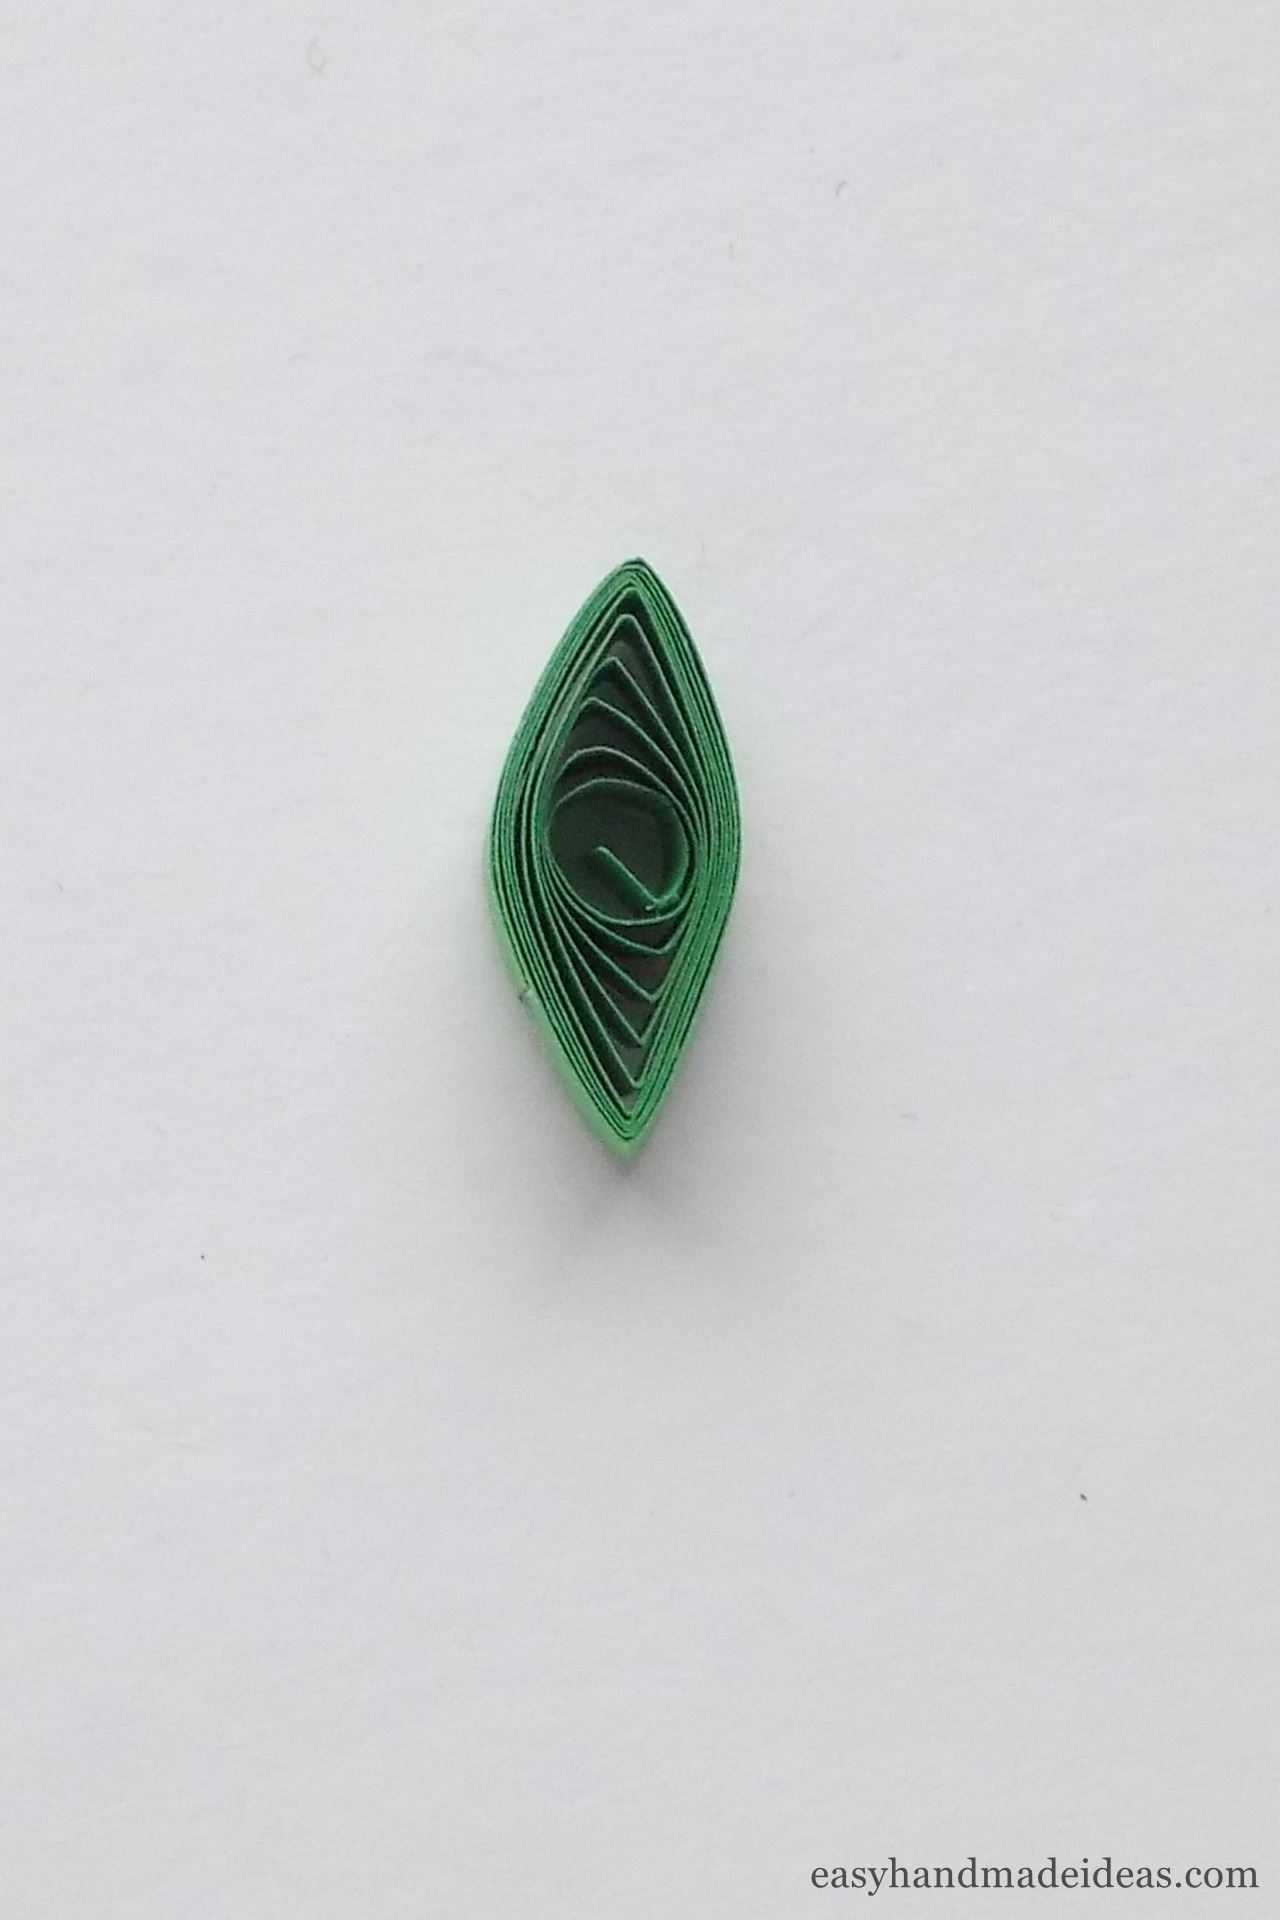
Then pinch the loose coil on both sides to make a marquise shape, which will be a small leaf.
Step 18: Make 3 marquise shapes
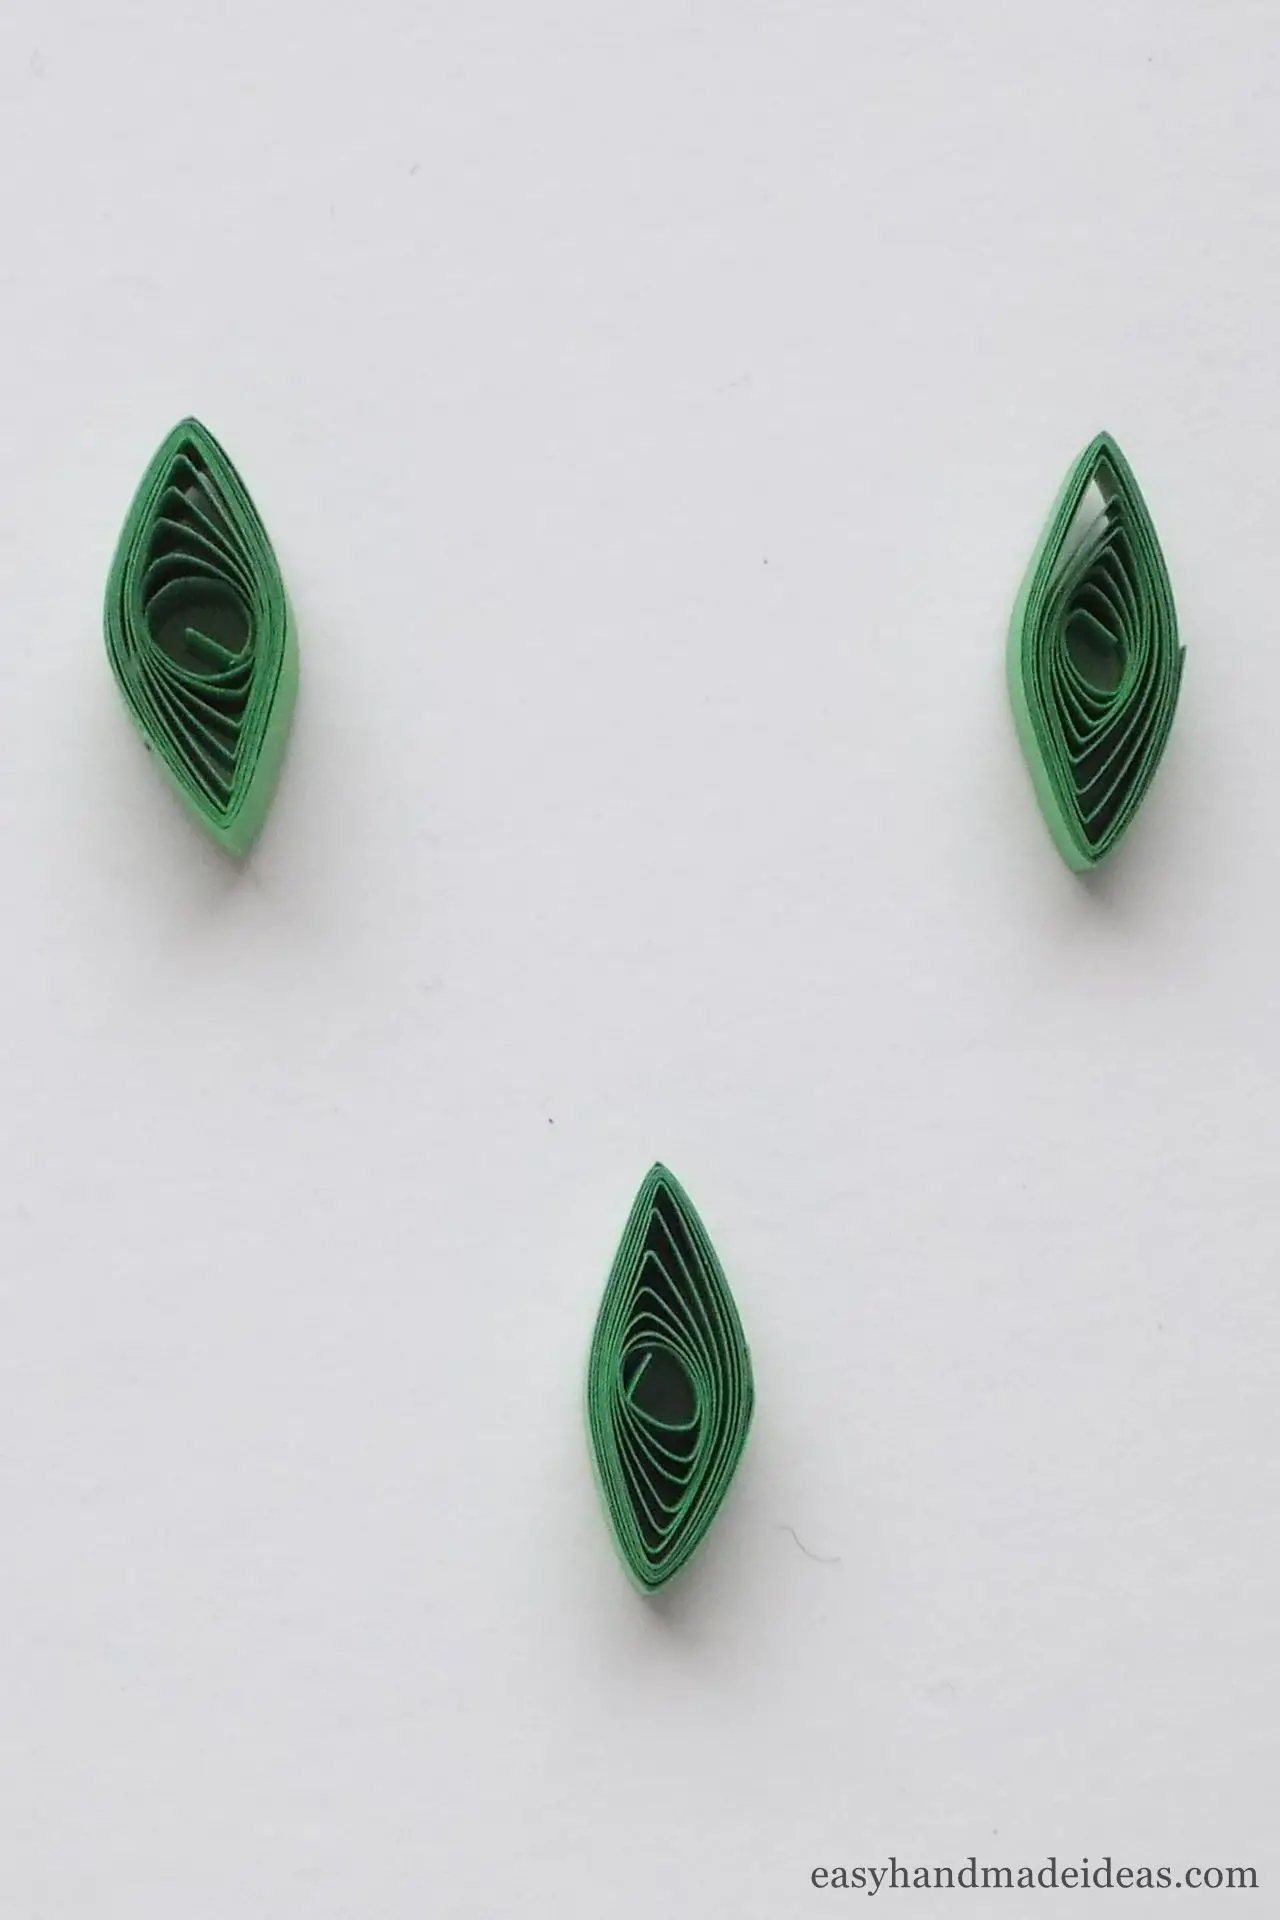
Make a next couple of pieces so that you end up with 3 marquise shapes.
Step 19: Make a branch
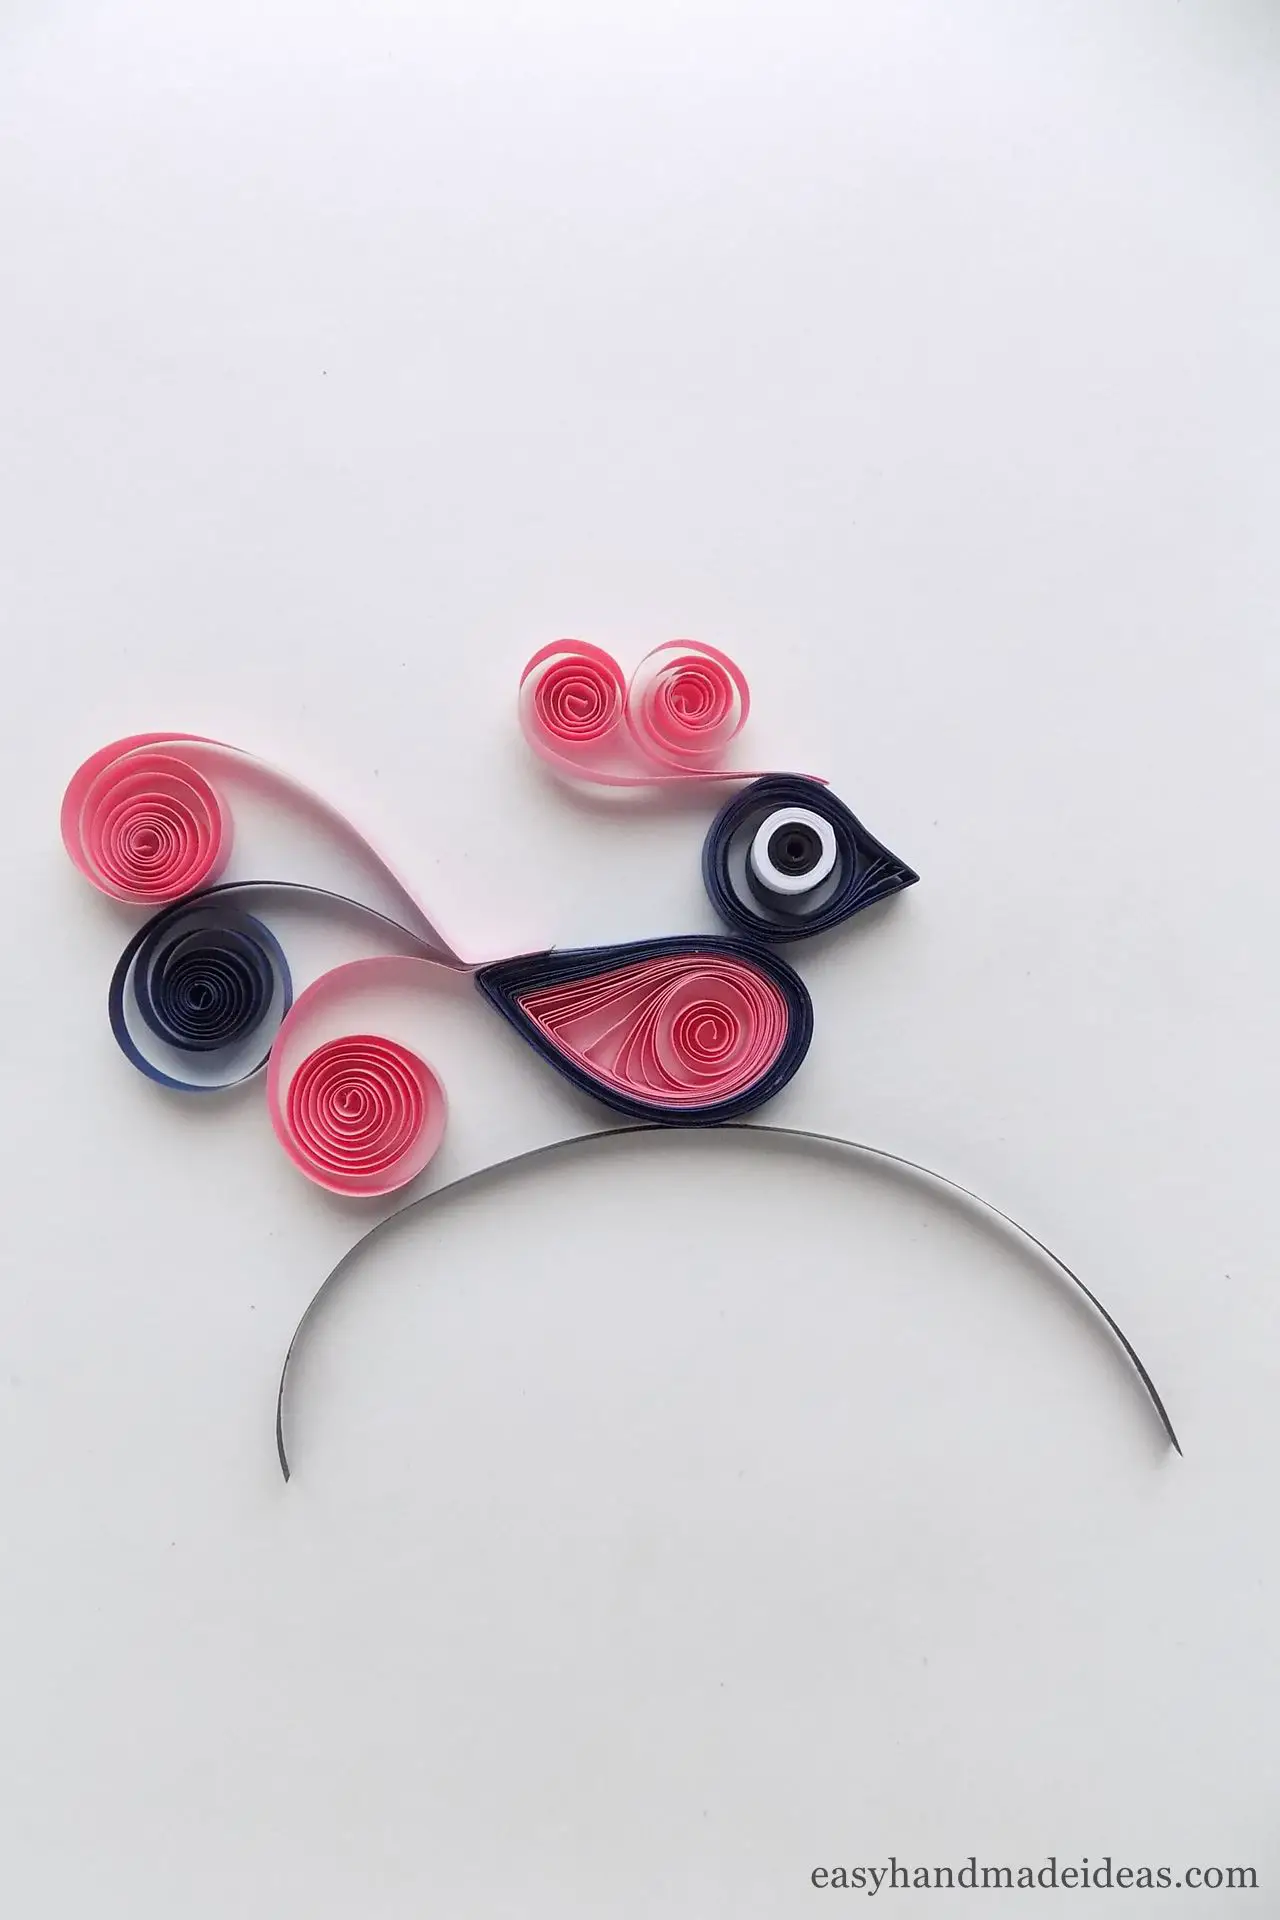
To make a branch, use a piece of black strip that is slightly twiste and then glue it to the bottom of the bird.
Step 20: Add leaves

After that, add the green leaves. Glue them to the branch. You should get a quilling-style bird as a result.
Supply:
- Paper quilling strips of different colors 5 mm width.
Tools:
- quilling board;
- quilling tool;
- PVA glue;
- scissors.
You can change this craft, using paper strips of different colors. Also the bird can have a not so puffy tail, if you take a smaller number of blanks or make them short.

