This simple Christmas craft will be made not only from colored paper. In addition, you will use a paper openwork napkin. Such a simple craft can be made even by a preschooler and it will take little time.
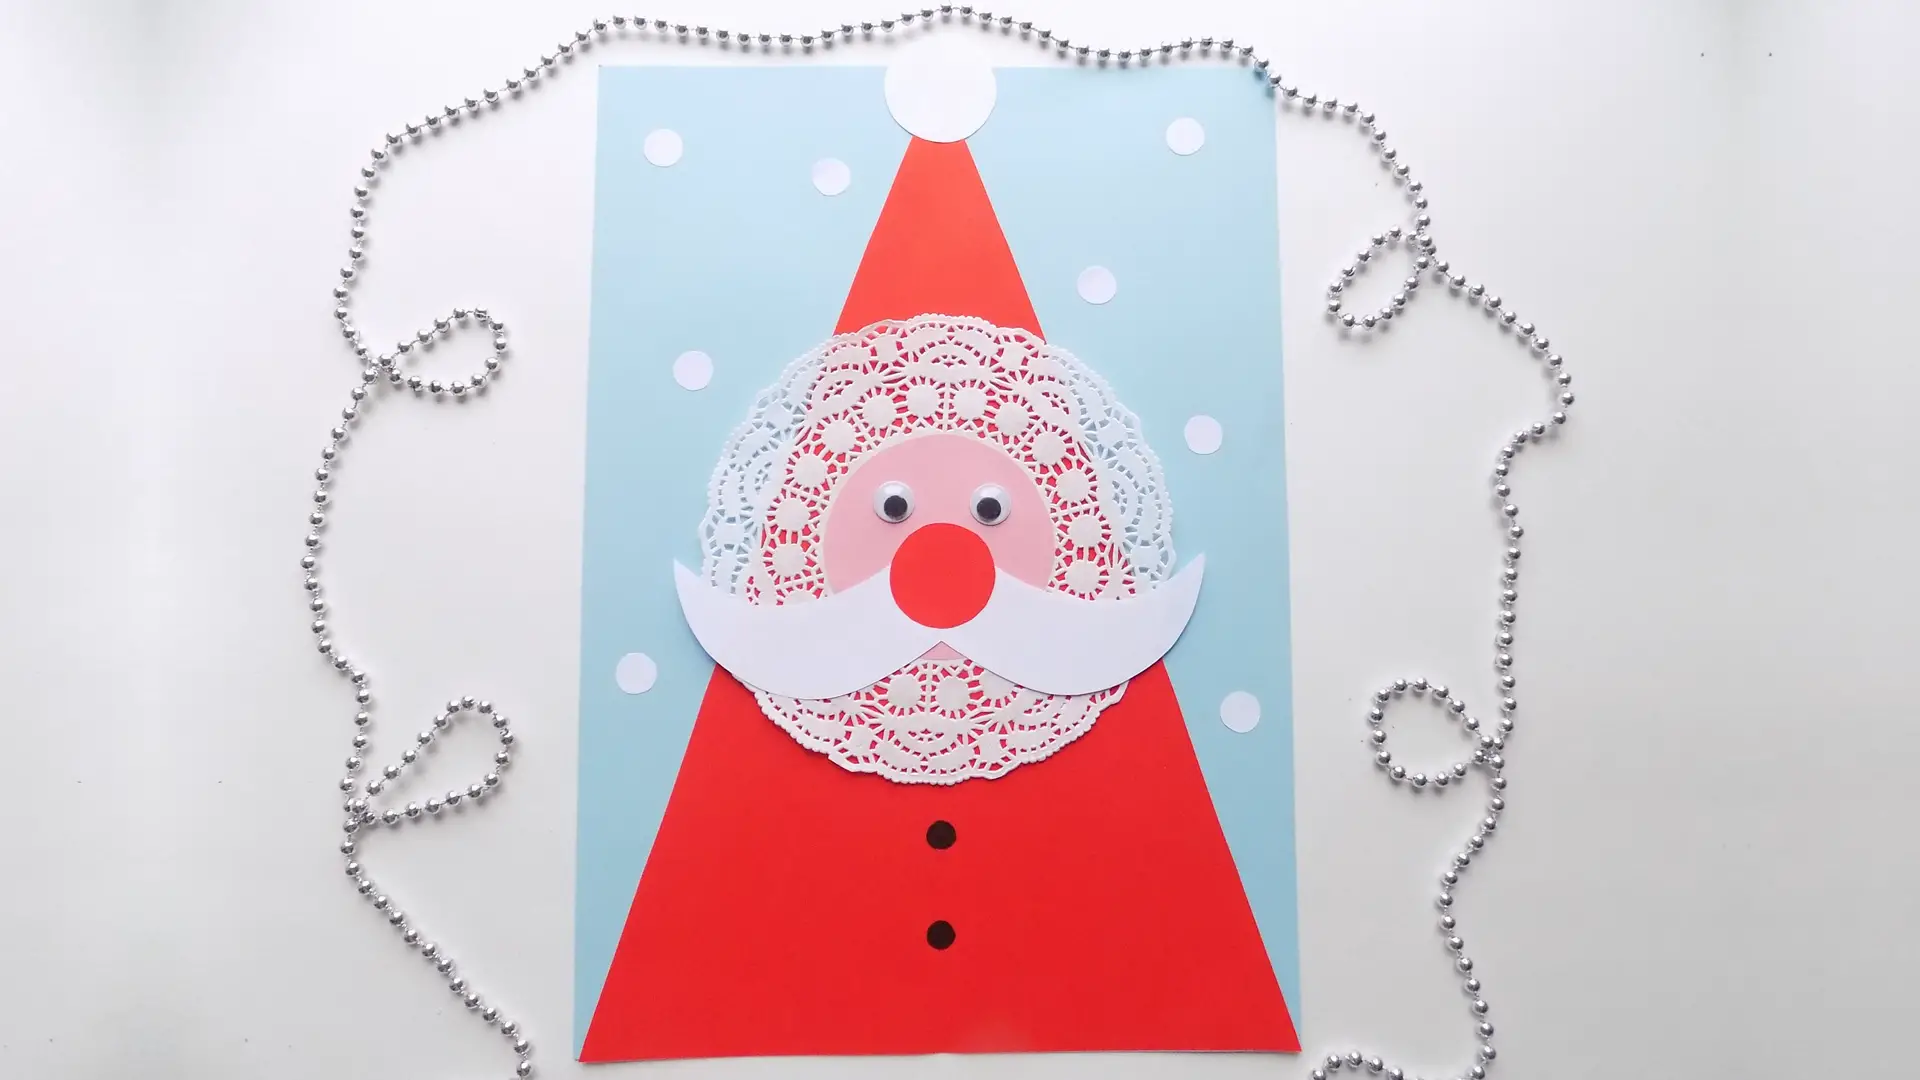
My simple instructions, how to make Santa Claus out of paper in a few steps.
Total Time: 15 minutes
Step 1: Get the materials
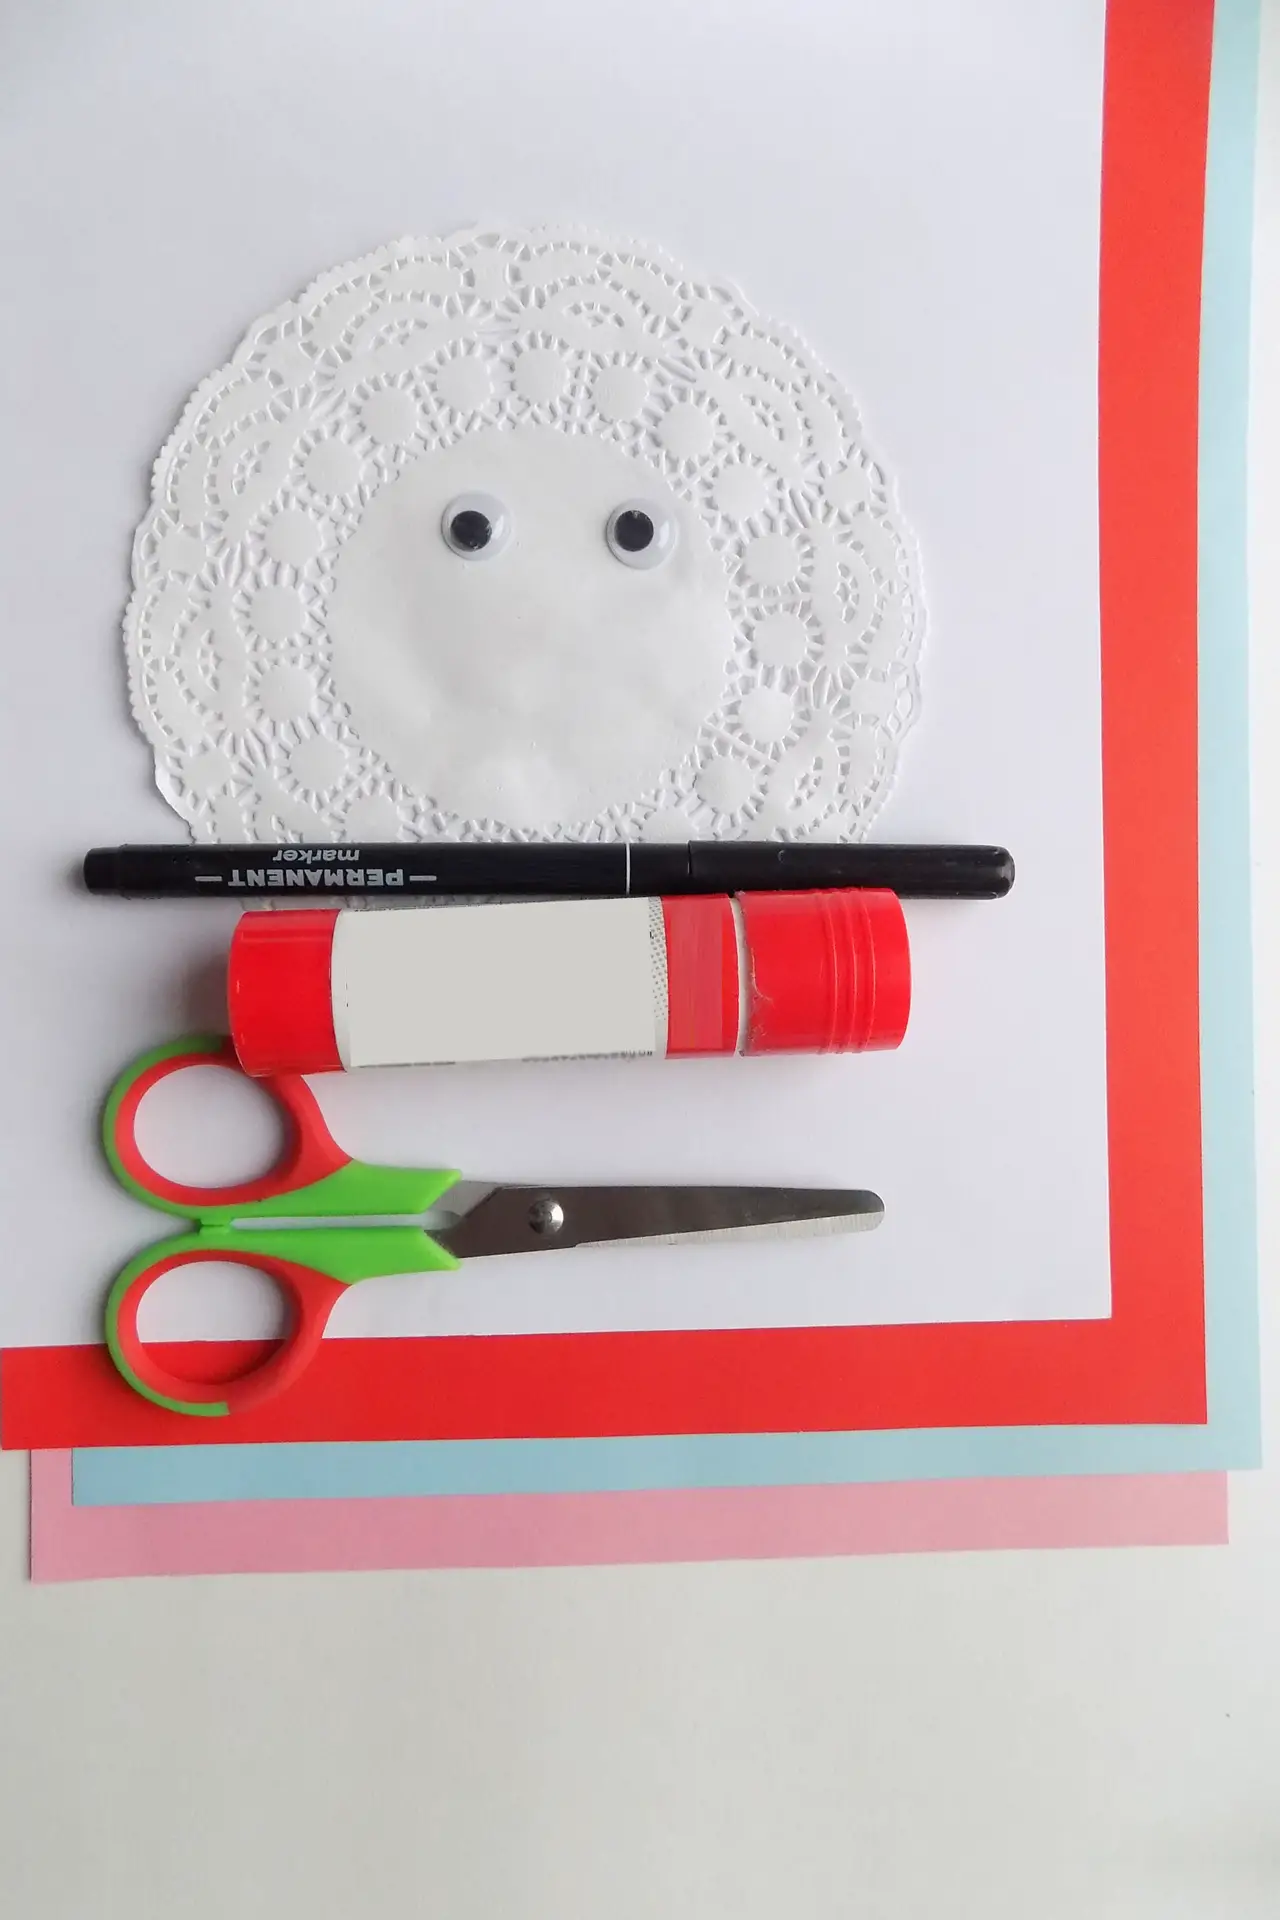
Prepare the materials and tools you will need to make a paper Santa.
Step 2: Fold the rectangle in half
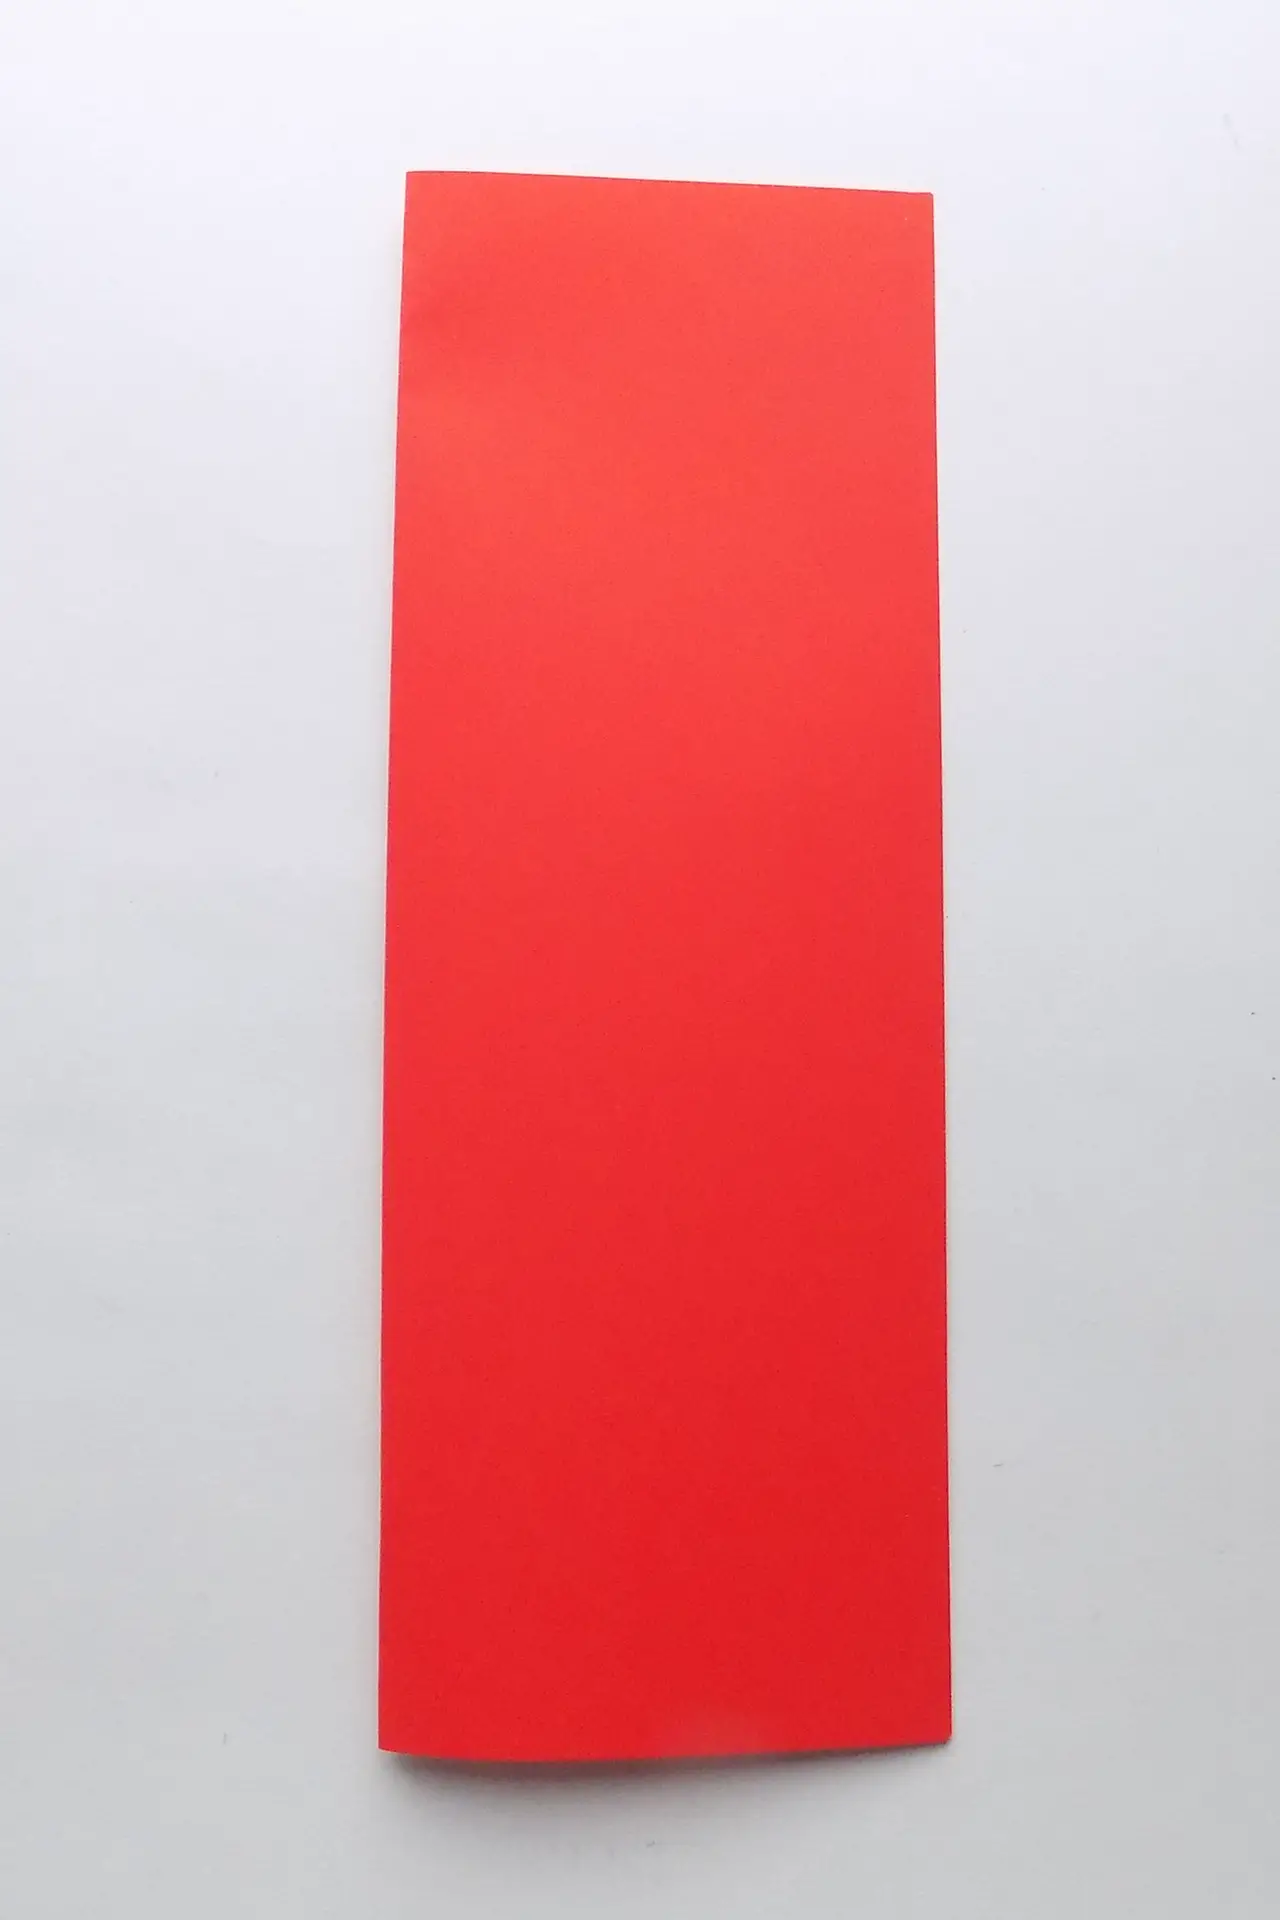
First, take a piece of red paper and fold it in half lengthwise. The fold should be on the left side.
Step 3: Cut from the bottom right corner to the top left corner
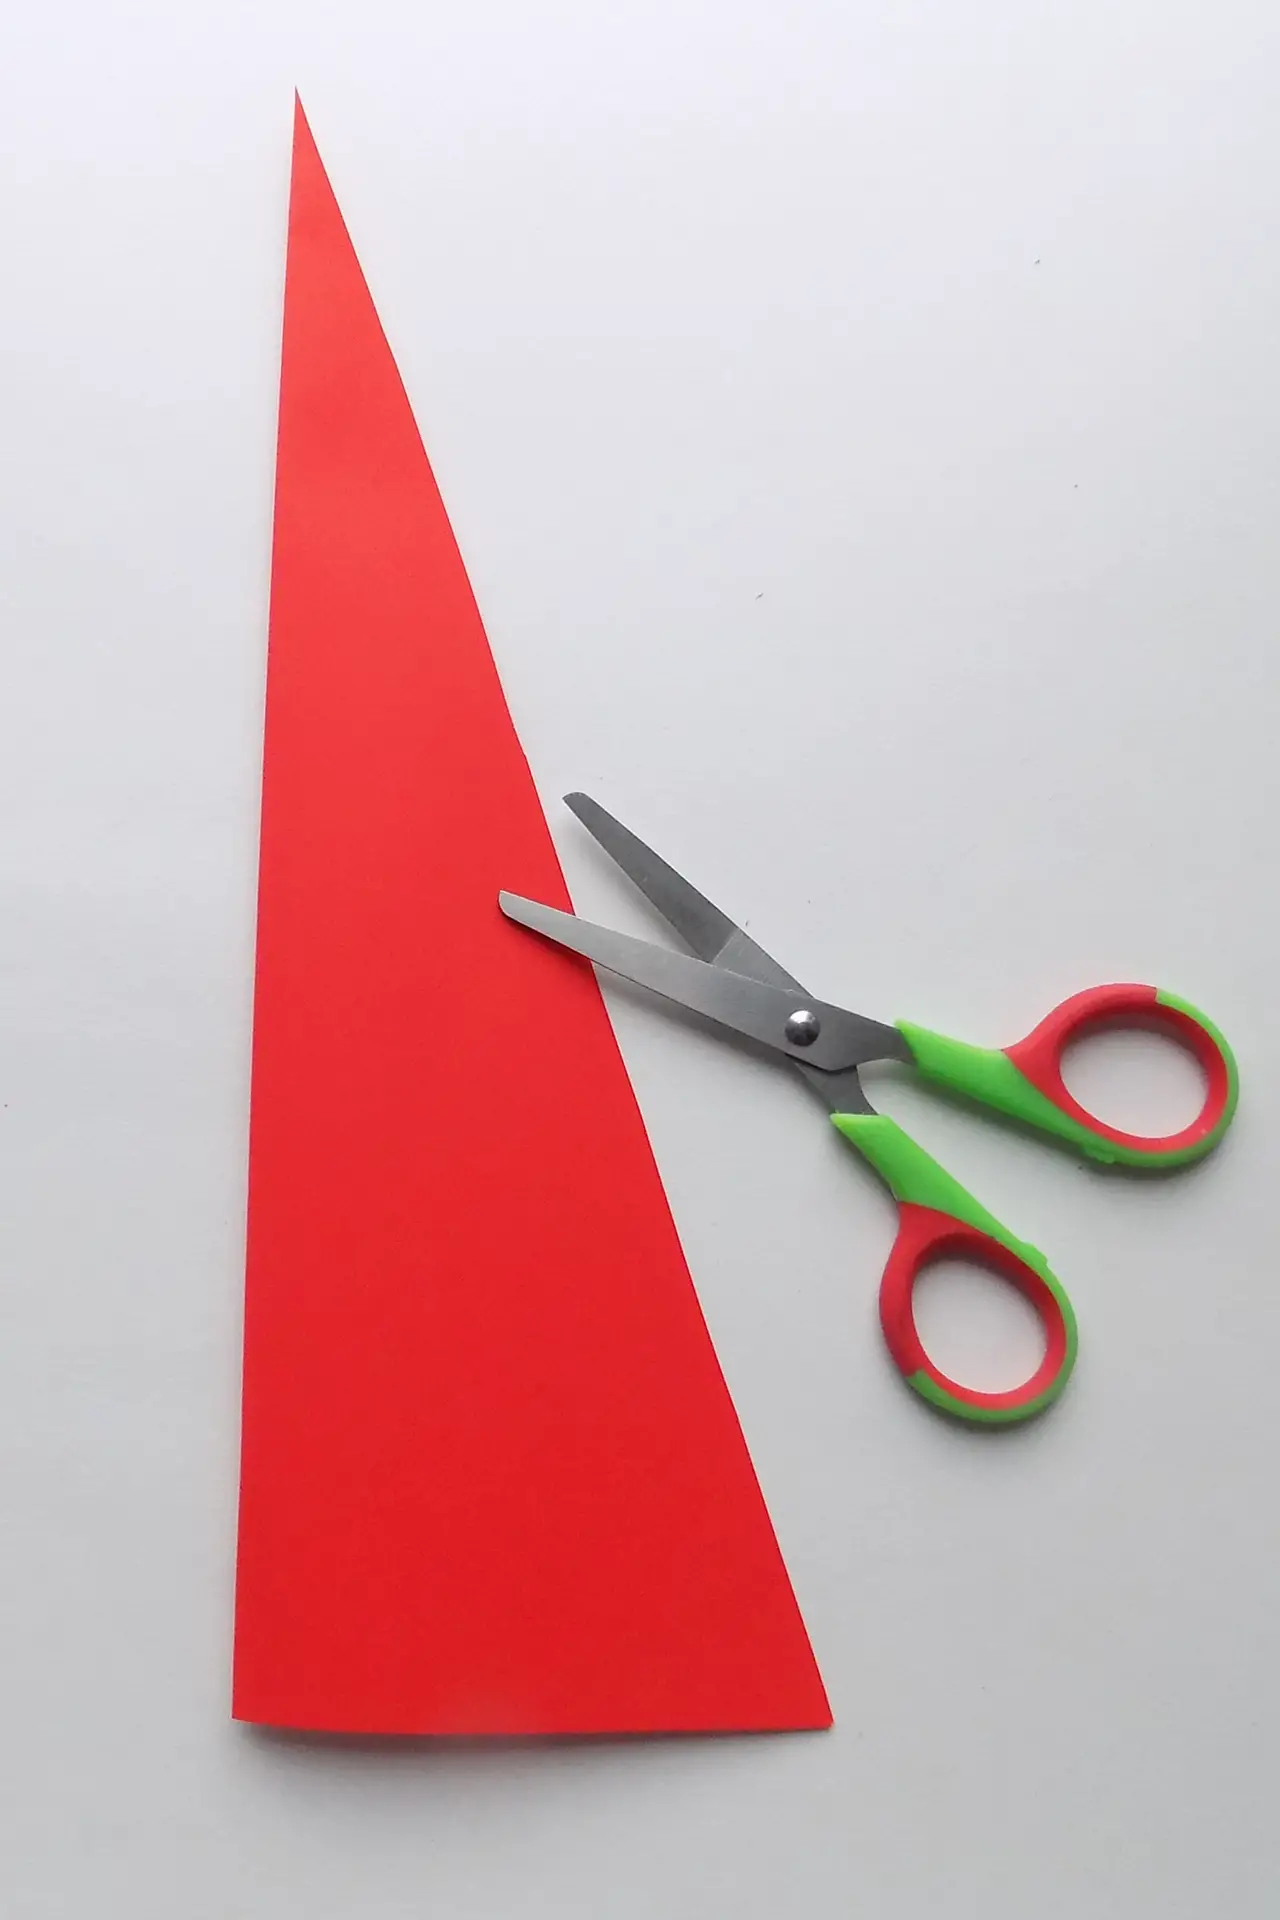
Use scissors to cut diagonally across this rectangle to make a triangle. Start cutting from the bottom right corner to the top left corner so as not to touch the fold.
Step 4: Unfold the triangle

After unfolding, you should end up with an elongated triangle. Glue it on a piece of light blue paper.
Step 5: Add a small pom-pom on top
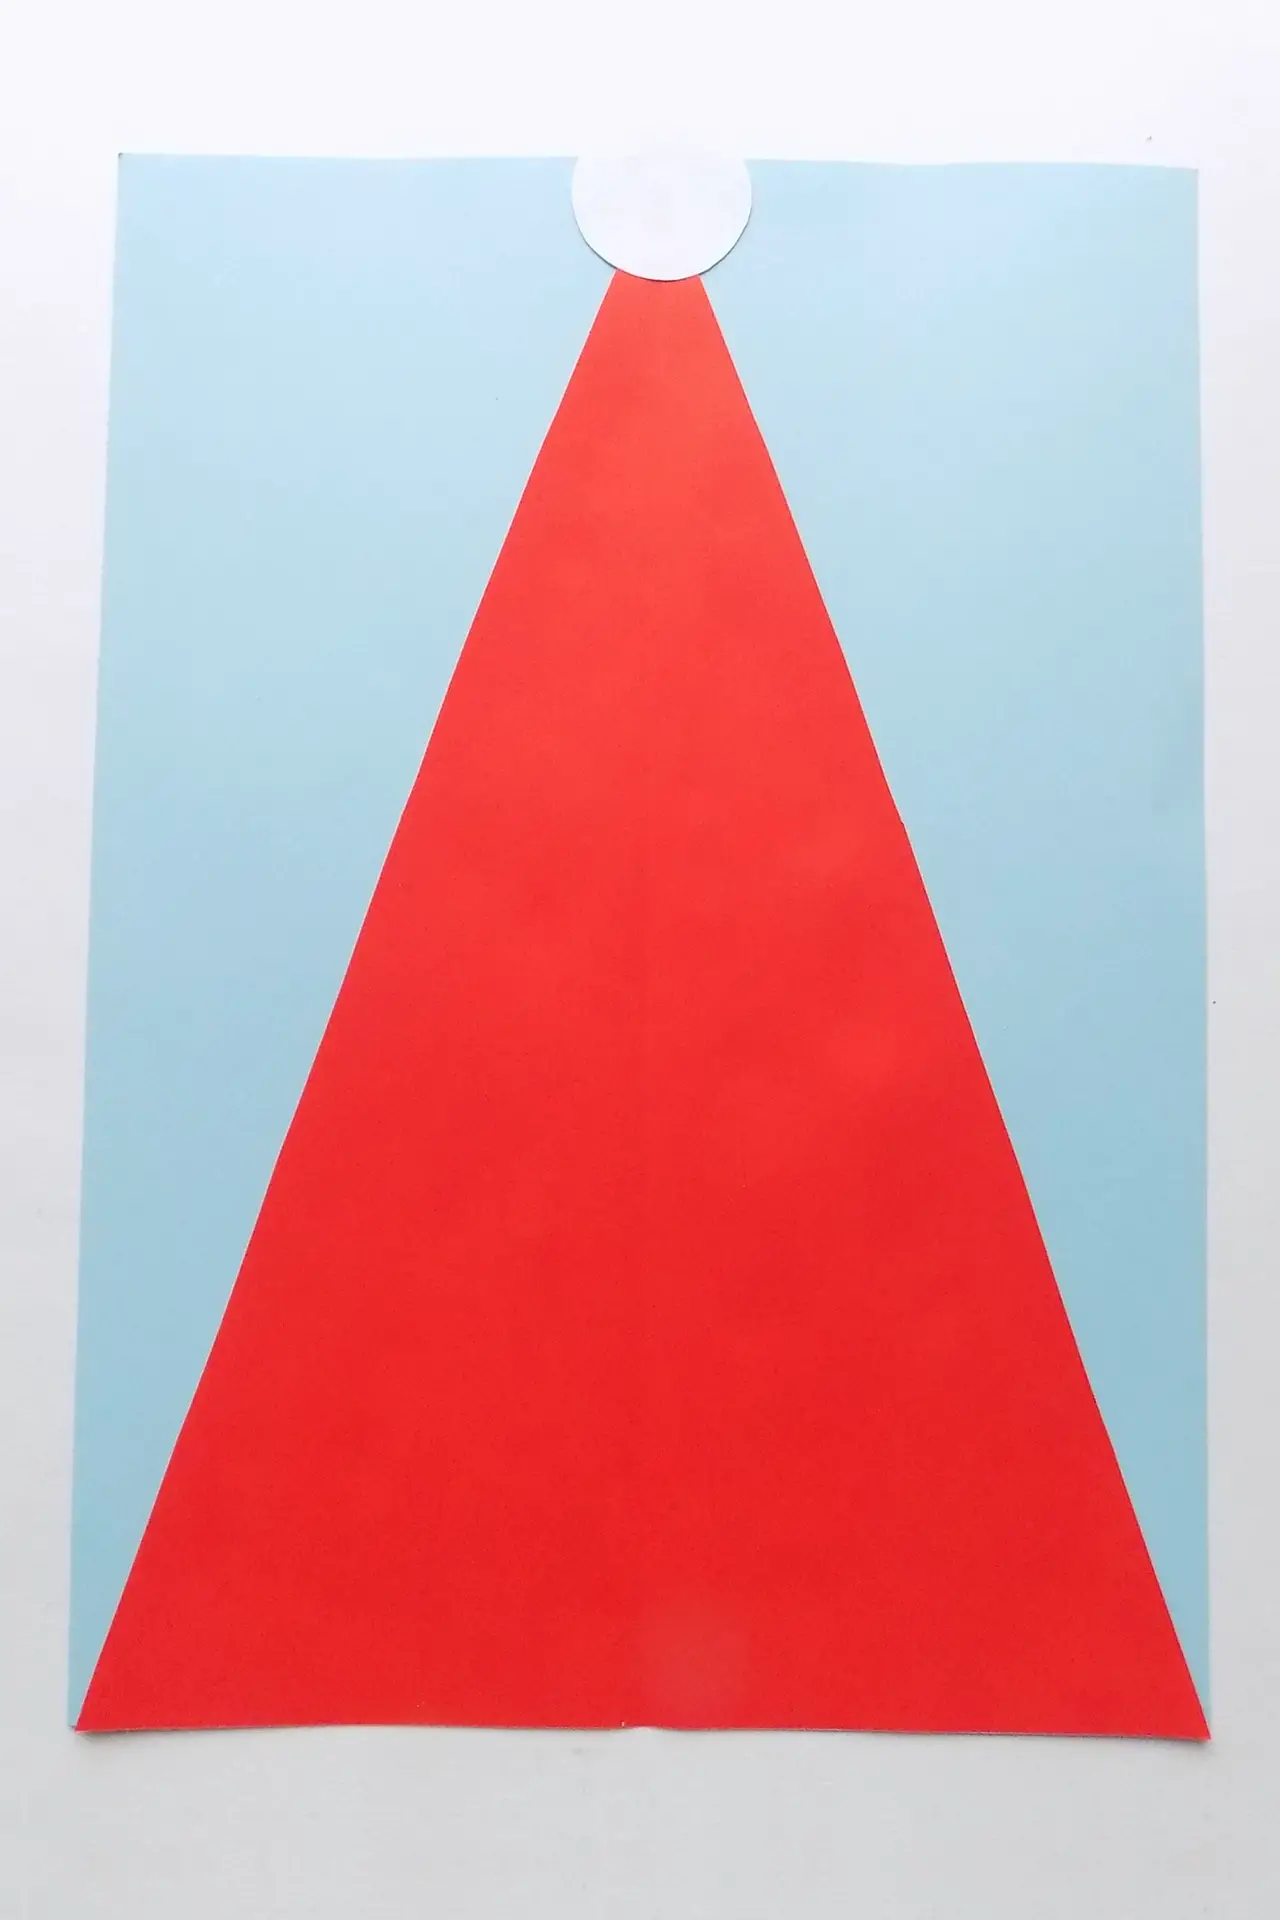
Cut a circle out of white paper and glue it to the top corner of the triangle.
Step 6: Take the openwork paper
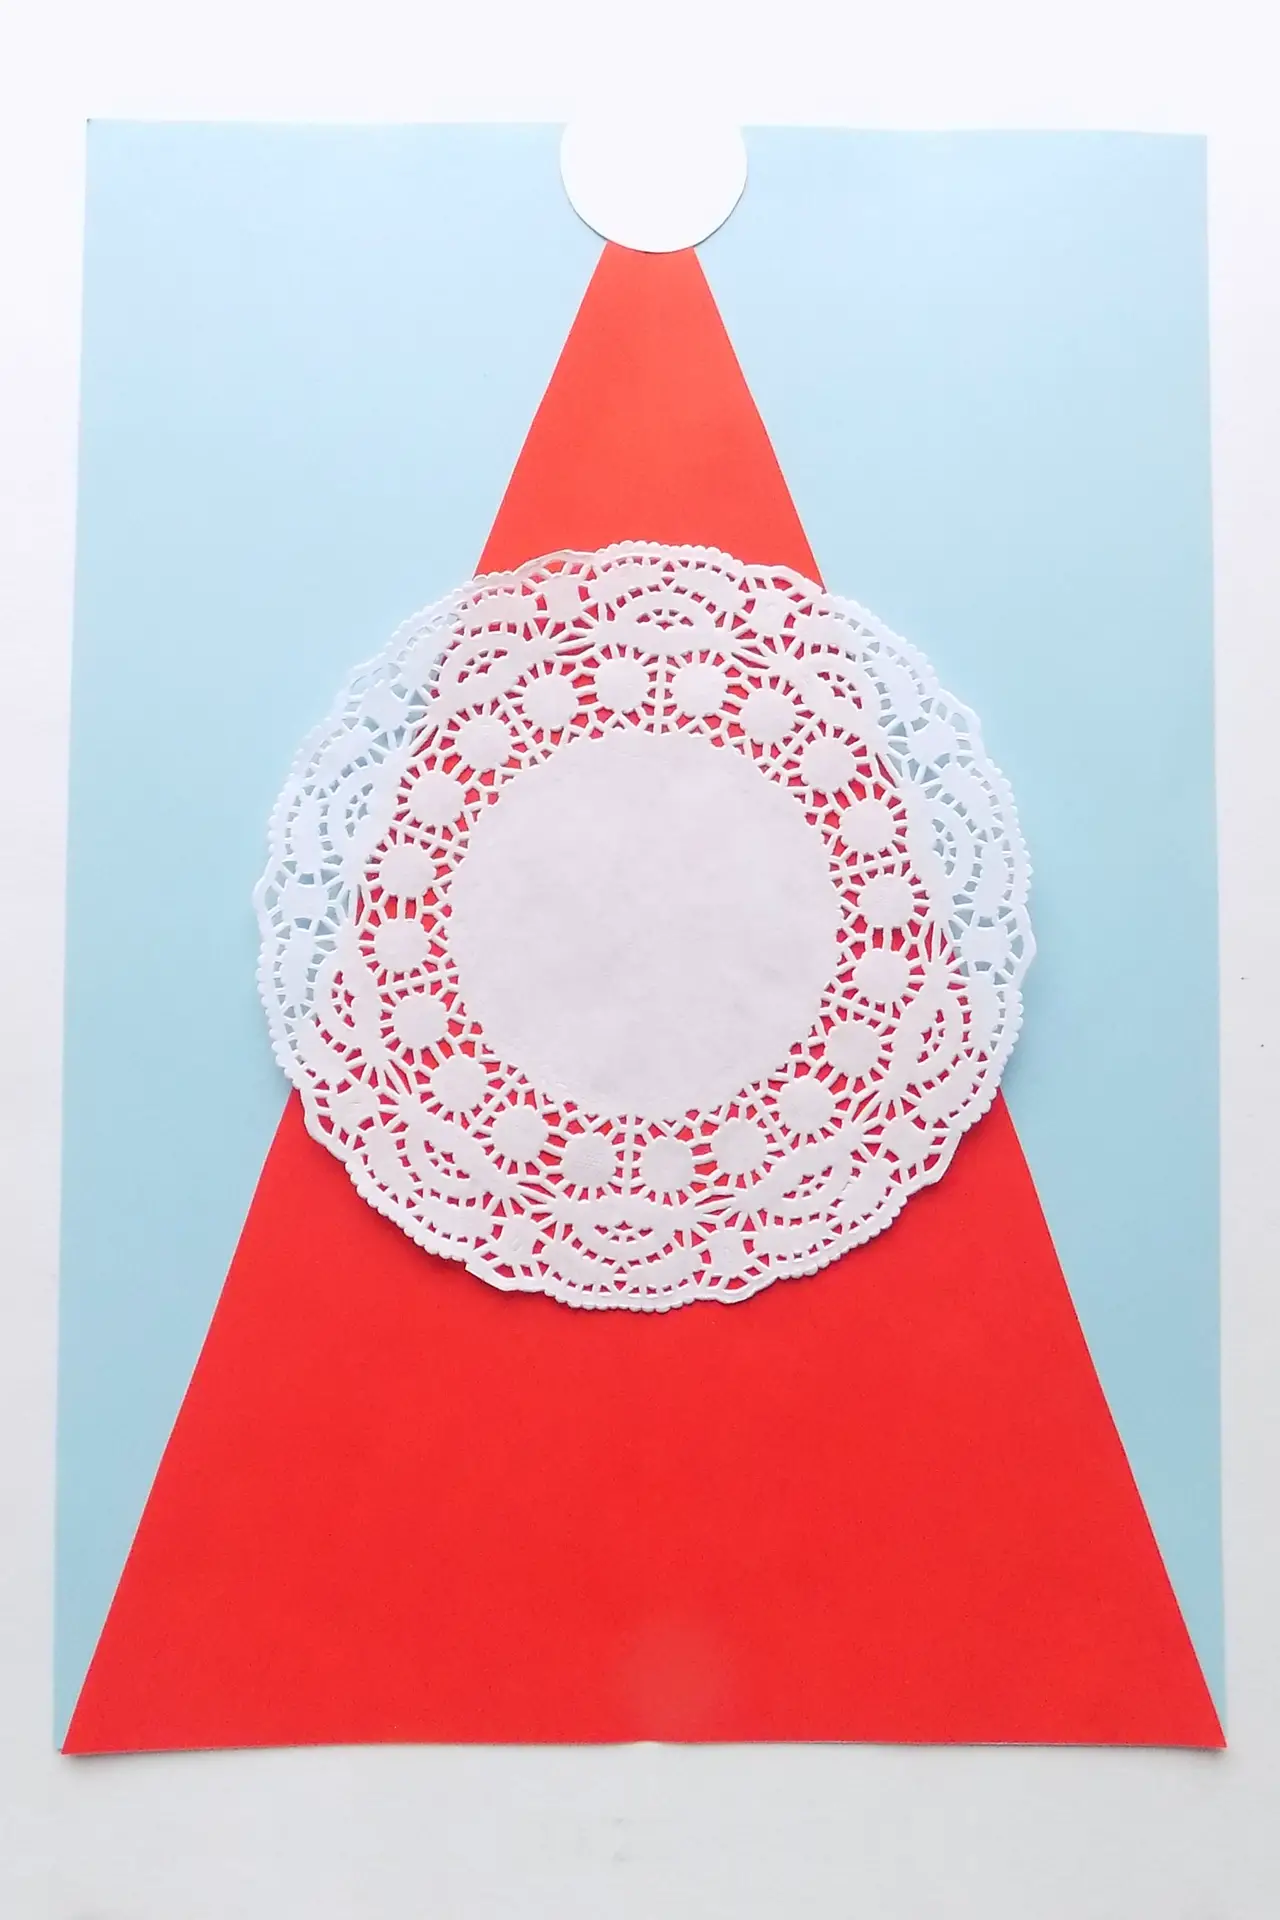
Use a white paper openwork napkin to create Santa’s head. If you don’t have one, you can cut a circle out of white paper and use that.
Step 7: Create Santa’s face
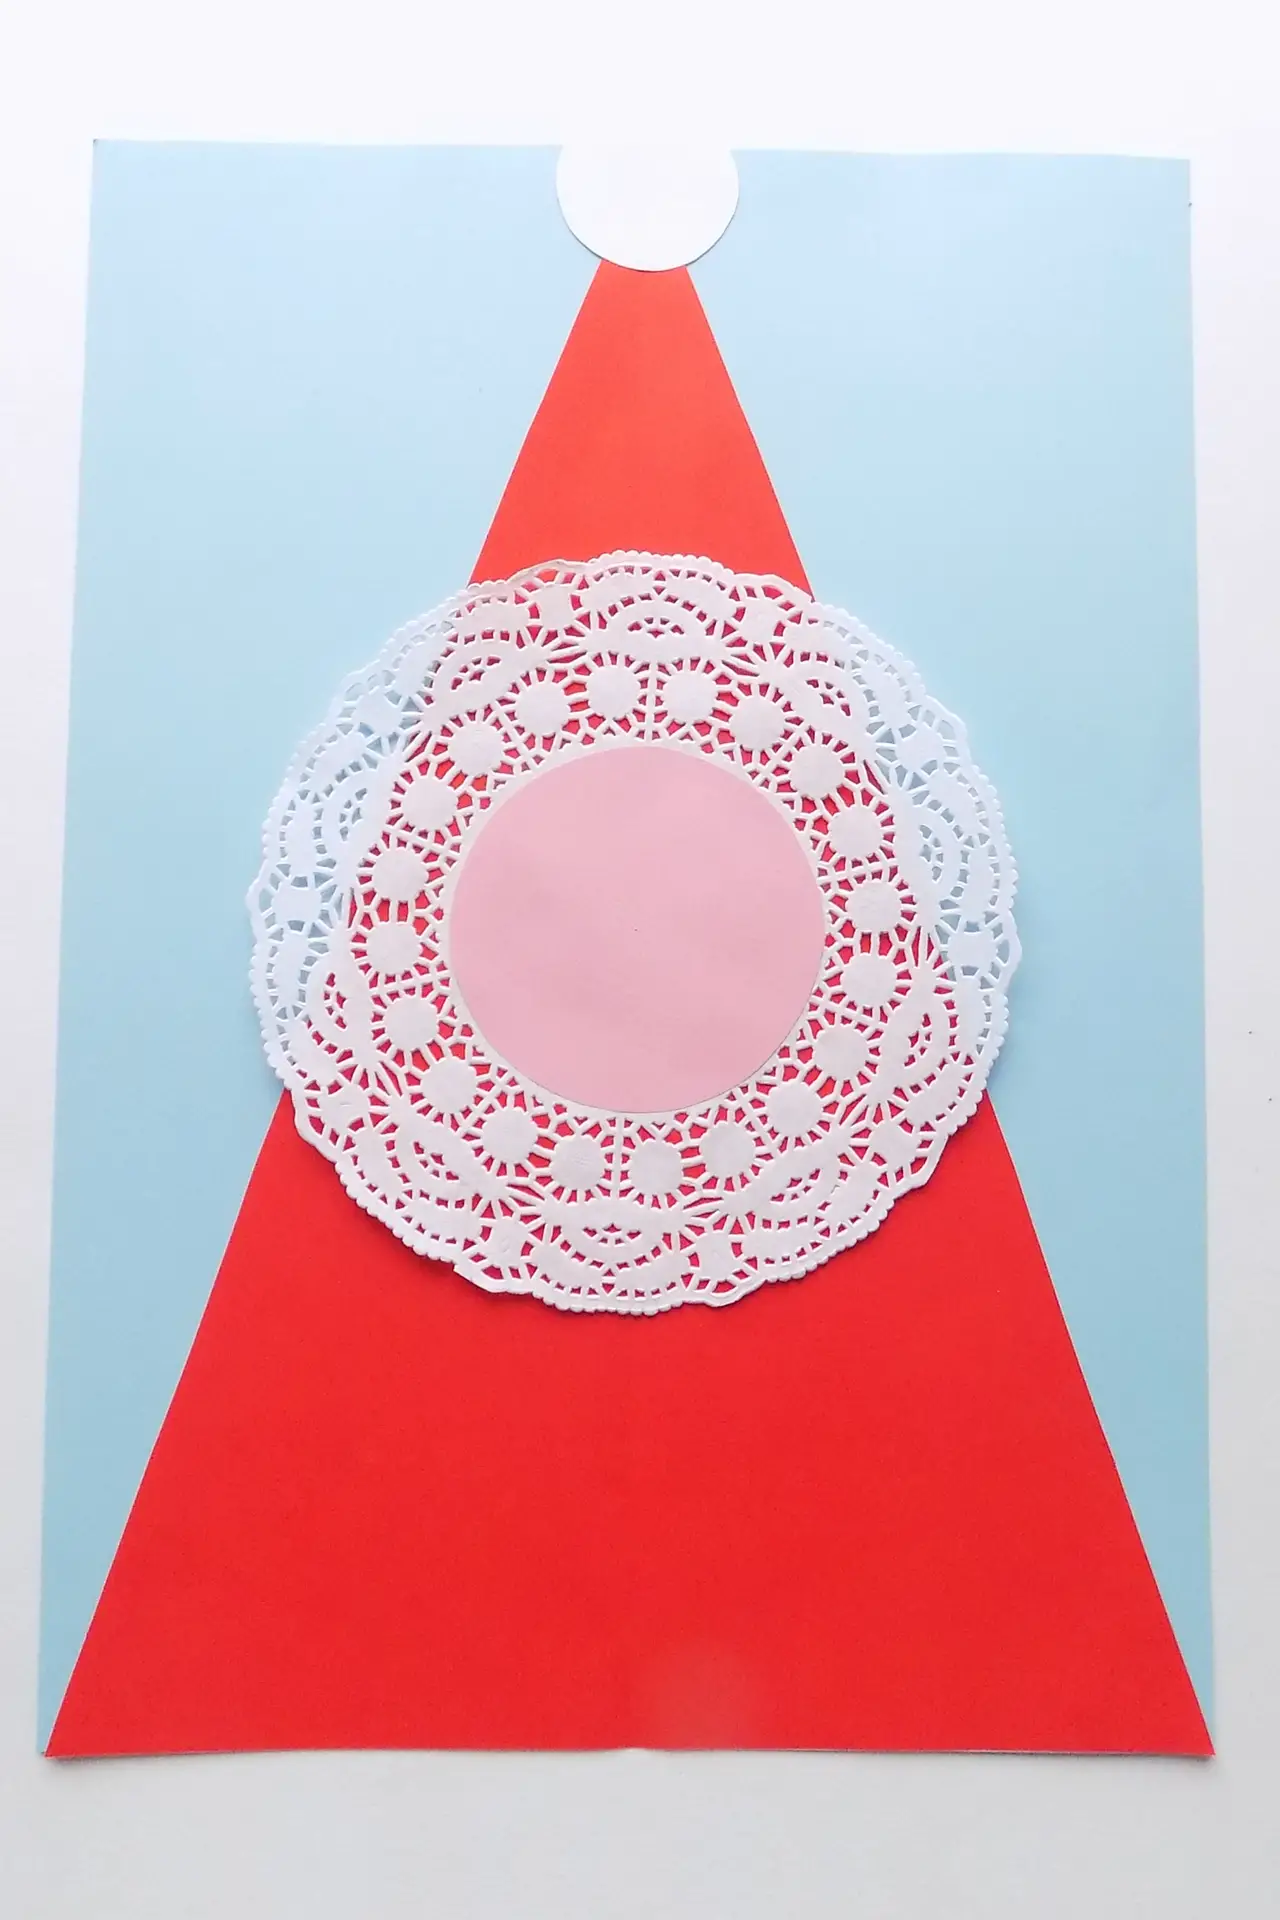
To make Santa’s face, glue a small circle of the desired size cut from light pink paper on top of the openwork paper.
Step 8: Glue the mustache on the face
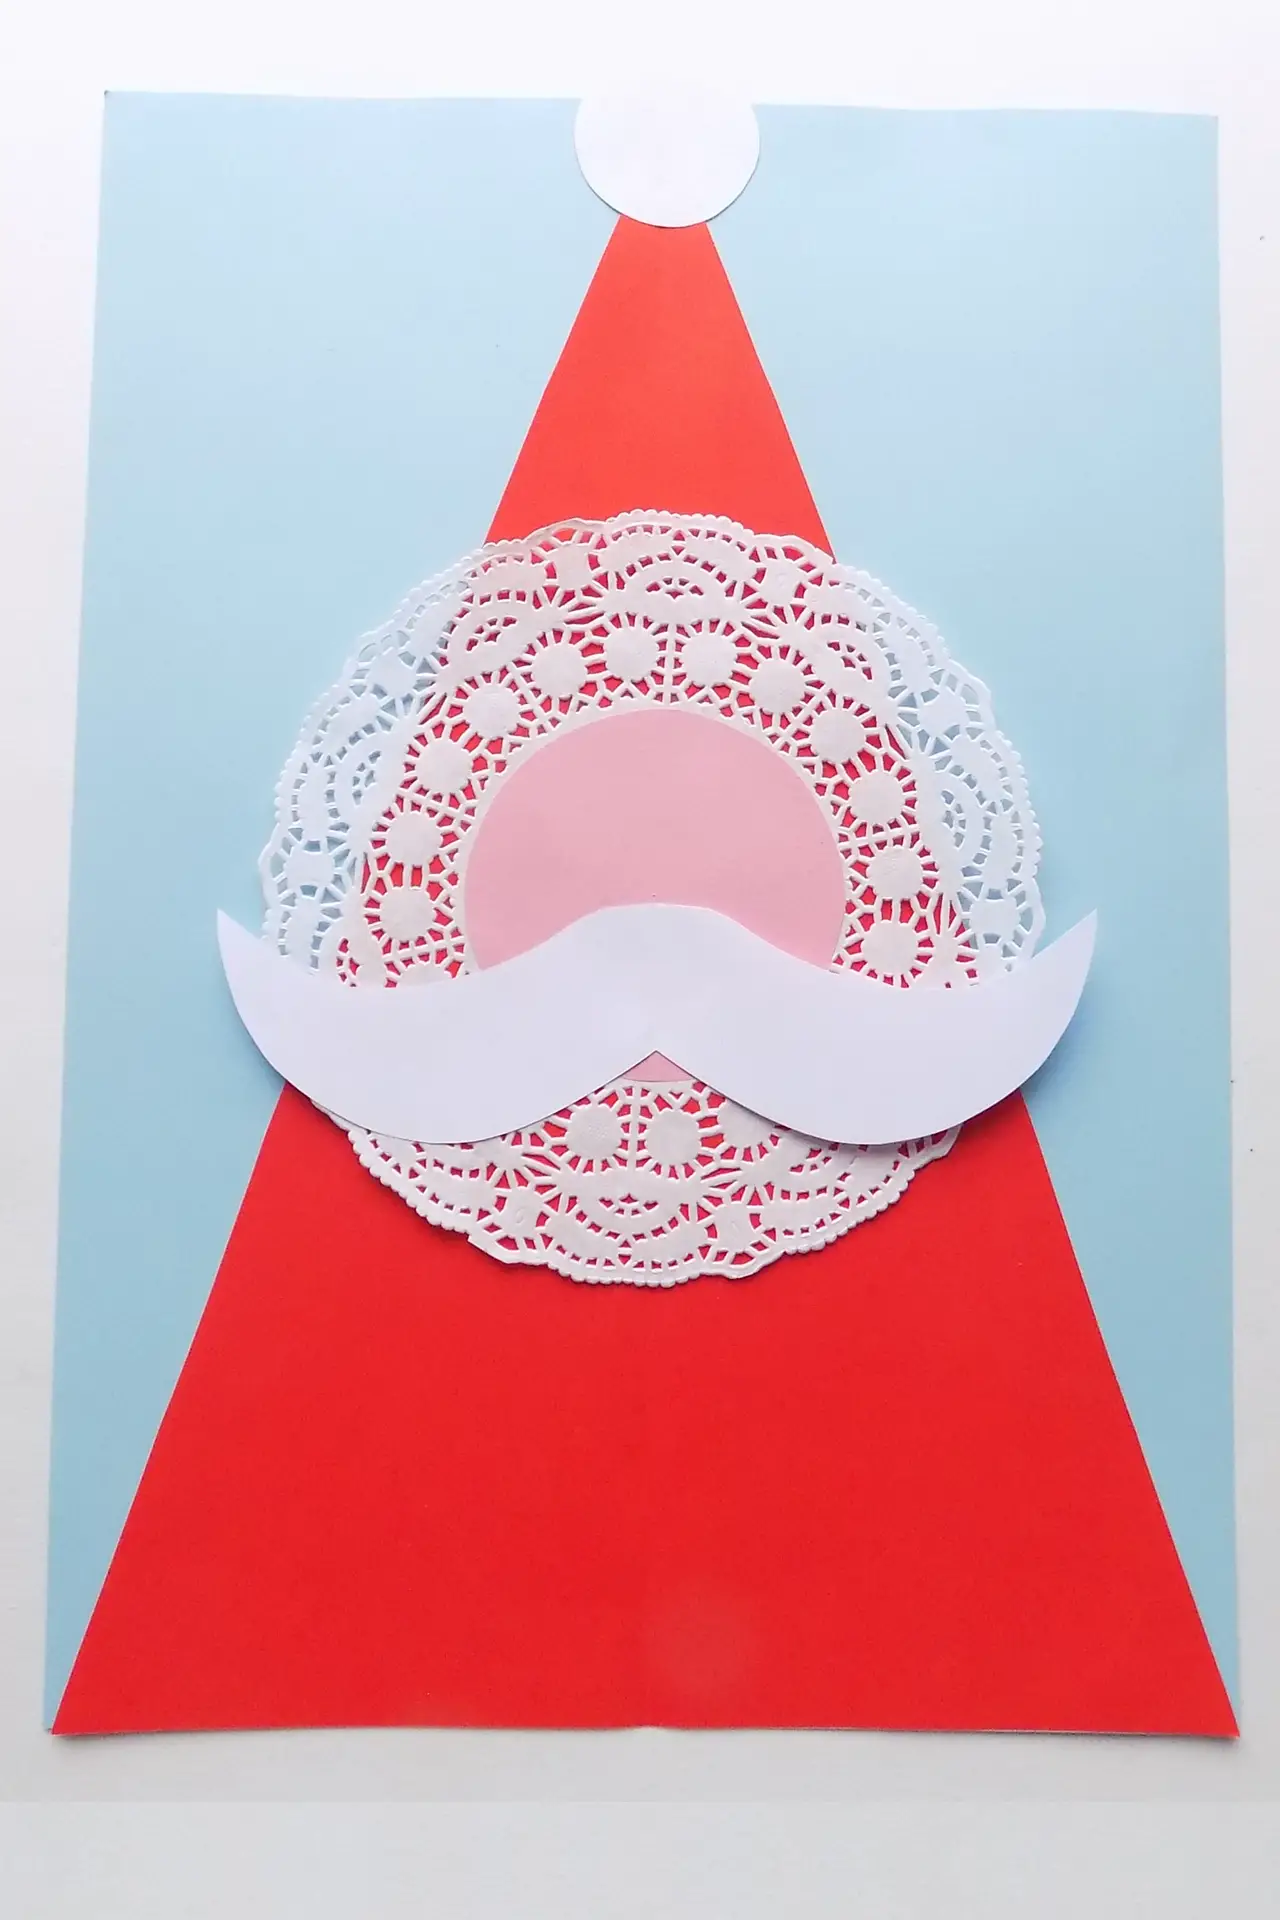
You need to make Santa’s mustache. First, fold a strip of white paper in half and then cut out a mustache. Glue the mustache on to Santa’s face.
Step 9: Add a red nose

Cut a small circle out of red paper and glue it on the center of the mustache. Glue the ready-made decorative eyes onto the face.
Step 10: Decorate the background of the applique
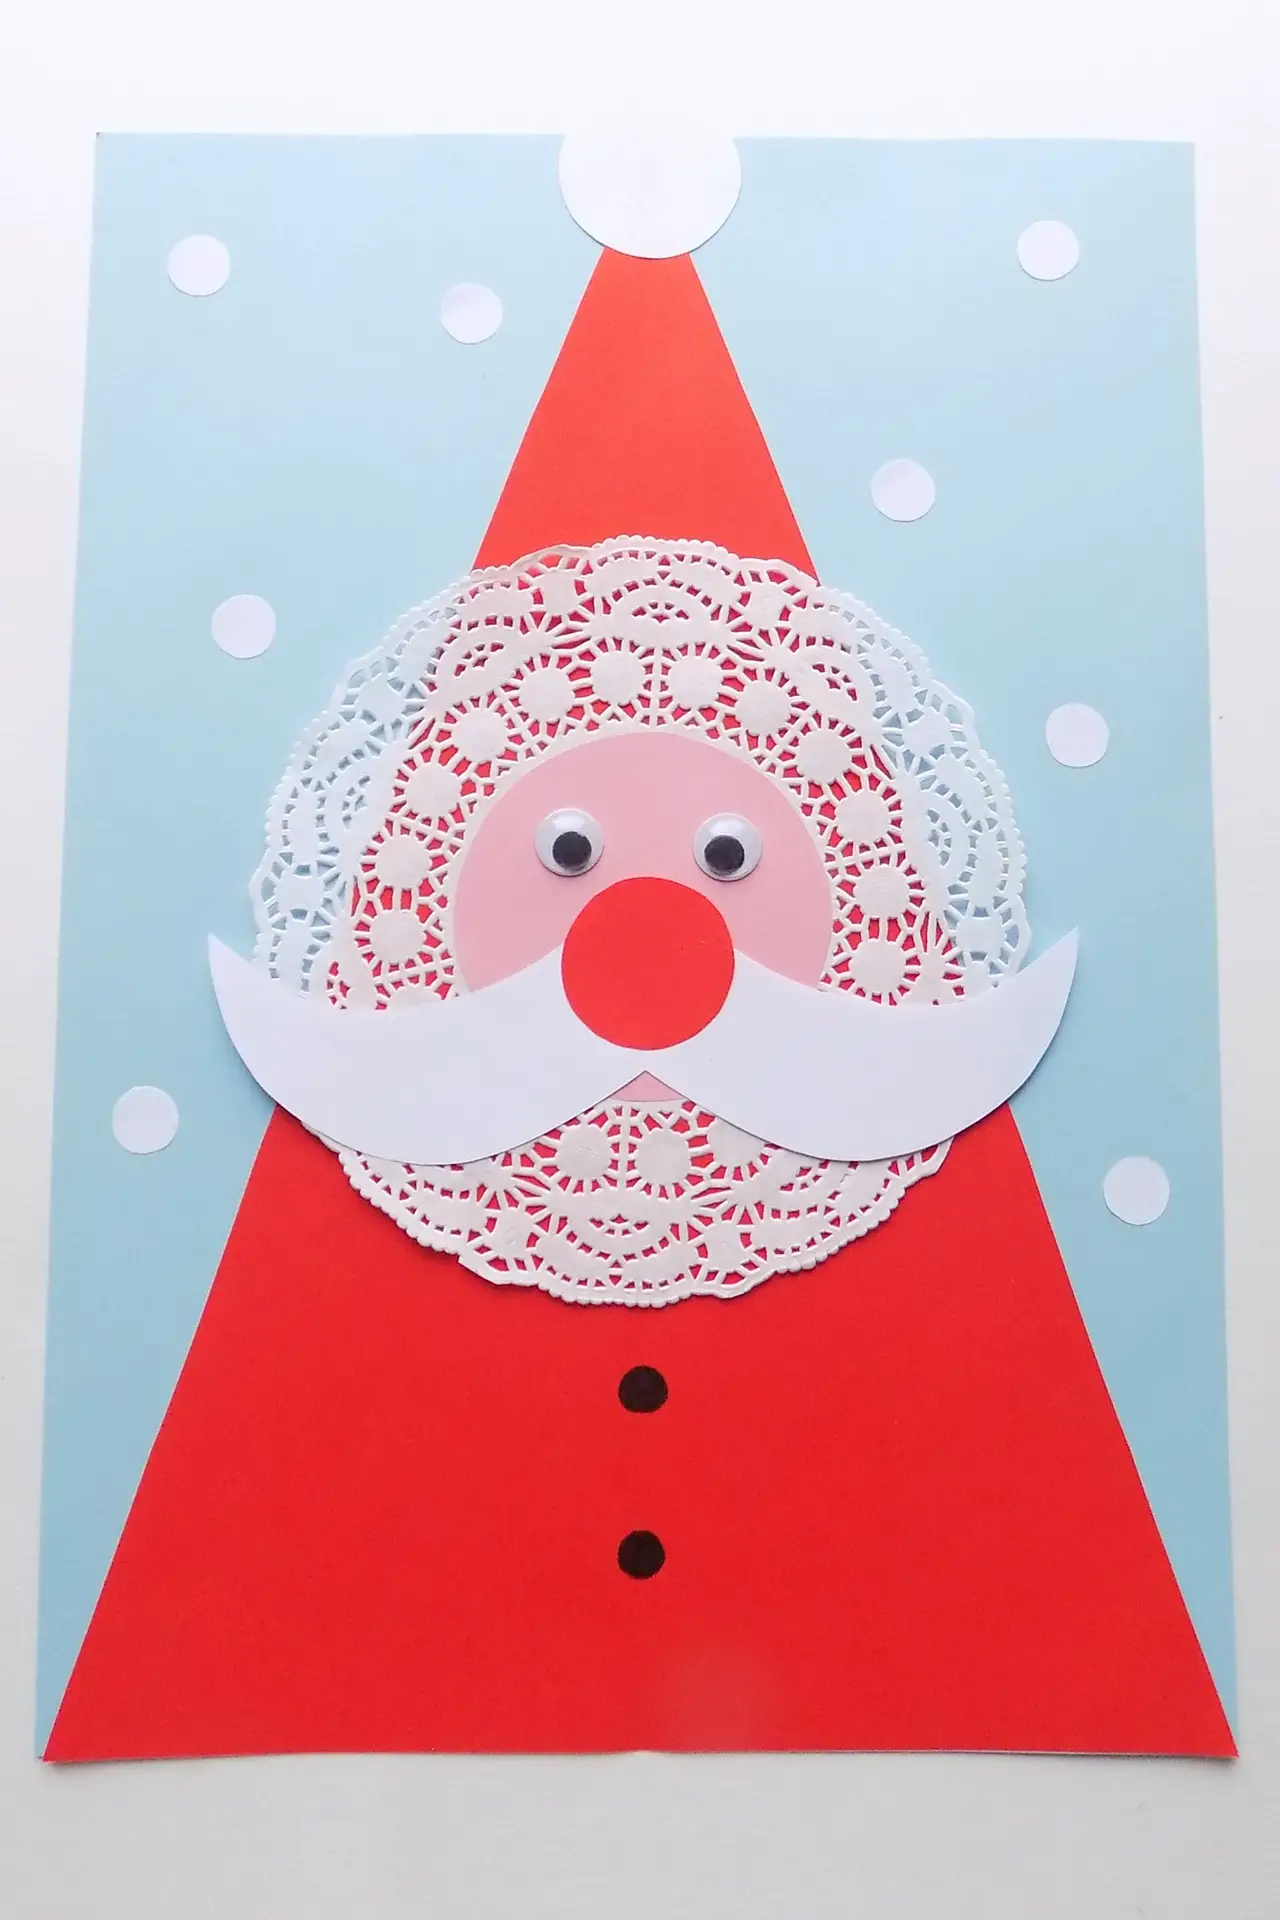
Here you can add snow by cutting small circles out of white paper. You will get a Santa Claus applique made of paper and openwork napkin.
Supply:
- colored paper;
- white paper openwork napkin;
- decorative eyes.
Tools:
- scissors;
- a glue stick.

